


 My Orders


RSS307 Caloric Range - Overview
Models starting with RSS307
Click on the best match to narrow your results.
Enter a part description. DIY Heroes keep it simple, eg. "belt" or "pump".
Search filter:
Clear Filter
Your search term must have 3 or more characters.

$26.41
In Stock
Light Bulb - 40W
Part #8009
This an authentic OEM 40-Watt replacement light bulb, used in a number of household appliances. It is specially designed to withstand extreme temperatures, which is why these replacement bulbs are most often used to light the inside of refrigerators and ranges. It features a standard socket base, which means you simply unscrew the burnt-o...Read moreut bulb and screw in the replacement. Depending on the appliance you may require a screwdriver or nut driver to access the light bulb. We recommend you wear work gloves while handling this replacement part. It is constructed of glass and metal and is sold individually. Depending on the appliance and location of the bulb within it, you may want to consider disconnecting power and using a flashlight for easier access to unscrewing and re-screwing in your bulb during this repair.
Read less

$83.55
In Stock
Flat Style Oven Igniter
Part #786324
You must reuse the original bracket. Be very careful to not touch the black element part of this igniter as it is very fragile.

$36.92
Special Order
Square Chrome Drip Pan
Part #WPY0060872
This square chrome drip pan is intended for use with gas ranges. With a 4 inch diameter center hole and 7-3/4 inch sides, this pan is dishwasher safe and comes one to a package.

$66.88
In Stock
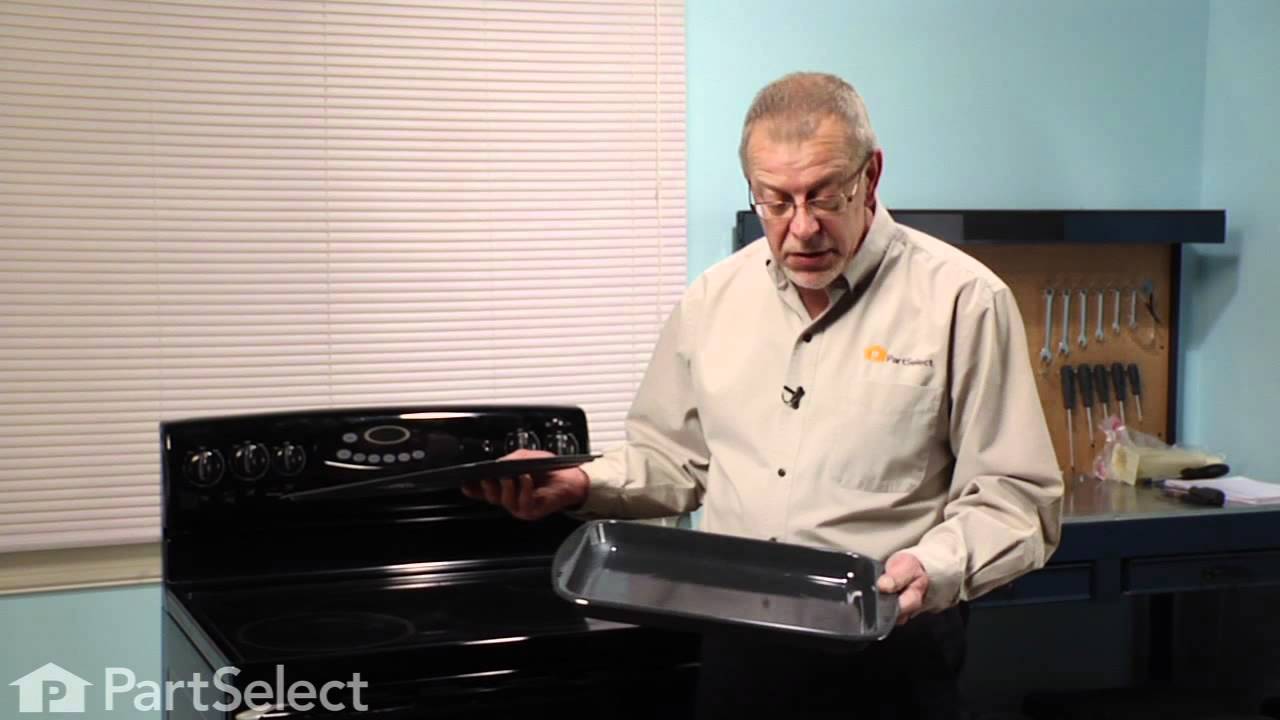
2 Piece Broiler Pan
Part #4396923
This broiler pan and roasting rack set features a two-piece design that allows fat to drain away for cleaner cooking and reduced splatter. Made with a durable, high-heat resistant porcelain finish, it offers reliable performance and easy cleanup. Measuring approximately 16 3/4 inches long by 12 3/4 inches wide and 1 3/4 inches high, it provides a practical solution for everyday broiling and roasting.

$74.95
In Stock
Wire Oven Rack
Part #WP314763J
This wire oven rack is used on some ovens and ranges. It is twenty-three inches long and it is made of metal.

$127.83
In Stock
Oven Light
Part #WP74011278
This oven light assembly is a little over four inches long. It is a six hundred an sixty watt light bulb.

$105.34
In Stock
Range Light Blub Fluorescent 18 Watt
Part #WP95292
This light bulb is used in a range's control panel.

No Longer Available
Hinge Kit - Left Side
Part #R0706010

No Longer Available
Gas Burner Grate
Part #WP314647B
This gas burner grate is used for some gas ranges and cooktops. This is a black burner grate with each side measuring almost eight inches.

No Longer Available
Gas Spark Ignition Switch
Part #WPY0300521
This burner ignition switch is a little over an inch long. It is made of plastic and has a white center cam. This switch has some metallic components.

$56.07
Special Order

No Longer Available
Surface Burners Spark Module Kit
Part #1430322
This part sends enough current to the igniter to create a spark to the bottom of the burner cap.
Common Symptoms of models starting with RSS307
How this model fails, and the parts that fix it.
Gas igniter glows, but will not light
Fixed by
these parts
these parts


Show All
Will Not Start
Fixed by
these parts
these parts


Show All
Little to no heat when baking
Fixed by
these parts
these parts
Show All
Element will not heat
Fixed by
these parts
these parts
Show All
Door won’t close
Fixed by
these parts
these parts


Show All
Little to no heat when broiling
Fixed by
these parts
these parts
Show All
Watch our pros, then fix it yourself.

See how others fixed this model. Time, tools, difficulty, and steps that lead to victory!
View More