


 My Orders


PLEB30T9FCC Frigidaire Wall Oven - Overview
Diagrams for PLEB30T9FCC
See every part. Know exactly what you need.


Enter a part description. DIY Heroes keep it simple, eg. "belt" or "pump".
Search filter:
Clear Filter
Your search term must have 3 or more characters.

$90.41
In Stock
Temperature Sensor
Part #316217002
Also known as Probe. The quick connect on this part may be different than your original part. If it doesn't fit, you have to cut off the quick connect and wire together with porcelain wire nuts.

$35.95
In Stock
Light Bulb
Part #316538904
This 40-watt appliance light bulb is a reliable replacement for use in select ranges, refrigerators, freezers, and microwaves. It provides bright, consistent lighting to help you see clearly inside your appliance. Installation is simple—just unscrew the old bulb and replace it with the new one. If the existing bulb is broken, disconnect p...Read moreower and use needle-nose pliers to safely remove the remaining base. Sold individually, this bulb is a commonly replaced part—consider keeping a spare on hand.
Read less

No Longer Available

$48.78
In Stock
Main Terminal Block Kit
Part #5304409888
Terminal blocks (also called terminal boards or strips) provide a convenient means of connecting individual electrical wires.

$34.95
In Stock

$224.10
In Stock
Broil Element
Part #318255605
This broil element is found on the roof of the oven and heats food. The most common reasons you would need to replace this part is due to the oven not giving off enough heat, not turning on, or not baking your food at an even temperature. This could be due to the element being burnt out or broken. Make sure to unplug the oven before you b...Read moreegin. You will need to remove the oven from the wall to complete this repair. This is an OEM part that comes right from the manufacturer, ensuring the best quality.
Read less

$307.54
In Stock
Bake Element - 3400W
Part #318254906
This 3400-watt bake element has screw style connections. The bake element is located on the bottom of the oven cavity and supplies the heat for baking. If your oven is not heating evenly, element will not heat, or there is little to no heat when baking, you may need to replace the element. When replacing the element make sure to hold the ...Read morewires forward so the wires do not fall back through the rear of the oven. This is a genuine OEM bake element. Please remember to disconnect the power to your range before you start your repair.
Read less

$135.91
In Stock

No Longer Available

$75.74
In Stock

$43.07
In Stock
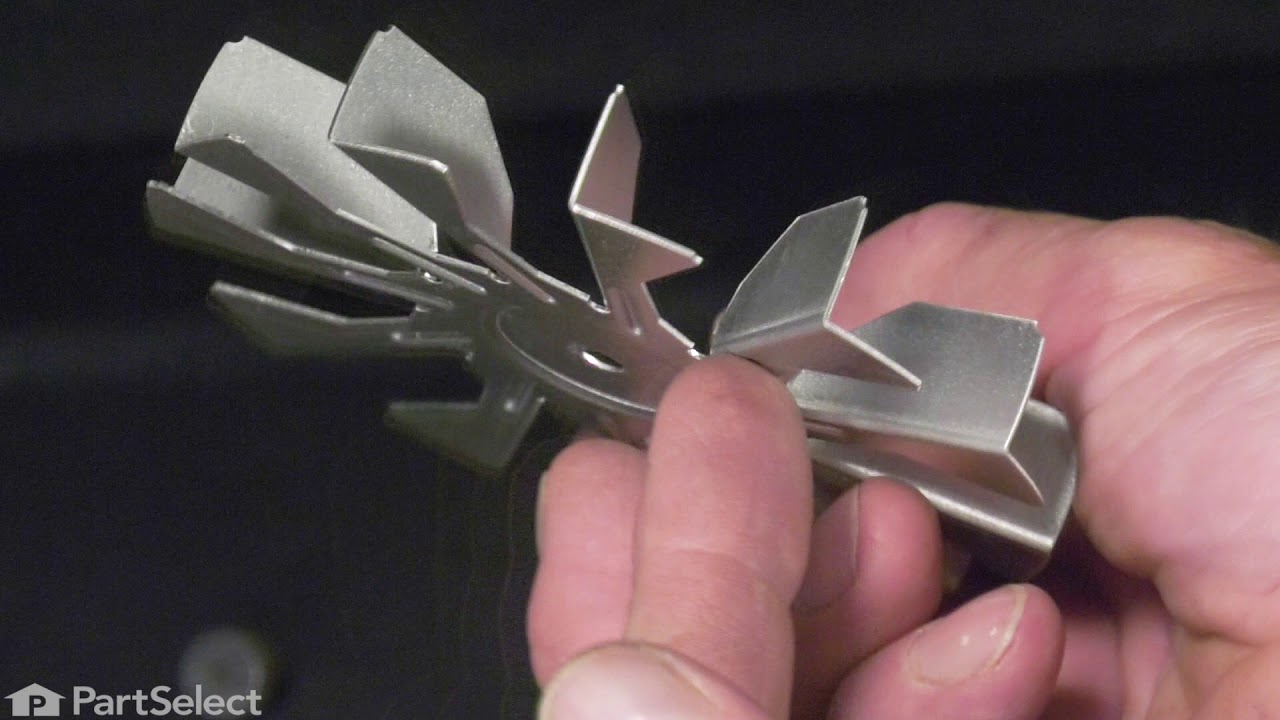
Convection Fan Blade
Part #318398302
This convection fan blade is designed for use with various makes and models of range and oven and is sold as an individual part. Made of metal and measuring approximately 4.75-inches in diameter, this genuine OEM fan blade works with the convection motor to circulate and distribute heat evenly throughout the oven. If your oven is not gett...Read moreing hot enough or the heat is not circulating properly, or if the fan blade in your oven has become warped, damaged, or chipped, it needs to be replaced immediately. To replace the fan blade, disconnect your range from the power and locate the fan assembly. With the appropriate screwdriver and wrench, remove any assembly covers and the securing nut from the blade. Once the nut is removed, install the new blade and secure it and re-install the cover.
Read less

No Longer Available
Manuals & Care Guides for PLEB30T9FCC
Click to downloadInstall
Installation Instructions
(1.75MB)
Install
Installation Instructions
(7.07MB)
Manual
Owner's Manuals
(0.53MB)
Specs
Product Specifications Sheet
(1.3MB)
Wiring
Wiring Diagram
(0.58MB)
Common Symptoms of the PLEB30T9FCC
How this model fails, and the parts that fix it.
Little to no heat when baking
Fixed by
these parts
these parts


Show All
Element will not heat
Fixed by
these parts
these parts

Show All
Oven is too hot
Fixed by
these parts
these parts
Show All
Door won’t close
Fixed by
these parts
these parts


Show All
Oven not heating evenly
Fixed by
these parts
these parts
Show All
Will Not Start
Fixed by
these parts
these parts

Show All
Little to no heat when broiling
Fixed by
these parts
these parts
Show All
Watch our pros, then fix it yourself.
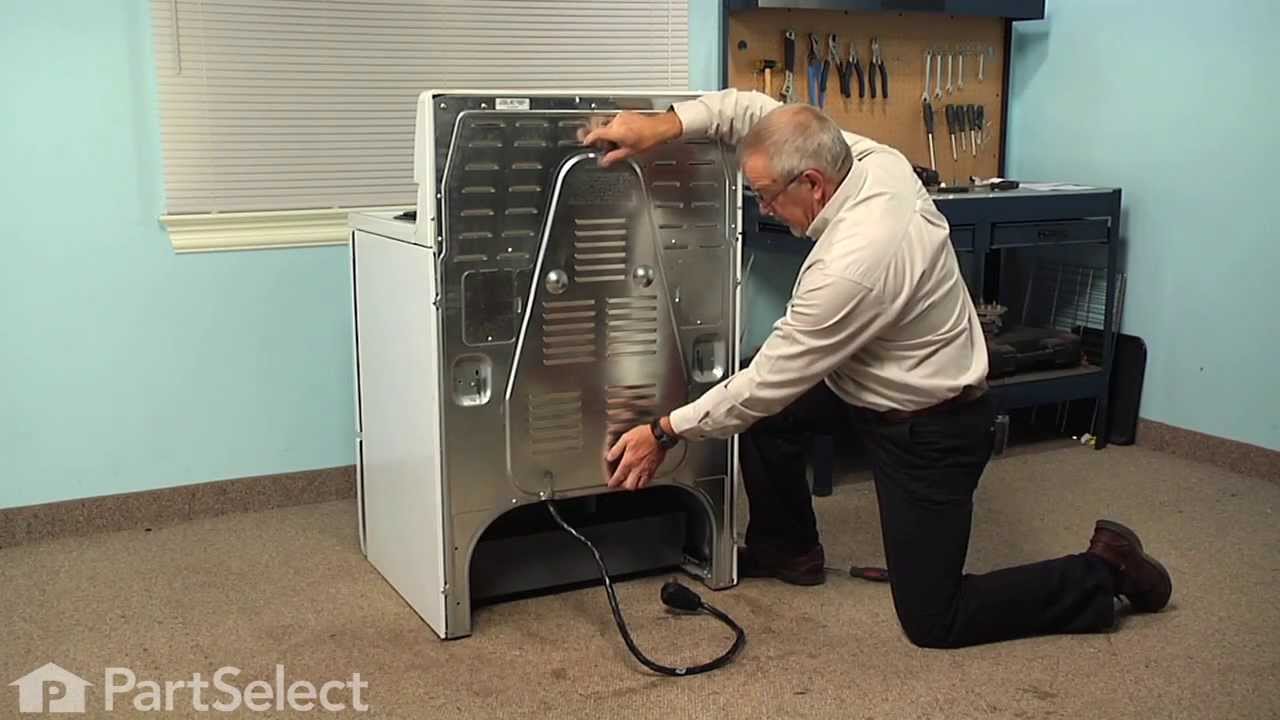
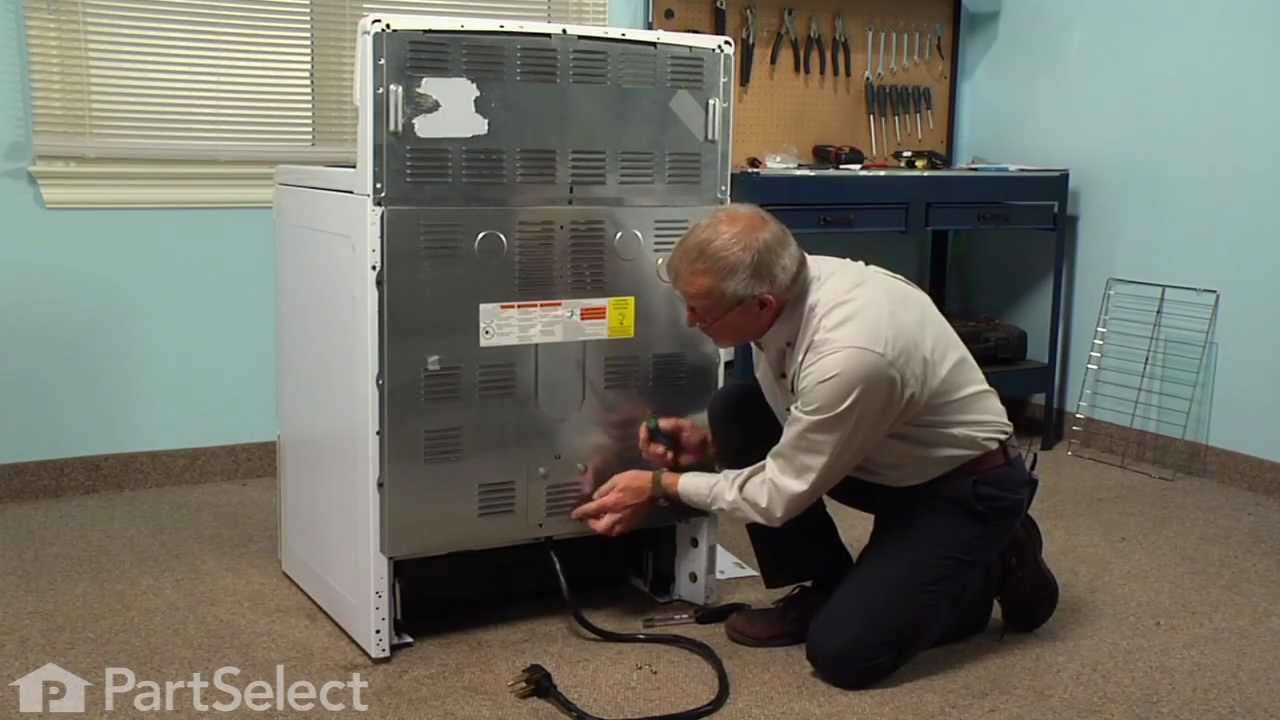
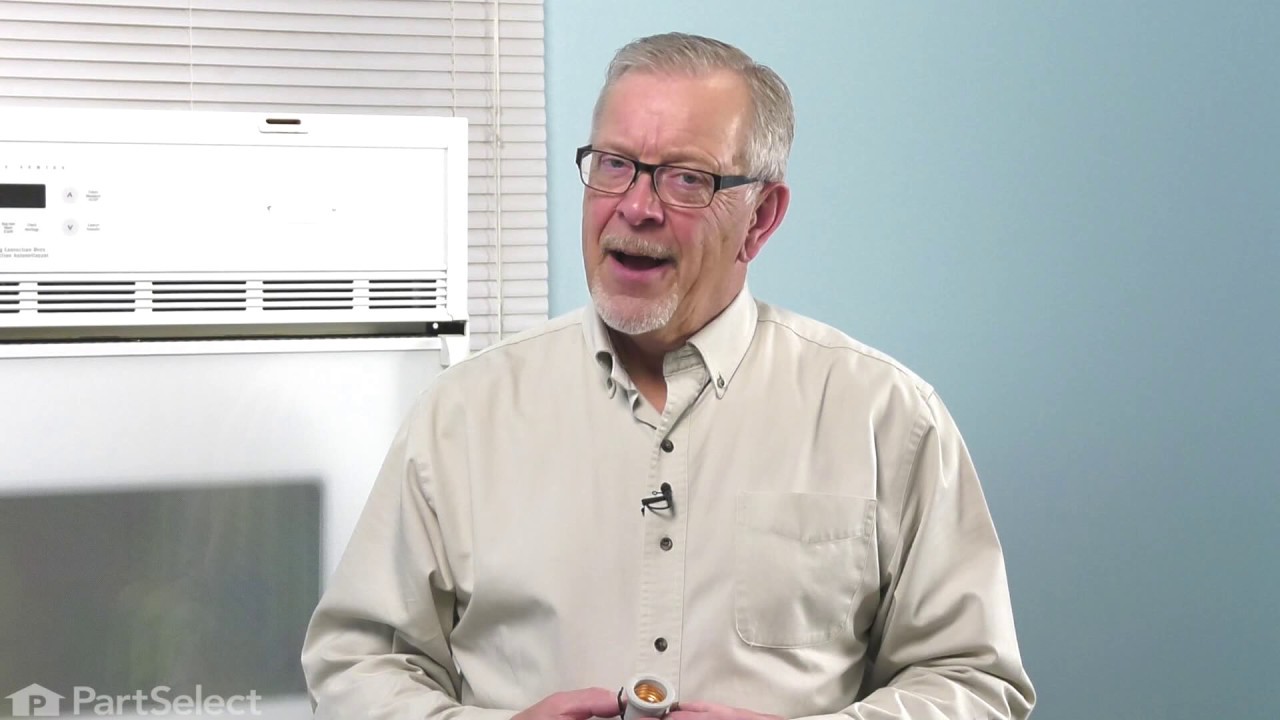
See how others fixed this model. Time, tools, difficulty, and steps that lead to victory!
View More