


 My Orders


PCG23SGSAFSS General Electric Refrigerator - Overview
Diagrams for PCG23SGSAFSS
See every part. Know exactly what you need.


Enter a part description. DIY Heroes keep it simple, eg. "belt" or "pump".
Search filter:
Clear Filter
Your search term must have 3 or more characters.

$94.45
Special Order
Refrigerator Ice and Water Filter
Part #MWFP
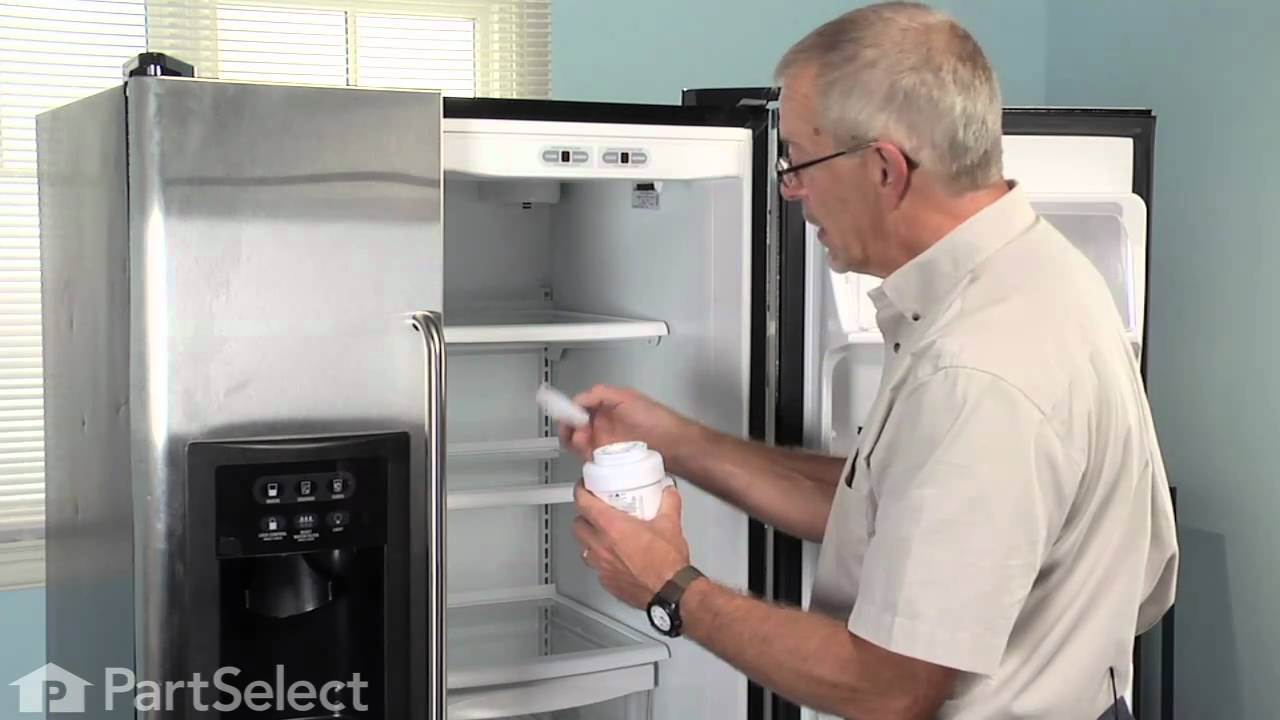
This ice and water filter helps reduce impurities in select side by side and bottom freezer refrigerators. Replace it about every six months, or when water flow slows, ice production drops, or the filter light turns red. Some older filter setups may need an adapter. Place a cloth under the filter before removal. Check the exact refrigerator model before ordering.

$34.68
Special Order
Temperature Sensor
Part #WR55X10025
Also known as a thermistor. This part is used to sense the temperature in the cabinet.

$23.79
Special Order
Union Connector - 5/16 Inch to 5/16 Inch
Part #WR02X11330
Quick connector for plastic water line - 5/16" to 5/16"

$59.40
Special Order
Water Tank Assembly
Part #WR17X11440
This tank stores water until the water actuator is activated and water is requested.

$60.28
Special Order
Defrost Thermostat
Part #WR50X10068
This defrost thermostat acts as a safety device against over heating in case of mechanical failure.

$16.74
Special Order
Evaporator Fan Grommet - Red
Part #WR02X12008
This evaporator fan grommet is red in color, and is about 1 inch in diameter.

$48.95
Special Order

No Longer Available
BUCKET AUGER
Part #WR29X43990
When activated, the auger rotates and pushes ice out of the bin through the chute to the user.

$13.95
Special Order
Compression Ring
Part #WR02X12149

$13.95
Special Order
Recess Door Spring
Part #WR02X10585
This door recess spring or dispenser lever spring in your refrigerator is used to return the ice door to the closed position or the dispenser lever to the home position once released. You will find the spring in the water dispenser assembly, behind the main control panel. If the dispenser lever is malfunctioning or the dispenser ice door is not closing, you may need to replace this door recess spring.

$47.57
Special Order
Plastic Tubing - 5/16 Inch
Part #WR17X2891
This part is the replacement water line for your refrigerator. It is a long plastic tube, which is 5/16 of an inch in diameter. If your refrigerator is leaking, or will not dispense water or ice, you may have a damaged water line. When you replace the water line, you may want to pick up a new water tube union as well. You can use a utilit...Read morey knife to cut the old water line where it is damaged, and use the union to attach the new water line to the old one. This tubing is sold individually and is an OEM part.
Read less

$134.81
Special Order
Refrigerator Door Shelf Bin
Part #WR71X10973
Sold individually. This door bin is for refrigerators.
Door bin attaches to the inside of the refrigerator door and typically holds jars and bottles.
Follow the instructions in the owner's manual for installing this part.
Common Symptoms of the PCG23SGSAFSS
How this model fails, and the parts that fix it.
Fridge too warm
Fixed by
these parts
these parts


Show All
Leaking
Fixed by
these parts
these parts


Show All
Ice maker won’t dispense ice
Fixed by
these parts
these parts


Show All
Not dispensing water
Fixed by
these parts
these parts


Show All
Freezer section too warm
Fixed by
these parts
these parts
Show All
Noisy
Fixed by
these parts
these parts


Show All
Freezer not defrosting
Fixed by
these parts
these parts
Show All
Light not working
Fixed by
these parts
these parts


Show All
Fridge too cold
Fixed by
these parts
these parts

Show All
Ice maker not making ice
Fixed by
these parts
these parts

Show All
Frost buildup
Fixed by
these parts
these parts
Show All
Door Sweating
Fixed by
these parts
these parts

Show All
Door won’t open or close
Fixed by
these parts
these parts
Show All
Ice maker dispenses too little ice
Fixed by
these parts
these parts
Show All
Fridge and Freezer are too warm
Fixed by
these parts
these parts

Show All
Door latch failure
Fixed by
these parts
these parts
Show All
Too warm
Fixed by
these parts
these parts

Show All
Freezer too cold
Fixed by
these parts
these parts
Show All
Fridge runs too long
Fixed by
these parts
these parts
Show All
Ice maker dispenses too much ice
Fixed by
these parts
these parts
Show All
Will Not Start
Fixed by
these parts
these parts
Show All
Clicking sound
Fixed by
these parts
these parts
Show All
Doesn’t stop running
Fixed by
these parts
these parts
Show All
Engine revs but auger will not turn
Fixed by
these parts
these parts
Show All
Too cold
Fixed by
these parts
these parts
Show All
Touchpad does not respond
Fixed by
these parts
these parts
Show All
Leaks water
Fixed by
these parts
these parts
Show All
Engine runs but cutters do not turn
Fixed by
these parts
these parts
Show All
Won’t start
Fixed by
these parts
these parts
Show All
Watch our pros, then fix it yourself.

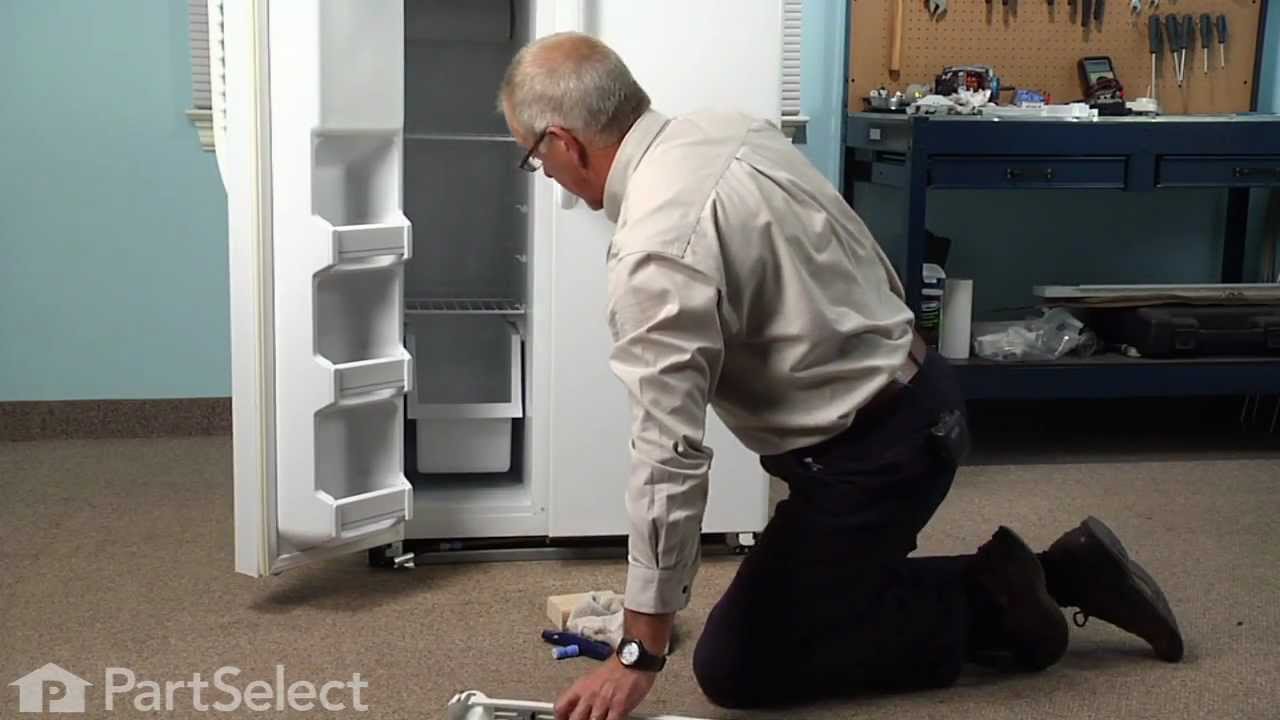
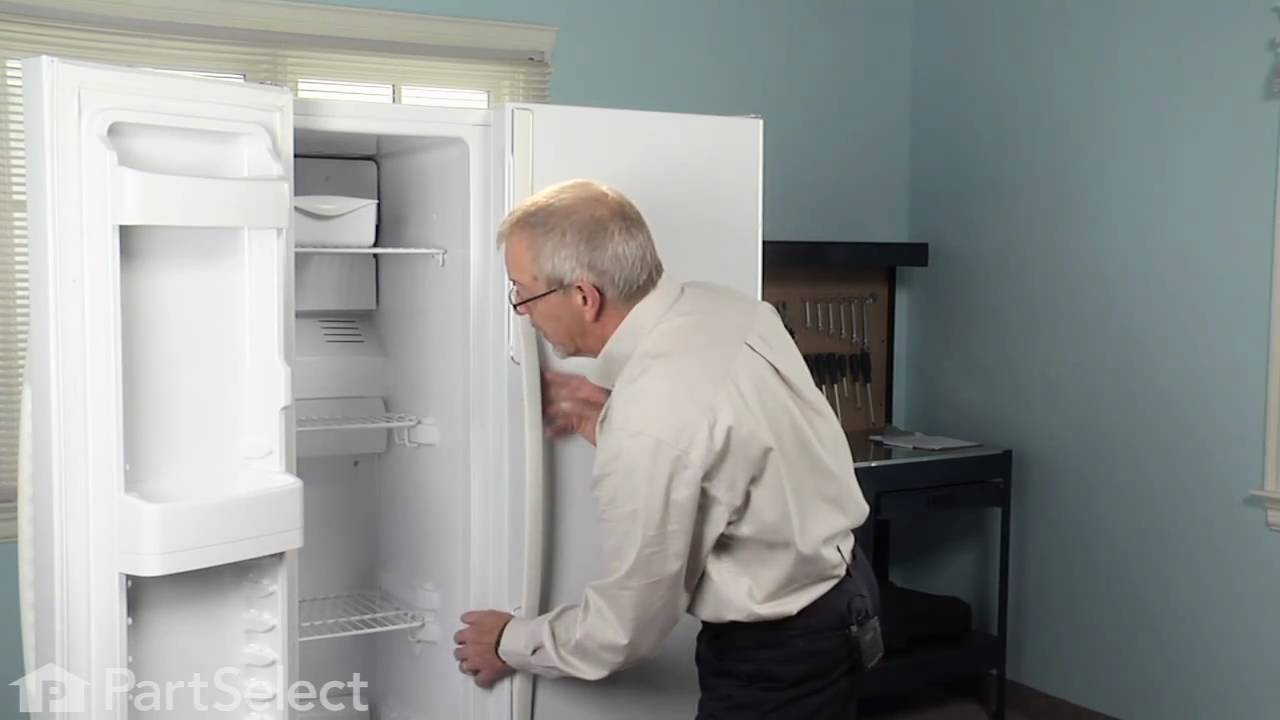
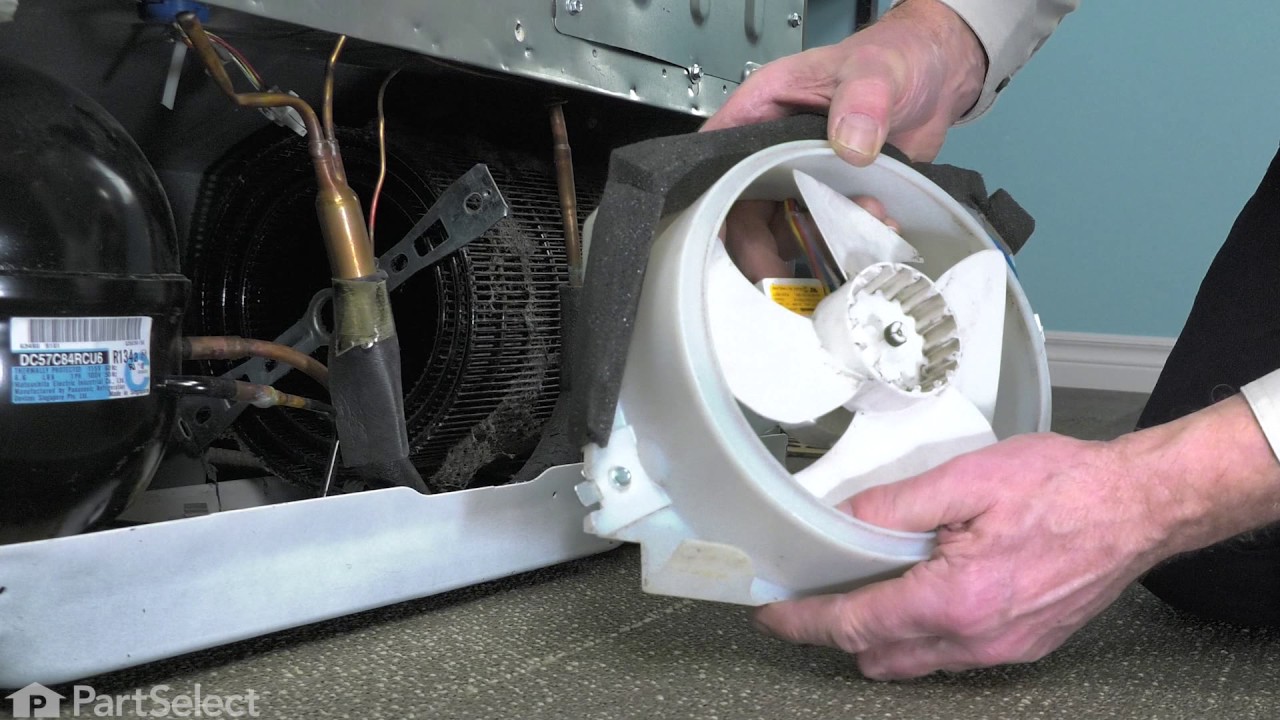
See how others fixed this model. Time, tools, difficulty, and steps that lead to victory!
View More
Search repair tips from other customers using simple keywords like "replace", "fit", "remove", "inspect". DIY doesn't mean you have to do it alone!
Search filter:
Clear Filter
Your search term must have 3 or more characters.
Fridge too warm, evaporator icing up
606 of 738 people
found this instruction helpful.
After replacing the defrost heater, main board and thermistor I still had the same problem. Called a repair guy and he (with the help of GE on the phone) diagnosed that the temperature sensor was bad. So I ordered from partselect and installed it and it fixed the problem. Been good for a couple months (knocking on wood). To install I
... Read more
had to cut the 2 wires to the old sensor, crimp the 2 new wires on and snap the new sensor to the clip on the evaporator. Very easy. Make sure you seal the ends of the wire crimps so moisture doesn't get in and corrode the connection.
Read less
Other Parts Used:


Was this helpful?
Thank you for voting!
flap to ice dispenser would not close
420 of 487 people
found this instruction helpful.
The flap to the ice dispenser would not close, which allowed the ice dispenser to frost up, freezing the water dispenser.
This was a simple fix. The solenoid had stopped working, so it would not automatically close the door flap. I read some posts on this site that suggest that you had to remove the trim around the entire dis ... Read more penser to get at the solenoid. My fridge may be a newer model, but in any event it was much easier than that. Just below the touch pad for choosing water, ice, or crushed ice (above where the ice/water dispenses) there are three very small holes spaced about an inch a part. After unplugging the fridge, I stuck a small philips-head screw driver in each, freeing spring clips. That allowed the touch pad to come off. I then removed four screws to remove a plastic piece covering the chute, giving me access to the flap and solenoid. I just unplugged the solenoid from the circuit board on the back of the touch pad and then removed three screws to remove the old solenoid. I replaced it with the new solenoid and plugged it into the circuit board. The touch pad then snapped back into place.
The hardest part was figuring out how to get at the solenoid. After I found that pushing the clips in those three holes allowed me to remove the touch pad, it could not be any easier.
Read less
Other Parts Used:


Was this helpful?
Thank you for voting!