


 My Orders


PCF25MGWABB General Electric Refrigerator - Overview
Diagrams for PCF25MGWABB
See every part. Know exactly what you need.


Enter a part description. DIY Heroes keep it simple, eg. "belt" or "pump".
Search filter:
Clear Filter
Your search term must have 3 or more characters.

$34.68
Special Order
Temperature Sensor
Part #WR55X10025
Also known as a thermistor. This part is used to sense the temperature in the cabinet.

$16.74
Special Order
Evaporator Fan Grommet - Red
Part #WR02X12008
This evaporator fan grommet is red in color, and is about 1 inch in diameter.

$48.95
Special Order

$19.10
Special Order
Light Bulb - 40W
Part #40A15
This 40-Watt light bulb is sold individually.
It is specially designed to withstand extreme temperatures, so this bulb is compatible with a variety of appliance types including refrigerators, ranges, microwaves, and dryers. It features a frosted glass bulb with a standard metal socket base, which allows you to easily unscrew the burnt-out light and twist the new bulb into place.

$52.87
Special Order
Ice Dispensing Drive Cup
Part #WR17X11459
This part is found at the end of the auger in the ice container - replace this part when the icemaker doesn't dispense ice.

$13.95
Special Order
Compression Ring
Part #WR02X12149

$86.43
Special Order
Water Filter
Part #MSWF
This OEM water filter works with side-by-side and bottom freezer refrigerators. You will find this filter mounted in a vertical position in the back upper right-hand corner of the refrigerator compartment. If your model does not have an indicator light, remember to use the month and year stickers on the new cartridge to remind yourself to...Read more replace it in another 6 months. Replacement timelines can vary according to your local water conditions. To install the new filter, you will first match the threads with the corresponding threads on the holder. Position the top of the new cartridge up into the holder without pushing it upward. Carefully turn it to the right until it will no longer turn. Make sure you run water through the dispenser right after installation. This clears the system and prevents sputtering. If you have an LCD model, press the Filter Replaced button to reset. If you have a non-LCD model, press and hold the Reset Water Filter button on the dispenser for a few seconds. This filter filters down to 0.5-1 microns. The lower the micron the more toxins are caught and lessened.
Read less

$13.95
Special Order
Recess Door Spring
Part #WR02X10585
This door recess spring or dispenser lever spring in your refrigerator is used to return the ice door to the closed position or the dispenser lever to the home position once released. You will find the spring in the water dispenser assembly, behind the main control panel. If the dispenser lever is malfunctioning or the dispenser ice door is not closing, you may need to replace this door recess spring.

$88.24
Special Order
Dispenser Door Solenoid Assembly
Part #WR62X10055
This genuine OEM solenoid is designed for use with GE refrigerators and controls the opening and closing of the ice chute door. It serves as a direct replacement for a worn or faulty solenoid, helping to restore proper ice dispenser function. Constructed from durable metal, this part includes all necessary wiring for installation and is s...Read moreold individually.
Installation requires a Phillips screwdriver. Always refer to your appliance’s manual or diagram to ensure proper placement and compatibility before beginning the repair.
Read less

$161.64
Special Order
Evaporator Fan Motor
Part #WR60X10185
This evaporator fan motor is located in the back of the freezer, and circulates air over the refrigerator coils. These coils will convert the heat into cool air, which is then circulated.
Note: Thermistor is NOT included. If you need the motor with the thermistor, see related parts.

No Longer Available

$29.12
Special Order
Dispenser Door Assembly or Flapper
Part #WR17X11653
This ice dispenser door flap, also known as a damper door, is designed to seal the ice chute in compatible refrigerator models, preventing warm air from entering the freezer compartment. Constructed from durable plastic and rubber materials, it opens when the dispenser lever is pressed to release ice, then closes to maintain internal temp...Read moreerature and prevent frost buildup. A faulty flap can lead to condensation, frost accumulation, leaking, or ice dispensing issues. This genuine OEM replacement is compatible with select models from GE, Hotpoint, and Kenmore, and restores proper sealing and dispenser function. Installation typically involves accessing the dispenser housing and securing the flap in place.
Read less
Manuals & Care Guides for PCF25MGWABB
Click to downloadCommon Symptoms of the PCF25MGWABB
How this model fails, and the parts that fix it.
Fridge too warm
Fixed by
these parts
these parts


Show All
Noisy
Fixed by
these parts
these parts


Show All
Freezer section too warm
Fixed by
these parts
these parts
Show All
Ice maker won’t dispense ice
Fixed by
these parts
these parts


Show All
Freezer not defrosting
Fixed by
these parts
these parts
Show All
Not dispensing water
Fixed by
these parts
these parts


Show All
Light not working
Fixed by
these parts
these parts


Show All
Leaking
Fixed by
these parts
these parts


Show All
Frost buildup
Fixed by
these parts
these parts
Show All
Fridge too cold
Fixed by
these parts
these parts
Show All
Door Sweating
Fixed by
these parts
these parts

Show All
Door won’t open or close
Fixed by
these parts
these parts
Show All
Ice maker not making ice
Fixed by
these parts
these parts

Show All
Fridge and Freezer are too warm
Fixed by
these parts
these parts

Show All
Door latch failure
Fixed by
these parts
these parts
Show All
Too warm
Fixed by
these parts
these parts
Show All
Freezer too cold
Fixed by
these parts
these parts
Show All
Fridge runs too long
Fixed by
these parts
these parts

Show All
Will Not Start
Fixed by
these parts
these parts
Show All
Clicking sound
Fixed by
these parts
these parts

Show All
Ice maker dispenses too little ice
Fixed by
these parts
these parts
Show All
Ice maker dispenses too much ice
Fixed by
these parts
these parts
Show All
Doesn’t stop running
Fixed by
these parts
these parts
Show All
Too cold
Fixed by
these parts
these parts
Show All
Won’t start
Fixed by
these parts
these parts
Show All
Watch our pros, then fix it yourself.

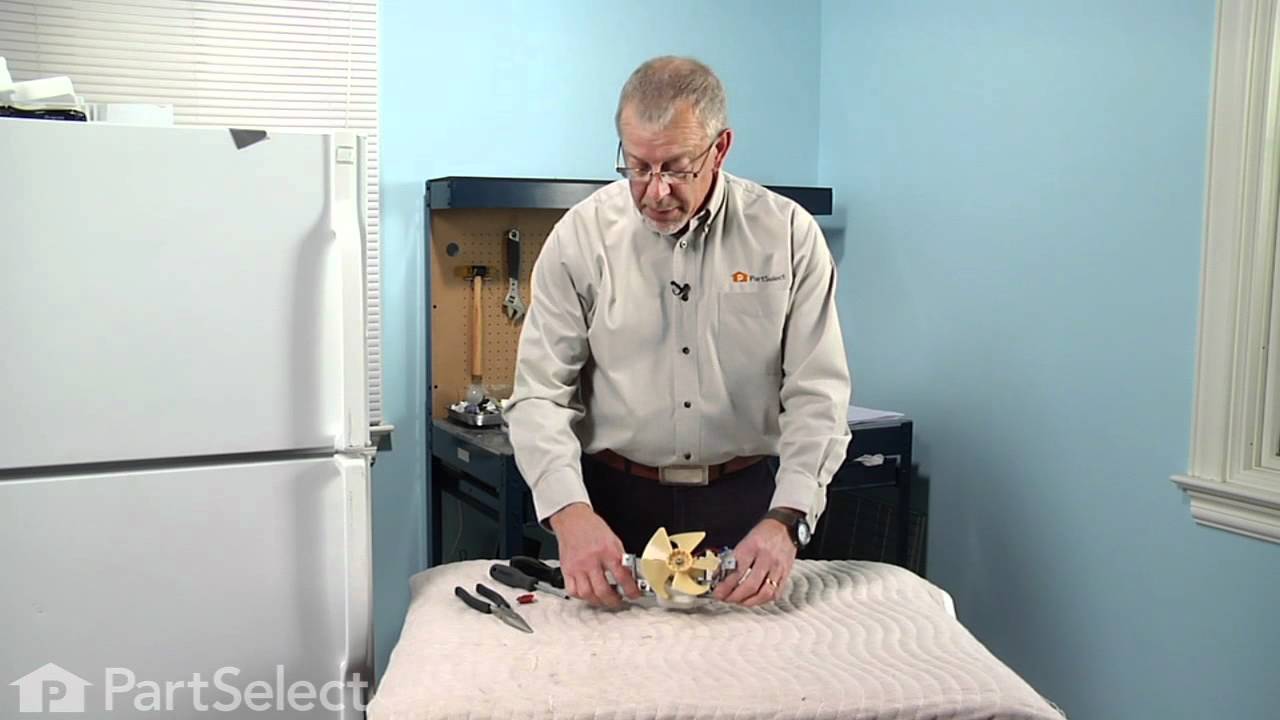
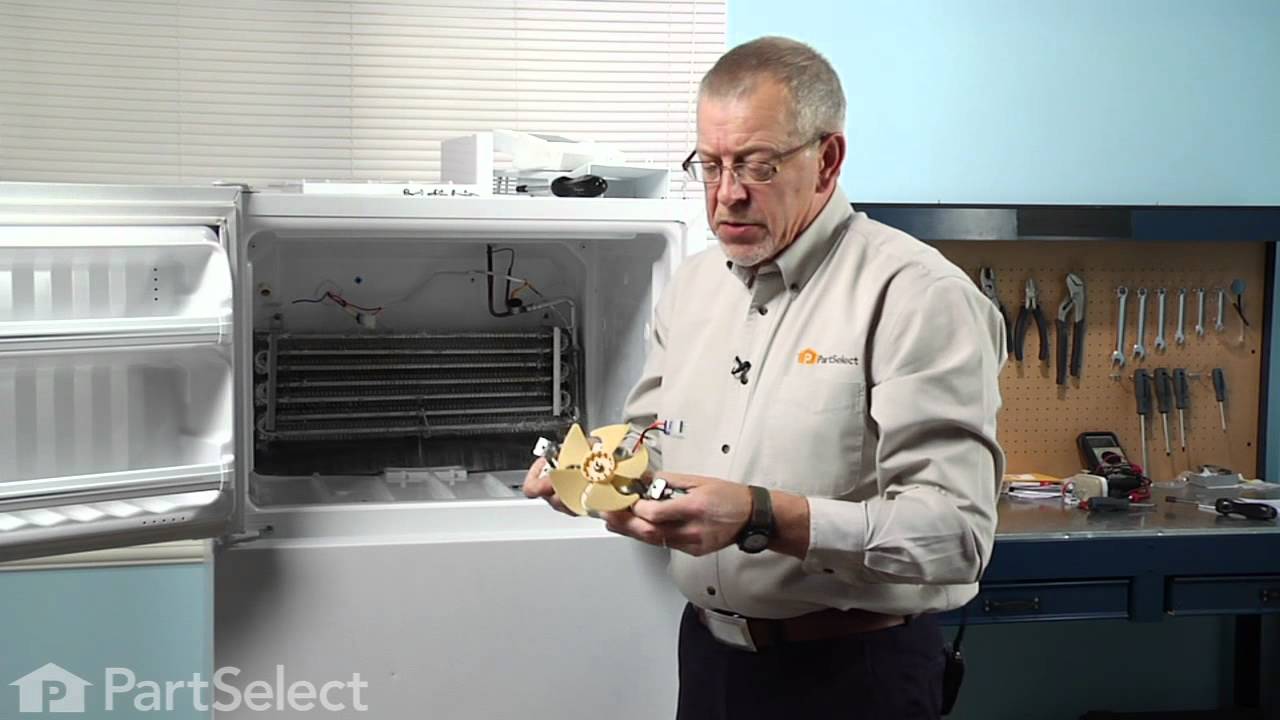
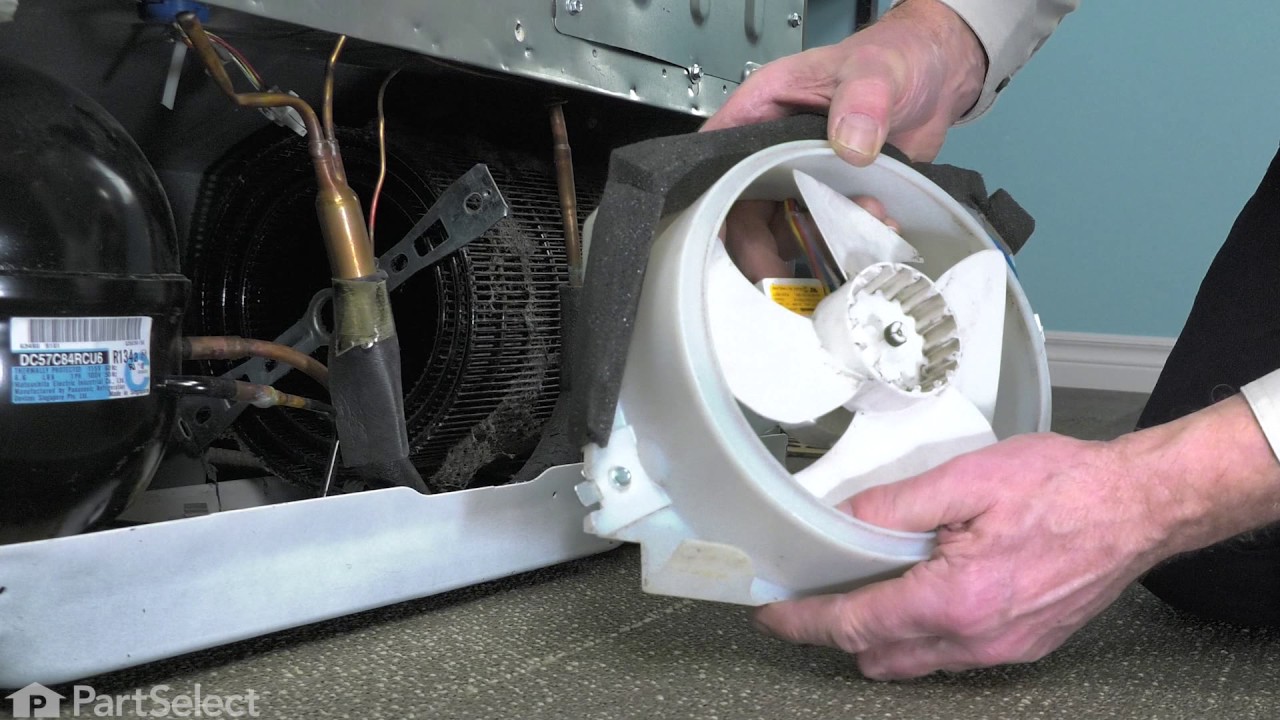
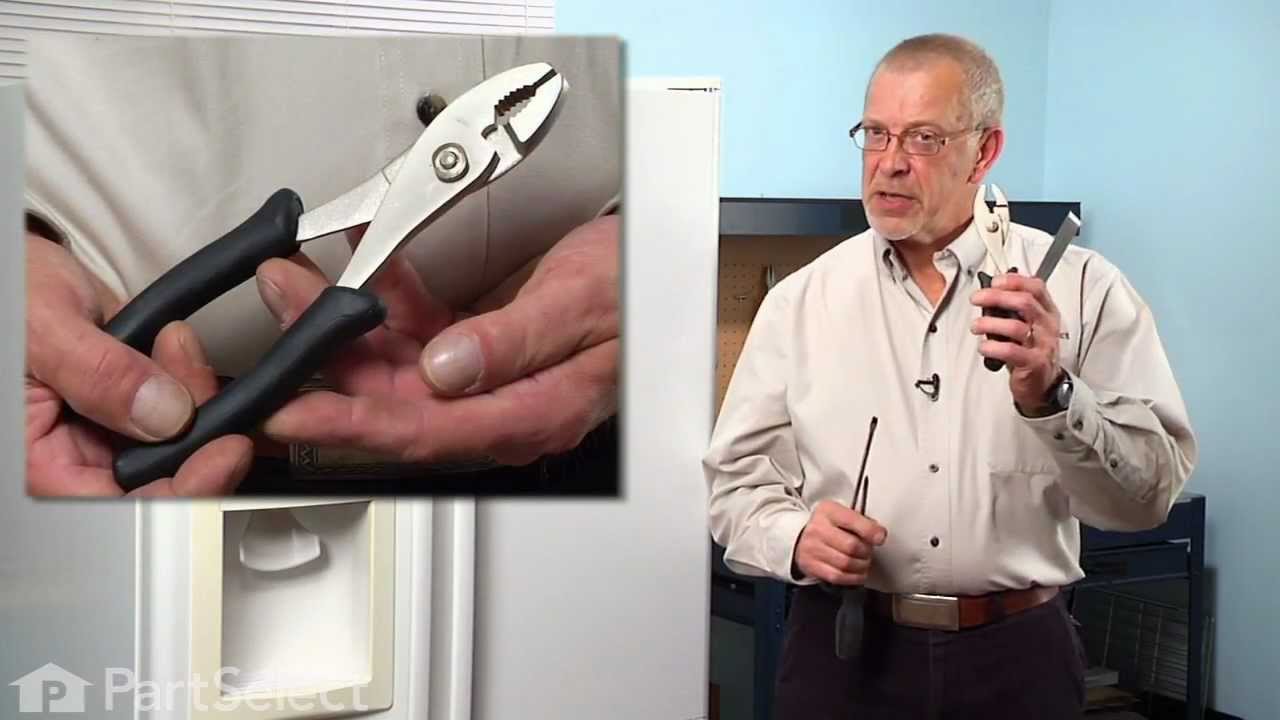

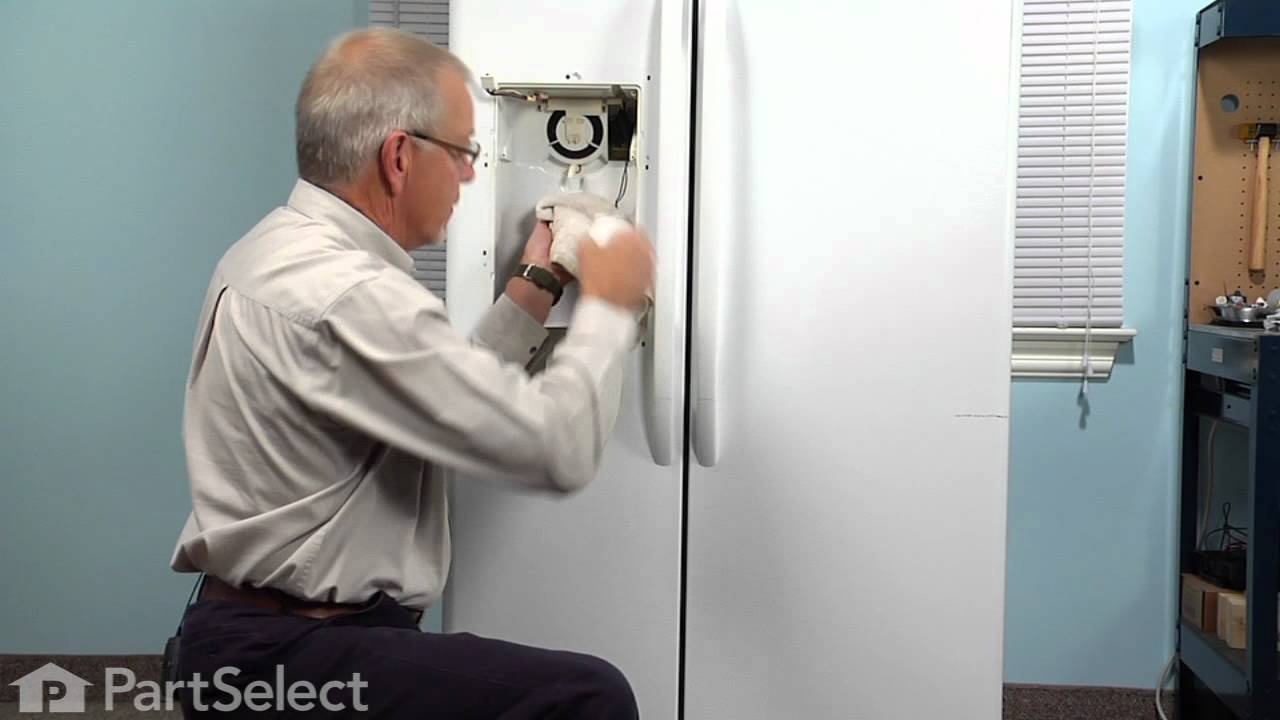
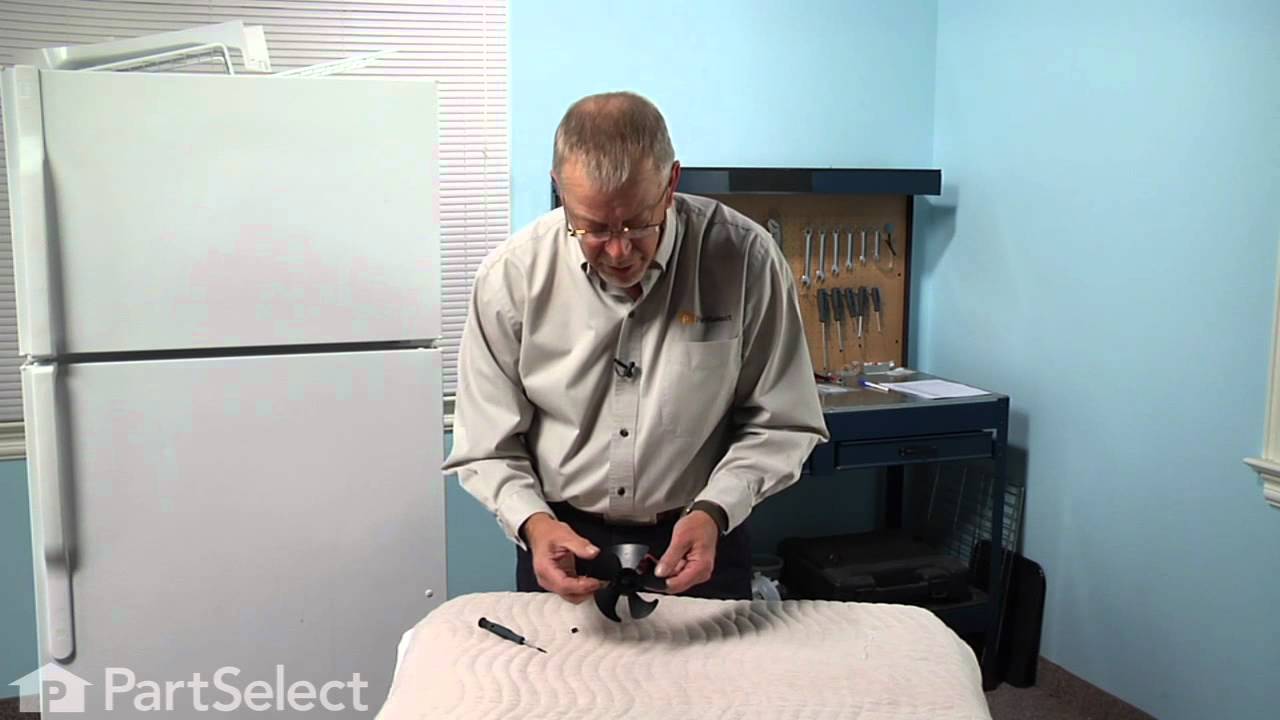
See how others fixed this model. Time, tools, difficulty, and steps that lead to victory!
View More
Search repair tips from other customers using simple keywords like "replace", "fit", "remove", "inspect". DIY doesn't mean you have to do it alone!
Search filter:
Clear Filter
Your search term must have 3 or more characters.
Fridge too warm, evaporator icing up
606 of 738 people
found this instruction helpful.
After replacing the defrost heater, main board and thermistor I still had the same problem. Called a repair guy and he (with the help of GE on the phone) diagnosed that the temperature sensor was bad. So I ordered from partselect and installed it and it fixed the problem. Been good for a couple months (knocking on wood). To install I
... Read more
had to cut the 2 wires to the old sensor, crimp the 2 new wires on and snap the new sensor to the clip on the evaporator. Very easy. Make sure you seal the ends of the wire crimps so moisture doesn't get in and corrode the connection.
Read less
Other Parts Used:


Was this helpful?
Thank you for voting!
Flapper Door Stuck Open Allowing Ice Tube To Frost Shut
165 of 223 people
found this instruction helpful.
I read in a previous post how to do the job from outside fridge which saved me lots of time. No need to remove inner door lining. Here is my procedure:
1.Turned off power. 2.Snapped off outside trim ring. 3.Located three small holes inside lip just above ice tube. The center hole was not used. 4.Pushed rather firmly up through ... Read more two remaining holes with small Allen wrench to release front control panel. 5.Removed (3) wire connectors from printed circuit board. Firmly pull/pry them straight out as lifting on retaining clip will break it off. I broke one & had to elect. tape it back in place later although I doubt it would have ever come off. 6.Release secondary panel by removing (4) screws. The problem was obvious as the solenoid had broken the crank arm off the flapper rod & trapped it open 7.Replaced solenoid, crank arm with flapper attached, spring & micro switch. Switch was okay but I changed anyway. 8.Cleaned all areas with 1/10 bleach water to sanitize. 9.Re-installed evrything in reverse order & all is okay. Thanks to someone for telling about those two small holes. Made job easy versus a very hard one.
1.Turned off power. 2.Snapped off outside trim ring. 3.Located three small holes inside lip just above ice tube. The center hole was not used. 4.Pushed rather firmly up through ... Read more two remaining holes with small Allen wrench to release front control panel. 5.Removed (3) wire connectors from printed circuit board. Firmly pull/pry them straight out as lifting on retaining clip will break it off. I broke one & had to elect. tape it back in place later although I doubt it would have ever come off. 6.Release secondary panel by removing (4) screws. The problem was obvious as the solenoid had broken the crank arm off the flapper rod & trapped it open 7.Replaced solenoid, crank arm with flapper attached, spring & micro switch. Switch was okay but I changed anyway. 8.Cleaned all areas with 1/10 bleach water to sanitize. 9.Re-installed evrything in reverse order & all is okay. Thanks to someone for telling about those two small holes. Made job easy versus a very hard one.
Read less
Other Parts Used:


Was this helpful?
Thank you for voting!