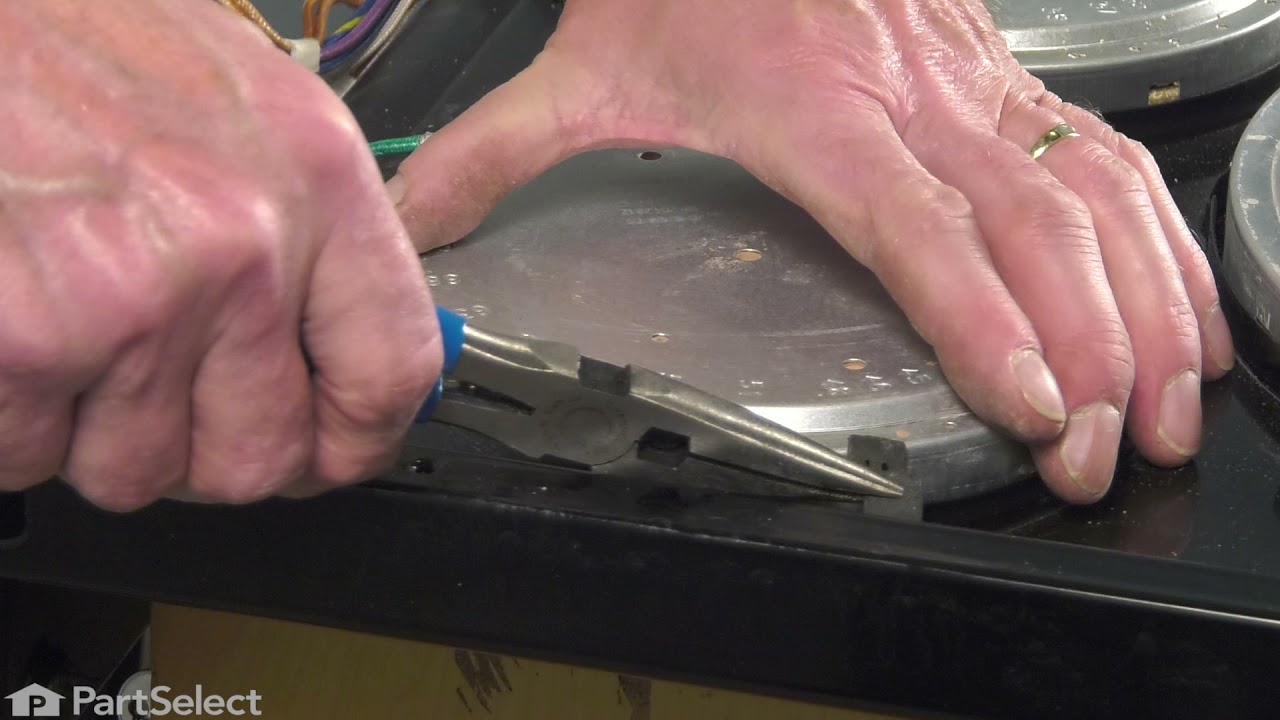
If your cooktop burner isn’t heating up, this 12-inch haliant surface element might be the fix. It sits under the glass top and provides the heat for your cooking surface. You’ll need to unplug the range before starting the repair. Just remove the screws holding the cooktop, lift it up, swap out the old burner by disconnecting the wires, ...Read moreand screw everything back into place. This updated part may look a little different, but it works just like the original.
The temperature sensor detects the temperature within the oven cavity. If your oven is too hot, not heating evenly, or has little to no heat when baking, you may need to replace the temperature sensor. The sensor is usually located in the back of the oven. This is a genuine OEM part. Please make sure to disconnect the power to your range before starting your repair.
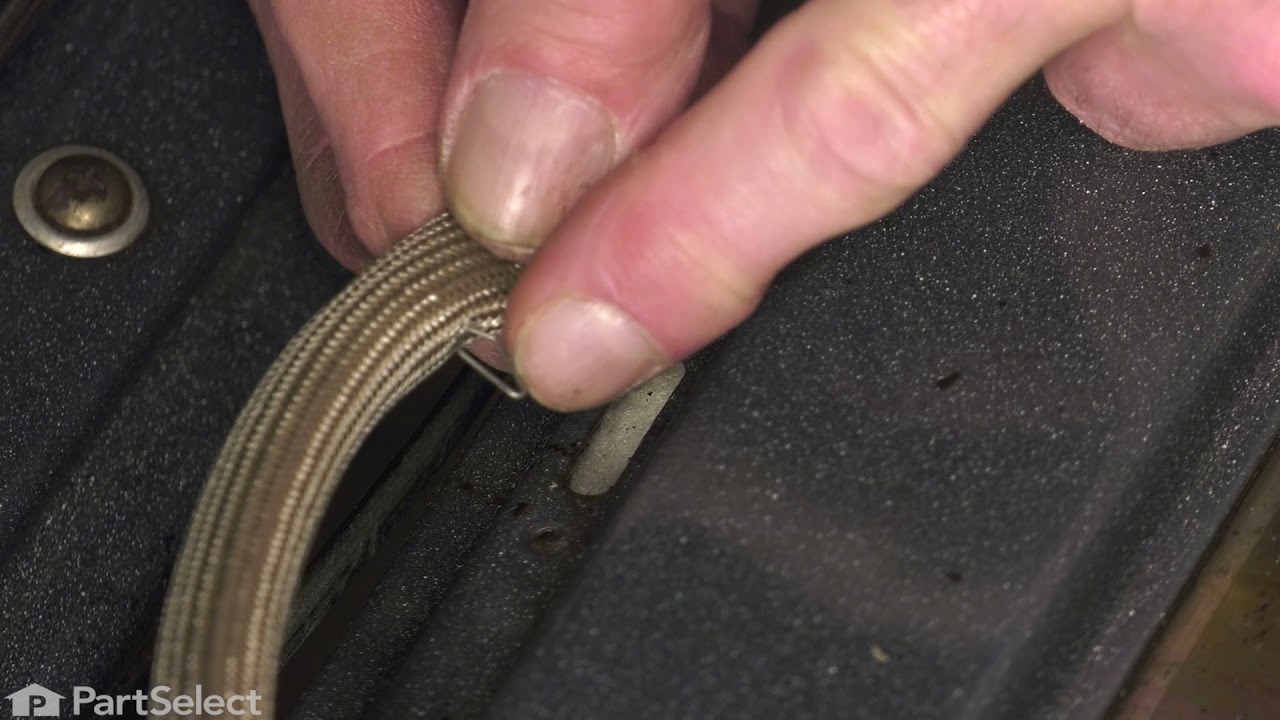
If your oven isn’t heating evenly or feels hot around the door, it might be time to replace the door gasket. This flexible seal keeps heat inside the oven, helping your food cook properly and saving energy. Made from tough rubber and fiberglass, it’s built to handle high temperatures. It’s easy to install—just use pliers to remove the old...Read more one and clip the new one into place. If you notice cracks or heat escaping, swapping out the gasket can make a big difference.
This halogen lamp bulb is a genuine OEM replacement part for your oven. If the light has burned out in your oven, replace it with this part. This is a 35 watt bulb. Replacing this bulb is fairly easy but will require pulling the oven out from the wall. Make sure to shut off power to the unit before beginning this repair.
This control switch regulates heat for dual-element burners on compatible ranges and cooktops. It cycles power to manage both inner and outer coils, allowing accurate temperature control. If your burner heats unevenly or stays on high, replacing the switch may resolve the issue. Installation requires access behind the control knob and should be done with the power off.
The GE Oven Door Window Pack Assembly is a genuine OEM part that fits select GE ranges and ovens. It includes a heat-resistant inner glass panel, frame, and seals, providing insulation and clear visibility into the oven cavity. Common issues like cracked glass or heat loss can indicate the need for a replacement. Ensure the oven is cool to the touch and wear gloves for safe installation.
Ask our experts a question about this model and we'll get back to you as soon as possible!
We may have answered a similar question already! Search questions and answers left by others using simple keywords like "fit", "broken", "easy", or "quality" to find questions that match.
Search filter:
Clear Filter
Your search term must have 3 or more characters.
Sort by:
Prev
1
Next
Sorry, we couldn't find any existing answers that matched.Try using some different or simpler keywords, or submit your new question by using the "Ask a Question" button above!
Sally - For model number PB975SM2SS
February 25, 2024
NEED A NEW 220 CORD/PLUG FOR ABOVE MODEL.
Hello Sally, thank you for reaching out. The power cord you are looking for is part number PS3488124. If you need help placing an order, customer service is open 7 days a week!
1 personfound this instruction helpful.
Was this helpful?
Thank you for voting!
Chantal - For model number p cb975sp4ss
July 18, 2026
looking for missing knob - first knob on left
Hi Chantal, thank you for getting in touch. The knob you are looking for is part number PS1480774. Glad to be of help!
See how others fixed this model. Time, tools, difficulty, and steps that lead to victory!View More
Search repair tips from other customers using simple keywords like "replace", "fit", "remove", "inspect". DIY doesn't mean you have to do it alone!
Search filter:
Clear Filter
Your search term must have 3 or more characters.
Oven would go in to a F2 Error
148 of 226 peoplefound this instruction helpful.
Peter from stamford, CT
Really Easy
15 - 30 mins
Nutdriver
Removed six 1/4" hex nuts on rear of oven. Then through front/inside removed a single 1/4" hex nut to actually remove sensor. Unplug sensor connector, remove. Reversed steps, push oven back in place and plugged in. Tested oven function.
Was this helpful?
Thank you for voting!
Oven was not coming up to temperature
57 of 79 peoplefound this instruction helpful.
Sean from Highlands Ranch, CO
Really Easy
15 - 30 mins
Nutdriver, Screw drivers
I had to remove the oven from the wall because the sensor plug connction is behind the unit. Two screws hold the sensor inside the oven and then I disconnected the lead and pulled the sensor out from the front. I installed the new sensor, tightened the two screws holding it in and connected the lead. Then reinstalled the oven into the wal
... Read morel. Overall, a very easy repair once you get the oven out.
Read less
Was this helpful?
Thank you for voting!
terminal block melted
56 of 77 peoplefound this instruction helpful.
jonathan from willow springs, IL
Easy
Less than 15 mins
Nutdriver, Screw drivers
The existing terminal block on my Ge oven/Range had melted due to a loose wire causing sparking and starting the plastic casing of the terminal block on fire and melting it, Part select made the part easy to find and had it at my house in 2 days. All I had to do was remove six screws to take the back sheet metal cover off of the oven. U
... Read morenscrew the terminal connections remove two mounting screws that held the terminal on to the oven body. This was a little trickier than it should have been because the melted plastic had reformed making it very hard to access the mounting screws. i then mounted the new piece and plugged the oven in, it took 15 minutes and was very easy. definitely saved me at-least a $100 for the service call i would have made if finding the part wasn't so convenient



 My Orders