














MZF34X20DW04 Whirlpool Refrigerator - Overview
Sections of the MZF34X20DW04
[Viewing 5 of 5]


Keep searches simple, eg. "belt" or "pump".

Touch-Up Paint - White
PartSelect #: PS385132
Manufacturer #: 72017
This 18 ml bottle of white appliance touch-up paint is used to cover scratches or marks on your appliance. The white touch-up paint can be used on refrigerators, microwaves, ranges, clothes dryers, an...
No Longer Available

Screw
PartSelect #: PS12349731
Manufacturer #: W11233072
This is a multi-use and multi-appliance screw. It can be used on a microwave, refrigerator, range/oven, air conditioner, dehumidifier, washer, or dryer. The measurements of this screw are 8 x 1/2 inch...
$28.95
In Stock

Refrigerator Temperature Sensor
PartSelect #: PS11753994
Manufacturer #: WPW10383615
This temperature sensor is for refrigerators.
The temperature sensor senses the temperature inside the refrigerator and sends information to the electronic control.
Unplug the refrigerator and s...
$54.95
In Stock

Evaporator Fan Blade
PartSelect #: PS11738973
Manufacturer #: WP2169142
If your refrigerator or freezer is too warm, or making noises, you may need to replace the fan blade. The fan blade attaches to the evaporator motor, which is in the freezer section, to help circulate...
$39.55
In Stock

Refrigerator Screw
PartSelect #: PS11742758
Manufacturer #: WP489497
Sold individually.
$17.70
In Stock

Foot Brake
PartSelect #: PS11748978
Manufacturer #: WPW10141622
Experience the simple solution to a wobbly refrigerator with the Whirlpool Refrigerator Leveling Leg. This authentic, factory-made part is designed to keep your refrigerator stable and even, saving yo...
$14.74
In Stock


Refrigerator Screw
PartSelect #: PS11742754
Manufacturer #: WP489478
Sold individually.
$9.85
In Stock

Capacitor
PartSelect #: PS11753490
Manufacturer #: WPW10350564
The compressor run capacitor keeps the refrigerator motor running smoothly. Be sure to unplug the appliance before installation and verify the part number for compatibility.
$84.65
In Stock

Refrigerator Toe Kick Plate (White)
PartSelect #: PS11756055
Manufacturer #: WPW10534161
This kickplate grille is attached to the bottom of the refrigerator.
$92.71
In Stock

Refrigerator Temperature Sensor
PartSelect #: PS11753996
Manufacturer #: WPW10384183
Food that freezes in the refrigerator may point to a temperature sensor problem. The sensor works like a small thermometer by tracking the temperature inside the compartment. As the temperature change...
$86.28
In Stock
Common Symptoms of the MZF34X20DW04
[Viewing 11 of 11]Fridge too warm
Fixed by
these parts
these parts


Show All
Noisy
Fixed by
these parts
these parts
Show All
Frost buildup
Fixed by
these parts
these parts


Show All
Freezer not defrosting
Fixed by
these parts
these parts
Show All
Too warm
Fixed by
these parts
these parts

Show All
Fridge and Freezer are too warm
Fixed by
these parts
these parts
Show All
Will Not Start
Fixed by
these parts
these parts
Show All
Door won’t open or close
Fixed by
these parts
these parts

Show All
Fridge too cold
Fixed by
these parts
these parts
Show All
Freezer section too warm
Fixed by
these parts
these parts
Show All
Ice maker not making ice
Fixed by
these parts
these parts

Show All

Keep searches simple. Use keywords, e.g. "leaking", "pump", "broken" or "fit".
Original bracket foot brake screw hole was stripped and foot brake would not extend
The repair seemed simple, I just needed to remove the old bracket -- 4 screws -- and slip the new one on.
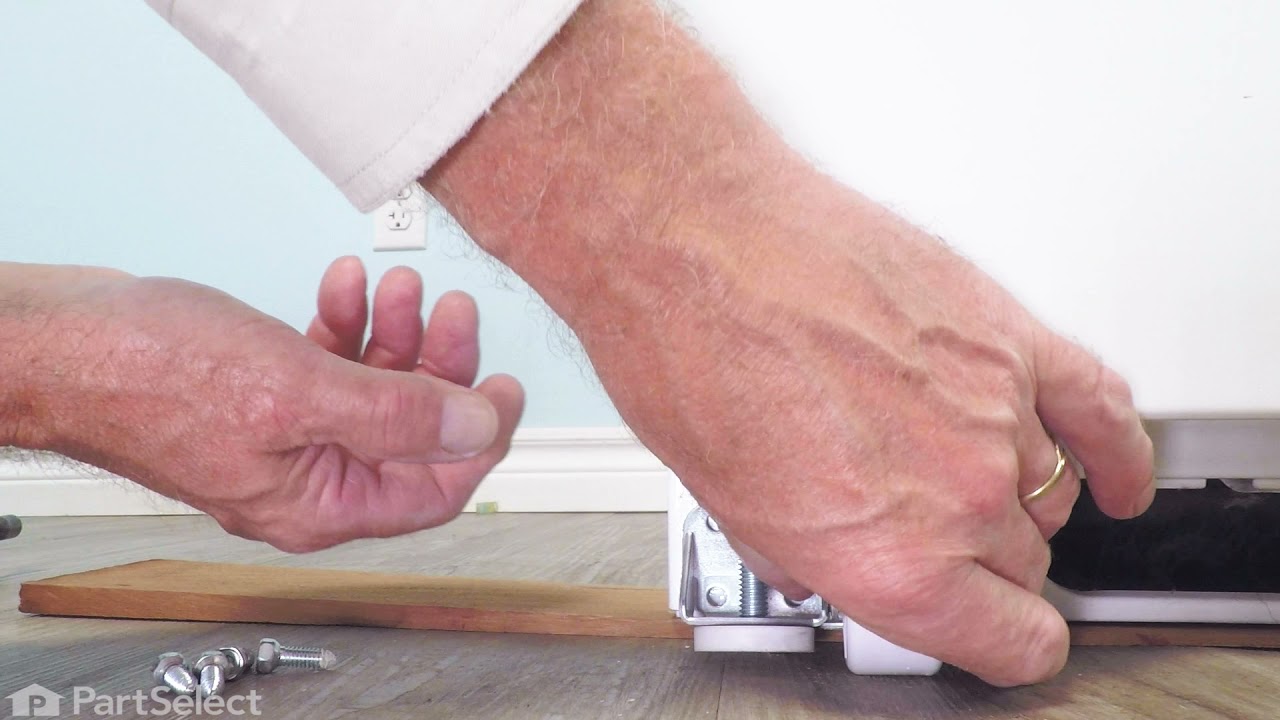
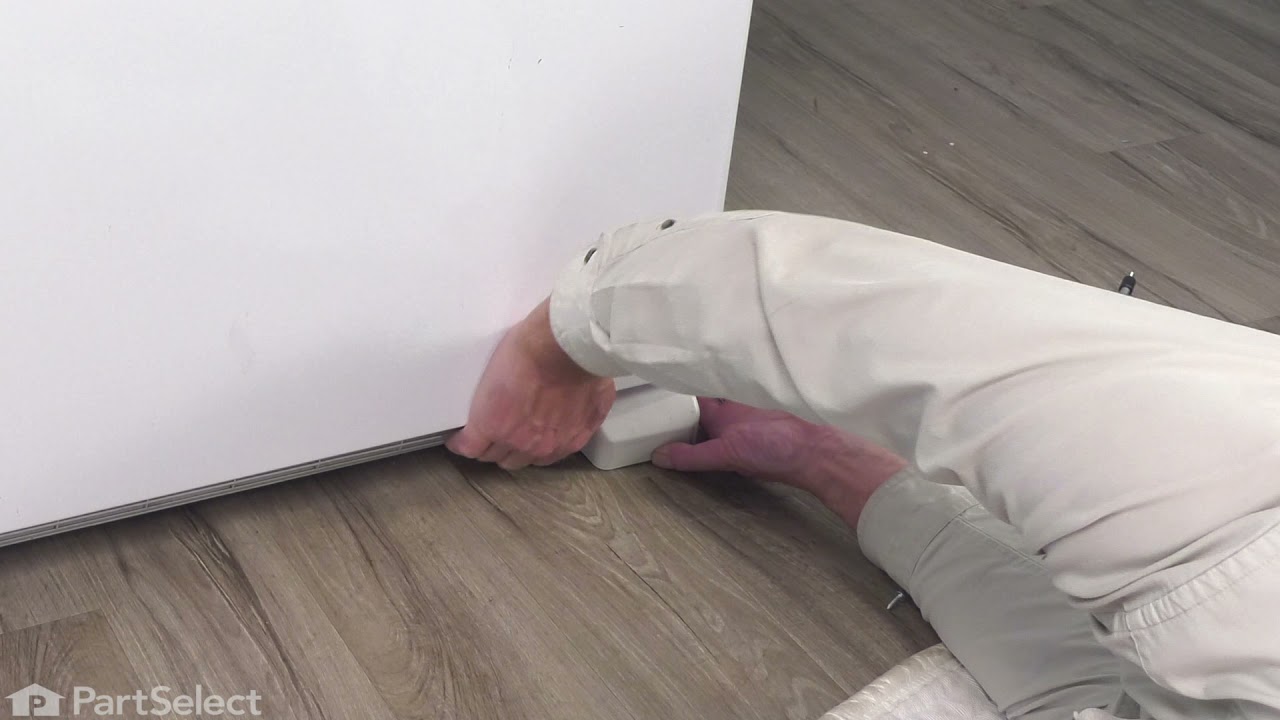
The tricky bit is that the roller bracket holds the weight of the fridge. So in order to make sure that the fridge did not fall over, and to keep the installation point off the ground so that I could align the screw holes, I needed to shim up the side of the fridge that I was working on.
To tap in the shims, I used a hammer and a spare chunk of wood. I ultimately used 3 shims, and kept tapping until the roller wheel could roll freely. Then I knew that the fridge was high enough. After that, it was pretty easy to remove the 4 screws, align the new bracket, and replace the screws. After that, in order to get the shims out I could just extend the foot brake as it was designed, and that lifted the fridge enough for me to easily slide out the shims. After that I just had to level out the fridge by adjusting the two feet.
The tricky bit is that the roller bracket holds the weight of the fridge. So in order to make sure that the fridge did not fall over, and to keep the installation point off the ground so that I could align the screw holes, I needed to shim up the side of the fridge that I was working on.
To tap in the shims, I used a hammer and a spare chunk of wood. I ultimately used 3 shims, and kept tapping until the roller wheel could roll freely. Then I knew that the fridge was high enough. After that, it was pretty easy to remove the 4 screws, align the new bracket, and replace the screws. After that, in order to get the shims out I could just extend the foot brake as it was designed, and that lifted the fridge enough for me to easily slide out the shims. After that I just had to level out the fridge by adjusting the two feet.
Parts Used:
-
Daniel from BOCA RATON, FL
-
Difficulty Level:A Bit Difficult
-
Total Repair Time:30 - 60 mins
-
Tools:Nutdriver, Screw drivers, Socket set
16 of 20 people
found this instruction helpful.
Was this instruction helpful to you?
Thank you for voting!
Scratches in Surface
This product comes in a bottle with a brush like Liquid Paper. It goes on incredibly easy. A second coat might be needed. I wanted to prevent rust from setting in so I covered the scratches and dings. The paint is a little brighter since my washer is 10 years old but it still looks great.
Parts Used:
-
Michelle from Richardson, TX
-
Difficulty Level:Really Easy
-
Total Repair Time:Less than 15 mins
83 of 227 people
found this instruction helpful.
Was this instruction helpful to you?
Thank you for voting!
The freezer wasn't defrosting.
-
Nancy from JAMESTOWN, NY
-
Difficulty Level:Very Easy
-
Total Repair Time:Less than 15 mins
18 of 32 people
found this instruction helpful.
Was this instruction helpful to you?
Thank you for voting!