MWX121REW0 Frigidaire Washer - Overview

Diagrams for MWX121REW0

See every part. Know exactly what you need.

Enter a part description. DIY Heroes keep it simple, eg. "belt" or "pump".

Search filter:
Clear Filter
Your search term must have 3 or more characters.
Drive V-Belt – Part Number: 134511600
$31.95
In Stock
Drive V-Belt
★★★★★
★★★★★
(18)
Part #134511600
This belt is made to slip on the motor pulley to bring the basket up to the speed required and this makes the belt get wear and tear.
Water Inlet Valve – Part Number: 134190200
$177.60
In Stock
Water Inlet Valve
★★★★★
★★★★★
(20)
Part #134190200
If your washer isn’t filling properly, leaking, or not cleaning clothes like it should, the water inlet valve might be the issue. This part controls how hot and cold water flows into your machine. It’s easy to install and comes with the bracket and screws you need. Just make sure it fits your model, and turn off the power and water before starting.
Remote Style Pump with Motor – Part Number: 131268401
$350.27
In Stock
Remote Style Pump with Motor
★★★★★
★★★★★
(7)
Part #131268401
Use this with either a top load or front load washer. This pump has an horizontal mount.
Screw – Part Number: 131302800
$28.95
In Stock
Screw
Part #131302800
This is a replacement screw for your washer or dryer. The screw is approximately half an inch in length and is a Phillips-head screw. It screws in from the outside of the drum, into the vane/baffle. The main reason you would replace this screw is if the old screw is missing or damaged. This part is sold individually and is an OEM part sourced directly from the manufacturer.
Drain Hose – Part Number: 131461200
No Longer Available
Drain Hose
★★★★★
★★★★★
(2)
Part #131461200
This part comes with a ninety degree elbow.
Tub Seal Assembly – Part Number: 5303279394
$107.19
Special Order
Tub Seal Assembly
★★★★★
★★★★★
(8)
Part #5303279394
This seal helps prevent any leaking around the transmission of washing machines.
Screw-In Plastic Leveling Leg – Part Number: 134548800
$32.89
In Stock
Screw-In Plastic Leveling Leg
Part #134548800
Sold individually.
Washer Lid Lock with External Safety Switch – Part Number: 134101800
No Longer Available
Washer Lid Lock with External Safety Switch
Part #134101800
Mounting bracket on this part replaces old style ( You may need to drill off old bracket before mounting new lock).
SCREW – Part Number: 131168200
$29.95
In Stock
SCREW
Part #131168200
Sold individually.
Tension Idler Pulley – Part Number: 131862900
No Longer Available
Tension Idler Pulley
★★★★★
★★★★★
(1)
Part #131862900
This idler arm assembly comes with the pulley wheel.
Spin Bearing – Part Number: 3204405
$113.66
In Stock
Spin Bearing
Part #3204405
This washer spin bearing supports the drive shaft and helps the drum spin smoothly during the spin cycle. Located at the bottom of the outer tub, it plays a key role in reducing friction and noise during operation. Replacing a worn or damaged bearing can help resolve loud or unusual noises and restore proper spinning performance.

Common Symptoms of the MWX121REW0

How this model fails, and the parts that fix it.

Watch our pros, then fix it yourself.
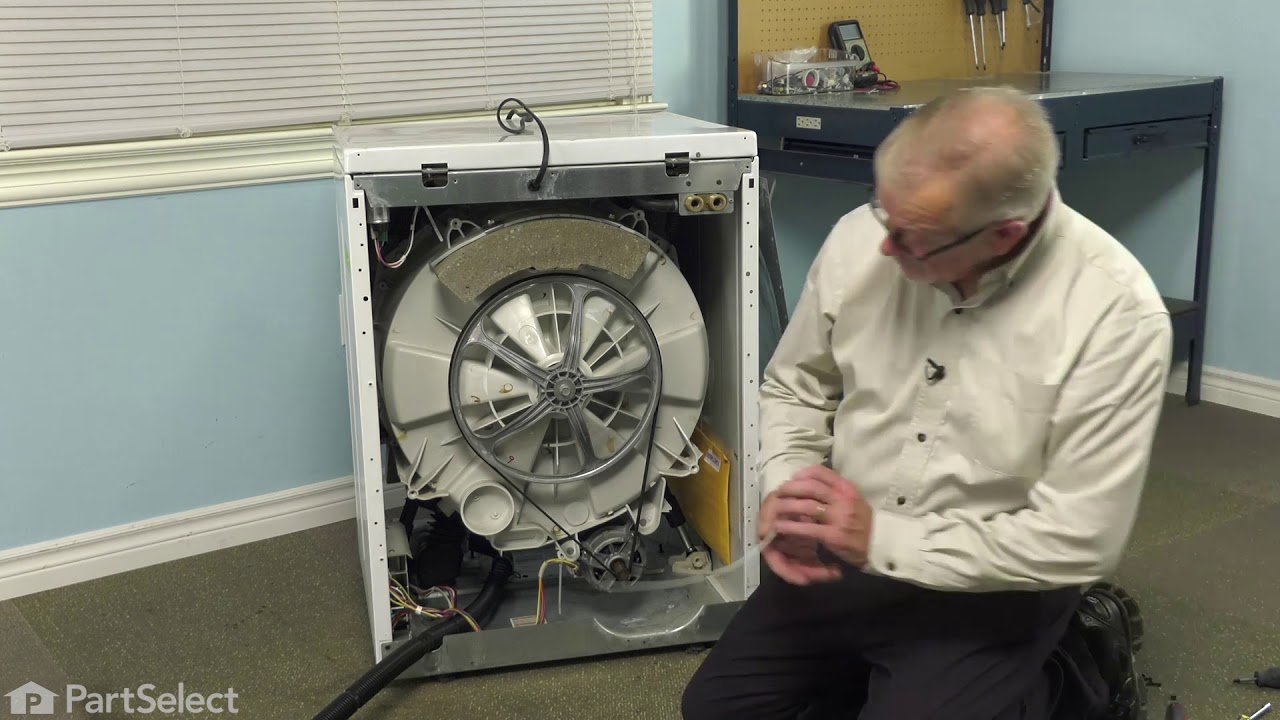
See how others fixed this model. Time, tools, difficulty, and steps that lead to victory! View More

Search repair tips from other customers using simple keywords like "replace", "fit", "remove", "inspect". DIY doesn't mean you have to do it alone!

Search filter:
Clear Filter
Your search term must have 3 or more characters.
replace broken drive belt
285 of 320 people found this instruction helpful.
  • rodney from fairfield bay, AR
  • Really Easy
  • 15 - 30 mins
  • Screw drivers
carefully pry up on front washer top to release plastic keeper pins,remove 2 phillips screws from beneath lower front washer panel,slightly lift upward on panel to release.remove old broken belt,push new belt beneath large tub pulley,put belt on small motor pulley,push back belt tension /idler arm,start belt on large tub pulley,turn tub p ulley by hand to run belt on,release tension on idler arm.replace front panel and lower top.WALAAH!!!! you are done.
Was this helpful?
Thank you for voting!
Washer Continued To Fill To Point Of Overflow
86 of 97 people found this instruction helpful.
  • alvaro from east hampton, NY
  • Really Easy
  • Less than 15 mins
  • Pliers, Screw drivers
First I removed the top panel held by four screws at rear of panel, pulling the panel foward and up. Then disconnected the power and water connections. Then I removed the two screws holding the flow valve to the washer rear panel,pulled the valve foward ,removed the two electric connectors, pinched the water clamp with pliers and remo ved the water connection to the valve. Then replaced with the new valve followed the above steps in reverse order, finishing up by re placing the water connections and power. Then checked fo proper replacenent and leaks before replacing top panel.
Was this helpful?
Thank you for voting!
Pump Motor Failed
68 of 70 people found this instruction helpful.
  • Thomas from Walpole, MA
  • Really Easy
  • 15 - 30 mins
  • Nutdriver, Pliers, Screw drivers, Socket set
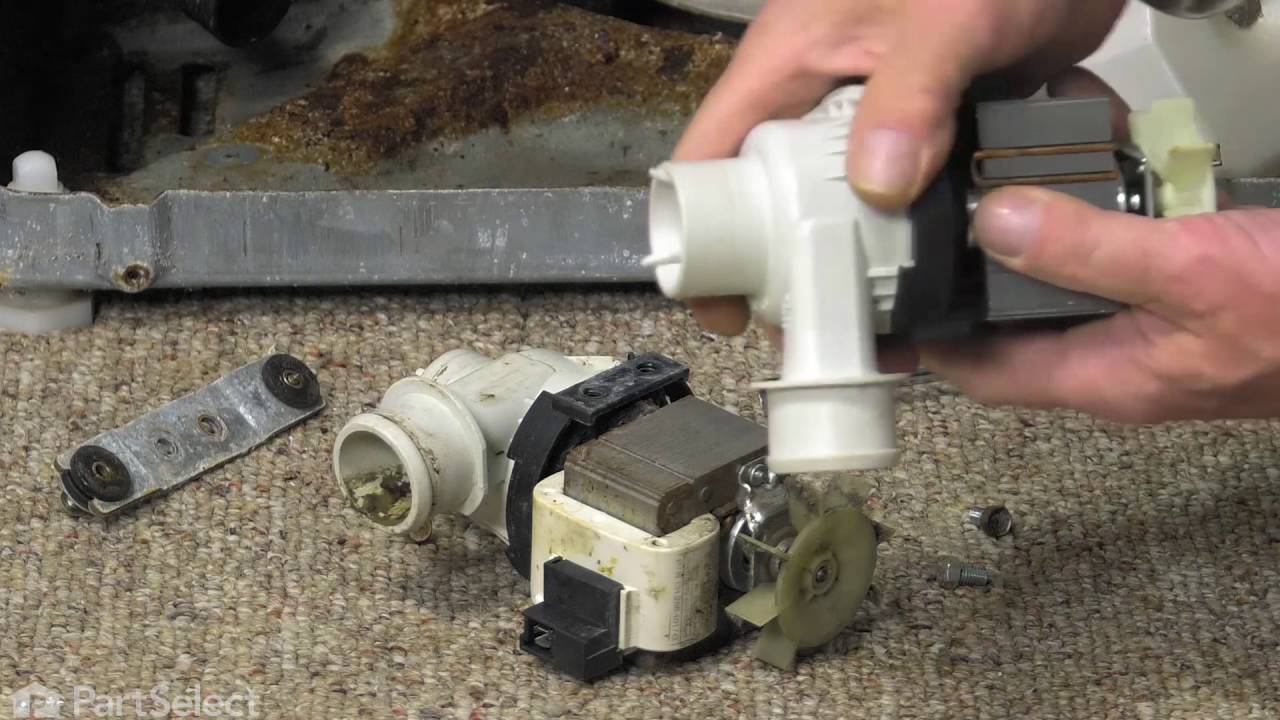
First, remove the 2 screws that hold the lower front cover in place, remove the cover and disconnect the plug and the ground wires from the pump. Next attach the washing machine drain hose to a wet vac, since even if the machine is empty, there will still be water in the outer tub and the pump. Suck the whole thing dry, remove the 2 bol ts that hold the cover onto the pump, use a pliers to remove the 2 hose clamps, remove the hoses (no mess because of the vacuum). Remove the 2 screws that hold the pump to the base of the washer and remove the pump. Save the mounting bracket from the bottom of the pump. Orient the outlet on the new pump to match your old one if needed, instructions to do this are included with the new pump. Install the mounting bracket onto the new pump. Mount the pump to the washing machine base, reconnect the hoses, the cover and the wiring. Put the drain hose back into your drain. Run the machine, check for function and leaks. If all is well, replace the lower cover. Don't forget to tell your wife that the job was a whole lot harder than it looked.
Was this helpful?
Thank you for voting!