This 18 ml bottle of white appliance touch-up paint is used to cover scratches or marks on your appliance. The white touch-up paint can be used on refrigerators, microwaves, ranges, clothes dryers, and freezers. This is a genuine OEM part and includes a brush applicator. Please remember to wear gloves to protect your hands when applying this paint.
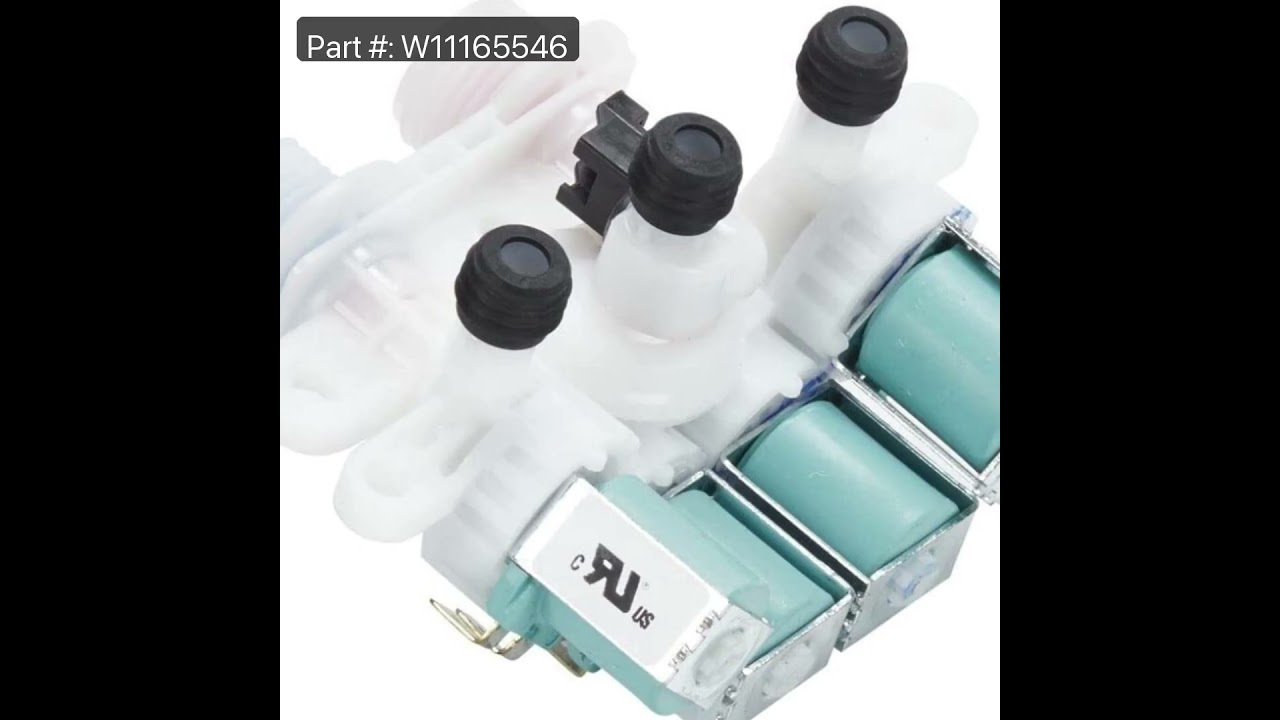
This washing machine inlet valve is a genuine OEM replacement part designed to regulate water flow during the fill cycle. Controlled by an internal solenoid, the valve opens and closes as needed to allow hot and cold water into the appliance. It features two inlet ports and three push-on connectors for integration with the washer’s intern...Read moreal plumbing. A malfunctioning valve may result in slow or incomplete filling, water leaks, or failure to start the cycle. Installation requires basic tools such as a screwdriver and wrench, and the appliance should be disconnected from power and water sources before beginning. Compatibility should be verified using your washer’s model number.
This lid lock assembly is designed for use in various top-load washing machines and serves as a critical safety feature. Located beneath the washer lid, it includes the locking mechanism and wiring harness that work together to prevent the lid from opening during operation. This helps protect users from exposure to moving parts, hot water...Read more, or detergent spills. If the lid lock is faulty, the washer may fail to start or stop unexpectedly mid-cycle. Replacing the assembly is essential to restore safe and reliable performance. This OEM part is sold as a complete unit and is compatible with a range of washer models.
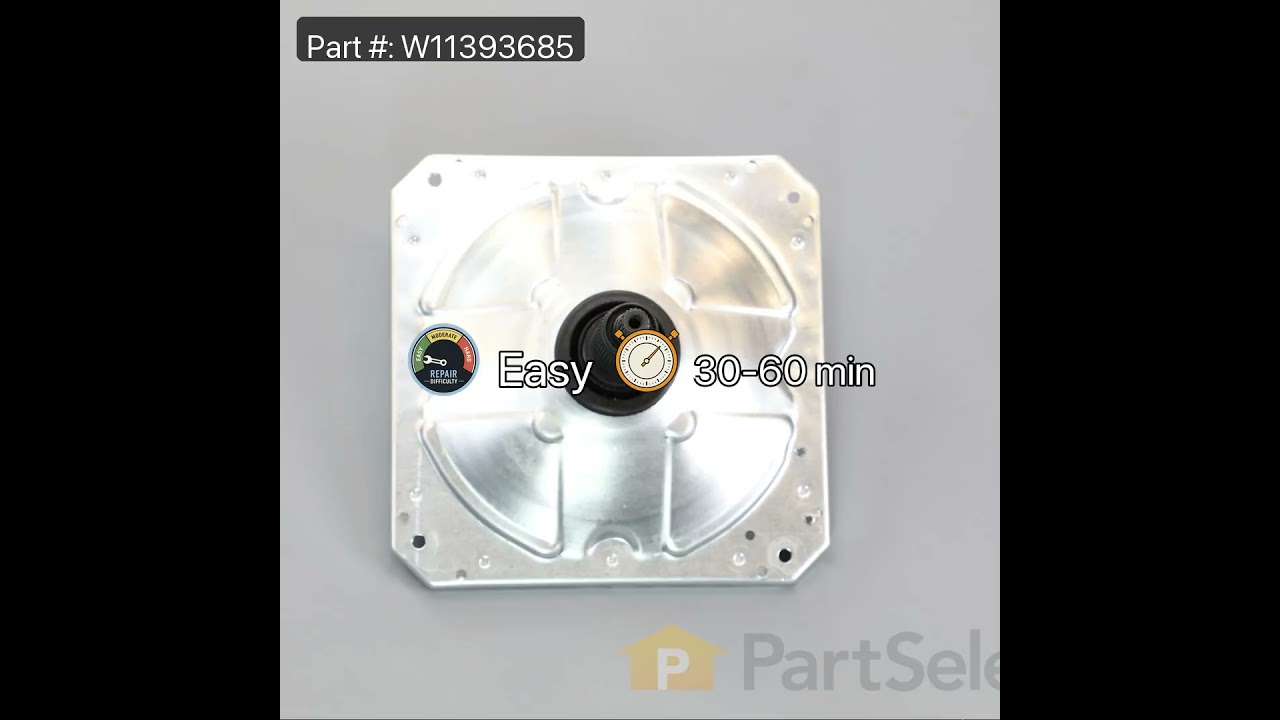
If your washer isn’t spinning, agitating, or cleaning clothes like it used to, the gearcase might be the issue. This part powers the agitator and spin basket, helping your machine run smoothly. It fits many Whirlpool, Maytag, and KitchenAid models and can fix problems like loud noises or a washer that won’t spin. Be sure to unplug your appliance before starting the repair.
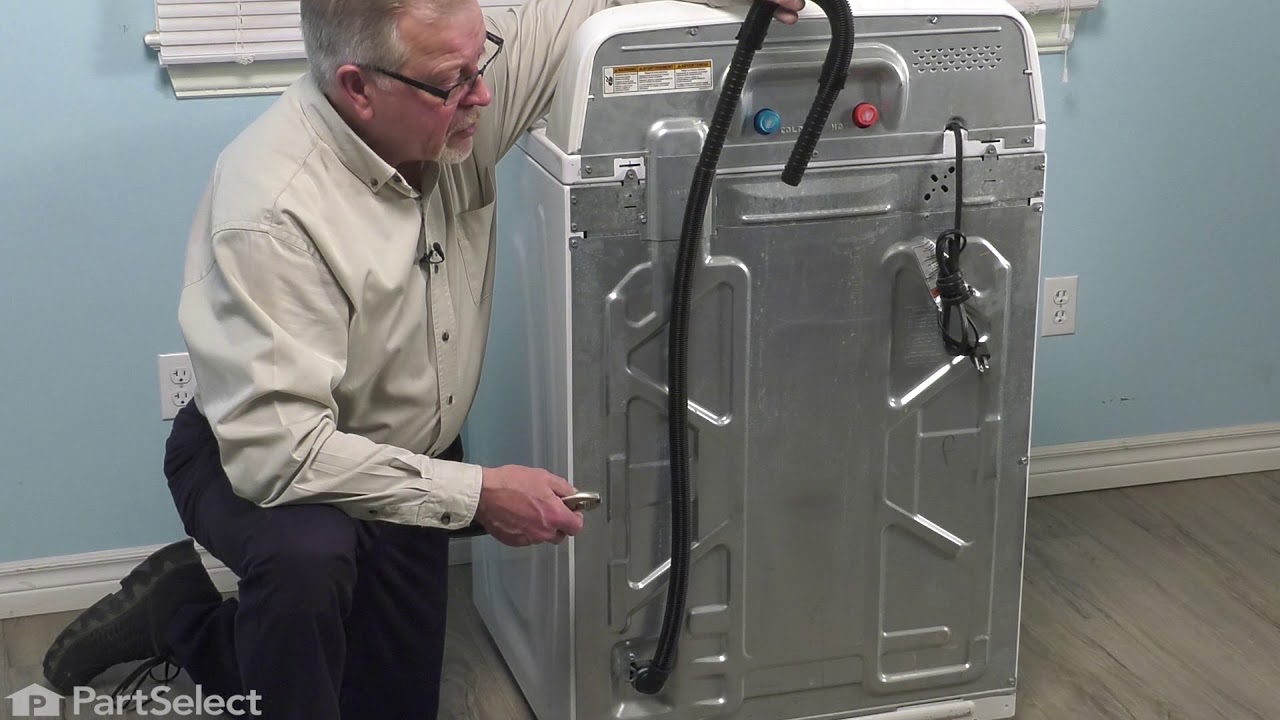
This drain pump is engineered for top-load washing machines and plays a vital role in the appliance’s drainage system. During the drain cycle, it efficiently removes water from the washer tub and channels it through the drain hose into your home’s plumbing. If your washer is experiencing slow drainage, unusual grinding or rattling noises,...Read more or standing water at the end of a cycle, the pump may be malfunctioning. Common causes include wear over time, electrical issues, physical damage, or clogs from small items like coins or buttons. Replacing a faulty drain pump can restore proper function and prevent further issues with your machine’s performance.
Ask our experts a question about this model and we'll get back to you as soon as possible!
We may have answered a similar question already! Search questions and answers left by others using simple keywords like "fit", "broken", "easy", or "quality" to find questions that match.
Search filter:
Clear Filter
Your search term must have 3 or more characters.
Sort by:
Prev
1
Next
Sorry, we couldn't find any existing answers that matched.Try using some different or simpler keywords, or submit your new question by using the "Ask a Question" button above!
WILLIAM - For model number MVWB835DW5
September 8, 2023
washer making constant loud noise while spinning
Hello William, thank you for getting in touch. The most likely reason for a washer making noise during the spin cycle is an unbalanced load, or the machine is not level. If this is not the issue, then the most probable issue is with the washer clutch kit, part number PS10060062. We hope this information helps!
My Maytag bravo topload washing machine will not power up and when i unplugged and plugged back into the outlet i get an shorting sound. Help please.
Hi Daniel,
Thank you for your question. If you hear a shorting sound coming from the washer when you plug it in, you should check the lid lock assembly, the electronic control board, the water inlet valve, the rotor, the stator and the pump. Once you have determined the part you need, please feel free to call customer service. We are open 7 days a week and anyone will be happy to assist you. We look forward to hearing from you!
Washer started a grinding (bad bearing) sound when in the spin mode. Had Sears home repair service come and they said repair of transmission/bearing issue would be almost $650. I decided I could buy a new one for around that number and sent him on his way after paying $139 for service call.. washer is about 3-4 years old. Any ideas??
Hi Patrick, thank you for the question. Based on our understanding, the issue is most probably with the gear case, part number PS12741641. You may need to replace it to fix the issue. We hope this sorts out your problem!
See how others fixed this model. Time, tools, difficulty, and steps that lead to victory!View More
Search repair tips from other customers using simple keywords like "replace", "fit", "remove", "inspect". DIY doesn't mean you have to do it alone!
Search filter:
Clear Filter
Your search term must have 3 or more characters.
Loud grinding noise when the washer was in use.
70 of 85 peoplefound this instruction helpful.
Charles from STARKVILLE, MS
Easy
1- 2 hours
Nutdriver, Screw drivers, Socket set
1.) disconnect power to your washer. Turn off water supply and disconnect from the washer.
open the washer top and remove plastic cap from the wash plate
2.) using 7/16 socket, remove bolt from the wash plate. If you can't remove it with a socket , I recommend using impact wrench.
3.) remove wash plate
... Read more( you might need to spray penetrating oil or wd40 inside the bolt hole to loosen it. Check to make sure the wash plate gear grooves are not worn down, if they are, replace it.
4.) using your Maytag specific spaner nut wrench, remove the spaner nut from the shaft of the gear case. This should be right underneath where the wash plate was. If you can't turn it by hand , use a rubber mallet or hammer to encourage it.
5.) some people remove the wash basket at this point. I don't think it is necessary.
6.) close your washing machine. Tape the top closed to keep it from flying open. Tilt your washer back and prop it up where you have access to the underside of the washing machine.
7) remove motor rotor bolt and pull rotor off of the motor.
8.) disconnect the two wire connectors that supply power to motor. using a socket, remove bolts that are keeping motor attached to the gear case.
9.) Now that the gear case is all the is remaining on the underside, you can remove the 4 bolts that are holding the gear case to the washer. Now try to pull gear case out.
10.) if gearcase will not pull out, lower washer back to upright position. Spray penetrating oil or wd40 around the shaft of the gearcase and allow it to sit for 5-10 minutes. Using a hammer, lightly tap on the shaft of the gearcase and it should now fall out. ( you might have to apply penetrating oil again, or apply more force with the hammer.
11.) reinstall motor to new gearcase. Insert new gear case to the washer. Reinstall bolts and reconnect power supply wires.
12. ReInstall spaner nut inside the washer, reinstall wash plate.
Read less
Was this helpful?
Thank you for voting!
Broken lid frame at left hinge.
37 of 43 peoplefound this instruction helpful.
Greg from RICHMOND, VA
Easy
30 - 60 mins
Socket set
Raised lid to remove two Torx head screws from each hinge. Lid will then lift off of hinges. Installation of new lid was the reverse of the removal procedure. It is best to install one hinge to the lid by removing that hinge from the washer. The lid can then be installed by inserting that hinge into it's spot and then over the other hinge
... Read more. Install the hinge screws into the second hinge and the job is complete. The lid now closes properly allowing the automatic lid lock to function properly.
Read less
Was this helpful?
Thank you for voting!
Lid was broken at the hinge and would not stay closed
24 of 29 peoplefound this instruction helpful.
Gary from GLADE VALLEY, NC
Easy
15 - 30 mins
Removed the old lid by removing the two screws on both sides of the lid holding it to the hinge. Then pull upon the lid to remove. Slide the new lid back on the hinges being careful to slide in the right slot in the lid. Replace the screws through the lid into the hinges and your done



 My Orders