MQF2056TEW02 Maytag Freezer - Overview

Diagrams for MQF2056TEW02

See every part. Know exactly what you need.

Enter a part description. DIY Heroes keep it simple, eg. "belt" or "pump".

Search filter:
Clear Filter
Your search term must have 3 or more characters.
Touch-Up Paint - White – Part Number: 72017
No Longer Available
Touch-Up Paint - White
★★★★★
★★★★★
(23)
Part #72017
This 18 ml bottle of white appliance touch-up paint is used to cover scratches or marks on your appliance. The white touch-up paint can be used on refrigerators, microwaves, ranges, clothes dryers, and freezers. This is a genuine OEM part and includes a brush applicator. Please remember to wear gloves to protect your hands when applying this paint.
Refrigerator Door Switch – Part Number: W11384469
$43.83
In Stock
Refrigerator Door Switch
★★★★★
★★★★★
(36)
Part #W11384469
Door switch turns the light off when you close the door.
Evaporator Fan Blade – Part Number: WP2169142
$41.53
In Stock
Evaporator Fan Blade
★★★★★
★★★★★
(2)
Part #WP2169142
If your refrigerator or freezer is too warm, or making noises, you may need to replace the fan blade. The fan blade attaches to the evaporator motor, which is in the freezer section, to help circulate the cold air into the refrigerator and freezer sections. The fan blade is white in color and made from plastic. This is a genuine OEM part. Please be sure to disconnect the power to your refrigerator before starting your repair.
Refrigerator Screw – Part Number: WP489478
$10.41
In Stock
Refrigerator Screw
Part #WP489478
Sold individually.
Freezer Leveling Leg – Part Number: WP3-82710-001
$22.99
In Stock
Freezer Leveling Leg
Part #WP3-82710-001
Sold individually.
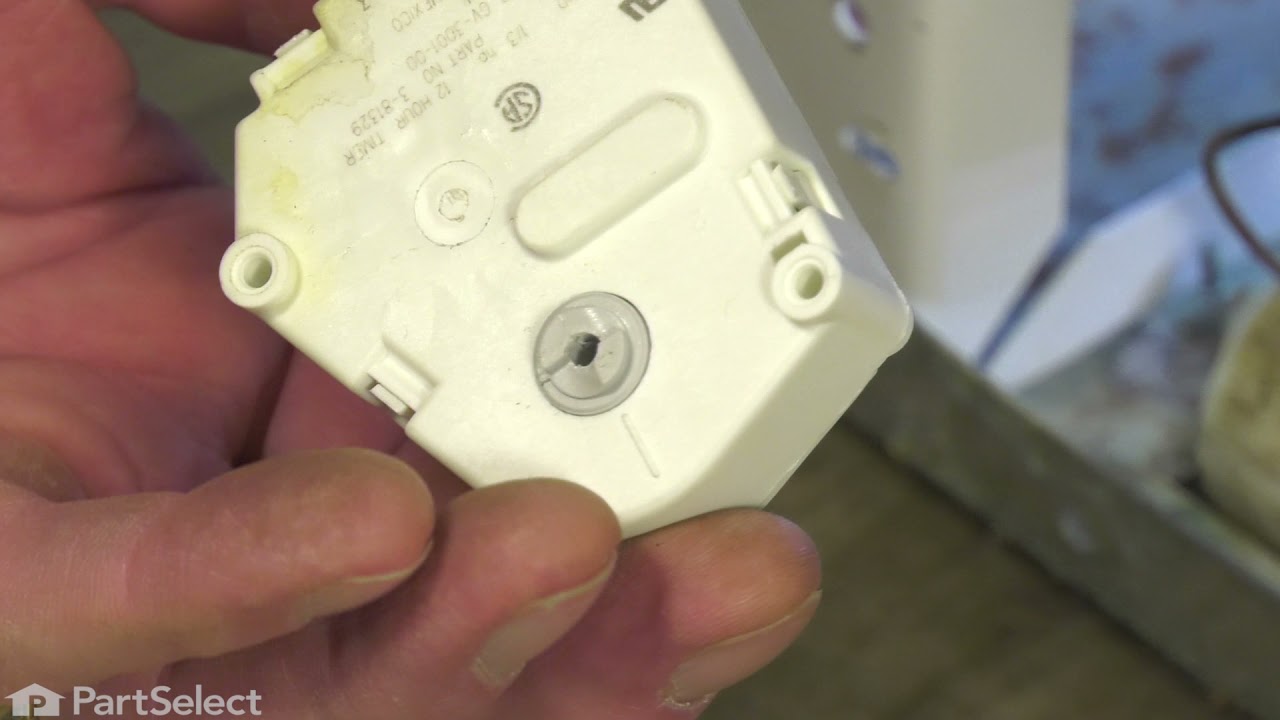
Defrost Timer – Part Number: WP3-81329
$162.60
In Stock
Defrost Timer
★★★★★
★★★★★
(5)
Part #WP3-81329
This device acts like a clock. It continually advances and alternates between activating the cooling cycle and the defrost heater.
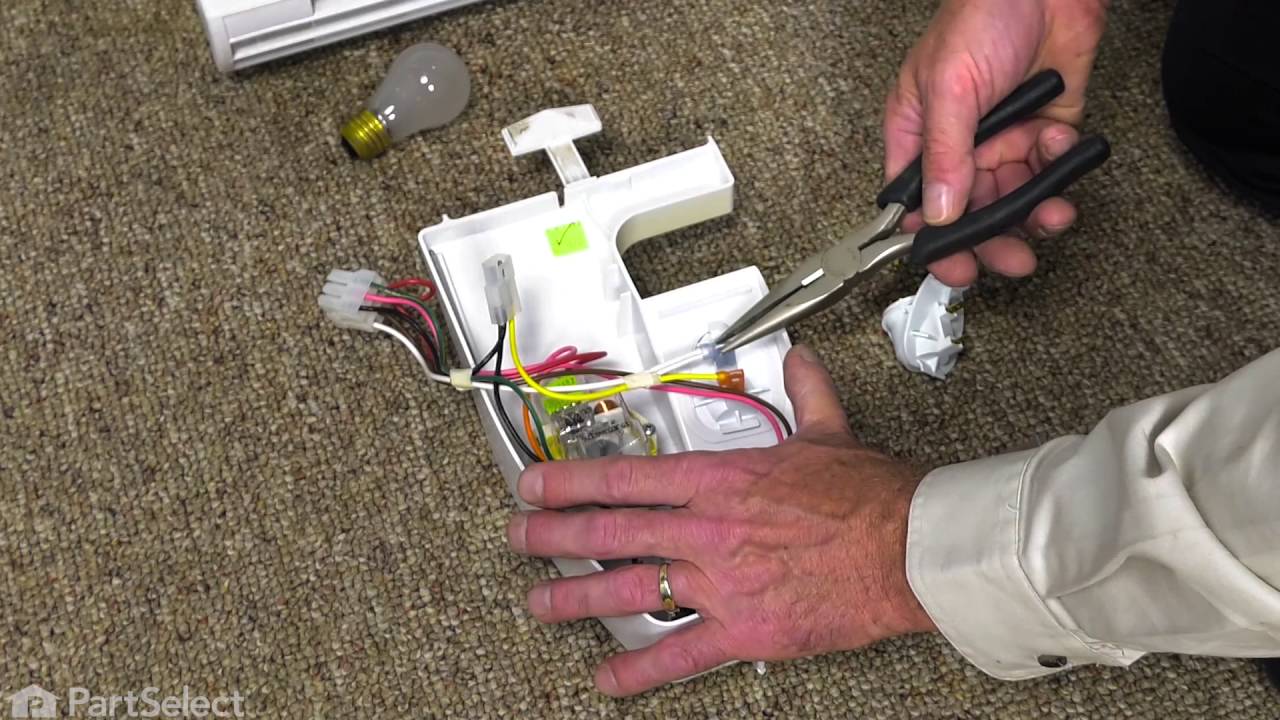
Light Socket Kit – Part Number: 4387478
$65.95
In Stock
Light Socket Kit
★★★★★
★★★★★
(1)
Part #4387478
The bulb is sold separately.
Spray Paint - 12 oz. - White – Part Number: 350930
No Longer Available
Refrigerator Screw – Part Number: WP3-24838-048
$10.59
Special Order
Refrigerator Screw
Part #WP3-24838-048
Sold individually.
Refrigerator Cabinet Mount Screw – Part Number: WP489491
$9.85
Special Order
Refrigerator Cabinet Mount Screw
Part #WP489491
Sold Individually - 2 screws needed to mount each handle.
Refrigerator Overload – Part Number: WP2183456
$95.26
Special Order
Refrigerator Overload
★★★★★
★★★★★
(1)
Part #WP2183456
This part helps protect the motor from overheating.
Screw -  8-32 X 1-1/4 – Part Number: WP488163
$13.95
In Stock
Screw - 8-32 X 1-1/4
Part #WP488163
Sold individually.

Questions And Answers for MQF2056TEW02

Be the first to ask our experts a question about this model!

Common Symptoms of the MQF2056TEW02

How this model fails, and the parts that fix it.

Watch our pros, then fix it yourself.

See how others fixed this model. Time, tools, difficulty, and steps that lead to victory! View More

Search repair tips from other customers using simple keywords like "replace", "fit", "remove", "inspect". DIY doesn't mean you have to do it alone!

Search filter:
Clear Filter
Your search term must have 3 or more characters.
Lights inside refrigerator not working
137 of 257 people found this instruction helpful.
  • Clint from Rayville, MO
  • Really Easy
  • Less than 15 mins
  • Screw drivers
I used a flat-head screwdriver to pop out the old light rocker switch. Then, I unplugged the wires, plugged them into the new light rocker switch, and then popped the new switch into the hole. That's it! Lights began working again.
Was this helpful?
Thank you for voting!
Light Would Not Go On In The Refrigerator
62 of 82 people found this instruction helpful.
  • DANIEL from MINNEAPOLIS, MN
  • Easy
  • Less than 15 mins
  • Screw drivers
First I removed the old lightbulb from the socket and replaced it with a new one to confirm that the bulb was not the problem. I then pryed the socket out with a flat-head screwdriver. I could tell that the socket was anchored in its hole with clips so it was relatively easy to pry it out. Once the socket was out, I disconnected the le ad wires and ordered a replacement socket kit from Partselect. When the new one arrived, I reconnected the lead wires to it, snapped it back into its hole, screwed in a new lightbulb, and presto!! The light was back on with no further problem. Thank you, Partselect!! A $15.00 part saved me what probably would have been at least a $100. service call and heaven knows what the technician would have told me I needed!!!
Was this helpful?
Thank you for voting!
Light Switch broke
48 of 78 people found this instruction helpful.
  • James Richard from St. Cloud, MN
  • Easy
  • Less than 15 mins
  • Socket set
An easy job for smaller hands. Removed the two bolts holding the light cover. Removed two electrical connections from the old switch by pinching the retaining clip,removed the switch, snapped in the new one and re-attached the connectors. Your online illustrations helped me to know that the plastic housing for the light switch would only swing down so far and was not intended to be removed. Saved me from breaking that plastic cover's tabs. This home repair saved me more than 5 times the cost of hiring a professional to do it. Very happy homeowner.
Was this helpful?
Thank you for voting!