


 My Orders


MHE16XSQ0 Roper Microwave - Overview
Diagrams for MHE16XSQ0
See every part. Know exactly what you need.


Enter a part description. DIY Heroes keep it simple, eg. "belt" or "pump".
Search filter:
Clear Filter
Your search term must have 3 or more characters.

$10.49
In Stock
Light Bulb - 40W
Part #8206232A
This 40w light bulb is a replacement bulb constructed of glass and metal. It is an easy-to-install electrical part which produces 40w of light. If the bulb won't light up then it may be broken and should be replaced. The bulb attaches directly to an appropriate light socket and has a small screw-in base. To access the exterior light bulb,...Read more you will need to remove the panel on the bottom of the microwave using a Phillips screwdriver. If your exterior light bulb has not been changed before, it is probably held in place with some silicone. You will need to cut away this silicone to remove the old bulb. If you cannot access the silicone with a utility knife, it can be removed using dental floss. Once the silicone is removed, simply unscrew the old bulb, and replace it with the new one. Be sure to disconnect the power to the microwave before you begin this repair. This light bulb measures about 1 1/8 inches. We do not recommend using a higher-wattage bulb for this appliance, and can only recommend this specific bulb. If fixing the bulb does not solve your microwave light issue, it's possibly a problem with the socket, which means the socket and/or board will need to be replaced. This can be a more dangerous repair, so consult your user manual or a technician before attempting.
Read less

$20.85
In Stock
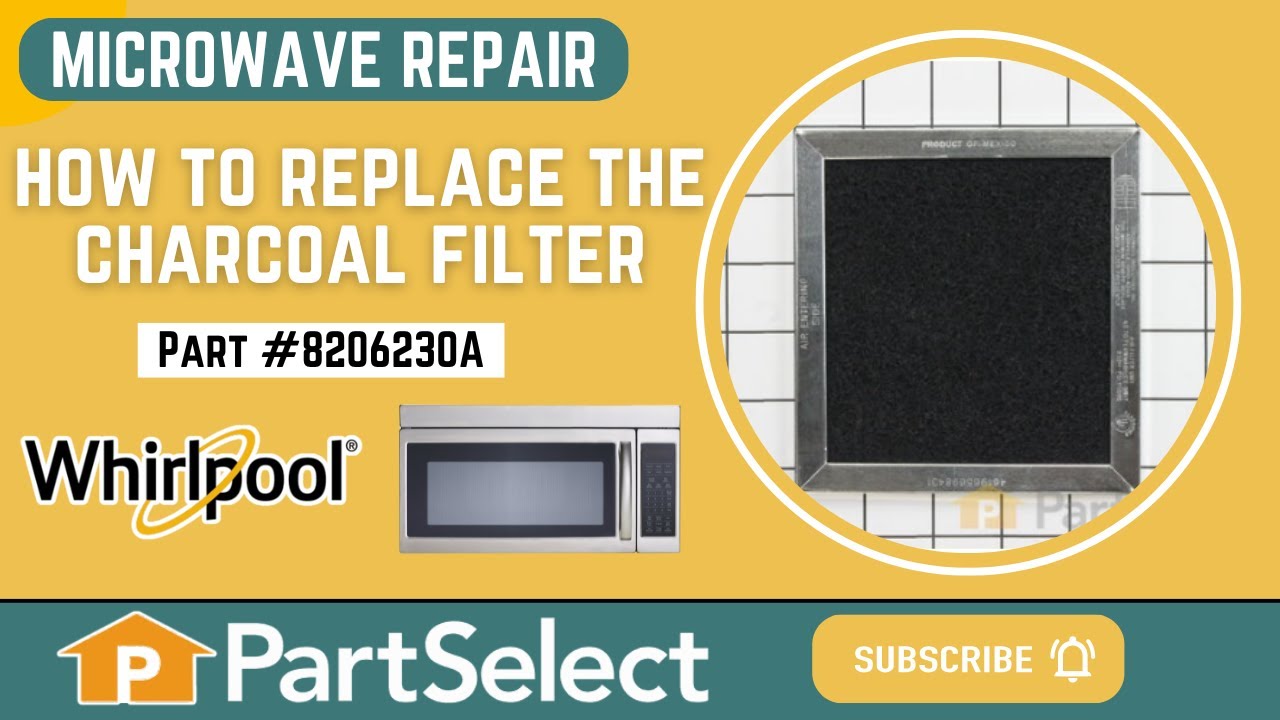
Charcoal Filter
Part #8206230A
This Charcoal Filter traps grease from your oven's exhaust to help prevent it from entering the vent, which could cause damage over time. If the exhaust fan on your microwave is not working, you may need to replace your charcoal filter. This charcoal filter is located within the intake grille of your microwave, which will need to be unscr...Read moreewed and opened to gain access to the filter. The manufacturer recommends that you change your charcoal filter every six months. This filter measures 5 inches by 5.375 inches by 0.375 inches. Be sure to measure your current filter to assure correct replacement. This product is sold individually. We recommend the use of gloves during installation to protect your hands from messy grease during your repair. You should also unplug your appliance at the electrical outlet or switch it off at the breaker. Using a Phillips screwdriver, unthread the screws securing the grill. Open the door and slide the grill to the left and lift it up to remove it. This will allow access to the filter so it can be either replaced or cleaned. Remember to insert the tabs of the grill into the frame and slide it to the right when you are done. To finish, shut the oven door and secure the grill with the screws.
Read less

No Longer Available

$29.65
In Stock
Grease Filter
Part #8206229A
This filter collects grease particles in the air from cooking. Sold individually.

$47.21
In Stock
R Ceramic Fuse 20 A
Part #W11707984
This part protects the microwave by shutting it off if there is an electrical surge.

$43.12
In Stock
Microwave Door Interlock Switch
Part #W10269458
This door interlock switch is a genuine replacement part designed for use in microwaves. It serves a critical safety function by preventing the microwave from operating when the door is open. Because proper operation of the microwave’s shielding and interlock system is essential for user safety, this part should be installed by a qualifie...Read mored service technician. After installation, the interlock switches and microwave shielding must be thoroughly tested to ensure the appliance meets safety standards.
Read less

$91.76
In Stock

$52.79
In Stock

$14.02
In Stock

$15.31
In Stock

$31.85
In Stock
Top Interlock Support
Part #WP8206419
If your microwave won’t start or seems to run with the door slightly open, this top interlock support might be the issue. It helps make sure the door is fully closed before the microwave turns on, which is important for safety. This part holds the switch that tells the microwave it’s safe to run. Replacing it can fix problems like error m...Read moreessages or the microwave not starting at all. Just be sure to unplug the appliance before doing any repairs.
Read less

$60.02
In Stock
Door Switch - 250V
Part #W10211972
This small but important switch helps keep your microwave safe by making sure it won’t run unless the door is properly closed. It tells the microwave’s control system whether the door is open or shut, helping prevent accidents and ensuring everything works as it should. If your microwave isn’t starting or heating, this part might be the f...Read moreix you need. Installing it usually involves opening the microwave’s outer panel and replacing the switch near the door latch—just be sure to unplug the unit first and follow safety steps.
Read less
Manuals & Care Guides for MHE16XSQ0
Click to downloadInstall
Installation Instructions
(0.5MB)
Manual
Owner's Manuals
(0.49MB)
Manual
Owner's Manuals
(1.90MB)
Common Symptoms of the MHE16XSQ0
How this model fails, and the parts that fix it.
Won’t turn on
Fixed by
these parts
these parts


Show All
Tray won’t turn
Fixed by
these parts
these parts


Show All
Door not closing properly
Fixed by
these parts
these parts


Show All
Exhaust fan not working
Fixed by
these parts
these parts


Show All
No heat
Fixed by
these parts
these parts
Show All
Noisy
Fixed by
these parts
these parts
Show All
Doesn’t shut off
Fixed by
these parts
these parts
Show All
Watch our pros, then fix it yourself.
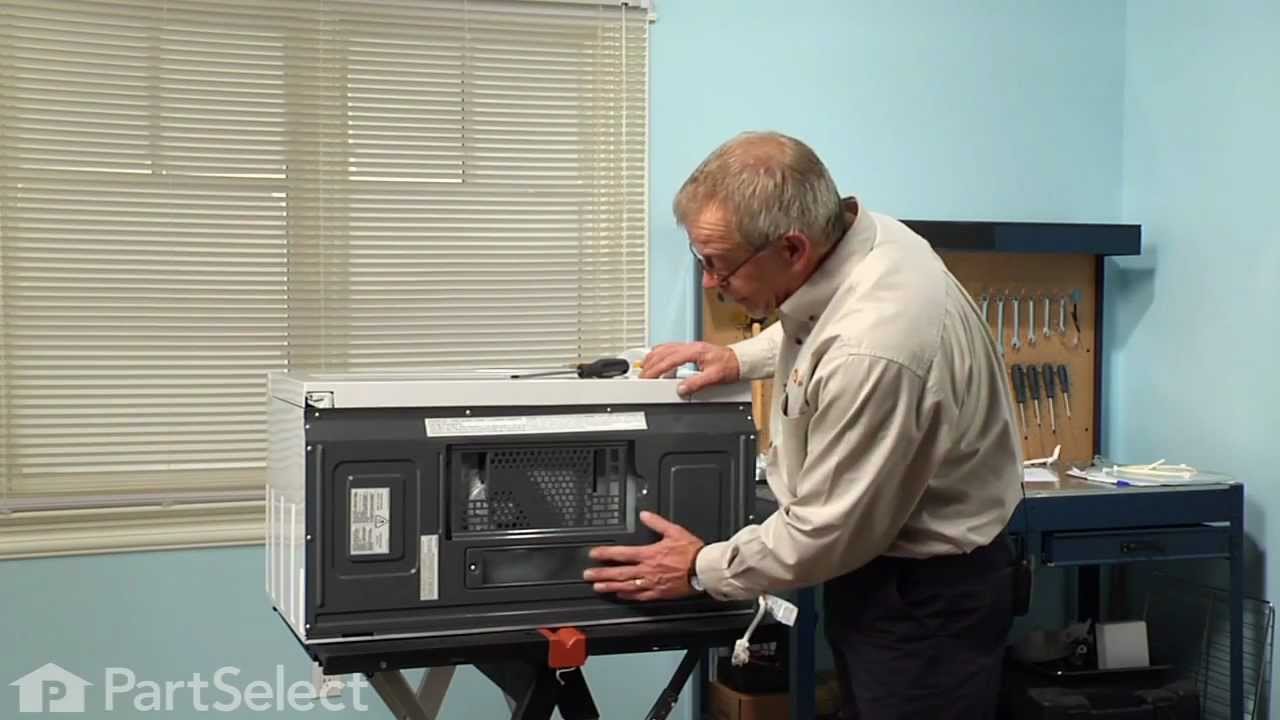


See how others fixed this model. Time, tools, difficulty, and steps that lead to victory!
View More