Ask our experts a question about this model and we'll get back to you as soon as possible!
We may have answered a similar question already! Search questions and answers left by others using simple keywords like "fit", "broken", "easy", or "quality" to find questions that match.
Search filter:
Clear Filter
Your search term must have 3 or more characters.
Sort by:
Prev
1
Next
Sorry, we couldn't find any existing answers that matched.Try using some different or simpler keywords, or submit your new question by using the "Ask a Question" button above!
JOHN - For model number MH6130XEQ-1
December 7, 2024
I NEED 3 filters and top vent cover
Hi John, Thank you for writing. The Grease Filter for this model is PartSelect Number PS364628. Two are required and they are sold individually. We are sorry, we looked up the Charcoal Filter and it is listed as No Longer Available/Discontinued. There are no part substitutions listed. Our suggestion here would be to call the manufacturer and see if they can provide you with a substitution for these part numbers and contact us back with the updated substitution number. We hope this helps!
I need to replace the two bottom light bulbs that shine down to the countertop.
How to Rremove the bulbs and what is the standard number of them.
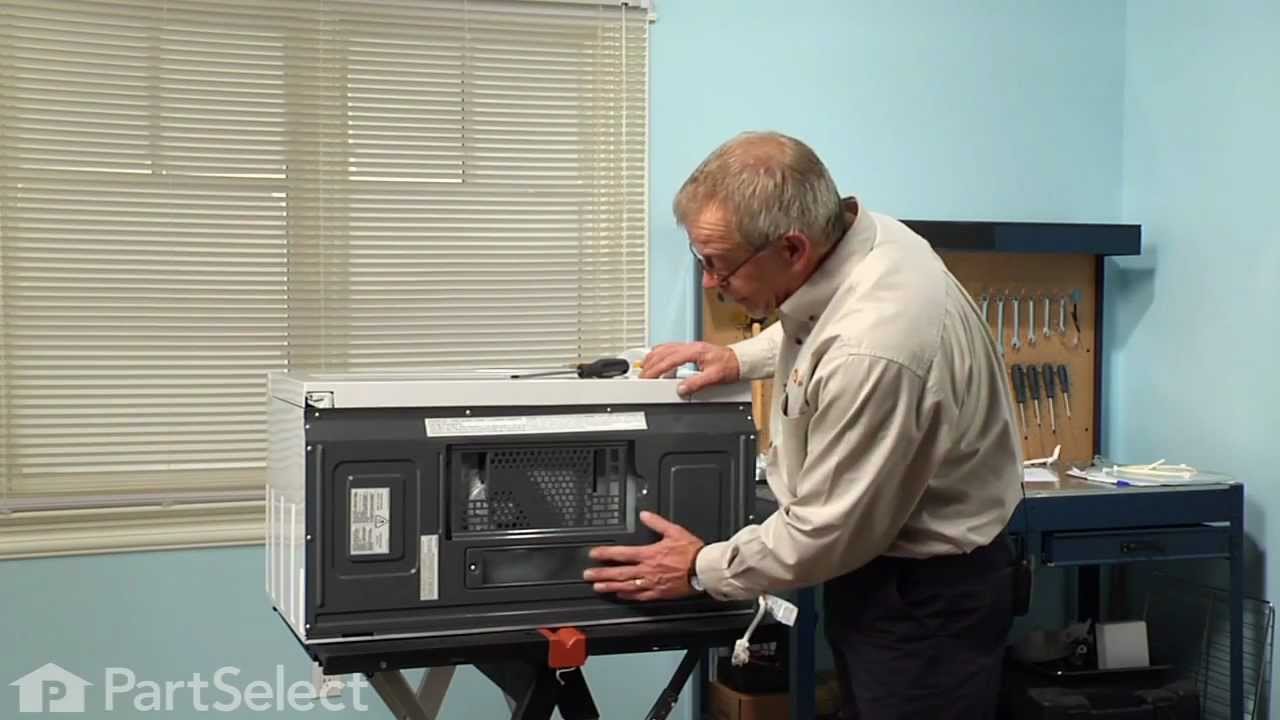
Hi Samuel, thank you for the question. The light bulbs for your model are part number PS2376034. They are sold individually. We have attached the link to the video, which will help you in replacing the bulb. This may not be of the same model, but will help you in the process. We hope that helps!
Was this helpful?
Thank you for voting!
Prev
1
Next
✖
Ask a Question
Ask our experts a question on this model and we'll respond as soon as we can.
See how others fixed this model. Time, tools, difficulty, and steps that lead to victory!View More
Search repair tips from other customers using simple keywords like "replace", "fit", "remove", "inspect". DIY doesn't mean you have to do it alone!
Search filter:
Clear Filter
Your search term must have 3 or more characters.
Broken door micro switch. (unit does not start heating)
37 of 68 peoplefound this instruction helpful.
JAMES from BILLINGS, MT
Very Easy
30 - 60 mins
Screw drivers
Unplug the unit before servicing. Need phillips screwdriver. Open door. Use step ladder to access and remove 2 small screws from top of the room air diffuser at top of unit. Slide diffuser slightly to the left to align the diffuser's plastic tab on the left side to rotate toward you. (The wires for the front control panel are at the far l
... Read moreeft side of this difuser, but difuser is slotted for easy removal). Once the difuser is removed you will see 1 screw at the top that secures the pannel cover on the left side of the unit. Remove screw and slide this panel slightly up and out. This exposes the plastic frame that holds the upper and lower door switches. To locate the door switches and observe how they work, close and open the door and watch the door (bayonets) open and close the micro switches. Do the (red) buttons on top of the switches move up and down when the door bayonets push and release? If the buttons do not "pop" up when opened the switch is defective. The switch frame is secured with 2 screws. Remove screws and rotate the unit out for easy access to the micro switch(s). The internal (spring?) on my unit that is suposed to allow the red (visible) button on top of the switch to "pop" up when the door is opened was broken. Carefully pry the switch outward while being careful to lift the plastic holder-piece that holds the switch in place. Be careful, there is a small pin on the frame, so rotate the switch OUT toward you while lifting (carefully) the plastic holder-piece (you will see it on top of the switch). You can use an ohm meter to test the continuity of the switches. But if the buttons don't "pop" they are defective. Replace switch and reassemble.
Read less
Was this helpful?
Thank you for voting!
Door sensor switch went bad. Microwave would not operate.
15 of 29 peoplefound this instruction helpful.
Randall from ARCADIA, CA
A Bit Difficult
1- 2 hours
Pliers, Screw drivers
Watched a couple of repair videos on Youtube by searching for the model number. Found out what to do in order not to get shocked by the powerful capacitor. Ordered the two switches (To be sure, I could have ordered a third switch as suggested in the videos.) Bought a tamper-proof star bit to get the cover off. Followed the dir
... Read moreections to replace the switches. - I broke the harness and had to use some super glue, but it's all good. I should have removed the harness instead of trying to get a switch out while it was still in place. It's all back together, and the wife is happy!!
Read less
Was this helpful?
Thank you for voting!
everything worked except it wouldnt cook
11 of 21 peoplefound this instruction helpful.
Joseph from N VERSAILLES, PA
Very Easy
30 - 60 mins
Screw drivers
tested all 3 of the door switche for continuity, the top switch was faulty, replaced it,for approx $4.00 and saved a $350 dollar microwave.



 My Orders