














MGR6600FW3 Admiral Range - Overview
Sections of the MGR6600FW3
[Viewing 1 of 1]
Keep searches simple, eg. "belt" or "pump".

Touch-Up Paint - White
PartSelect #: PS385132
Manufacturer #: 72017
This 18 ml bottle of white appliance touch-up paint is used to cover scratches or marks on your appliance. The white touch-up paint can be used on refrigerators, microwaves, ranges, clothes dryers, an...
$17.95
In Stock

Screw
PartSelect #: PS12349731
Manufacturer #: W11233072
This is a multi-use and multi-appliance screw. It can be used on a microwave, refrigerator, range/oven, air conditioner, dehumidifier, washer, or dryer. The measurements of this screw are 8 x 1/2 inch...
$28.95
In Stock

Sensor
PartSelect #: PS11726314
Manufacturer #: W10833885
This oven temperature sensor is designed to monitor and regulate the internal heat levels of your range, ensuring consistent and accurate cooking performance. It communicates directly with the control...
$164.98
In Stock

Range Insulation
PartSelect #: PS11750415
Manufacturer #: WPW10208653
Oven Wrap Insulation.
$65.95
In Stock

Range Rear Leveling Leg
PartSelect #: PS11748094
Manufacturer #: WPW10058460
Sold individually.
$14.63
In Stock

Range Inner Oven Door Glass
PartSelect #: PS11744843
Manufacturer #: WP8053948
This is the innermost piece of glass on your door.
$181.62
In Stock

Cartridge 4 Spades - Stainless Steel
PartSelect #: PS8769936
Manufacturer #: JEA7000ADSA
This electric coil element cartridge is designed for use with compatible cooktops and ranges, offering a reliable replacement for worn or malfunctioning modules. Housed in durable stainless steel, the...
$462.95
In Stock

Side Trim - Right Hand Side
PartSelect #: PS11746045
Manufacturer #: WP8523166
Give your oven door a clean, finished look with this white side trim piece. It fits on the right edge of the door, helping seal in heat and protect the glass. If your current trim is cracked or loose,...
$79.15
In Stock

Range Trim Lower (White)
PartSelect #: PS11746049
Manufacturer #: WP8523175
Trim only in white. Screws not included.
$57.15
Special Order

Side Trim
PartSelect #: PS11746047
Manufacturer #: WP8523172
Screws are not included with the trim. Must order screws separately.
$74.18
In Stock

Appliance Scraper
PartSelect #: PS408570
Manufacturer #: WA906B
Use this scraper for your ceramic/glass cooktop. It has a retractable blade and is an all-purpose tool for cooktops, mirrors, windows and tile. Use it to also remove paint, paper, dirt, stickers and more.
$12.05
In Stock

Broiler Pan with Roasting Rack
PartSelect #: PS1519212
Manufacturer #: W10123240
This is a 3 piece set.
$155.67
In Stock
Common Symptoms of the MGR6600FW3
[Viewing 6 of 6]Element will not heat
Fixed by
these parts
these parts


Show All
Door won’t close
Fixed by
these parts
these parts


Show All
Little to no heat when baking
Fixed by
these parts
these parts

Show All
Oven not heating evenly
Fixed by
these parts
these parts
Show All
Oven is too hot
Fixed by
these parts
these parts
Show All
Door won’t open after self cleaning cycle
Fixed by
these parts
these parts

Show All

Keep searches simple. Use keywords, e.g. "leaking", "pump", "broken" or "fit".
mice had made nests in the insulation wrap in the range
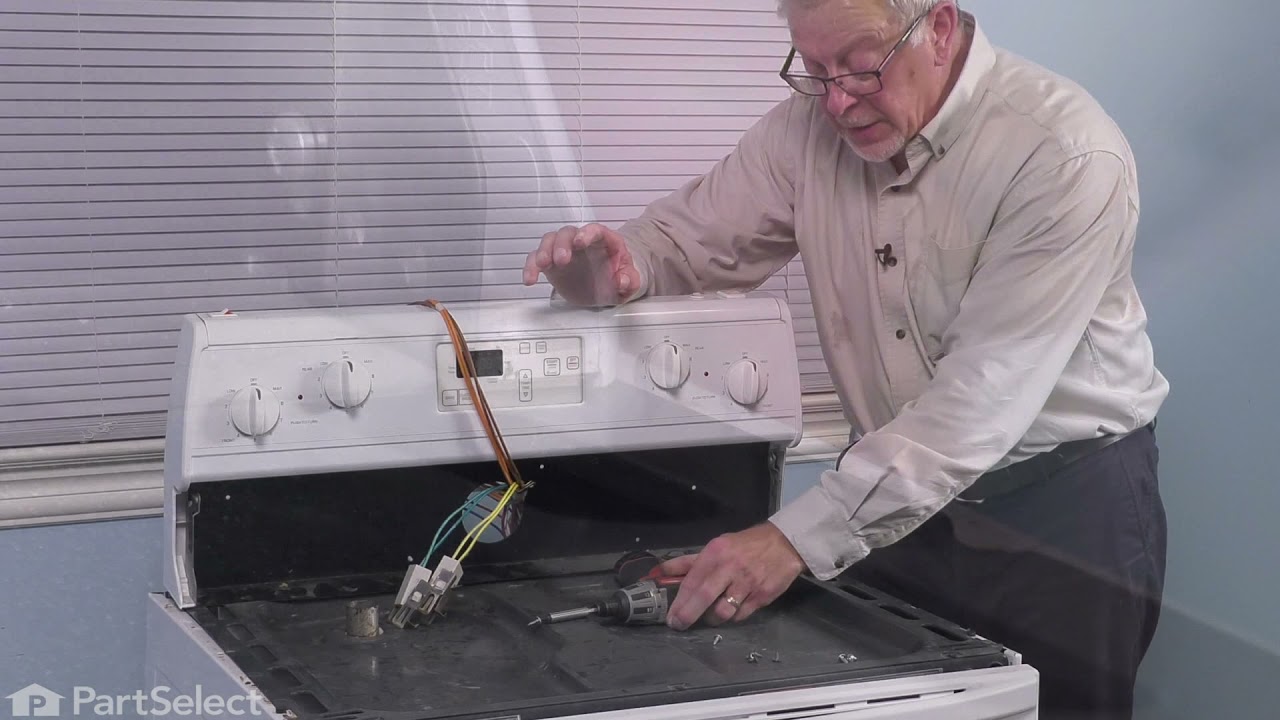
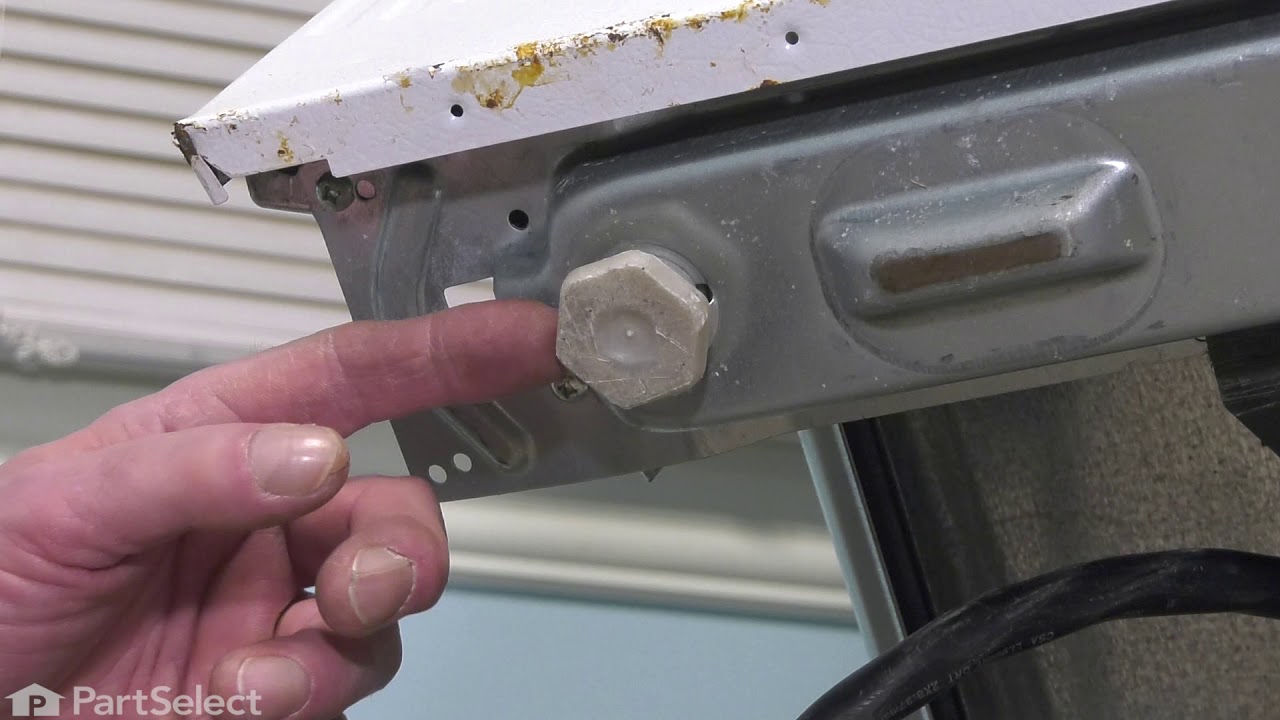
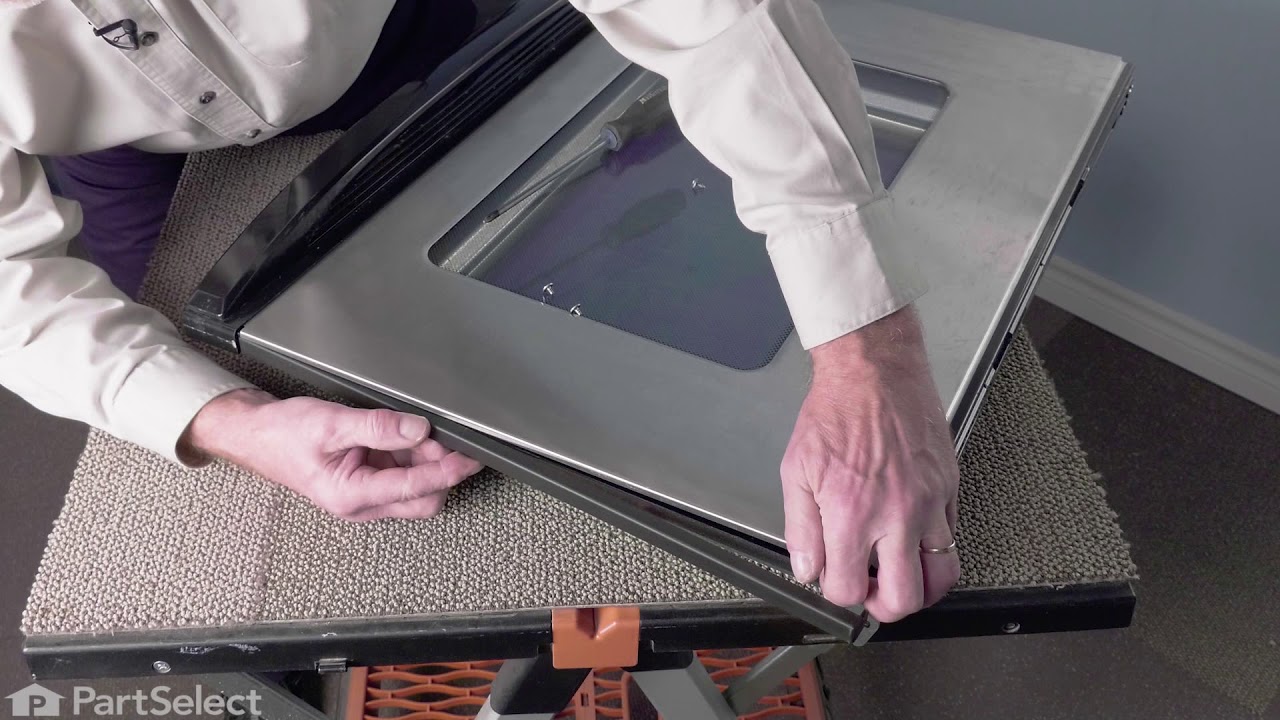
I numbered every part. ex: 1 L., for first part removed left side. I used a magic marker to circle the holes and wrote the number of screws used on the part, set the srews in a separete place, so that I new where these screws went to. The cleanup was pretty time consuming, but I was able to keep my stove, when every repairman I called to fix my stove told me I was better off buying a new stove. ($600.00 stove 2 years old)Please Note: The insulation blanket needed for the entire stove is two pieces, the sides and top are one part # and the bottom and back, are another part #. I did not know this. I just purchased the top and sides. I got lucky, the back and bottom were still in good shape. So I guess I should have read the description of the part more carefully to see what it covers, before I ordered it. It took two people two hours to do the work, it was really nice to have an extra set of eyes, to remember what direction pieces of metal from the stove went. I would do it all over in a heart beat instead of buying a new stove.
Parts Used:
-
Wendy from Red Hook, NY
-
Difficulty Level:Easy
-
Total Repair Time:More than 2 hours
-
Tools:Screw drivers
127 of 208 people
found this instruction helpful.
Was this instruction helpful to you?
Thank you for voting!
Replaced grill with cooking elements
Bought a new house last fall. Jenn-Air range had two element cooktop with two element grill. Oven went out and while service man was here, I asked him to check on the price of another two heater element panel to replace the grill. He subsequently called to say the part I wanted was not available. I immediately got on the internet and did a search. Found it "ships same day" for what I thought was a very reasonable price at PartSelect. Unplugged the grill and plugged in the cooking plate. We now have four usable "burners" instead of two. Thanks PartSelect!
Parts Used:

-
Lee from Crystal Beach, TX
-
Difficulty Level:Really Easy
-
Total Repair Time:Less than 15 mins
63 of 80 people
found this instruction helpful.
Was this instruction helpful to you?
Thank you for voting!
E1 F5 Error on display
After reading many forums found that this error happens when trying to clean the oven and there is a failure in the latch motor to lock the oven door. It was suggested 1st to just tunr the breaker off to the over wait and then turn it back on to see if the error would clear by itself. If not then you'll have to do what I did and buy a new Latch Motor and replace it. Fairly easy to do:
) Move oven to get to the back panel
) Disconnect oven from power
) Remove the 8 screws to get the back panel off
) REmove the Latch motor screws (2) and remove the motor after twisting to get the latch rod off
) Put in new latch motor by 1st putting the latch rod in the motor assembly
) Screw the new motor in place
) Replace back panel
) Power on Oven
DONE!
) Move oven to get to the back panel
) Disconnect oven from power
) Remove the 8 screws to get the back panel off
) REmove the Latch motor screws (2) and remove the motor after twisting to get the latch rod off
) Put in new latch motor by 1st putting the latch rod in the motor assembly
) Screw the new motor in place
) Replace back panel
) Power on Oven
DONE!
Parts Used:

-
Gregory from Thornton, CO
-
Difficulty Level:Easy
-
Total Repair Time:30 - 60 mins
-
Tools:Screw drivers
42 of 53 people
found this instruction helpful.
Was this instruction helpful to you?
Thank you for voting!