MGR5750ADW Maytag Range - Overview

Enter a part description. DIY Heroes keep it simple, eg. "belt" or "pump".

Search filter:
Clear Filter
Your search term must have 3 or more characters.
Light Bulb - 40W – Part Number: 8009
$26.41
In Stock
Light Bulb - 40W
★★★★★
★★★★★
(47)
Part #8009
This an authentic OEM 40-Watt replacement light bulb, used in a number of household appliances. It is specially designed to withstand extreme temperatures, which is why these replacement bulbs are most often used to light the inside of refrigerators and ranges. It features a standard socket base, which means you simply unscrew the burnt-out bulb and screw in the replacement. Depending on the appliance you may require a screwdriver or nut driver to access the light bulb. We recommend you wear work gloves while handling this replacement part. It is constructed of glass and metal and is sold individually. Depending on the appliance and location of the bulb within it, you may want to consider disconnecting power and using a flashlight for easier access to unscrewing and re-screwing in your bulb during this repair.
Flat Style Oven Igniter Kit – Part Number: 12400035
$61.55
In Stock
Flat Style Oven Igniter Kit
★★★★★
★★★★★
(63)
Part #12400035
The flat style gas oven igniter included in this kit has a body length of 3-3/4 inches. This kit comes with all of the pieces you need to replace longer ceramic igniters, though this kit can also replace short igniters. This flat style oven igniter kit is a genuine replacement component designed for use in gas ovens and ranges. It plays a critical role in the ignition process by generating the heat required to open the gas valve and ignite the burner assembly. Suitable for both bake and broil functions, this igniter can replace short and long flat-style igniters but is not compatible with round-style models. If the igniter glows for more than 90 seconds without lighting the burner, or glows only orange or red instead of white-hot, it may be too weak to activate the gas valve and should be replaced. The kit includes the igniter, ceramic wire nuts, insulation pad, metal mounting bracket, multiple plug ends, and an instruction sheet. The igniter body measures approximately 3 ¾ inches, with an internal element
Sealed Burner Cap with Electrode – Part Number: WP3412D024-26
$134.81
In Stock
Sealed Burner Cap with Electrode
★★★★★
★★★★★
(9)
Part #WP3412D024-26
This burner cap assembly is sold with the spark electrode. Please note this part has been redesigned and no longer requires a gasket. Sold individually.
Short Oven Sensor Kit – Part Number: 12001655
$53.85
In Stock
Short Oven Sensor Kit
★★★★★
★★★★★
(27)
Part #12001655
This temperature sensor detects the temperature within the oven cavity.
Leveler Foot Screw (Nylon) – Part Number: W11665456
$33.95
In Stock
Leveler Foot Screw (Nylon)
★★★★★
★★★★★
(7)
Part #W11665456
This leveling leg is two inches long. It is all black in color and it is made entirely of plastic.
Top Burner Igniter – Part Number: 74004053
$35.81
In Stock
Top Burner Igniter
★★★★★
★★★★★
(11)
Part #74004053
This top burner igniter comes with a mounting bracket.
Range Door Gasket – Part Number: WPW10162384
$111.60
In Stock
Range Door Gasket
★★★★★
★★★★★
(33)
Part #WPW10162384
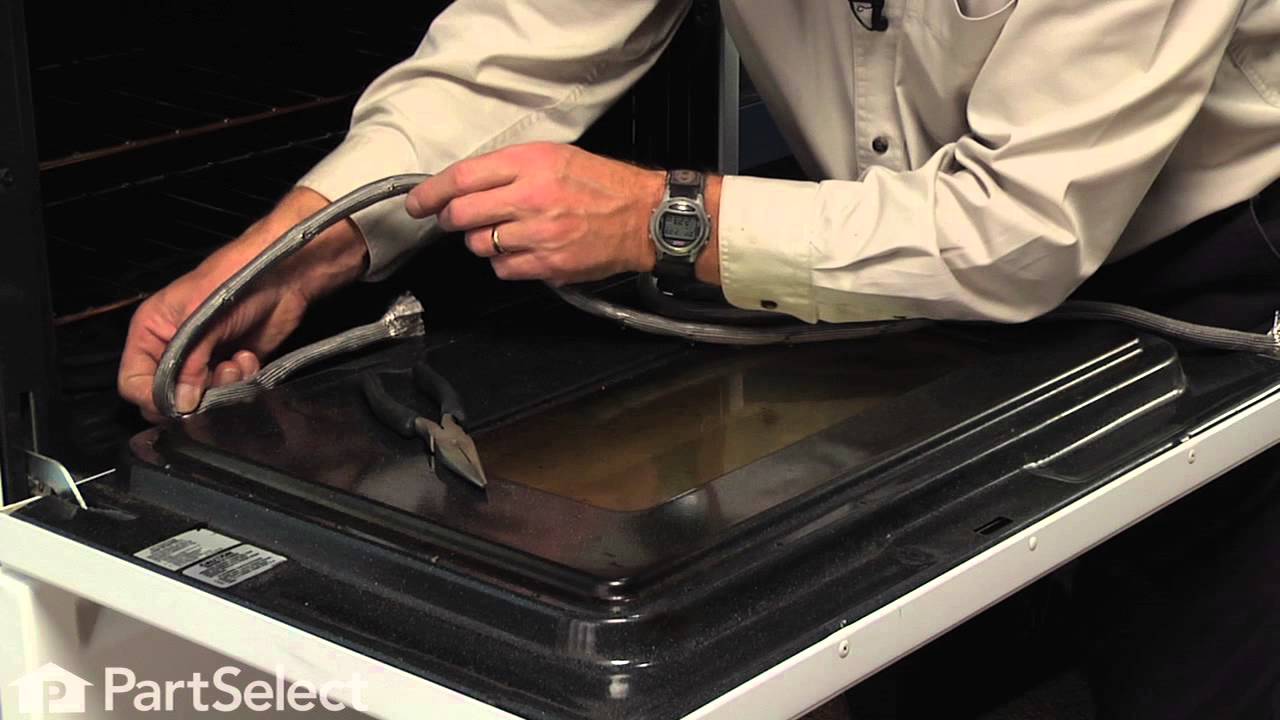
This oven door gasket comes with built in retaining clips.
Screw – Part Number: W11233072
$30.40
In Stock
Screw
★★★★★
★★★★★
(5)
Part #W11233072
This is a multi-use and multi-appliance screw. It can be used on a microwave, refrigerator, range/oven, air conditioner, dehumidifier, washer, or dryer. The measurements of this screw are 8 x 1/2 inch. It has 6 threads. Refer to the manual provided by the manufacturer for further information on repair and accurate guidance. Remember to wear work gloves as a safety precaution.
Inner Door Glass Pane – Part Number: 74003645
$179.14
In Stock
Inner Door Glass Pane
★★★★★
★★★★★
(30)
Part #74003645
Keep your oven safe and functional with this replacement interior door glass, the heat-resistant panel that lines the inside of your oven door. With dimensions of approximately 20 5/8" x 13 1/8", it fits select models and allows you to monitor cooking without opening the door. If your current glass is cracked or broken, replacing it is essential. Always wait until the oven is cool and wear gloves during installation to protect your hands. This part is sold separately and does not come with extra components.
Range Light Cover Lens – Part Number: WP9781049
$81.35
In Stock
Range Light Cover Lens
★★★★★
★★★★★
(27)
Part #WP9781049
This part goes over top of the light bulb.
Door Top Trim – Part Number: WP74003653
$201.21
Special Order
Door Top Trim
★★★★★
★★★★★
(7)
Part #WP74003653
This top door trim is just over thirty inches long. It is all white in color and is made of plastic.
Spark Module - Surface Burners – Part Number: 12001596
$108.62
In Stock
Spark Module - Surface Burners
★★★★★
★★★★★
(15)
Part #12001596
This part may differ in appearance, but functions same as original part. : This part sends enough current to the igniter to create a spark to the bottom of the burner cap.

Manuals & Care Guides for MGR5750ADW

Click to download

Questions And Answers for MGR5750ADW

Ask our experts a question about this model and we'll get back to you as soon as possible!

Sort by:
  • 1
Sorry, we couldn't find any existing answers that matched.Try using some different or simpler keywords, or submit your new question by using the "Ask a Question" button above!
Dennis - For model number MGR5750ADW
March 31, 2024
The "up" arrow on the panel does not function
Chris Boyle Profile
Hello Dennis, thank you for reaching out. Based on the description that you have provided, we would recommend checking the control board, part number PS11738461, to fix the issue. We hope this helps.
No Longer Available
Electronic Clock Control
Was this helpful?
Thank you for voting!
  • 1

Common Symptoms of the MGR5750ADW

How this model fails, and the parts that fix it.

Watch our pros, then fix it yourself.

See how others fixed this model. Time, tools, difficulty, and steps that lead to victory! View More

Search repair tips from other customers using simple keywords like "replace", "fit", "remove", "inspect". DIY doesn't mean you have to do it alone!

Search filter:
Clear Filter
Your search term must have 3 or more characters.
Oven would not work but the Broiler did
337 of 374 people found this instruction helpful.
  • James from Ferndale, MI
  • A Bit Difficult
  • 15 - 30 mins
  • Nutdriver, Screw drivers, Socket set
The oven had been working intermittently for a while and after repeated threats of starvation from my spouse I finally took a look even though it was summer and the grill was working fine. The Igniter would glow red when the oven was turned on but the gas would not flow to it no matter what the temperature setting. I searched online and f ound this site that explained it was possible for the igniter to glow but if it was not drawing the correct amperage (because its resistance was too high) then the main brain would not allow the gas valve to open. So I took a look at the broiler and it had the same igniter. I measure the resistance of both of them and the oven igniters resistance was higher (don't rememeber the reading) then I moved the Igniter from the broiler to the oven and the oven worked from there it was just a matter of ordering the part. End of story except for I am still doing all the cooking on the barbecue outside.
Was this helpful?
Thank you for voting!
F1 code - gas over would not heat.
172 of 188 people found this instruction helpful.
  • george from birmingham, AL
  • Easy
  • 15 - 30 mins
  • Screw drivers
Repair tech checked oven and said the control panel was bad and needed to be replaced. The new control panel would cost over $450.00! I found that the oven sensor was bad and replaced it for $30.00. The old oven sensor had failed following a self cleaning cycle. I found that the wires coming out of it were burnt.

Replacing the oven sensor was very easy. I removed the back panels 6 screws to gain access to the sensor's connection. I then removed the 2 screw that hold the sensor in place inside the oven and pulled the old sensor out through the oven. I reversed this process to place the new sensor in the oven.
Was this helpful?
Thank you for voting!
A burner wouldn't spark strongly enough to light the gas.
168 of 188 people found this instruction helpful.
  • Matthew from Brookfield, MA
  • Really Easy
  • Less than 15 mins
  • Pliers
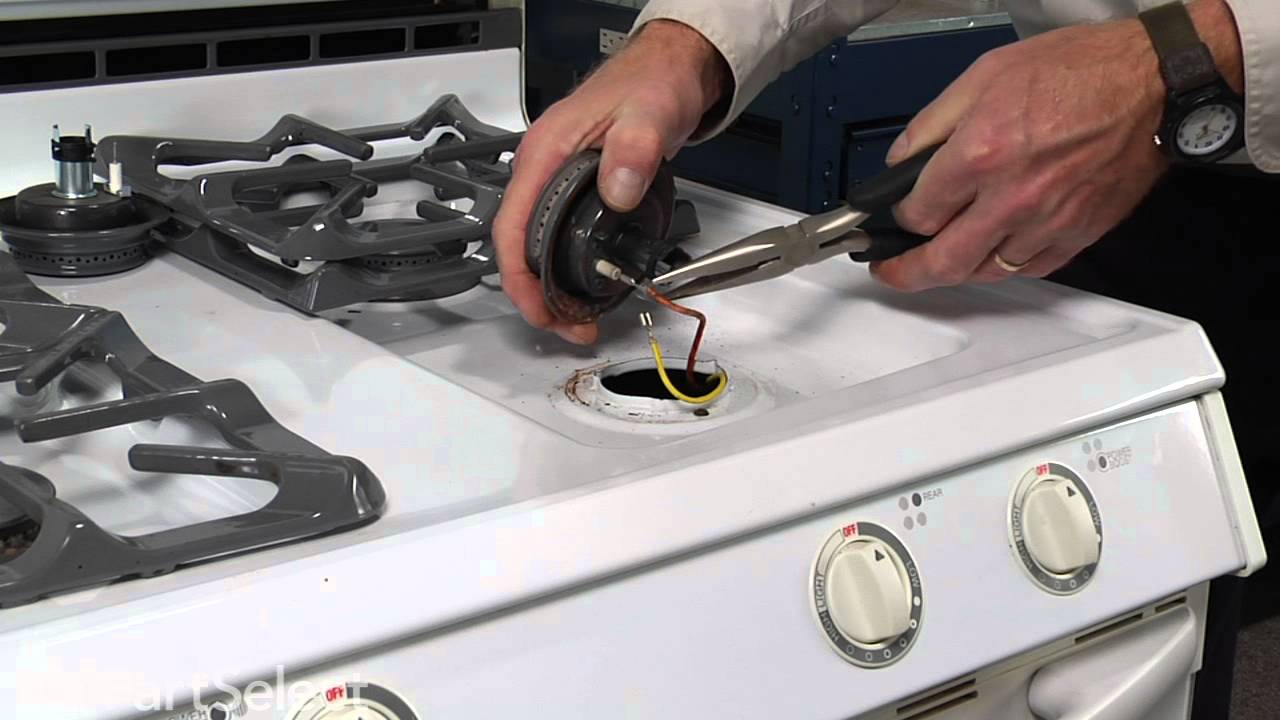
Replacement of these burners is very easy. You just twist the burner counterclockwise a quarter turn and pull it out. (You may need a big wrench if the range is very old.) Once out, just pull the two wires off and push them onto the new burner. Crimp them on with pliers if they're loose -- mine were. Twist the burner back on.
If the gasket under the burner has disintegrated, don't worry about it. They don't offer replacements for them because they're not necessary as a safety feature. They were designed to keep overspills from running under the cooktop, but the ridge around the hole is likely higher than you'd ever need.
Was this helpful?
Thank you for voting!