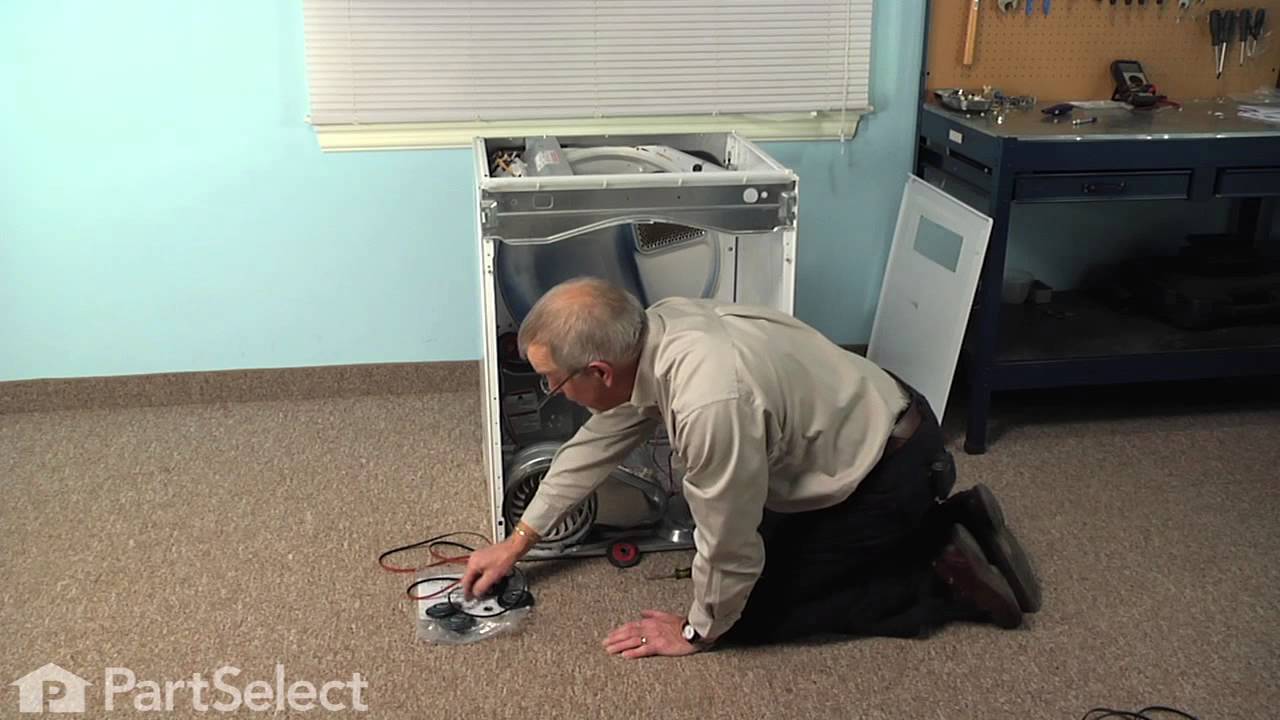
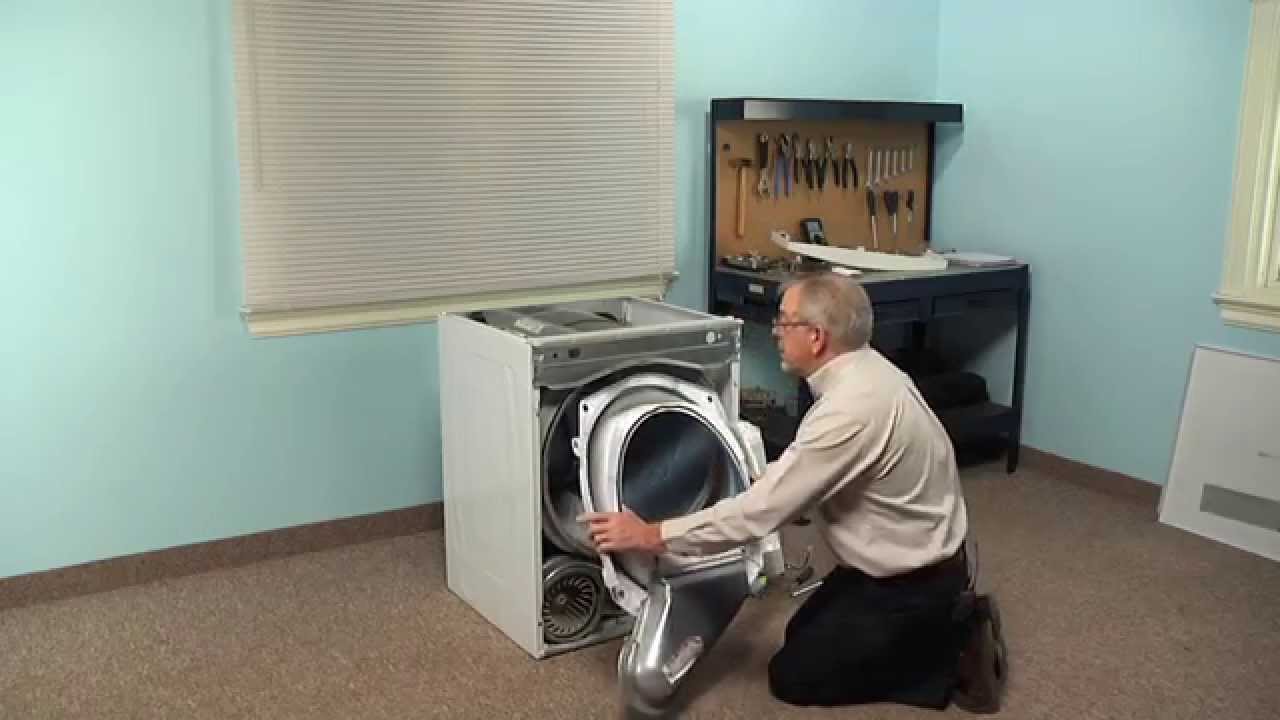
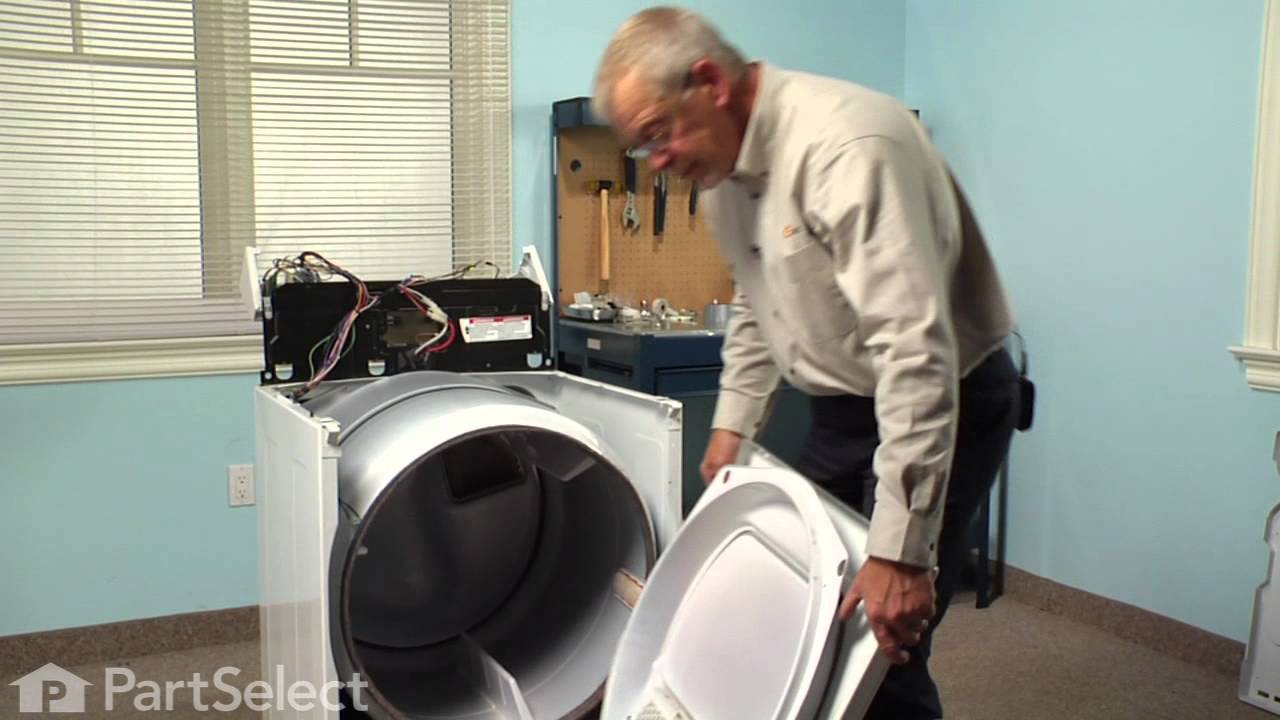
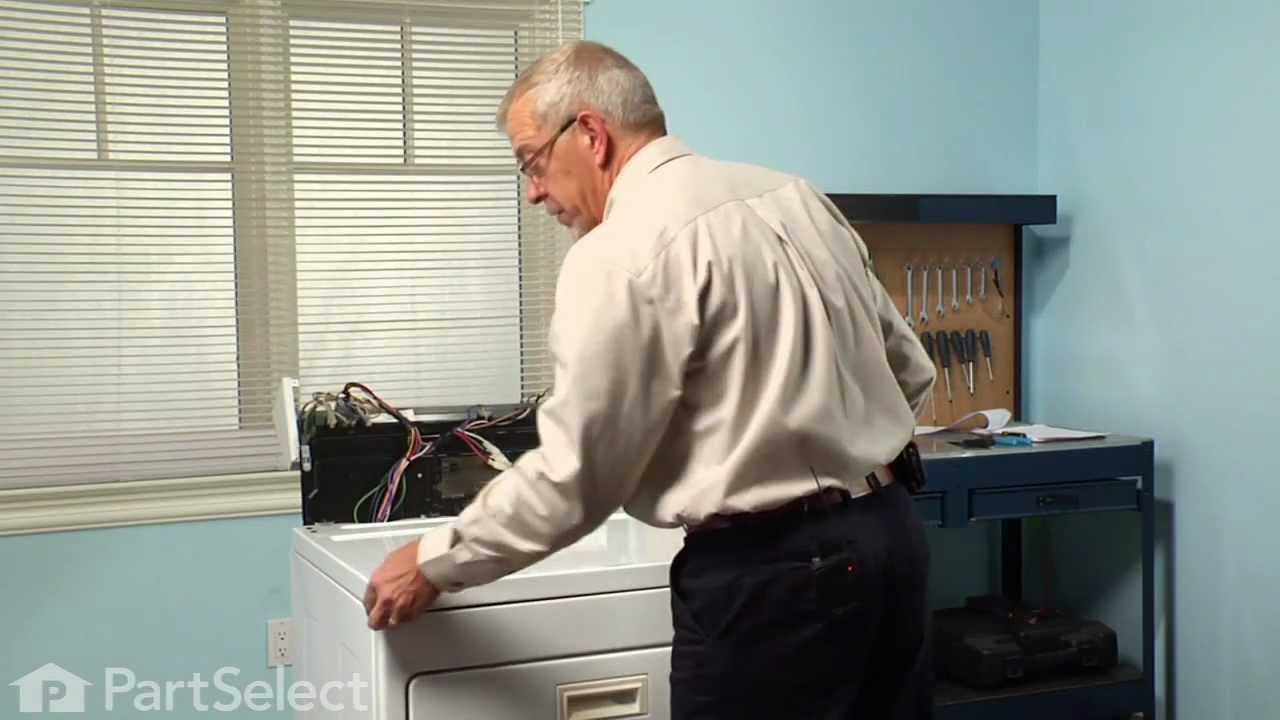
MED6230RHW0 Maytag Dryer - Overview

Enter a part description. DIY Heroes keep it simple, eg. "belt" or "pump".

Search filter:
Clear Filter
Your search term must have 3 or more characters.
Dryer Repair Kit – Part Number: 4392067
$56.05
In Stock
Dryer Repair Kit
★★★★★
★★★★★
(200)
Part #4392067
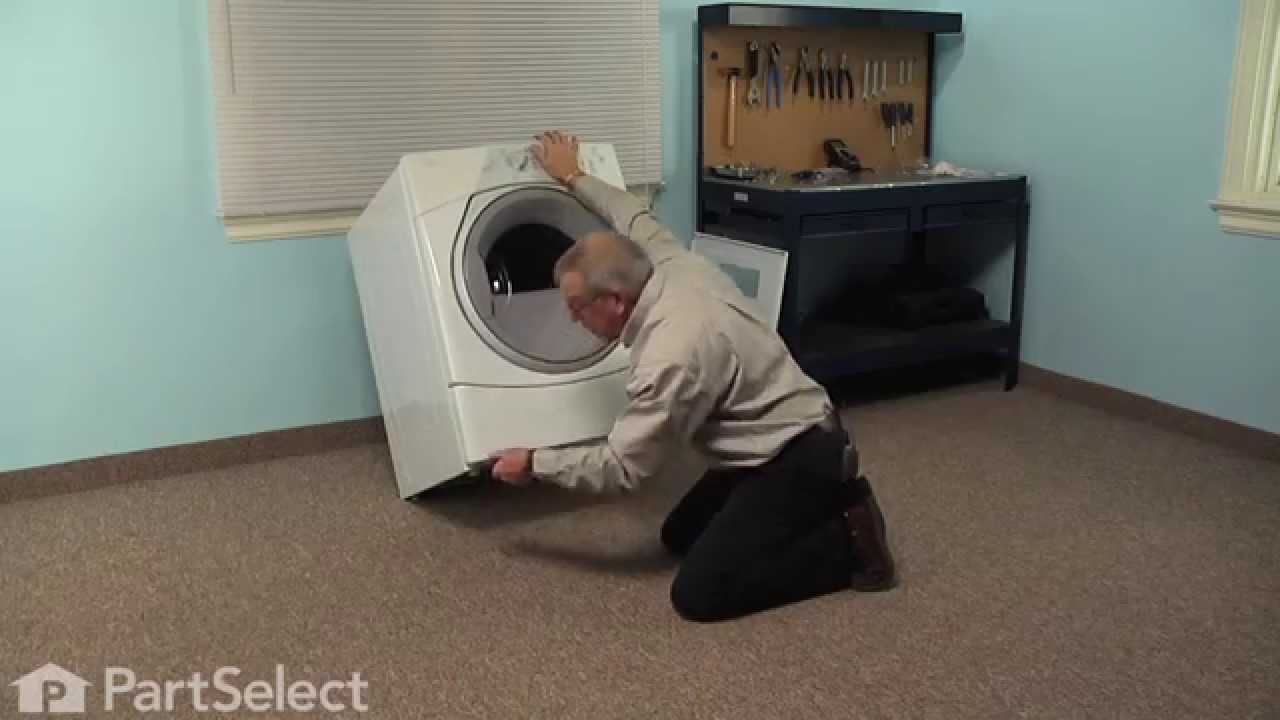
This dryer repair kit consists of five commonly replaced dryer parts: one multi-rib belt (part #661570V and measures 93 1/2 inches long), four drum support rollers, one idler assembly, nine tri-rings, and one washer. This universal maintenance kit is an all-encompassing kit for fixing a noisy dryer, among other symptoms, but noisy being the most common. It is compatible with 27-inch wide dryers built from 1965 onwards. Be sure to disconnect the dryer or shut off the house circuit breaker for the appliance before you begin your repair. To access these parts, you will need to remove the dryer drum. For this installation you will need a 1/4-inch nut driver, a long flat-blade screwdriver, a short flat-blade screw diver, and a Phillips screwdriver.
Idler Pulley – Part Number: 279640
$34.29
In Stock
Idler Pulley
★★★★★
★★★★★
(84)
Part #279640
This Idler Pulley includes the tri-ring and gasket and everything included here is manufacturer-certified. This part maintains correct tension on the drive belt in order to spin the drum properly. If damaged or broken the dryer will not dry properly, will not tumble properly, or may not even start. Installation is rated as "Medium" difficulty. This part is located on the dryer drum, around the tension pulley. Refer to your user manual and model number for repair instructions and to ensure this part is right for you. For this repair project, the tools needed are a Phillips screwdriver, 1/4 inch nut driver, putty knife, small flat blade screw driver, and needle nose pliers.
Dryer Heating Element – Part Number: WP3387747
$85.75
In Stock
Dryer Heating Element
★★★★★
★★★★★
(73)
Part #WP3387747
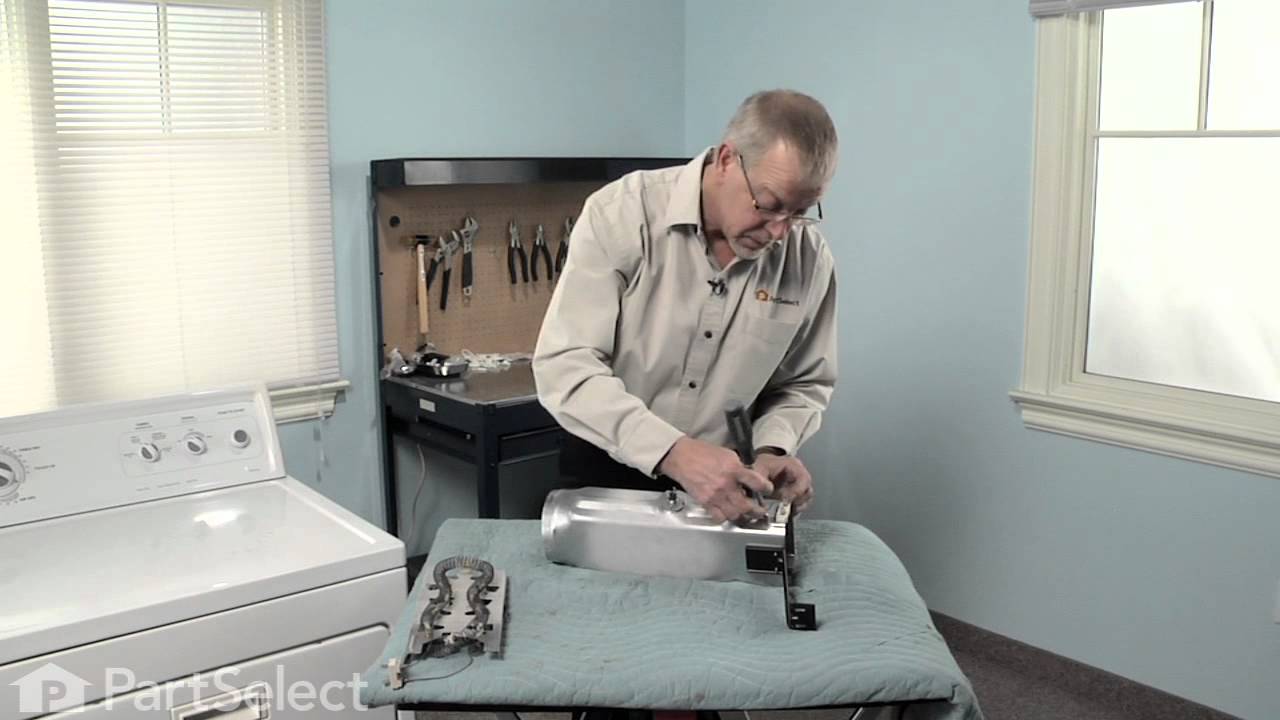
When connected to electricity the dryer heating element glows red hot and generates heat. When air is blown over it, it heats the air which is used to dry the clothes. The heating element fits inside the heater housing inside the dryer. Wear and tear on the heater coil from use will eventually cause the coil to break and the element to fail. When this part fails it can cease to produce any heat. Alternately, the coil could break and short to ground allowing the dryer to continue to heat even when turned off. The latter is a fire hazard and the dryer should be disconnected from power until the element is replaced. If the element coil breaks, the element needs to be replaced. This model is 11 by 5 inches with 5/16” terminals, metal and ceramic, and comes in black. It is sold individually.
Dryer Drum Support Roller – Part Number: WPW10314173
$28.21
In Stock
Dryer Drum Support Roller
★★★★★
★★★★★
(15)
Part #WPW10314173
This genuine OEM dryer drum support roller is designed to hold the drum in place while allowing it to rotate smoothly and quietly during operation. Built for durability and reliable performance, it helps reduce noise and ensures consistent tumbling. Ideal for replacing worn or damaged rollers, it resolves issues such as squeaking, rumbling, or poor drum movement, helping restore efficient and dependable dryer operation.
Lint Filter – Part Number: W10120998
$62.65
In Stock
Lint Filter
★★★★★
★★★★★
(68)
Part #W10120998
This dryer lint filter is designed to capture lint and debris during the drying cycle, helping maintain airflow and prevent potential fire hazards. Measuring approximately 12.5 inches wide by 10.5 inches deep, it fits securely into the designated slot within compatible dryer models. Regular inspection and replacement of the filter are essential for optimal performance. Installation is tool-free—simply remove the old filter and insert the new one. During replacement, it's recommended to check the filter slot for any accumulated lint, which should be cleared to ensure safe and efficient operation.
Multi Rib Belt – Part Number: 661570
$34.28
In Stock
Multi Rib Belt
★★★★★
★★★★★
(52)
Part #661570
The Drive Belt is a 93 1/2" belt which wraps around the dryer drum to allow tension and movement. If broken the dryer will not turn properly, or there may be loud noises. The part is rated as "medium" difficulty to install. Refer to your model number and user manual to ensure this part is correct for you. To complete this repair you will need a Phillips screwdriver, 1/4 inch nut driver, a putty knife, and a pair of needle nose pliers. Ensure you disconnect your power to the dryer before beginning this repair, which should take between 30 and 60 minutes maximum to complete.
Dryer Thermostat Internal bias – Part Number: WP8577274
$45.05
In Stock
Dryer Thermostat Internal bias
★★★★★
★★★★★
(24)
Part #WP8577274
This thermostat may differ in appearance, but functions the same as the original part. This part controls the temperature of the inside of the dryer drum and prevents the dryer from overheating.
Idler Pulley with Bracket – Part Number: W10837240
$41.14
In Stock
Idler Pulley with Bracket
★★★★★
★★★★★
(50)
Part #W10837240
This idler pulley assembly includes the pulley and bracket, ensuring proper tension on the dryer drive belt for smooth drum rotation. Compatible with several Whirlpool, KitchenAid, Maytag, Jenn-Air, Amana, Inglis, and Magic Chef dryers, this OEM part is ideal for replacing damaged components. Disconnect power before installation.
Moisture Sensor – Part Number: WP3387223
$15.29
In Stock
Moisture Sensor
★★★★★
★★★★★
(11)
Part #WP3387223
This is the moisture sensor for your dryer. It helps detect the amount of moisture in your clothes during the dryer cycle. If you notice your clothes are still wet after an automatic dryer cycle is done, you may need to replace the sensor. You will find the moisture sensor behind the lint screen. Be sure to disconnect the power source from the dryer before you begin this repair. Note: Some model's require two sensors, please order quantity needed. Sensor only, harness is not included. This part is sold individually.
Roller Support Tri-Ring – Part Number: WPW10512946
$18.70
In Stock
Roller Support Tri-Ring
★★★★★
★★★★★
(4)
Part #WPW10512946
If you notice that your dryer is noisy or will not tumble, you may need to replace the tri ring. This part is triangular, and is less than an inch in size. Tri rings can be found both on the idler pulley shaft, or on the rear drum roller shaft. In either case, you will need to remove the front panel of the dryer and the drum to access the part for repair. Once you have accessed the damaged tri ring, you will simply need to slip it off and replace it with the new one. This part is sold individually. Be sure to disconnect the power source from the dryer before you begin this repair.
High Limit Thermostat and Thermal Cut-Off Kit – Part Number: 279973
$63.75
In Stock
High Limit Thermostat and Thermal Cut-Off Kit
★★★★★
★★★★★
(20)
Part #279973
Also known as Thermal Cut-Off kit. The thermostat acts as a safety mechanism that keeps the dryer from overheating and the fuse is like a backup system - it's set to trip at a higher temperature than the thermostat. Once it trips, it has to be replaced.
Touch-Up Paint - White – Part Number: 72017
No Longer Available
Touch-Up Paint - White
★★★★★
★★★★★
(23)
Part #72017
This 18 ml bottle of white appliance touch-up paint is used to cover scratches or marks on your appliance. The white touch-up paint can be used on refrigerators, microwaves, ranges, clothes dryers, and freezers. This is a genuine OEM part and includes a brush applicator. Please remember to wear gloves to protect your hands when applying this paint.

Questions And Answers for MED6230RHW0

Ask our experts a question about this model and we'll get back to you as soon as possible!

Sort by:
  • 1
Sorry, we couldn't find any existing answers that matched.Try using some different or simpler keywords, or submit your new question by using the "Ask a Question" button above!
Tricia - For model number MED6230RHW0
January 28, 2026
Does this dryer have a drying rack that would fit inside? It does not have dimples in the back but it has a notch under the light.
Chris Boyle Profile
Hello Tricia, thank you for reaching out. The dryer rack for your model is part number PS1487158. Glad to be of assistance!
$110.50
In Stock
RACK-DRY
Was this helpful?
Thank you for voting!
  • 1

Common Symptoms of the MED6230RHW0

How this model fails, and the parts that fix it.

Watch our pros, then fix it yourself.

See how others fixed this model. Time, tools, difficulty, and steps that lead to victory! View More

Search repair tips from other customers using simple keywords like "replace", "fit", "remove", "inspect". DIY doesn't mean you have to do it alone!

Search filter:
Clear Filter
Your search term must have 3 or more characters.
Burned out heater element
526 of 625 people found this instruction helpful.
  • Alan from Brooksville, FL
  • Easy
  • 30 - 60 mins
  • Socket set
Remove the kick plate from the bottom of the dryer by sliding a putty knife along the top edge to release the plastic clamps, one on each side about 4" in from the edges. The kick plate folds out and down. You will see the heat shield on the right, held in by one hex head screw. Remove screw and heat shield. The element is positioned in a n open-front housing and is fastened to the left side of the housing by two hex head screws, located on the "rail" of the element and right near the two wires. Remove the hex-head screws that hold the element in place and disconnected the two wires by pulling them out by hand or with needle nose pliers. The only difficulty here is the cramped working area...I recommend a stubby socket driver for these two screws. Most of this I had to do by feel because I could not see the screw heads. Once the screws are out and the wires have been disconnected, slide the old element straight out toward you. You may need to disconnect a small plastic hose located to the left front of the element, but this hose just pulls right off. Vacume the dust & lint build-up out of the whole area, wipe out the element housing and clean up the whole underside of the dryer prior to installing the new element. Installation is reverse of removal. It also might be a good opportunity to clean out your exhaust duct and the vent to the outside. (Never use the aluminum foil-accordian-type duct.) If the exterior dryer vent has any kind of screen over it, remove it and get rid of it. Screens collect lint, lint builds up and burns out elements.
Was this helpful?
Thank you for voting!
felt strip came off lint screen
223 of 279 people found this instruction helpful.
  • JEFFREY from FALL RIVER, MA
  • Really Easy
  • Less than 15 mins
ordered new lint screen, removed old screen, inserted new screen.
Was this helpful?
Thank you for voting!
very loud squeeling sound
110 of 120 people found this instruction helpful.
  • jason from HOLDEN, MA
  • Really Easy
  • 30 - 60 mins
  • Socket set
The issue was the idler pulley. First I began opening up the front panel based on a youtube video but soon realized the model was slightly different and required a lot more items to remove. I saw the pulley in the back with nothing in the way so I put the front panel crap back on and removed the rear panel. There it was, very simple to re move and replace. I'm not looking forward to drum rollers though. Hopefully they're aren't as difficult as they appear.
Was this helpful?
Thank you for voting!