MEC7430BB00 Maytag Cooktop - Overview

Diagrams for MEC7430BB00

See every part. Know exactly what you need.

Enter a part description. DIY Heroes keep it simple, eg. "belt" or "pump".

Search filter:
Clear Filter
Your search term must have 3 or more characters.
6" Surface Element, 1200 W – Part Number: W11171119
$210.09
In Stock
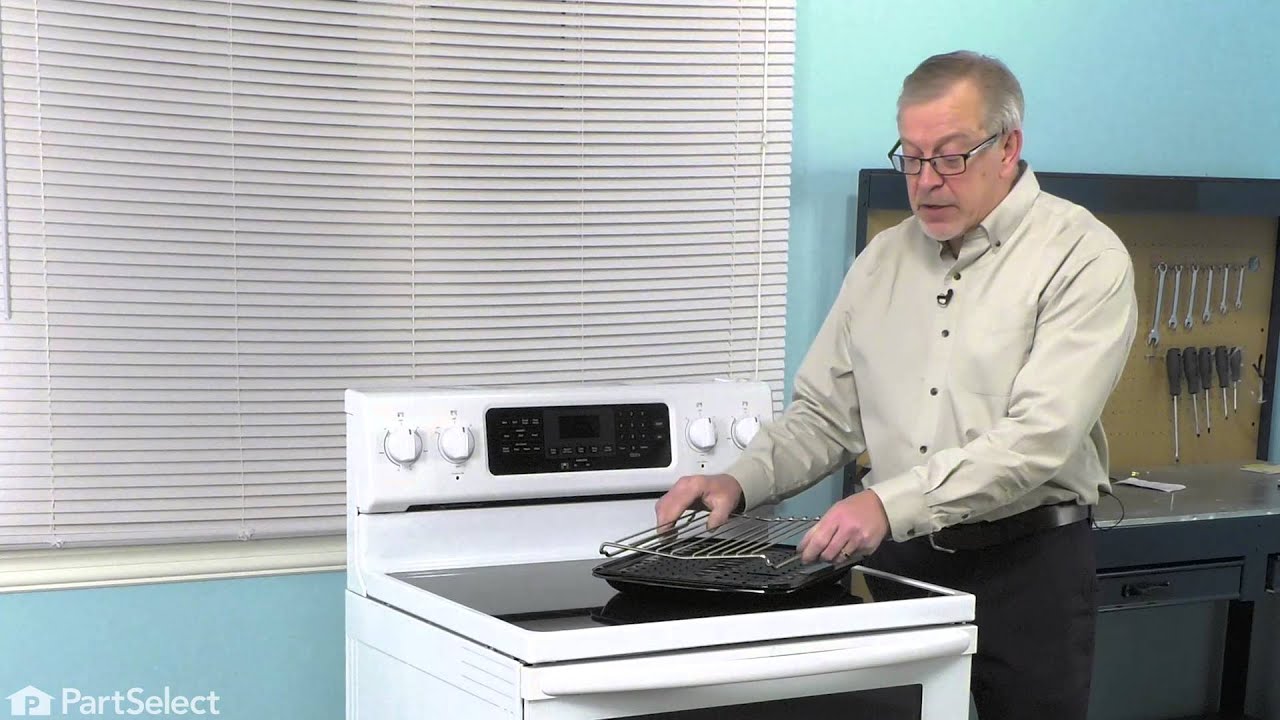
Broiler Pan with Roasting Rack – Part Number: W10123240
$165.07
In Stock
Broiler Pan with Roasting Rack
Part #W10123240
This is a 3 piece set.
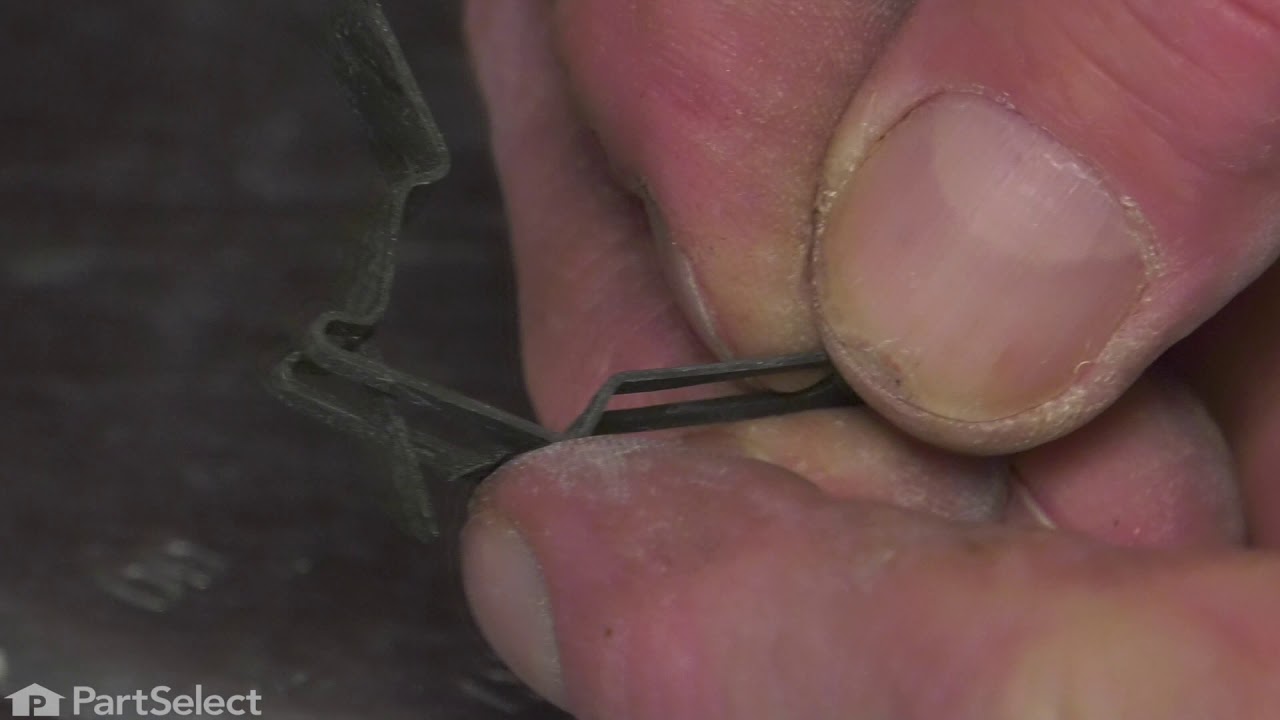
2 Piece Broiler Pan – Part Number: 4396923
$66.88
In Stock
2 Piece Broiler Pan
★★★★★
★★★★★
(2)
Part #4396923
This broiler pan and roasting rack set features a two-piece design that allows fat to drain away for cleaner cooking and reduced splatter. Made with a durable, high-heat resistant porcelain finish, it offers reliable performance and easy cleanup. Measuring approximately 16 3/4 inches long by 12 3/4 inches wide and 1 3/4 inches high, it provides a practical solution for everyday broiling and roasting.
Dryer Screw – Part Number: WP90767
$10.40
In Stock
Dryer Screw
Part #WP90767
This screw is sold individually.
Range Rubber Grommet – Part Number: WPW10293874
$13.81
In Stock
Range Rubber Grommet
★★★★★
★★★★★
(2)
Part #WPW10293874
Sold individually.
Surface Element - Right Front – Part Number: WPW10251107
$299.02
In Stock
Surface Element - Right Front
★★★★★
★★★★★
(1)
Part #WPW10251107
Cook with confidence using this radiant surface element. It heats your cookware evenly for great results and sits under the glass cooktop for a sleek look. If your burner isn’t heating or cooks unevenly, this replacement can fix the problem. Installation is simple—just remove the old element and put the new one in place. A quick way to get your range working like new.
CLEANER – Part Number: W10355010
No Longer Available
CLEANER
Part #W10355010
CLEANER – Part Number: W11042467
No Longer Available
CLEANER
Part #W11042467
Surface Element Switch – Part Number: WPW10434447
$138.67
In Stock
Surface Element Switch
★★★★★
★★★★★
(3)
Part #WPW10434447
This dual infinite surface element switch regulates the heat output of an electric cooktop burner by controlling the voltage supplied to the heating element, allowing smooth adjustment from low simmering to high-heat cooking. Designed to power burners with both an inner and outer heating ring, it lets you select either the smaller inner ring for everyday use or both rings when additional cooking surface and heat are needed. Rated for 15 amps at 240 volts, this switch helps maintain consistent temperature performance. Replacing a worn switch can resolve issues such as a burner that won’t heat, heats inconsistently, responds unpredictably to knob adjustments, or shows signs of electrical problems like buzzing or intermittent power. Installation typically involves disconnecting the appliance from power, accessing the control panel, and transferring the wiring to the new switch.
Infinite Switch - (RR) – Part Number: WP74007840
$236.33
In Stock
Infinite Switch - (RR)
Part #WP74007840
This switch controls the stove top surface burner. To the Rear Right Burner and Center Rear Burner
Surface Element Switch – Part Number: WPW10462778
$113.21
Special Order
Surface Element Switch
★★★★★
★★★★★
(2)
Part #WPW10462778
This surface element switch regulates heat levels by controlling power to the cooking element. Designed for smooth adjustment and consistent performance, it is replaced when burners fail to heat properly or remain stuck at one temperature.

Common Symptoms of the MEC7430BB00

How this model fails, and the parts that fix it.

Watch our pros, then fix it yourself.
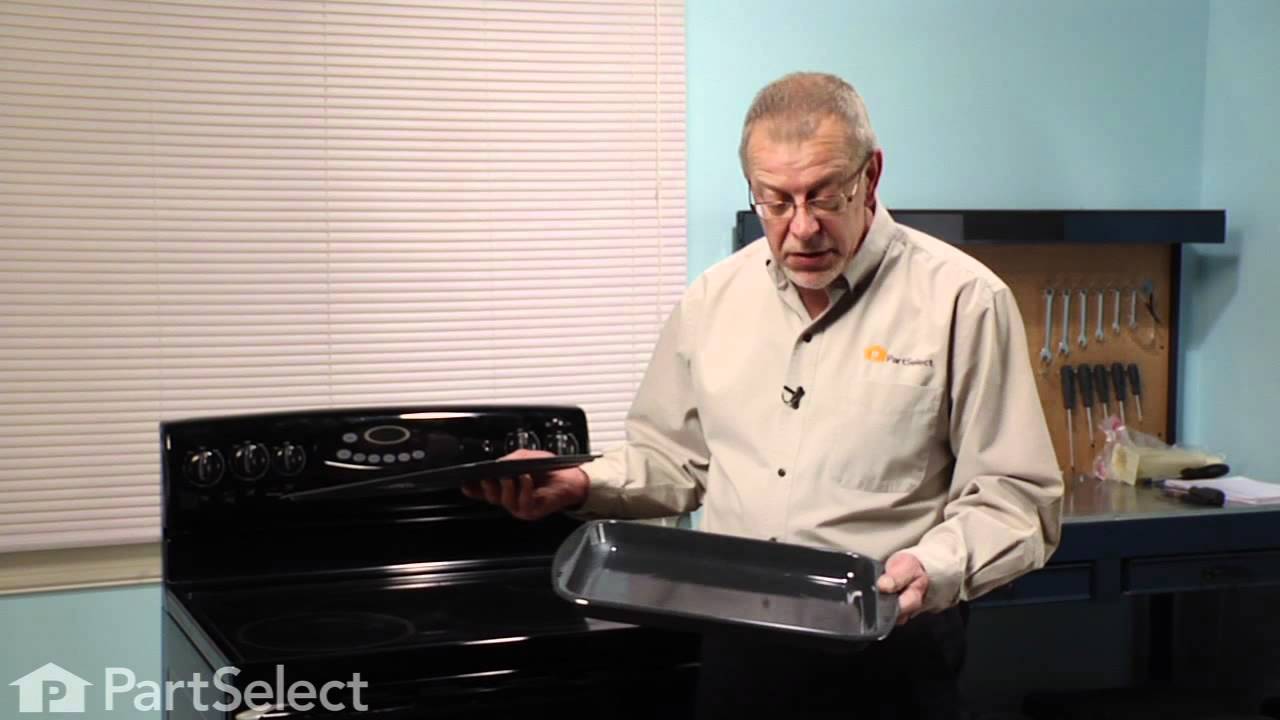
See how others fixed this model. Time, tools, difficulty, and steps that lead to victory! View More

Search repair tips from other customers using simple keywords like "replace", "fit", "remove", "inspect". DIY doesn't mean you have to do it alone!

Search filter:
Clear Filter
Your search term must have 3 or more characters.
Surface Element Out
61 of 82 people found this instruction helpful.
  • Terry from Rockwall, TX
  • Really Easy
  • Less than 15 mins
  • Screw drivers
Took 2 screws under front edge of smooth top. Unscrewed ground wire from back of smooth top unit. Unplugged 2 wire bundles, from back. Took bad element out , put in new one. Put back together. About 10 min's tops. Easy peasy.
Was this helpful?
Thank you for voting!
Glass top stove element stopped working
25 of 35 people found this instruction helpful.
  • Robert from Fruitland Park, FL
  • Easy
  • 15 - 30 mins
  • Screw drivers
really easy! Removed 2 screws under the glass top at the front, access from the open oven door, then removed the ground wire, removed the stove top, took the element holder off,( 2 screws)and replaced with new element, 30 minutes. I ordered the part and came within 18 hrs of ordering it, fantastic experience.
Was this helpful?
Thank you for voting!
Shorted Switch from a pot boiling over
12 of 14 people found this instruction helpful.
  • James from Pineville, LA
  • Easy
  • 15 - 30 mins
  • Nutdriver, Screw drivers
Lift the cooktop out of it's inset in the counter top, flip it upside down and lay it on towels to protect the cooking surface. There is a raised rectangular panel that covers the switches located about the center front of the bottom. Remove this panel with a small nut driver to expose the switches. Now, locate the dead switch and place a strip of masking tape pointing to it and lapping around the edge so it can be seen when the unit is flipped back upright. Flip cook top back upright. Locate the correct switch by observing the masking tape. There are two small, short-threaded, phillips screws holding the switch in place. They must be accessed from the knob hole (remove rubber grommet)and at a slight angle. There is very little room to extract the screws...this is where I used the magnet to magnitize the tip of a small screw driver. Once the screw is free of the threaded hole, lift it with the magnetized screwdriver out through the knob hole. The switch will fall out easily when the two screws are removed. If you drop one of the screws inside the stove top, don't panic, I was able to shake the cook top and retrieve the screw. Now, flip the top back upside down. Using a pair of pliers remove each wire one at a time from the bad switch and connect it to the same terminal on the new switch...this way there can be no mistakes. Be sure the rubber insulator removed from the bad switch and placed on the new one. Position it where the screw holes show through, then place the switch in position. Turn the top back over in the upright position but position it where you can reach underneath it with your left hand. You will have to hold the switch and maybe move it around slightly to aline the screw holes when replacing the screws. Take a screw on the end of the magnetized screwdriver and carefully insert it into the knob hole and into the switch bracket. once you get one started, the other will be easy. I don't recall the screw replacement being any problem, just that you have to handle the screws carefully, so as to not drop one inside the cook top. Now, flip the top back over and replace the cover over the switches and replace the top in it's cabinet. The job is complete, Oh, and don't forget to flip the stove's cirduit breaker BEFORE even touching the stove!
Was this helpful?
Thank you for voting!