


 My Orders


MDG12CSAAW Maytag Dryer - Overview
Diagrams for MDG12CSAAW
See every part. Know exactly what you need.


Enter a part description. DIY Heroes keep it simple, eg. "belt" or "pump".
Search filter:
Clear Filter
Your search term must have 3 or more characters.

$33.28
In Stock
Drum Support Roller Kit
Part #12001541
This drum support roller includes one drum roller and two bearings. Most dryers use two drum rollers, and it is recommended to change both at once.

$37.35
In Stock
Tumbler and Motor Belt
Part #WPY312959
The tumbler and motor belt in your dryer allows the drum to spin during the drying cycle. At 100 inches in length, this dryer drum belt is 3/8 of an inch wide and has five ridges. The belt is black in color and it is made entirely of rubber. If your dryer will not tumble, is noisy during operation, or will not start you may need to replac...Read moree the belt. To complete this repair, you will need to remove the front panel as well as the drum. You will need a 5/16 nut driver and a stubby Phillips screwdriver to complete the repair. Be sure to disconnect power to the dryer before you begin this repair. During the repair, make sure the belt doesn't fall into the groove in the drum, which will cause it to be too loose. You should be able to access the belt and replace it by removing the front panel and bulkhead.
Read less

No Longer Available
Roller Shaft
Part #WP6-3129480
This roller shaft is the axle for the drum roller, also known as drum roller axle.

$19.14
In Stock
Front Glide Kit
Part #306508
This front glide kit comes with a blue plastic glide, a brown cork pad, and two metallic rivets. Two kits are required per appliance. A rivet tool is required for this installation.

$32.26
In Stock
Blower Wheel with Clamp
Part #Y303836
This blower wheel comes with a metallic hub clamp to hold it firmly in place.

$36.25
In Stock
M Series New Style Coil Kit
Part #279834
This gas dryer ignition coil set comes with two ignition coils: one three-terminal boost/hold coil, and one two terminal secondary coil. Usually only one of them burns out but you should replace them as a set. Both have to be operational for the gas valve to open.

$12.00
In Stock
Dryer Retaining Ring
Part #WP9703438
This metallic retaining ring is less than an inch in diameter. It is made entirely of metal.

No Longer Available

$18.41
In Stock
Drum Roller Shaft Washer
Part #WP312535
This roller shaft washer is just under an inch in diameter and is used for some of Whirlpool's brands of clothes dryers.Sold individually.

$48.35
In Stock
Flat Style Igniter
Part #4391996
This flat style igniter comes with a wire harness connector. This part ignites the gas within the dryer. Bracket is NOT included.

$25.19
In Stock
Idler Pulley Wheel
Part #WP6-3037050
This part is used to help the belt to rotate the drum. It is white and made of plastic with a metallic bearing in the center.

$35.75
In Stock
Common Symptoms of the MDG12CSAAW
How this model fails, and the parts that fix it.
Noisy
Fixed by
these parts
these parts


Show All
Not Heating
Fixed by
these parts
these parts


Show All
Drum Not Spinning
Fixed by
these parts
these parts


Show All
Door won’t close
Fixed by
these parts
these parts

Show All
Marks left on clothes
Fixed by
these parts
these parts


Show All
Too hot
Fixed by
these parts
these parts

Show All
Won’t Start
Fixed by
these parts
these parts

Show All
Door Pops Open
Fixed by
these parts
these parts
Show All
Running With Door Open
Fixed by
these parts
these parts
Show All
Door latch failure
Fixed by
these parts
these parts

Show All
Watch our pros, then fix it yourself.
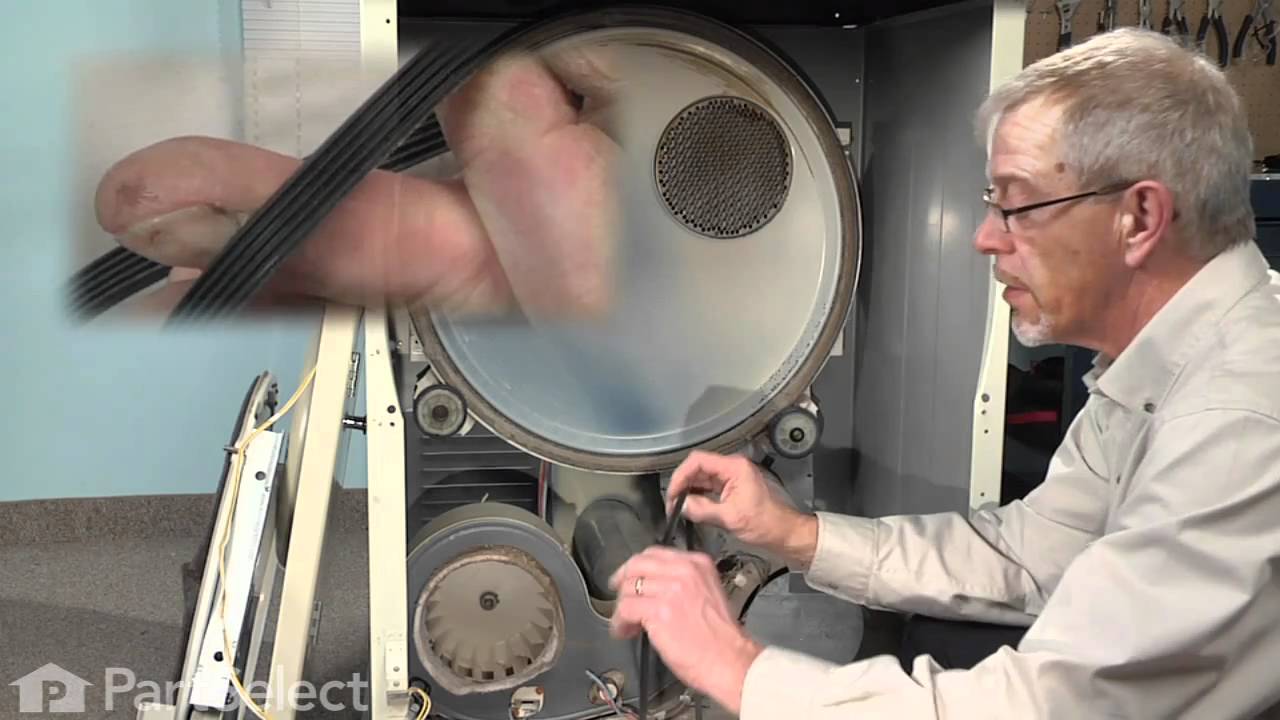
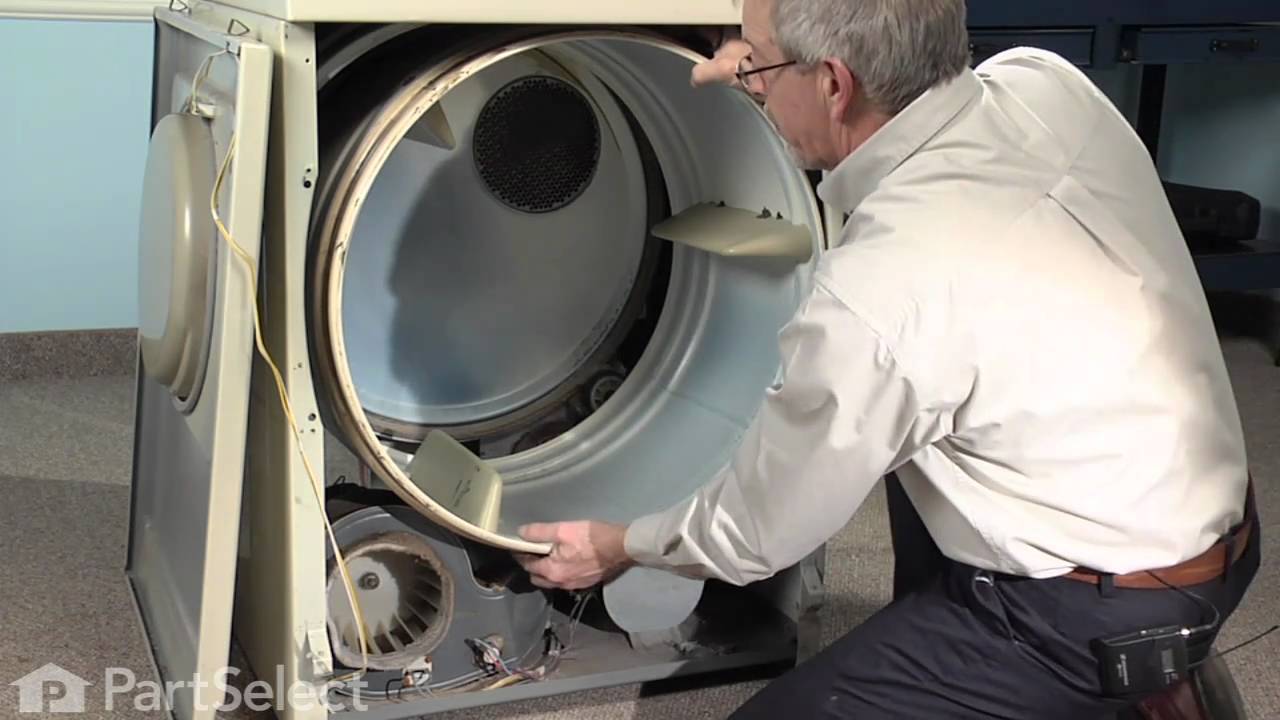
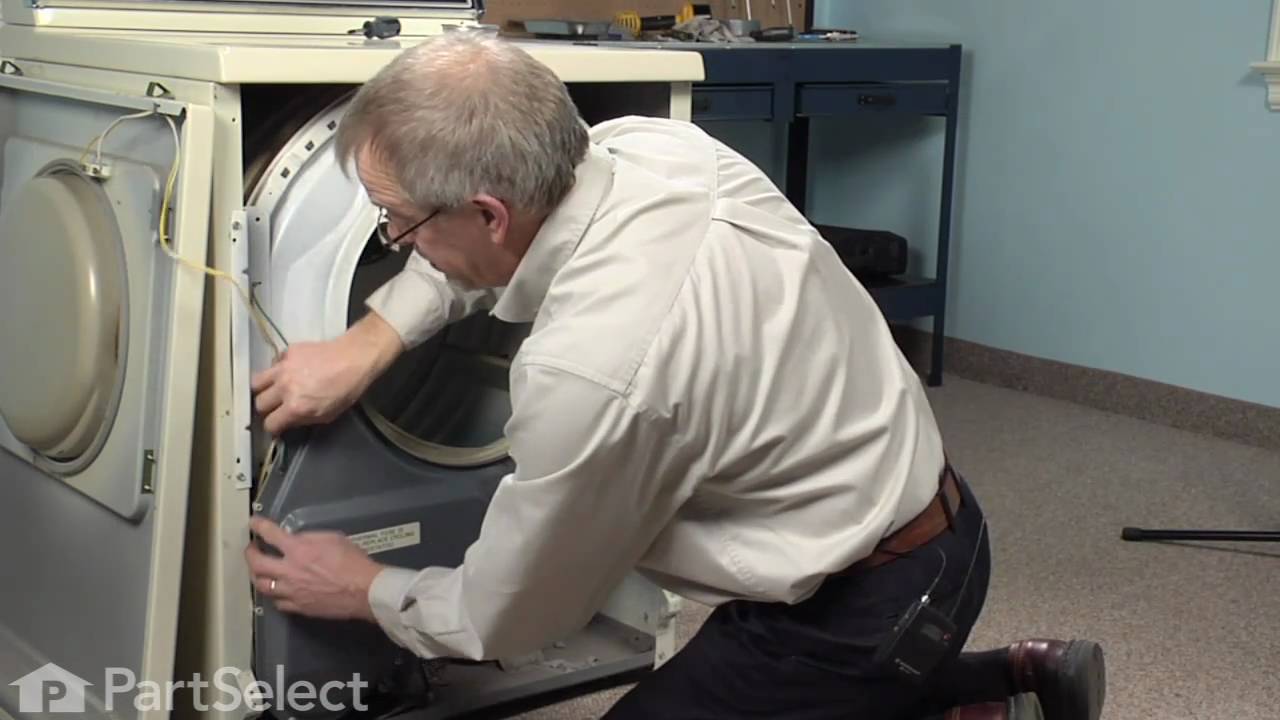
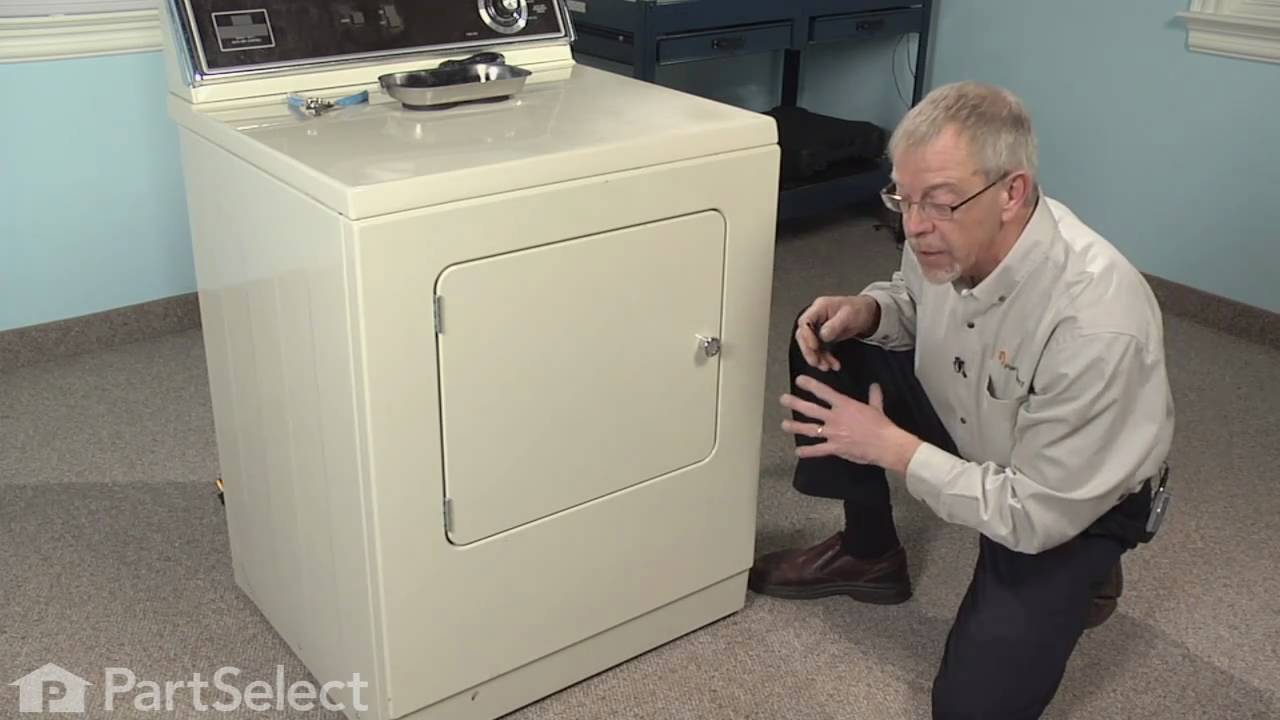
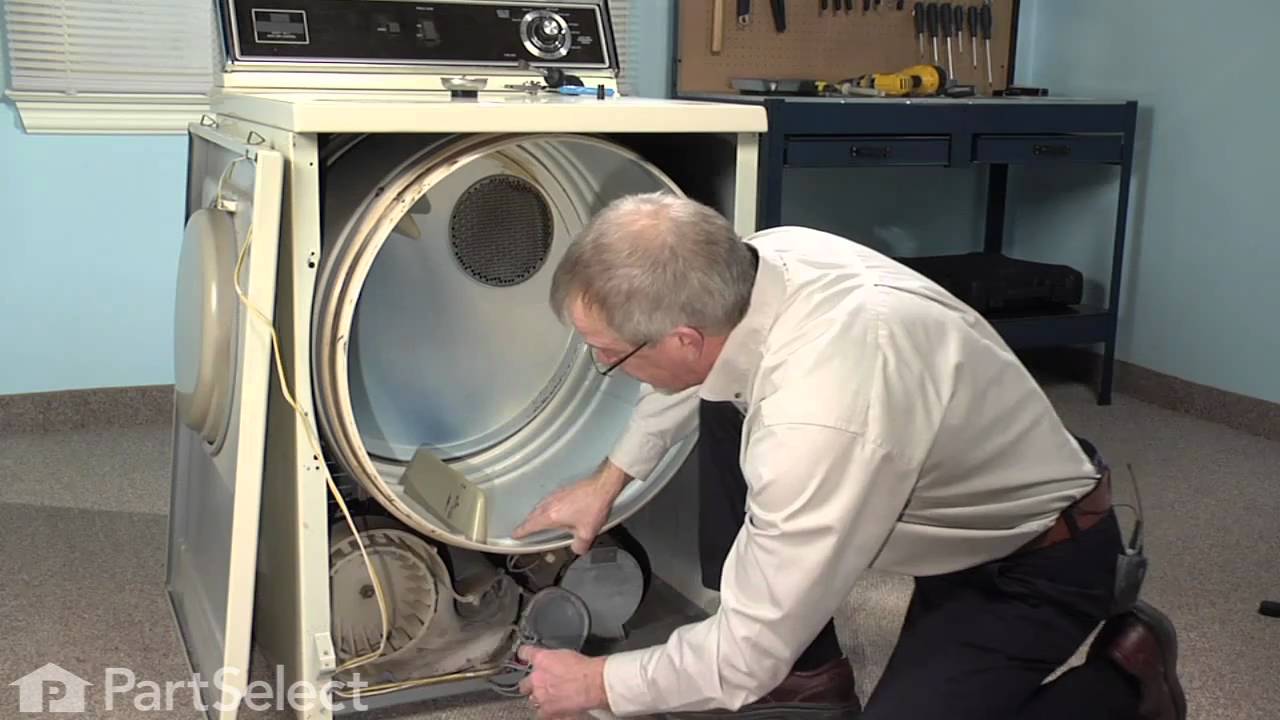
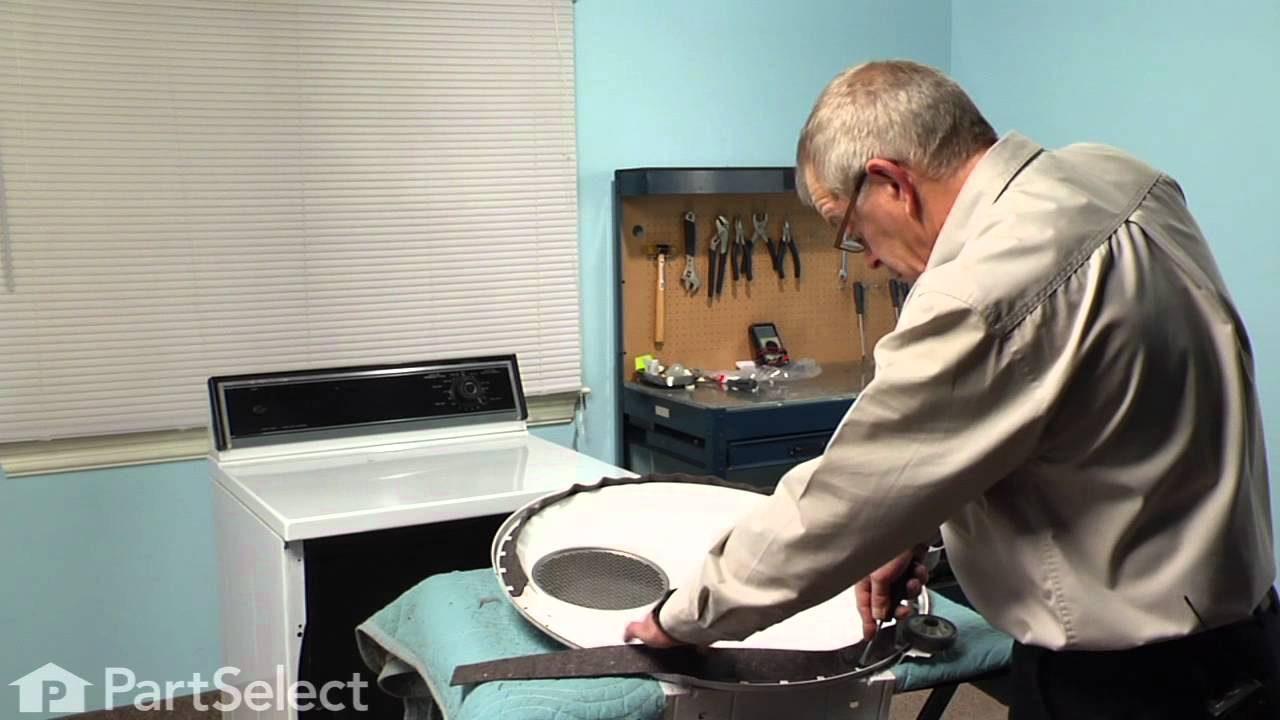
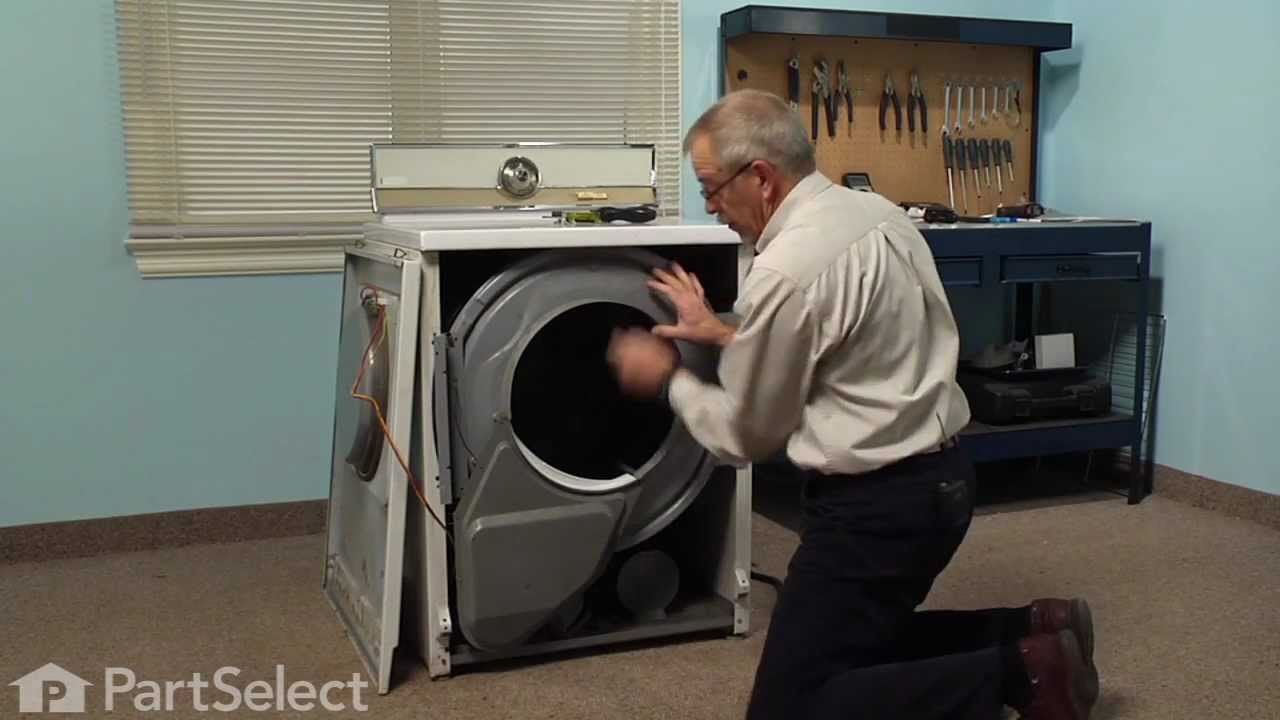
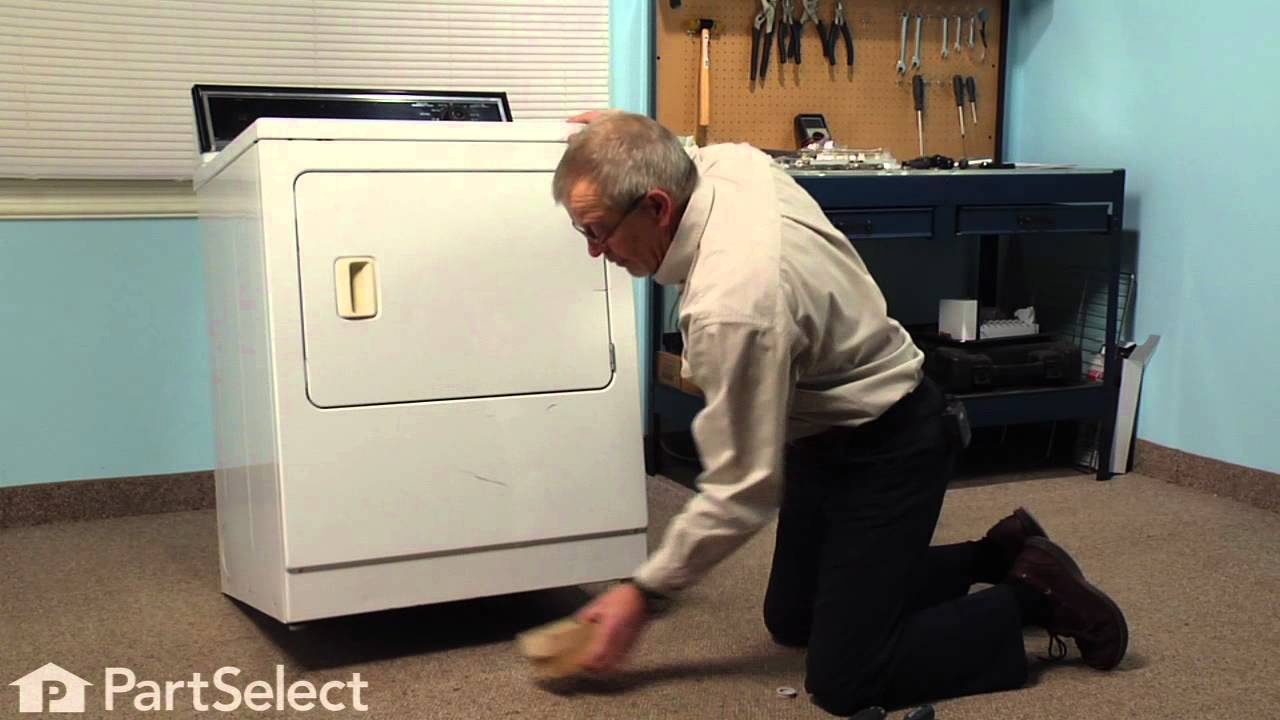
See how others fixed this model. Time, tools, difficulty, and steps that lead to victory!
View More
Search repair tips from other customers using simple keywords like "replace", "fit", "remove", "inspect". DIY doesn't mean you have to do it alone!
Search filter:
Clear Filter
Your search term must have 3 or more characters.
dryer squeeking
525 of 567 people
found this instruction helpful.
removed front panel,lifted top, removed drum and drive belt,remove old rollers and acc and instlled new and reinstalled dryer parts.
Other Parts Used:


Was this helpful?
Thank you for voting!
Belt broke on old machine.
542 of 668 people
found this instruction helpful.
1. Removed front of machine (2 screws at the bottom).
2. Removed 4 screws from inside the dryer, to take off the blower housing.
3. Removed 4 screws and took out the large metal piece which supports the drum at the front. Removed the drum.
4. Replaced the two rollers that support the drum in the rear. Cleaned the pins they ... Read more run on, and oiled very lightly. Also replaced the idler roller. I was surpirsed to see that these rollers use plain bearings, not ball bearings.
5. On the front support piece, drilled out the rivets for the glides, and replaced the worn out glides with new parts. Applied a little glue (3M weatherstrip adhesive) to the cork pieces, to glue them to the metal. Attached the plastic pieces over the cork pieces, and riveted in place using rivets that came with the glide kits.
6. Replaced front and rear felt seals. This was not as tricky as I expected it to be. They were held in by metal tabs. Glued the ends where they came together.
7. Replaced the felt blower seal. Glued to the blower housing.
8. Reinstalled the drum, installed new belt, which came with good instructions (luckily).
9. Reassembled front support piece and the front of the cabinet.
I also cleaned the lint from the cabinet and from the vent hose.
In general, the job went without a hitch, and the machine probably has quite a few years left, despite the fact that it's 18 years old. This gives me a good feeling.
I'd say this would be challenging, though, for someone who is not pretty experienced with machinery repair. Also, the cost of the parts was significant enough that it would not have been unreasonable to have opted for a new machine.
Read less
Other Parts Used:


Was this helpful?
Thank you for voting!