These agitator directional cogs are commonly referred to as dog ears. They come four to a package and are usually used with direct drive washing machines.
This direct drive motor coupling (Direct Drive Washer Motor Coupling, Motor Coupling, Washer Motor Coupling, Coupling Kit) provides a cushioned connection between the transmission and the motor shaft. It attaches to the direct-drive transmission and the motor shaft. If this part is defective it will affect the agitator in your washer beca...Read moreuse of its direct connection with the motor. Your washer may not agitate, spin slowly, or not spin at all. The coupling must be replaced when there is no longer a consistent connection between the transmission and the motor shaft. The coupling can wear over time because of its location between two major parts of the dryer. It is subject to material fatigue over time from normal use, or breakage caused by frequent overloading. The part measures approximately 2 inches in diameter, and is constructed of plastic and metal. This model comes in black/white.
This pump is intended for use with washing machines that do not have belts. This drain pump has two ports for water to pass through: a large one, and a smaller one.
The suspension spring supports the outer tub and keeps the tub steady during loads that could cause an unbalance. If this part breaks, is worn down or has stretched out and lost its spring, it could cause the load to be off-balance which can lead to excessive shaking, moving, noise, and leaks. For this repair, you will need a 1/4 nut driv...Read moreer, a putty knife, a flat blade screwdriver, and a pair of needle-nose pliers. Disconnect the power supply, fill hoses, and drain hose to give you safe and easy access (have a container nearby for water left in drain hose). This item is sold individually, which is important as you may need to repair multiple springs in your appliance, which carries three suspension springs. As an inexpensive part, we recommend purchasing several at a time, as they can be very useful to have on-hand.
A worn clutch can cause a slower spin speed which will leave your clothes wet after a cycle. This clutch assembly comes with brake cam driver, blue spring for large capacity washers and black spring for compact washers. As per factory, the blue spring (1.24") replaces the black spring (1.46").
This 18 ml bottle of white appliance touch-up paint is used to cover scratches or marks on your appliance. The white touch-up paint can be used on refrigerators, microwaves, ranges, clothes dryers, and freezers. This is a genuine OEM part and includes a brush applicator. Please remember to wear gloves to protect your hands when applying this paint.
Ask our experts a question about this model and we'll get back to you as soon as possible!
We may have answered a similar question already! Search questions and answers left by others using simple keywords like "fit", "broken", "easy", or "quality" to find questions that match.
Search filter:
Clear Filter
Your search term must have 3 or more characters.
Sort by:
Prev
1
Next
Sorry, we couldn't find any existing answers that matched.Try using some different or simpler keywords, or submit your new question by using the "Ask a Question" button above!
Anpalagan - For model number LSN2000PW3
March 18, 2020
Not drining water
Hello Anpalagan, thank you for your question. If the unit is not draining water we would recommend replacing the drain pump PS11741239. This is the most common cause of that issue, if the drain pump is ok the issue could be the coupling, clutch or lid switch. I hope this helps.
Washer doesn’t do final spin but spins between wash and rinse. What’s wrong? I already replaced the cogs and cleaned those attached parts and it was working fine for 2 months. A couple weeks ago though, I could open the lid during the spin cycle. Now I hear the spinning noise but the drum isn’t actually spinning. (I peeked with the lid almost closed completely) Clothes are wet at the end of the cycle.
Hi Shirley,
Thank you for your question. If your washer does not do a final spin, there are some parts that you will need to check to see which one is causing the issue. You will need to check the direct drive motor coupling, the lid switch and the clutch assembly. We have included a link that you may reference on how to check these parts. Once you have determined the part you need, please feel call customer service. We look forward to hearing from you!
Hi, i need the spanner wrench to take off the nut on top of the shaft . It has a square lug cut out of an aluminum round nut at 3 , 6 ,9 ,12 .
Hello Marvin and thanks for writing.
We do not carry the spanner wrench, you should be able to find that wrench at a local hardware store, you might be able to grab the nut with needlenose pliers but that will depend on how tight they are.
Spanner nut # PS11738884. We hope this helps. Please contact us anytime.
See how others fixed this model. Time, tools, difficulty, and steps that lead to victory!View More
Search repair tips from other customers using simple keywords like "replace", "fit", "remove", "inspect". DIY doesn't mean you have to do it alone!
Search filter:
Clear Filter
Your search term must have 3 or more characters.
No movement from Basket & agitator
1124 of 1228 peoplefound this instruction helpful.
Jeff from Wayne, NJ
Easy
30 - 60 mins
Pliers, Screw drivers, Socket set
The job looked intimidating but turned out to be very easy. First take off the water pump by removing the two clips that hold it in place. Place a shallow pan under the pump to catch the water that is in the pump and hoses. Open the hose clamps with a pair of pliers or channel locks (better) and slide the hoses off of the water pum
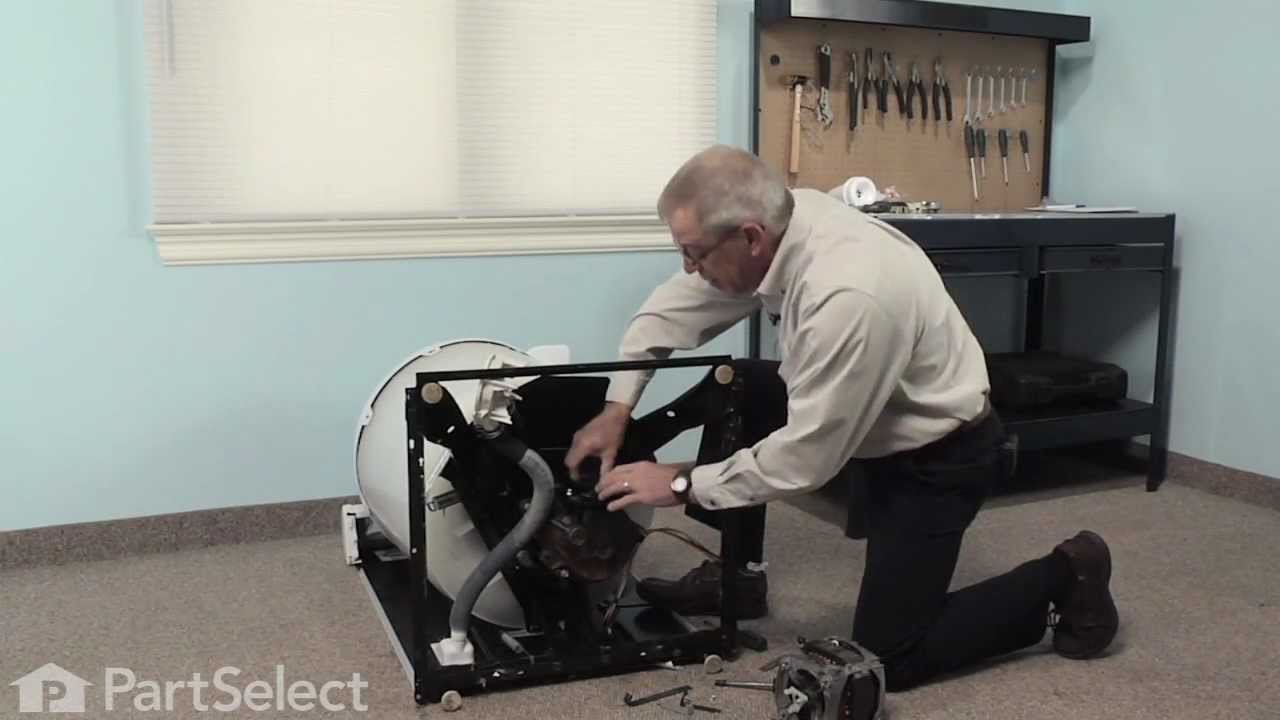
... Read morep. The motor comes off next. Unplug the electrical connector from the motor and two wires from the capacitor. Remove the two screws holding the clamps in place and then pop off the two clamps. You will need to hold up the motor with one hand while you remove the clamps or it will fall to the floor once the clamps are removed. One piece of the coupling assemble will be attached to the motor and the other will be attached to the gearcase drive shaft. If you want to clean up the mess created by the shredded rubber center piece of the coupling assembly you will have to take off the motor mounting plate. It is held on by two bolts and removing it makes installing the coupling easier but probably not necessary. Push the back half of the coupling on to the gearcase drive shaft until the shaft is flush with the face of the coupling. Install the new rubber center piece on to the coupling then re-install the motor mounting plate. Install the other half of the coupling on to the motor shaft and lift the motor up to the coupling. You have to rotate the motor shaft by spinning the fan blades until the coupling lines up so you can slide it into the other half of the coupling. Then just reattach the motor, connectors and water pump in the reverse order of disassembly.
Read less
Was this helpful?
Thank you for voting!
washer wouldn't agitate
956 of 1058 peoplefound this instruction helpful.
mike from Kent, WA
Easy
15 - 30 mins
Screw drivers, Socket set
First pry off the cap of the agitator. Then using a socket remove the bolt that holds the plastic cup in place. Remove this cup by prying it loose from the two tabs that hold it in place. Once this cup is removed you can get to the broken cogs. Slip the new cogs into the underside of the cup, and slide the cup back down in the a
... Read moregitator housing using the slots on the side for a guide. (You may want to remove the entire agitator and assemble everything upside down, then flip it all back over to mount, so the cogs don't fall out). Tighten the bolt, snap the cap back in place on top of the agitator and your'e done. Easy repair.
Read less
Was this helpful?
Thank you for voting!
Water pump leaking when machine used.
594 of 637 peoplefound this instruction helpful.
Tom from Granby, MA
Really Easy
Less than 15 mins
Pliers
The hardest part of this job was pulling the machine away from the wall so the hoses could be disconnected and the machine flipped onto it's back. Putting the machine on it's back does two things. It drains the water left in the bottom of the tub so it won't pour out onto the motor when the old pump is removed, and gives the necessary a
... Read moreccess to the pump. Once the machine is on it's back you remove the hose clamps with a pair of pliers and disconnect the hoses. The pump is secured to the motor with a pair of spring steel retaining clips which are easily popped off by hand. Once the clips are removed, the pump is in your hand. Put the new pump in place, replace the retaining clips and hoses, and you're done. This has to have been the easiest repair I've ever done. I wish cleaning gutters was this easy.



 My Orders