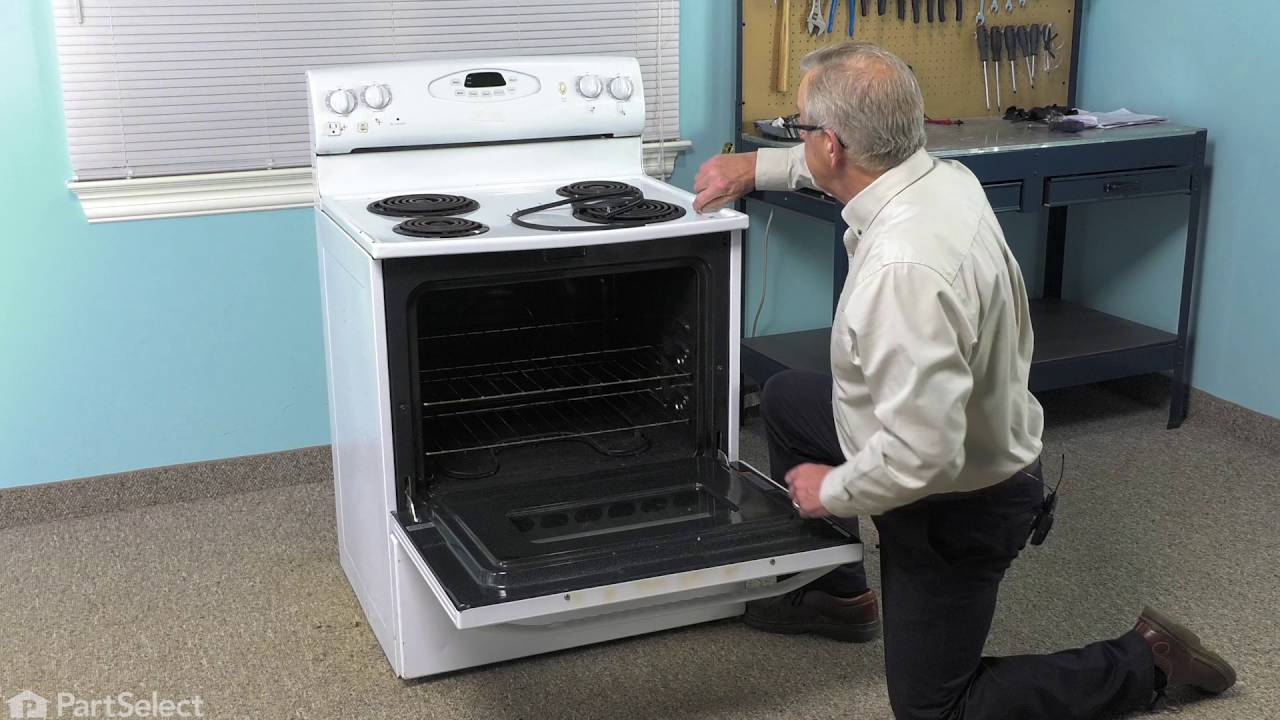
LPR1115ADW Admiral Range - Overview

Enter a part description. DIY Heroes keep it simple, eg. "belt" or "pump".

Search filter:
Clear Filter
Your search term must have 3 or more characters.
Leveler Foot Screw (Nylon) – Part Number: W11665456
$33.95
In Stock
Leveler Foot Screw (Nylon)
★★★★★
★★★★★
(7)
Part #W11665456
This leveling leg is two inches long. It is all black in color and it is made entirely of plastic.
Screw – Part Number: W11233072
$30.40
In Stock
Screw
★★★★★
★★★★★
(5)
Part #W11233072
This is a multi-use and multi-appliance screw. It can be used on a microwave, refrigerator, range/oven, air conditioner, dehumidifier, washer, or dryer. The measurements of this screw are 8 x 1/2 inch. It has 6 threads. Refer to the manual provided by the manufacturer for further information on repair and accurate guidance. Remember to wear work gloves as a safety precaution.
Screw - 10-16 x 1 – Part Number: WP3387230
$10.44
In Stock
Screw - 10-16 x 1
★★★★★
★★★★★
(2)
Part #WP3387230
This screw is sold individually.
Door Seal – Part Number: WP7212P043-60
$64.85
In Stock
Door Seal
★★★★★
★★★★★
(6)
Part #WP7212P043-60
This door seal is fifty-three inches long. It is all black in color and is made of rubber. There are metallic clips sticking out of this seal at various points. These clips help to secure the seal to range doors.
Range Anti-Tip Bracket – Part Number: WP3801F656-51
$15.34
In Stock
Range Anti-Tip Bracket
★★★★★
★★★★★
(2)
Part #WP3801F656-51
Sold individually.
Range Screw – Part Number: WP98008544
$9.85
Special Order
Range Screw
Part #WP98008544
Sold individually.
Stand Mixer Screw – Part Number: WP4159193
$12.95
In Stock
Stand Mixer Screw
Part #WP4159193
This screw is sold individually.
Pilot with Thermocouple – Part Number: WPW10206112
$72.78
In Stock
Pilot with Thermocouple
★★★★★
★★★★★
(2)
Part #WPW10206112
The pilot stays lit all the time and, when the oven is turned on, the flame gets bigger and surrounds the thermocouple. When the thermocouple senses the required heat, the safety valve opens to let the gas flow to the oven burner tube where the pilot flame ignites the gas.
Range Rack – Part Number: WPW10282492
$81.52
In Stock
Range Rack
★★★★★
★★★★★
(1)
Part #WPW10282492
Sold individually.
Drip Pans - Kit of 4 – Part Number: 1430283
$107.54
Special Order
Drip Pans - Kit of 4
★★★★★
★★★★★
(1)
Part #1430283
Tired of messy burners? This set of four chrome drip pans keeps your cooktop clean by catching spills and splatters. Each pan fits snugly around the burner and is easy to swap out. A quick way to refresh your stove and keep it looking great.
Range Thermostat Clip – Part Number: WP7112P004-60
$19.58
In Stock
Range Thermostat Clip
Part #WP7112P004-60
This clip is used to secure the thermostat bulb. They are sold individually.
Surface Burner Knob – Part Number: WP74002497
No Longer Available
Surface Burner Knob
Part #WP74002497
Sold individually. This knob accepts a D-shaped shaft.

Common Symptoms of the LPR1115ADW

How this model fails, and the parts that fix it.

Watch our pros, then fix it yourself.

See how others fixed this model. Time, tools, difficulty, and steps that lead to victory! View More

Search repair tips from other customers using simple keywords like "replace", "fit", "remove", "inspect". DIY doesn't mean you have to do it alone!

Search filter:
Clear Filter
Your search term must have 3 or more characters.
worn out door seal
31 of 32 people found this instruction helpful.
  • Stella from Charlotte, TN
  • Really Easy
  • Less than 15 mins
  • Pliers
removed old clips and remaining parts of old seal...new part already had clips attached, so just snapped them into holes in oven door.
Was this helpful?
Thank you for voting!
Pilot Light Won't Stay Lit
30 of 34 people found this instruction helpful.
  • Peter J from Brooklyn, NY
  • A Bit Difficult
  • 15 - 30 mins
  • Nutdriver, Screw drivers, Wrench (Adjustable)
First I removed the oven door by pulling straight up off of the hinges in the open postion. Next remove oven racks,then use 1/4 nutdriver to remove back screws on inside oven bottom plate. Next remove gold nut on silver tube @ pilot connection,then remove 1/4 nuts that hold pilot assembly. Next open top of stove and remove small gold nu t "with the thin wire from pilot"attached to the back left of oven control knob. Snake that nut and wire from the top of the stove down to the oven and removethe whole pilot assembly. To install carefully unroll the new pilot assembly starting from the oven "there are two round holes you need to snake the tube into"and up behind the back & into the stove top. Make your connection@ the oven assembly. Next attach the assembly with the 1/4 screws that you removed,then make your connection"gold screw silver tube" now push in your oven control knob to alllow gas to flow to the pilot tube and check for leaks with a water @ soap solution. No bubbles no leaks. Light your pilot . . . . You must hold in the oven knob. Put back in oven plate,,,, 1/4 screws,,,,racks close the stove top ,put door back on hinges and your done. . . . . Hope I helped,. . Pete
Was this helpful?
Thank you for voting!
original light grey color grates stained and unsightly--no amount of scrubbing or cleansers would make them look nice.
16 of 23 people found this instruction helpful.
  • Linda from Jenison, MI
  • Really Easy
  • Less than 15 mins
Opened the box and took out the black color grates~~removed discolored grates and put the new ones on. Looks like a brand new stove and much nicer to look at as it is the first thing you see when you enter the kitchen.
Was this helpful?
Thank you for voting!