This gray mounting bracket is designed to securely hold the dish rack in place inside your dishwasher during operation. Measuring 1 inch by 1 inch, it ensures stability and helps prevent the rack from shifting or causing internal damage. If the holder becomes broken or goes missing, replacing it is essential to maintain proper rack alignm...Read moreent. Each bracket is sold individually and installs easily by snapping into the designated slot.
The dishwasher roller assembly connects to the dishrack, and is located in the lower level of the dishwasher. It allows the dishrack to easily slide in and out. If the lower rack keeps falling off the track in your dishwasher, makes noises, the door will not close, or the dishes are not getting clean, then it is best to replace it for mor...Read moree security. A flat blade screw driver is the only tool needed for this installation. Open the lower dishwasher rack and remove retaining tabs from both ends of the rack and slide it out. Locate the older roll assembly, remove it and replace the rollers. Remember to put the tabs on each side back before sliding it back in. Make sure the dishwasher is off before starting this installation project.
If your dishwasher is leaking or not cleaning as well as it used to, the door gasket might be the culprit. This flexible rubber seal fits around the tub and keeps water and steam inside during each cycle. It’s tough enough to handle heat and wear, and replacing it can fix common problems like water on the floor or poor wash results. Insta...Read morellation is simple—just press it into the groove around the door and you’re good to go.
This drain hose assembly is designed for use with select LG washing machines and includes both the flexible rubber hose and plastic connectors. It efficiently channels used water from the washer tub to a designated drainage system, such as a standpipe or laundry sink. Over time, the hose may become clogged, dislodged, or damaged by foreig...Read moren objects or external impact. Signs of a faulty hose include standing water in the tub, leaks, mold growth, or overflow. Prompt replacement is recommended to maintain proper washer performance. Installation requires only basic tools and should be done with the appliance powered off.
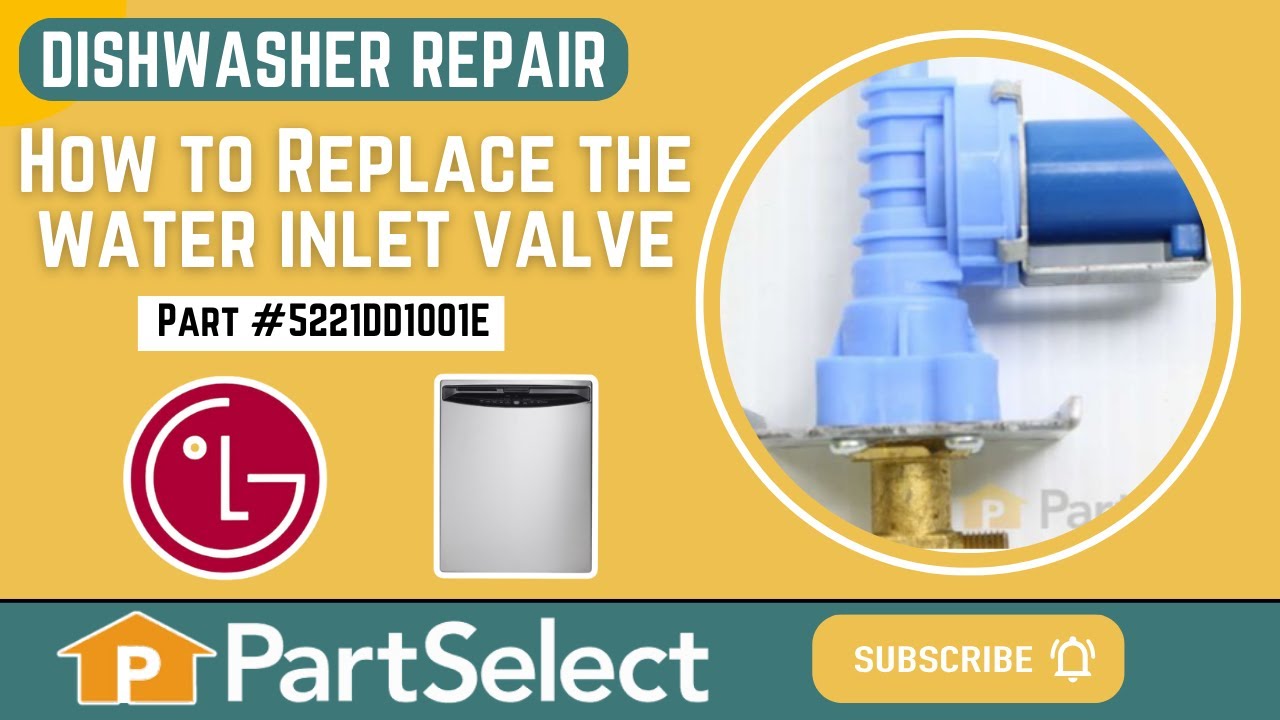
This part is the replacement inlet valve for your dishwasher. It is approximately 4-1/2 inches by 3-1/2 inches. The water inlet valve in your dishwasher connects to the water source and solenoid wires, and ensures the tub has the right amount of water entering it. If your dishwasher continues to fill after it is full, or if it fills slow...Read morely, you may need to replace this valve. Another indication that your valve is damaged and will need to be replaced, is if you notice it is leaking when the dishwasher fills up. Before you begin this repair, be sure to disconnect the water and power sources from your washer. This part is sold individually and is an authentic OEM part.
This pump casing assembly is designed for use in select LG dishwasher models and houses several key components responsible for water circulation during wash and drain cycles. It includes the motor, which powers water movement; the impeller, which directs water through the spray arms; seals to prevent leaks; and both inlet and outlet ports...Read more that manage water flow into and out of the tub. The outer housing keeps all parts securely contained. If any part of this assembly fails, you may notice poor drainage, ineffective cleaning, or unusual grinding and buzzing noises. Replacing the entire assembly helps restore proper water circulation and overall dishwasher performance.
This grey tine row retainer is designed to securely hold the horizontal tine rows on your dishwasher rack, keeping them in place so dishes stay organized and stable throughout each wash cycle. It clips directly onto the rack to prevent tines from loosening or shifting, helping maintain proper spacing for plates, bowls, and cookware. A wor...Read moren or broken retainer may cause the rack to feel loose or rattle during operation, making replacement necessary for smooth performance. Installation is quick and simply involves attaching the clip to the designated spot on the rack to restore proper support.
Ask our experts a question about this model and we'll get back to you as soon as possible!
We may have answered a similar question already! Search questions and answers left by others using simple keywords like "fit", "broken", "easy", or "quality" to find questions that match.
Search filter:
Clear Filter
Your search term must have 3 or more characters.
Sort by:
Prev
1
Next
Sorry, we couldn't find any existing answers that matched.Try using some different or simpler keywords, or submit your new question by using the "Ask a Question" button above!
Jaime - For model number LDT5678BD
December 7, 2024
the display control panel does not power up.
Hello Jaime, thank you for your question. You will need to test with a multimeter the Display Overlay PS12114944 and the Display Board PS12589965 and PCB Module PS12715604. We have linked a video on how to use a multimeter. We hope this helps.
See how others fixed this model. Time, tools, difficulty, and steps that lead to victory!View More
Search repair tips from other customers using simple keywords like "replace", "fit", "remove", "inspect". DIY doesn't mean you have to do it alone!
Search filter:
Clear Filter
Your search term must have 3 or more characters.
Loud noise when running - the infamous bad drive motor
34 of 39 peoplefound this instruction helpful.
Mark from TEHACHAPI, CA
Very Easy
30 - 60 mins
Pliers, Screw drivers
Replacing this pump is pretty easy. Disconnect the power and drain hose, and pull your dishwasher out from the counter. Lay it on its side on a towel. There WILL be spillage. Disconnecting the pump is simple. There are a couple hoses, one single wire connection (the thermistor) and one multi-wire plug. The pump is held in place by a
... Read morepair of thick rubber holders which can be pulled off by hand. That's it!
After removing the pump, I disassembled it to find out why these fail so soon. It's a very poor design. I found that the nose of the electric motor, where the bearings are located, sits in a plastic cup formed by the top of the pump body. Any leakage from the pump around the motor shaft will be held in place against the motor bearing. It has no place to go. This causes rusting of the bearing. I expect I'll be replacing this one in a few years. :(
But kudos to PartsSelect for getting the right pump assembly for me, after getting the wrong one from another supplier!
Read less
Was this helpful?
Thank you for voting!
Dishwasher leaking; got AE error almost every other wash
12 of 20 peoplefound this instruction helpful.
Bruce from Katy, TX
Really Easy
30 - 60 mins
The inside gasket deteriorates over time - However replacement is easy. the main thing you have to remember is after you remove the old gasket, install the new one starting at the middle top of the tub and work your way down both sides. Also, don't push the gasket all the way in...only enough to hold in place. When you close the door the
... Read moregasket will form a better seal around the door.
Read less
Was this helpful?
Thank you for voting!
Second roller in on the left side was missing don't ask my how, pulling the bottom rack out the rack would dip down i had to lift it up to pull it the rest of the way out.
9 of 17 peoplefound this instruction helpful.
Lenny from KIRTLAND, OH
Very Easy
Less than 15 mins
Ordered the roller from Parts Select, slid the roller over the little spindle sticking out of the bottom rack and snapped it in place. Job done in less than one minute.



 My Orders