


 My Orders


LDF7551WH LG Dishwasher - Overview

Enter a part description. DIY Heroes keep it simple, eg. "belt" or "pump".
Search filter:
Clear Filter
Your search term must have 3 or more characters.

$26.95
In Stock
Hinge Cable
Part #4933DD3001B
The door hinge cable works in conjunction with the dishwasher door by connecting the door hinge to the door spring and helping to support and balance the weight of the door as you open and close it. If your dishwasher door isn’t closing properly you will need to replace this part. This part measures approximately 12” and is black and white in color. This is a genuine OEM part.

$13.15
In Stock
Dishwasher Roller Assembly
Part #4581DD3003C
The dishwasher roller assembly connects to the dishrack, and is located in the lower level of the dishwasher. It allows the dishrack to easily slide in and out. If the lower rack keeps falling off the track in your dishwasher, makes noises, the door will not close, or the dishes are not getting clean, then it is best to replace it for mor...Read moree security. A flat blade screw driver is the only tool needed for this installation. Open the lower dishwasher rack and remove retaining tabs from both ends of the rack and slide it out. Locate the older roll assembly, remove it and replace the rollers. Remember to put the tabs on each side back before sliding it back in. Make sure the dishwasher is off before starting this installation project.
Read less

$36.25
In Stock

$69.25
In Stock
Gasket
Part #3920DD3005H
If your dishwasher is leaking or not cleaning as well as it used to, the door gasket might be the culprit. This flexible rubber seal fits around the tub and keeps water and steam inside during each cycle. It’s tough enough to handle heat and wear, and replacing it can fix common problems like water on the floor or poor wash results. Insta...Read morellation is simple—just press it into the groove around the door and you’re good to go.
Read less

$51.65
In Stock

$139.28
In Stock
Drain Pump Assembly
Part #ABQ73503004
This drain pump assembly is a genuine OEM replacement part for your dishwasher. In order to complete this repair you will need a Phillips screwdriver, pliers, and a socket. You will need to pull the dishwasher out from the cabinet and lay it on its back in order to access through the bottom and replace the drain pump.

No Longer Available
Dishwasher Drain Hose
Part #AEM69493808
This flexible, corrugated drain hose assembly is designed to efficiently channel wastewater from your dishwasher to the household drainage system. Installed at the rear of the unit, it connects the dishwasher’s pump to either the sink drain or garbage disposal. A damaged or punctured hose can lead to water pooling beneath the appliance or...Read more standing water inside the tub. This replacement hose is sold separately from the drain pump and should be installed according to your dishwasher’s model-specific instructions to ensure proper fit and function.
Read less

$80.25
In Stock
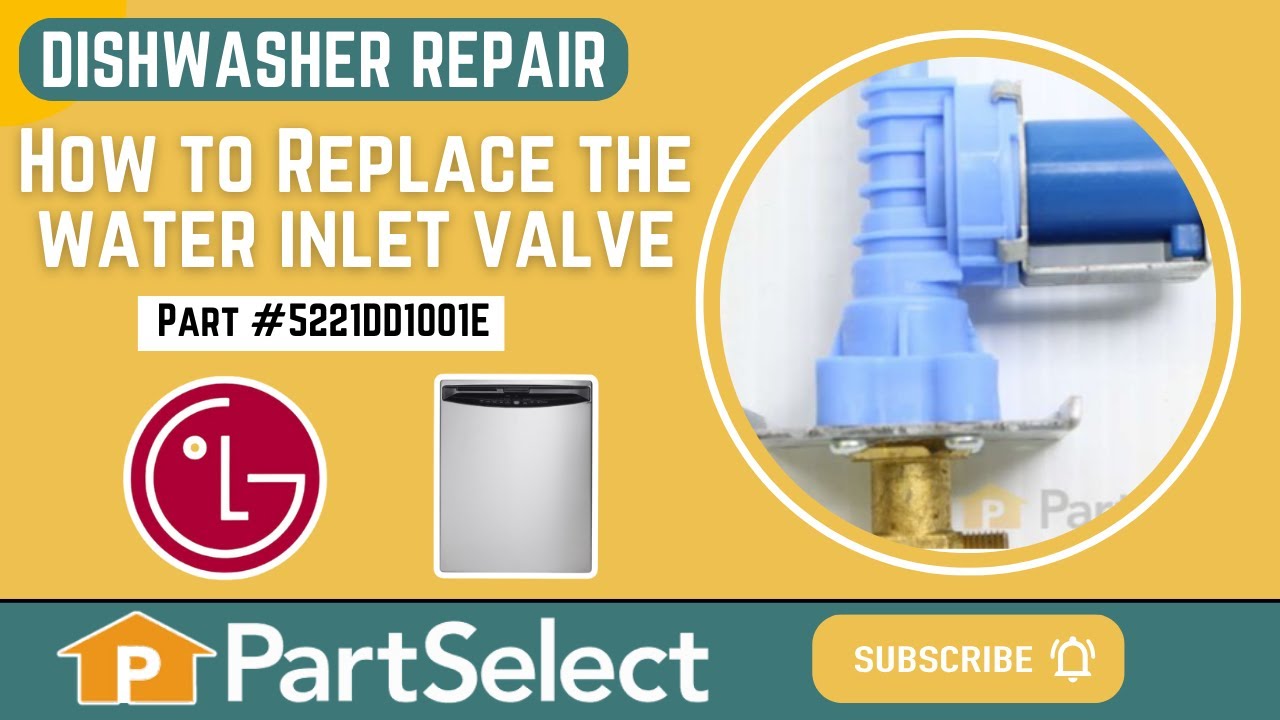
Dishwasher Water Inlet Valve
Part #5221DD1001E
This part is the replacement inlet valve for your dishwasher. It is approximately 4-1/2 inches by 3-1/2 inches. The water inlet valve in your dishwasher connects to the water source and solenoid wires, and ensures the tub has the right amount of water entering it. If your dishwasher continues to fill after it is full, or if it fills slow...Read morely, you may need to replace this valve. Another indication that your valve is damaged and will need to be replaced, is if you notice it is leaking when the dishwasher fills up. Before you begin this repair, be sure to disconnect the water and power sources from your washer. This part is sold individually and is an authentic OEM part.
Read less

$64.85
In Stock
Dishwasher Locker Assembly
Part #4027ED3002J
If your dishwasher won’t start or is leaking during a cycle, the door latch might be the problem. This genuine LG latch assembly keeps the door closed tight, helping prevent water from escaping and making sure the machine runs properly. It’s located at the top of the door and is easy to replace—just unplug the dishwasher, turn off the wat...Read moreer, and wear gloves. This original part is made to fit specific LG models, so be sure to check your model number before ordering. Once installed, your dishwasher should seal properly and start without issues.
Read less

$67.05
In Stock

No Longer Available
Tub Seal
Part #3920DD3002B
Stop leaks and cut down on noise with this dishwasher door seal. It keeps water and heat inside the appliance while helping reduce sound during the wash cycle. If you notice water on the floor, odors escaping, or the door not sealing properly, replacing the gasket can solve the problem. Installing it is easy—just remove the old seal and p...Read moreress the new one into the groove. A quick fix for a quieter, more efficient dishwasher.
Read less

$103.26
In Stock
Noise Filter Assembly
Part #6201EC1006T
This Noise Filter Assembly reduces electromagnetic noise and shields the control board from power surges, ensuring smooth and reliable operation. It helps minimize vibration and noise during cycles for a quieter experience. For safety, disconnect power before installation.
Common Symptoms of the LDF7551WH
How this model fails, and the parts that fix it.
Leaking
Fixed by
these parts
these parts


Show All
Door latch failure
Fixed by
these parts
these parts


Show All
Not draining
Fixed by
these parts
these parts

Show All
Door won’t close
Fixed by
these parts
these parts
Show All
Not cleaning dishes properly
Fixed by
these parts
these parts

Show All
Will Not Start
Fixed by
these parts
these parts

Show All
Noisy
Fixed by
these parts
these parts
Show All
Will not fill with water
Fixed by
these parts
these parts

Show All
Watch our pros, then fix it yourself.
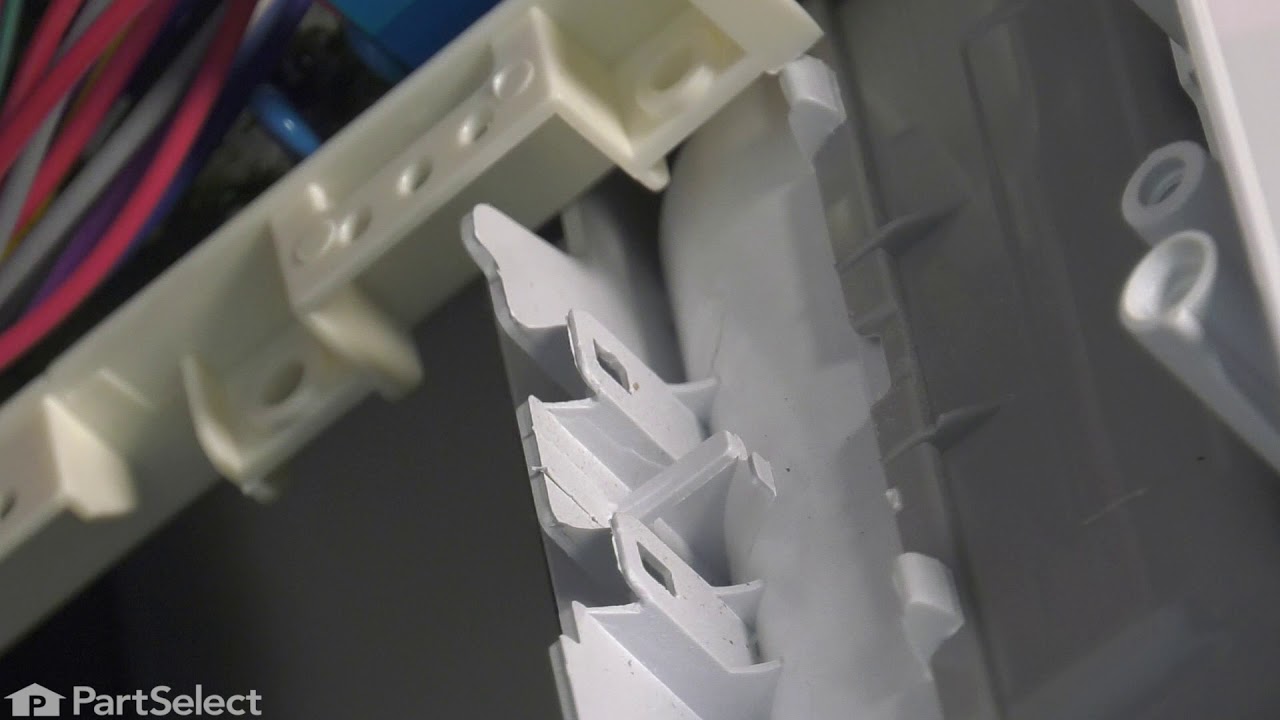

See how others fixed this model. Time, tools, difficulty, and steps that lead to victory!
View More