LCE441AL1 Frigidaire Washer - Overview

Enter a part description. DIY Heroes keep it simple, eg. "belt" or "pump".

Search filter:
Clear Filter
Your search term must have 3 or more characters.
Water Inlet Valve – Part Number: 134190200
$177.60
In Stock
Water Inlet Valve
★★★★★
★★★★★
(20)
Part #134190200
If your washer isn’t filling properly, leaking, or not cleaning clothes like it should, the water inlet valve might be the issue. This part controls how hot and cold water flows into your machine. It’s easy to install and comes with the bracket and screws you need. Just make sure it fits your model, and turn off the power and water before starting.
Screw – Part Number: 131302800
$28.95
In Stock
Screw
Part #131302800
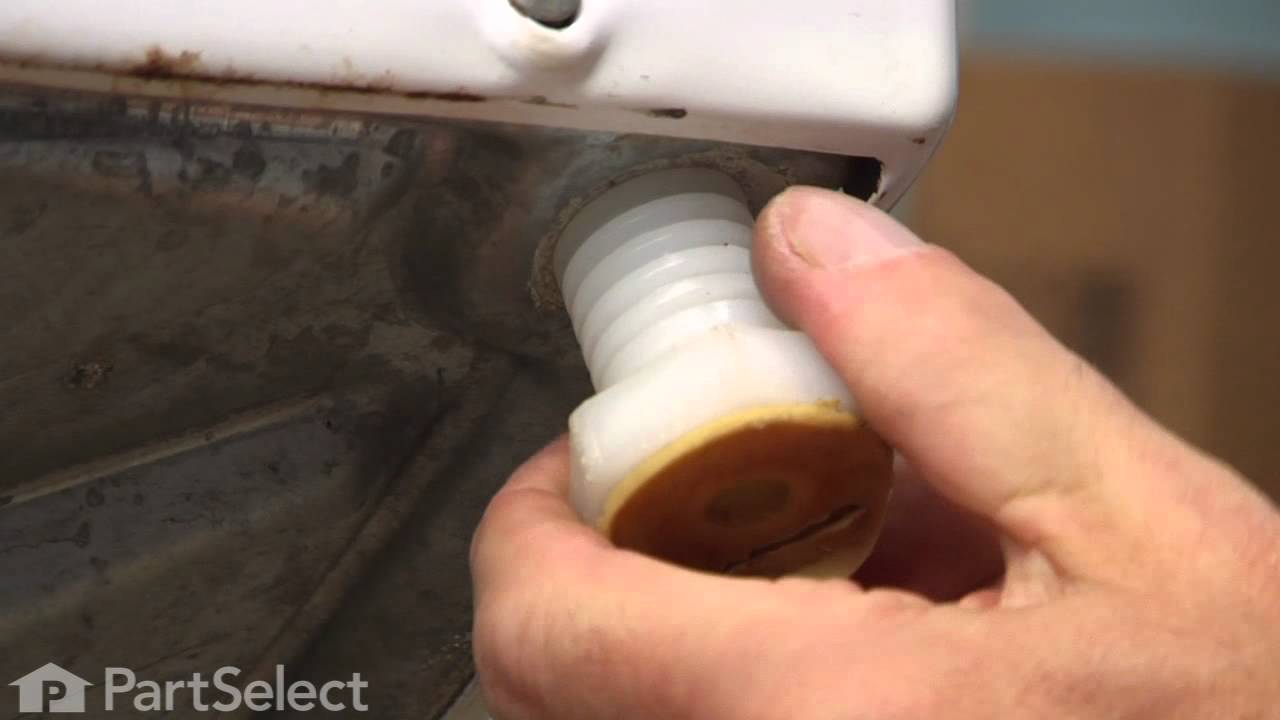
This is a replacement screw for your washer or dryer. The screw is approximately half an inch in length and is a Phillips-head screw. It screws in from the outside of the drum, into the vane/baffle. The main reason you would replace this screw is if the old screw is missing or damaged. This part is sold individually and is an OEM part sourced directly from the manufacturer.
Screw-In Plastic Leveling Leg – Part Number: 134548800
$32.89
In Stock
Screw-In Plastic Leveling Leg
Part #134548800
Sold individually.
CLAMP, HOSE – Part Number: 5304538466
No Longer Available
SCREW – Part Number: 131168200
$29.95
In Stock
SCREW
Part #131168200
Sold individually.
Spin Bearing – Part Number: 3204405
$113.66
In Stock
Spin Bearing
Part #3204405
This washer spin bearing supports the drive shaft and helps the drum spin smoothly during the spin cycle. Located at the bottom of the outer tub, it plays a key role in reducing friction and noise during operation. Replacing a worn or damaged bearing can help resolve loud or unusual noises and restore proper spinning performance.
Upper Spin Bearing Washer – Part Number: 5308002401
$33.30
In Stock
SNUBBER RING – Part Number: WH1X2312
No Longer Available
Washer Bolt – Part Number: 137539500
$37.48
In Stock
Washer Bolt
Part #137539500
Holds plated on Trunion .312-18 x 1.625.
TRUNNION – Part Number: 131545101
$217.57
Special Order
TRUNNION
★★★★★
★★★★★
(1)
Part #131545101
This part helps with the spinning and agitating cycles.
Lid Strike - White – Part Number: 131390000
$68.43
Special Order
Lid Strike - White
Part #131390000
This part is used to activate the lid switch when the lid opens/closes.
SPACER – Part Number: 5308015493
$29.95
In Stock
SPACER
Part #5308015493
This spacer goes between the timer knob and the dial.

Common Symptoms of the LCE441AL1

How this model fails, and the parts that fix it.

Watch our pros, then fix it yourself.
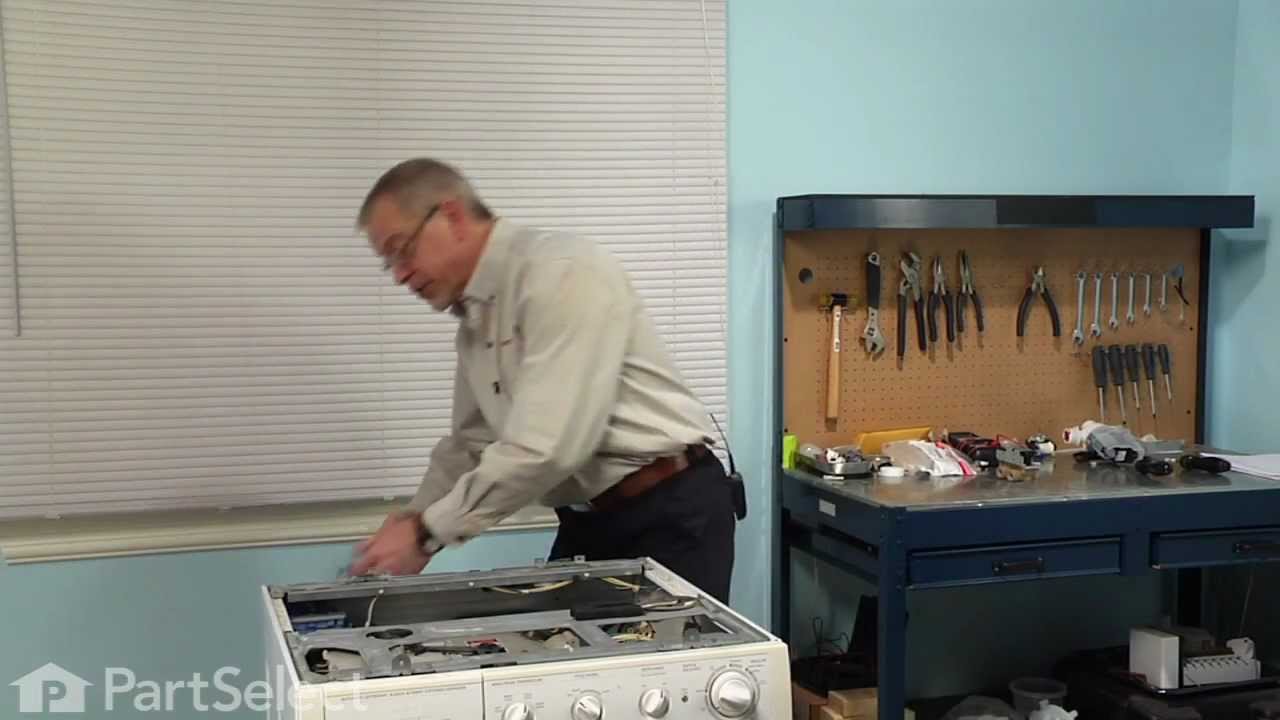
See how others fixed this model. Time, tools, difficulty, and steps that lead to victory! View More

Search repair tips from other customers using simple keywords like "replace", "fit", "remove", "inspect". DIY doesn't mean you have to do it alone!

Search filter:
Clear Filter
Your search term must have 3 or more characters.
Washer Continued To Fill To Point Of Overflow
86 of 97 people found this instruction helpful.
  • alvaro from east hampton, NY
  • Really Easy
  • Less than 15 mins
  • Pliers, Screw drivers
First I removed the top panel held by four screws at rear of panel, pulling the panel foward and up. Then disconnected the power and water connections. Then I removed the two screws holding the flow valve to the washer rear panel,pulled the valve foward ,removed the two electric connectors, pinched the water clamp with pliers and remo ved the water connection to the valve. Then replaced with the new valve followed the above steps in reverse order, finishing up by re placing the water connections and power. Then checked fo proper replacenent and leaks before replacing top panel.
Was this helpful?
Thank you for voting!
Leaking washing machine.
24 of 37 people found this instruction helpful.
  • Ron from Williamsburg, MI
  • Easy
  • More than 2 hours
  • Screw drivers, Socket set
Removing the piece above the tub gasket was very difficult. A lot of hammer and chisel work.
15 year old machine. A lot of calcium build up around the shaft. I used a screw driver as a chisel and a hammer. Carefully removed the metal around the shaft to get to the tub seal.
Once I got to the tub seal it was easy. Remove t he old rubber stops. There were a few pieces. Then sealed it back up with the oil that came with the PartSelect Kit and put it back together. Works great now. No more LEAKS! Yippy.
Was this helpful?
Thank you for voting!
No Cold Water
17 of 19 people found this instruction helpful.
  • Mark from Pittsburgh, PA
  • Really Easy
  • 15 - 30 mins
  • Pliers, Screw drivers
Checked problem on-line and discovered it was the water inlet valve. Matched the part on part select. Com. Finding the part was very easy. Part select had a grid behind the picture to help determine the size and pictures from all sides. Removing the old part, matching it, and replacement took a total of 30 minutes. I now have cl ean clothes.
Was this helpful?
Thank you for voting!