


 My Orders


LAT9593ABL Maytag Washer - Overview
Diagrams for LAT9593ABL
See every part. Know exactly what you need.


Enter a part description. DIY Heroes keep it simple, eg. "belt" or "pump".
Search filter:
Clear Filter
Your search term must have 3 or more characters.

$50.55
In Stock
Belt Kit
Part #12112425
This kit includes both the drive belt and the pump belt which are both "V" shaped.

$29.65
In Stock
Rubber Injector Valve
Part #WP216201
This part is commonly known to cause a leak at the top left corner of the outer tub. It fits over the injector nozzle.

No Longer Available
Mounting Stem/Tub Seal Kit
Part #6-2095720
This kit comes with hub assembly, agitator seal and spanner nut. If your washer leaks once full (with or without clothes in it) or leaks during agitation, then you should replace the seal.

$156.71
In Stock
Water Inlet Valve
Part #205613
This part has two ports for water to enter. It is blue and is intended for use with many washing machines and comes with a multi-mount bracket and an outlet adaptor.

$14.95
In Stock
Plastic Injector Nozzle
Part #WP213015
This injector nozzle is just under three inches long. It is white in color and made entirely of plastic.

$30.40
In Stock
Screw
Part #W11233072
This is a multi-use and multi-appliance screw. It can be used on a microwave, refrigerator, range/oven, air conditioner, dehumidifier, washer, or dryer. The measurements of this screw are 8 x 1/2 inch. It has 6 threads. Refer to the manual provided by the manufacturer for further information on repair and accurate guidance. Remember to wear work gloves as a safety precaution.

$97.91
In Stock
Tub Bearing Kit
Part #6-2040130
This kit is used on 2-belt washers. It is recommended to change the seal kit at the same time.

No Longer Available
Drain Pump
Part #WP6-2022030
This washing machine drain pump is intended for use with automatic washers that have been manufactured since 1958. The pump itself is made of plastic, though it does come with a metallic belt pulley.

$65.23
In Stock
Damper Pad Kit
Part #203956
This damper pad kit is used for base support. It comes with three six inch damper pads, two little tubes of lubricant. NOTE: This part will need adhesive to stick it in place.

No Longer Available
Lid Switch Assembly
Part #WP22001682
This black lid switch assembly comes complete with a bracket, two switches, and a fuse. An open fuse might indicate that the lid switch is bad. The point of the lid switch is for the tub to stop spinning when the washer lid is opened. It is a safety precaution just in case someone decides to stick their hand inside the washer while the tub is spinning.

$58.25
In Stock
Lid Check Switch
Part #WP207166
This is used to start your washer once the desired water level is reached.

$33.28
In Stock
Lid Switch
Part #W10820036
Keep your washer or dryer running safely with this easy-to-install lid or door switch kit. It stops the machine from working when the door is open, helping prevent spills and accidents. Compatible with many models, this small but important part fits neatly inside your appliance and comes with everything you need for installation. Just unp...Read morelug your machine, swap out the old switch, and you're good to go. It’s about 2.5 inches long and blends in with most interiors.
Read less
Common Symptoms of the LAT9593ABL
How this model fails, and the parts that fix it.
Leaking
Fixed by
these parts
these parts


Show All
Burning smell
Fixed by
these parts
these parts


Show All
Will not drain
Fixed by
these parts
these parts


Show All
Will not agitate
Fixed by
these parts
these parts


Show All
Will Not Start
Fixed by
these parts
these parts
Show All
No hot or cold water
Fixed by
these parts
these parts

Show All
Spins slowly
Fixed by
these parts
these parts
Show All
Spinning Issues
Fixed by
these parts
these parts

Show All
Noisy
Fixed by
these parts
these parts

Show All
Water Filling Issues
Fixed by
these parts
these parts

Show All
Shaking and Moving
Fixed by
these parts
these parts
Show All
Won’t Start
Fixed by
these parts
these parts
Show All
Lid or door won’t close
Fixed by
these parts
these parts

Show All
Noisy and Marks Left on Clothes
Fixed by
these parts
these parts
Show All
Draining Issues
Fixed by
these parts
these parts
Show All
Watch our pros, then fix it yourself.
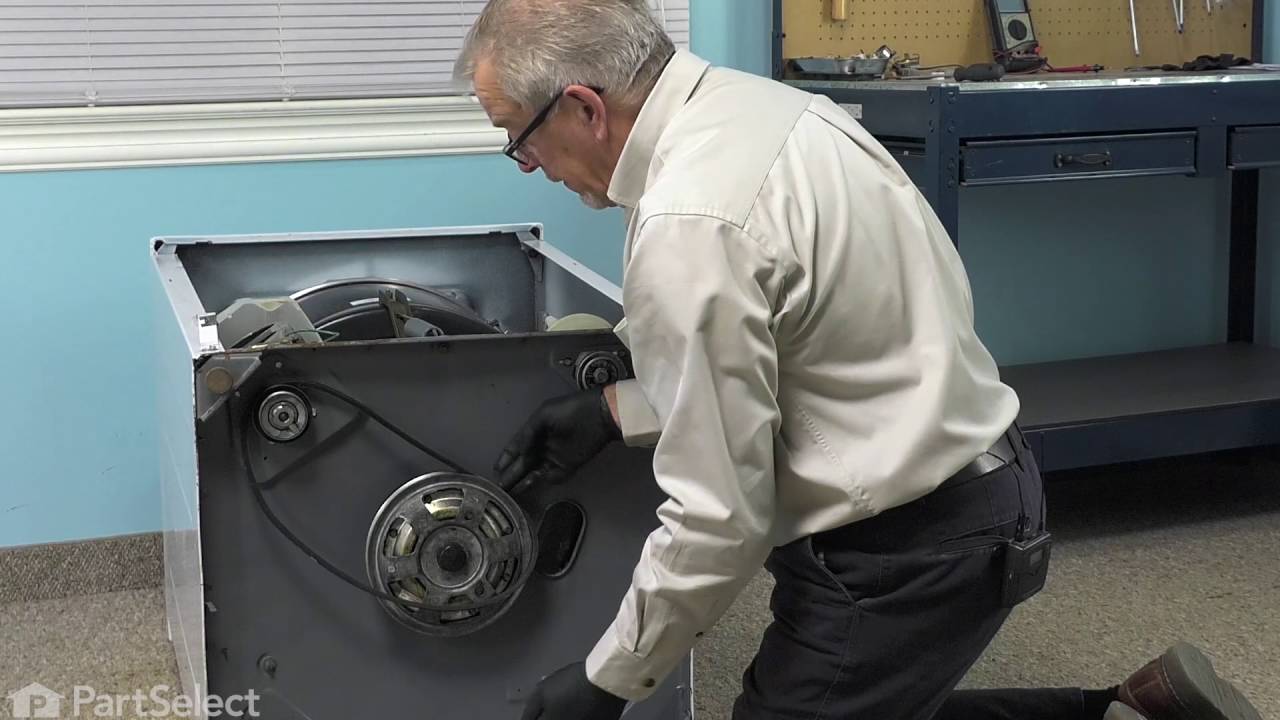
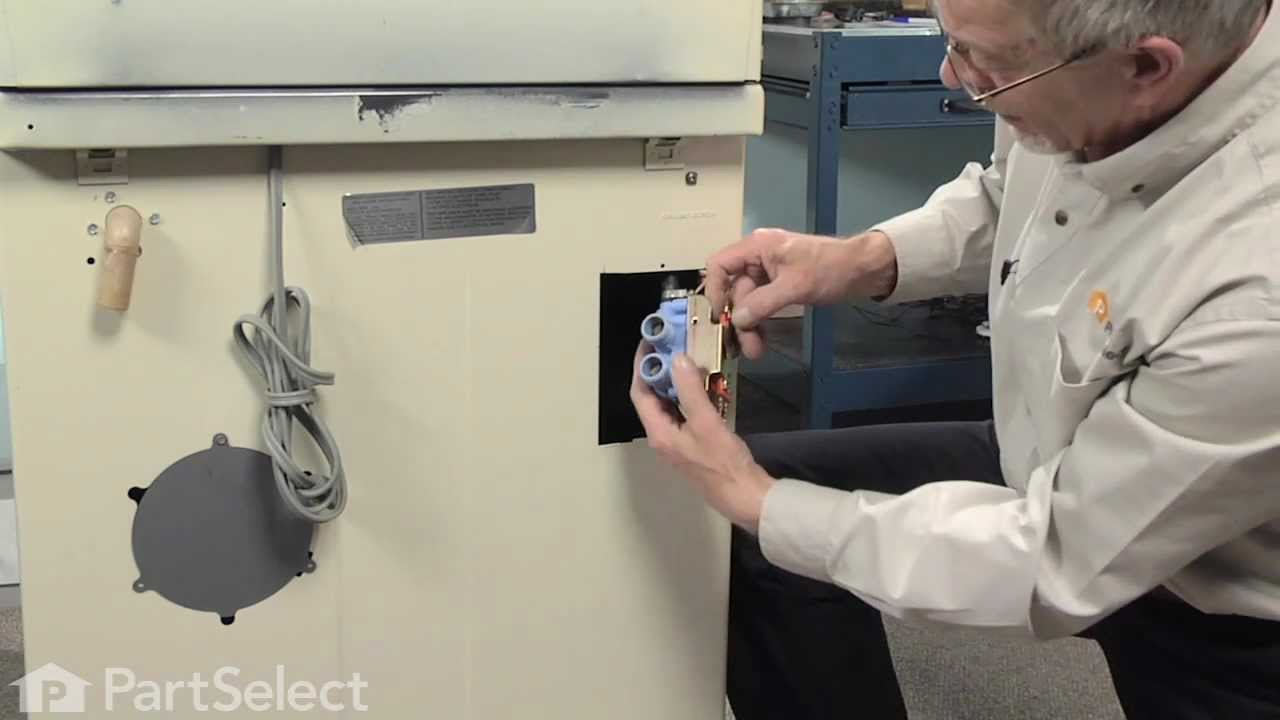
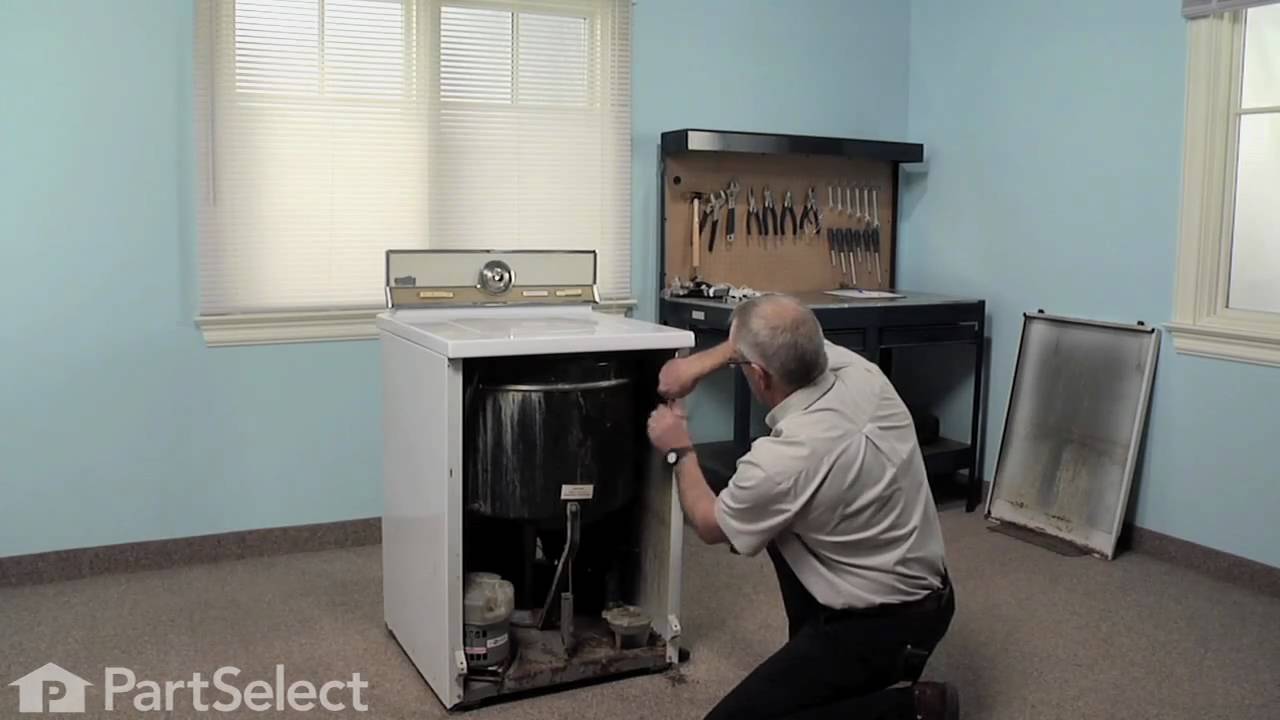
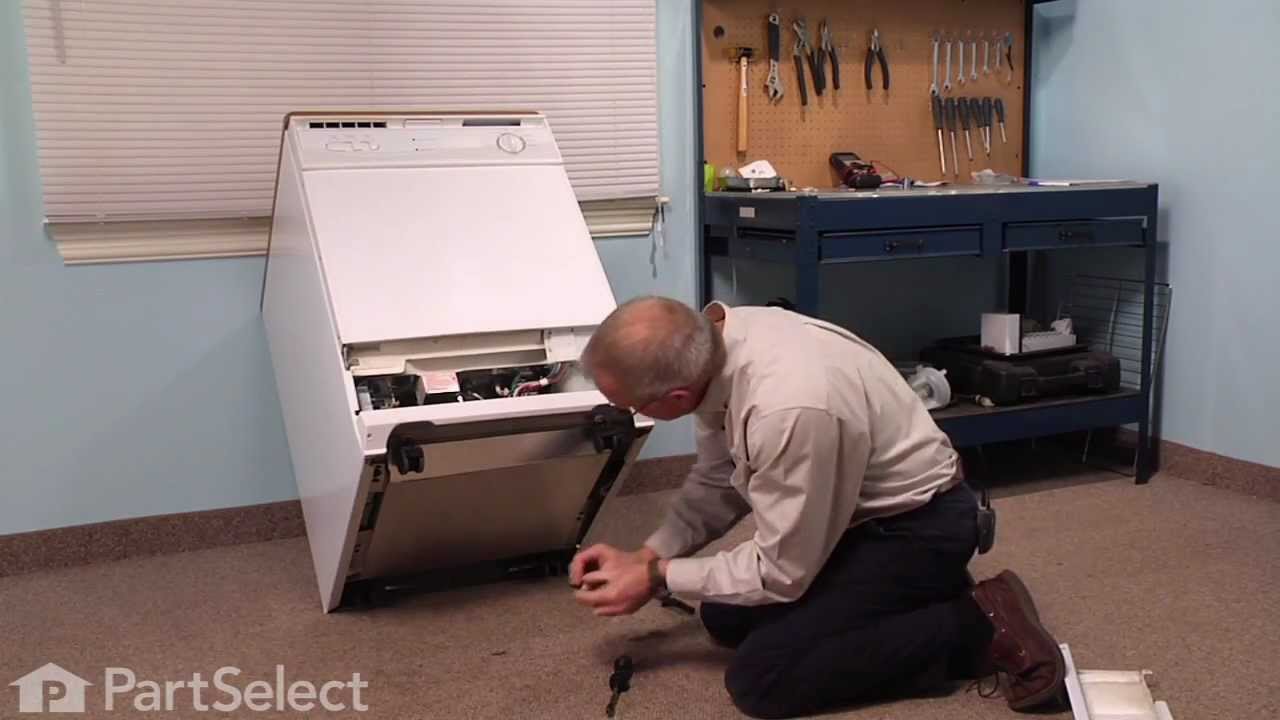
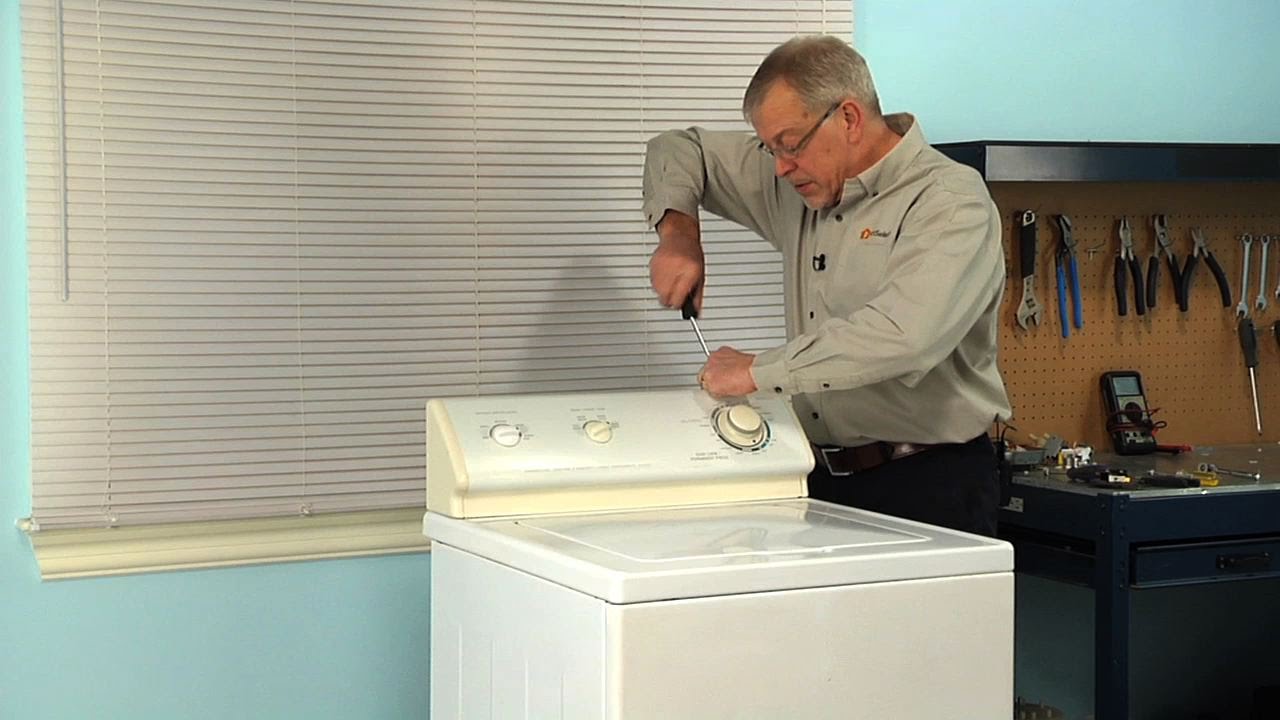
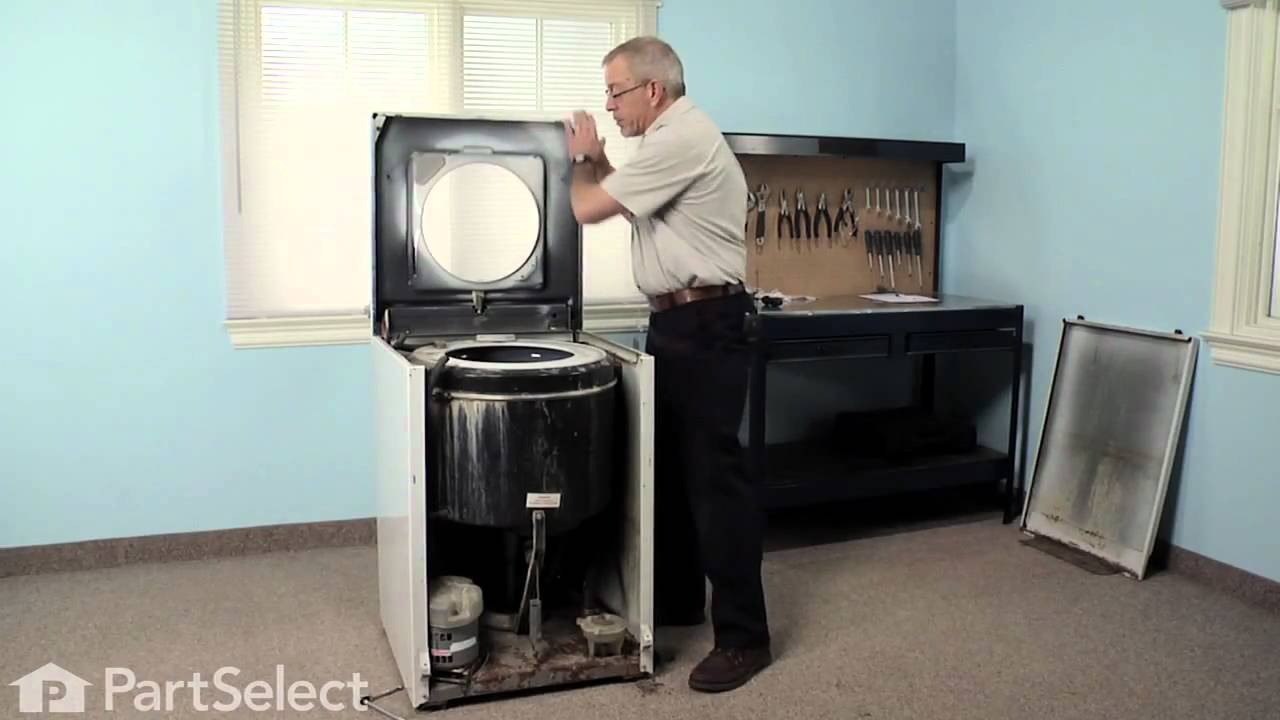
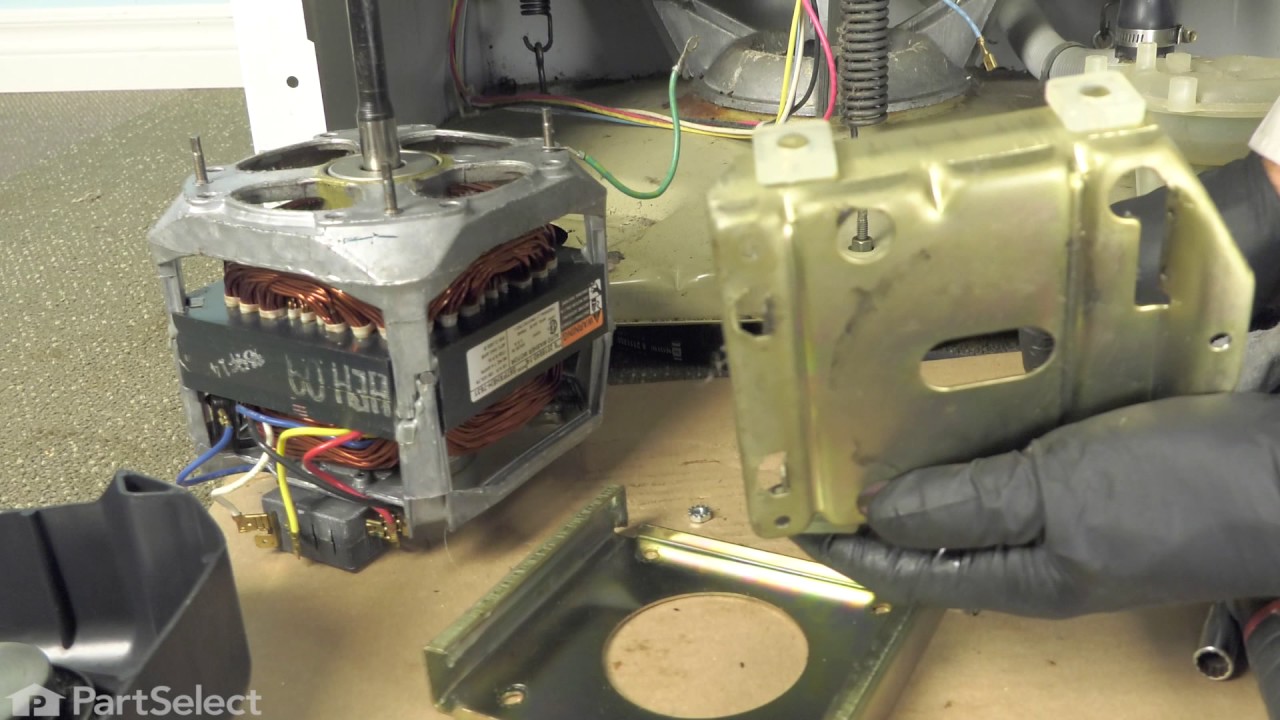
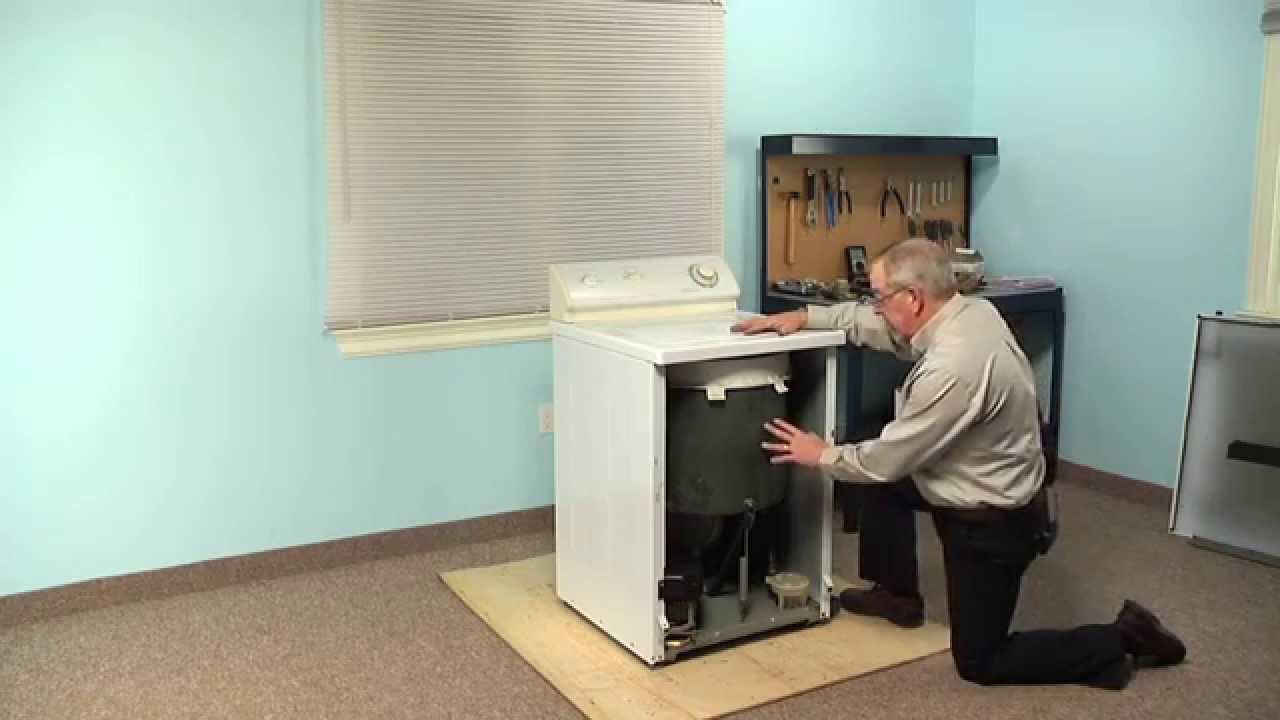
See how others fixed this model. Time, tools, difficulty, and steps that lead to victory!
View More
Search repair tips from other customers using simple keywords like "replace", "fit", "remove", "inspect". DIY doesn't mean you have to do it alone!
Search filter:
Clear Filter
Your search term must have 3 or more characters.
Drum would not drain and there was a banging noise when the drum spun
600 of 658 people
found this instruction helpful.
I removed the 2 phillips screws on the bottom of the front panel. Then checked around to find the belts were actually below the floor panel.
I pulled the washing machine away from the wall and tilted it bacwards and found the pump belt was off the pully and the drive belt was badly damaged. I replaced the 2 belts which took no tools ... Read more and about 3 minutes to accomplish then resecured the front panel, pushed back in place and leveled. Complete repair from diagnosis to back in operation took less than 15 minutes.
I pulled the washing machine away from the wall and tilted it bacwards and found the pump belt was off the pully and the drive belt was badly damaged. I replaced the 2 belts which took no tools ... Read more and about 3 minutes to accomplish then resecured the front panel, pushed back in place and leveled. Complete repair from diagnosis to back in operation took less than 15 minutes.
Read less

Was this helpful?
Thank you for voting!