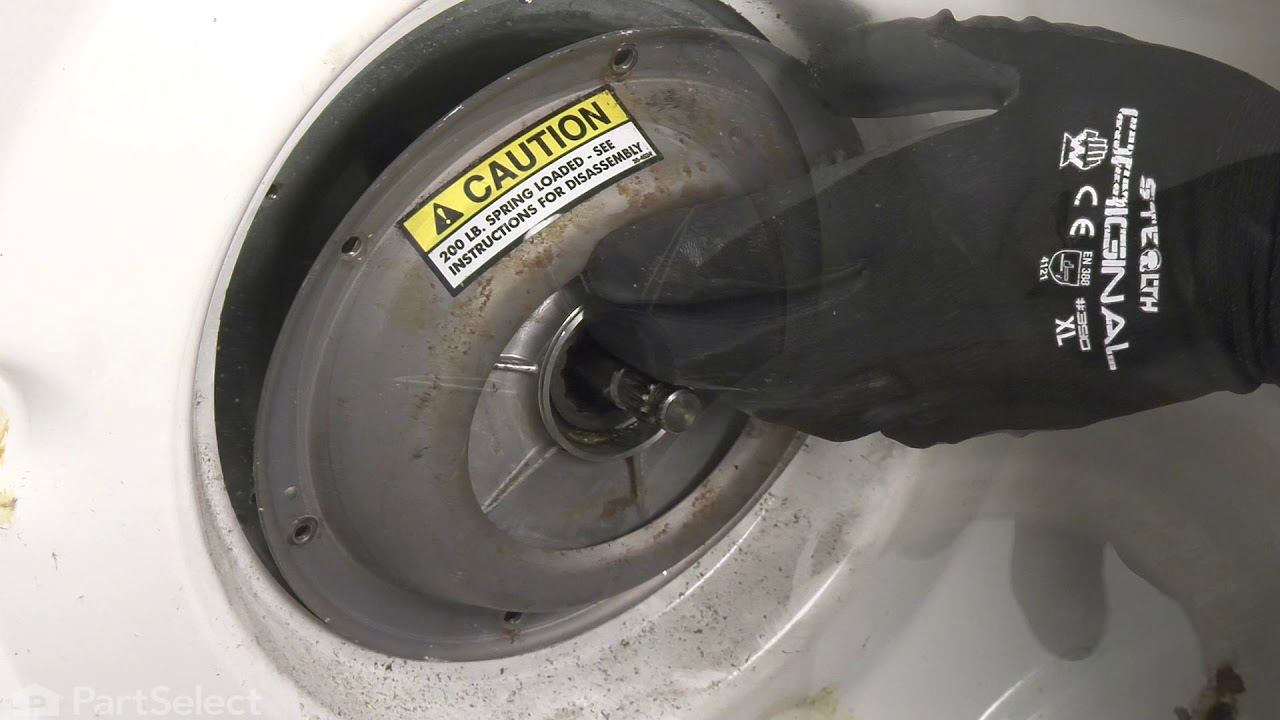
This kit comes with hub assembly, agitator seal and spanner nut. If your washer leaks once full (with or without clothes in it) or leaks during agitation, then you should replace the seal.
This is a multi-use and multi-appliance screw. It can be used on a microwave, refrigerator, range/oven, air conditioner, dehumidifier, washer, or dryer. The measurements of this screw are 8 x 1/2 inch. It has 6 threads. Refer to the manual provided by the manufacturer for further information on repair and accurate guidance. Remember to wear work gloves as a safety precaution.
This washing machine drain pump is intended for use with automatic washers that have been manufactured since 1958. The pump itself is made of plastic, though it does come with a metallic belt pulley.
This damper pad kit is used for base support. It comes with three six inch damper pads, two little tubes of lubricant. NOTE: This part will need adhesive to stick it in place.
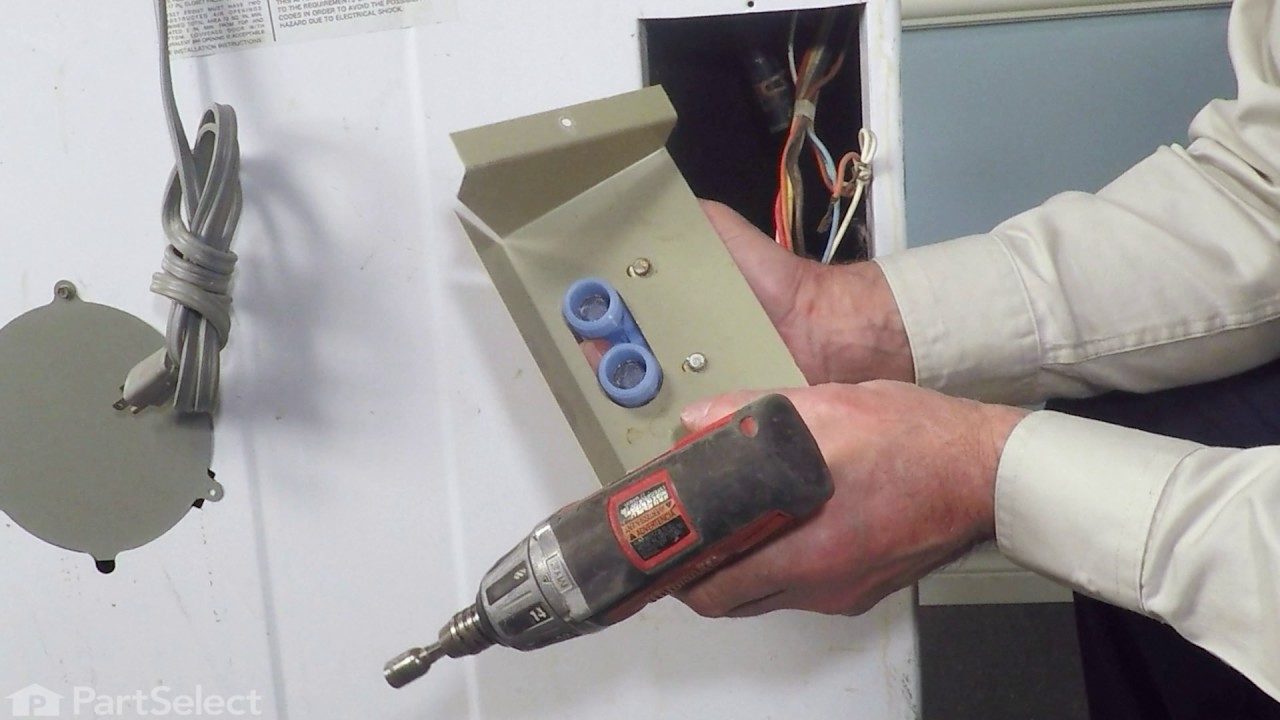
This black lid switch assembly comes complete with a bracket, two switches, and a fuse. An open fuse might indicate that the lid switch is bad. The point of the lid switch is for the tub to stop spinning when the washer lid is opened. It is a safety precaution just in case someone decides to stick their hand inside the washer while the tub is spinning.
Keep your washer or dryer running safely with this easy-to-install lid or door switch kit. It stops the machine from working when the door is open, helping prevent spills and accidents. Compatible with many models, this small but important part fits neatly inside your appliance and comes with everything you need for installation. Just unp...Read morelug your machine, swap out the old switch, and you're good to go. It’s about 2.5 inches long and blends in with most interiors.
This hose clamp extends from half an inch to an inch in diameter. It is made entirely of metal and is intended for use with Maytag brand washing machines.
This is a heat-resistant adhesive for your appliance. The heat resistance allows you to stick parts such as grate feet, gaskets, and felt seals in hot areas, such as a cooktop, without compromising the integrity of the adhesive. It is white in color, and the tube is approximately 7.5 inches long.
This washing machine water inlet valve has two ports for water to enter. This water inlet valve attaches the water lines to the back of your appliance. The attaching solenoids on the valve open and close according to the desired temperature, or amount of water needed.
Ask our experts a question about this model and we'll get back to you as soon as possible!
We may have answered a similar question already! Search questions and answers left by others using simple keywords like "fit", "broken", "easy", or "quality" to find questions that match.
Search filter:
Clear Filter
Your search term must have 3 or more characters.
Sort by:
Prev
1
Next
Sorry, we couldn't find any existing answers that matched.Try using some different or simpler keywords, or submit your new question by using the "Ask a Question" button above!
Audrey - For model number LAT8406AAE
February 7, 2020
Washer will load water for every cycle but only wash on delicate.
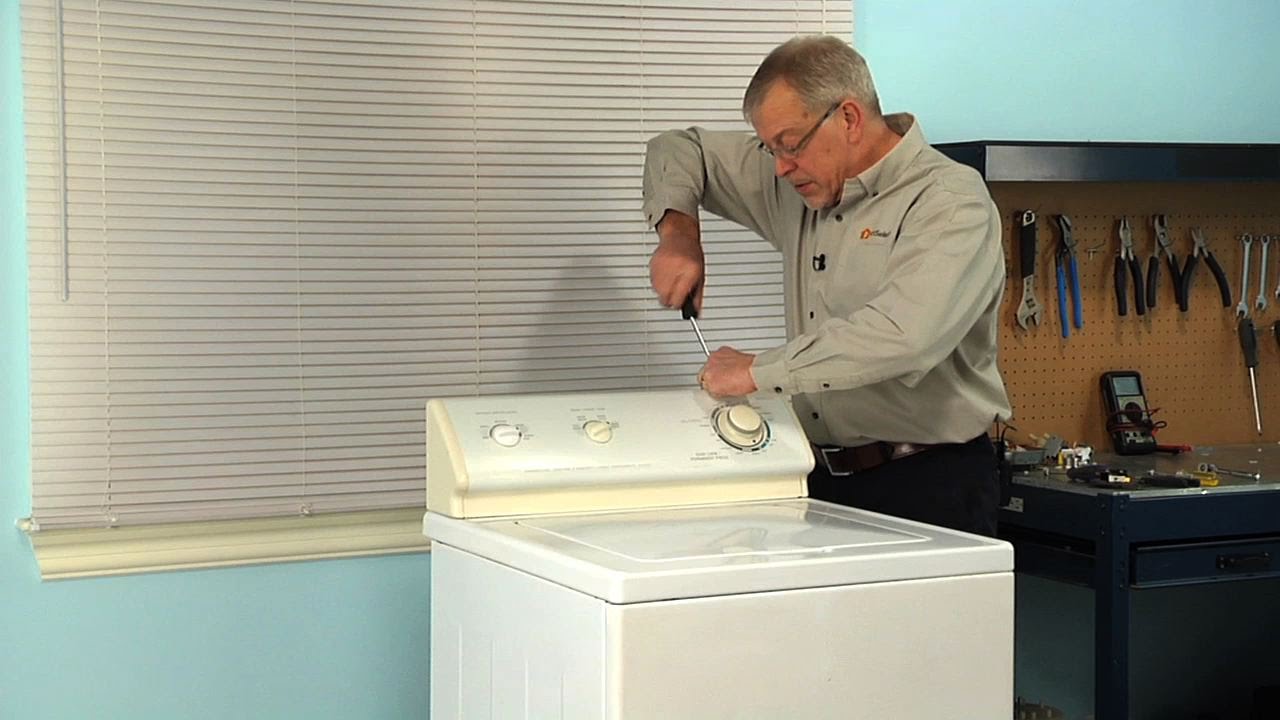
Hello, Thank you for your question. You should try and disconnect the ribbon to the control board and then reconnect it. That seems to be a common issue. If that does not solve it, it could be the selector switch. We hope this helps, good luck with this repair.
1 personfound this instruction helpful.
Was this helpful?
Thank you for voting!
Jerry - For model number LAT8406AAE
June 14, 2021
I get zero electricity/response from the knob selector. I have check the outlet and it does work. Is there a fuse somewhere? What else could it be.
Hello Jerry, Thank you for the question. We suggest checking the Lid Switch Assembly. This black lid switch assembly comes complete with a bracket, two switches, and a fuse. An open fuse might indicate that the lid switch is bad. We hope this helps.
See how others fixed this model. Time, tools, difficulty, and steps that lead to victory!View More
Search repair tips from other customers using simple keywords like "replace", "fit", "remove", "inspect". DIY doesn't mean you have to do it alone!
Search filter:
Clear Filter
Your search term must have 3 or more characters.
Drum would not drain and there was a banging noise when the drum spun
600 of 658 peoplefound this instruction helpful.
Charles from Whitman, MA
Really Easy
Less than 15 mins
Nutdriver, Screw drivers
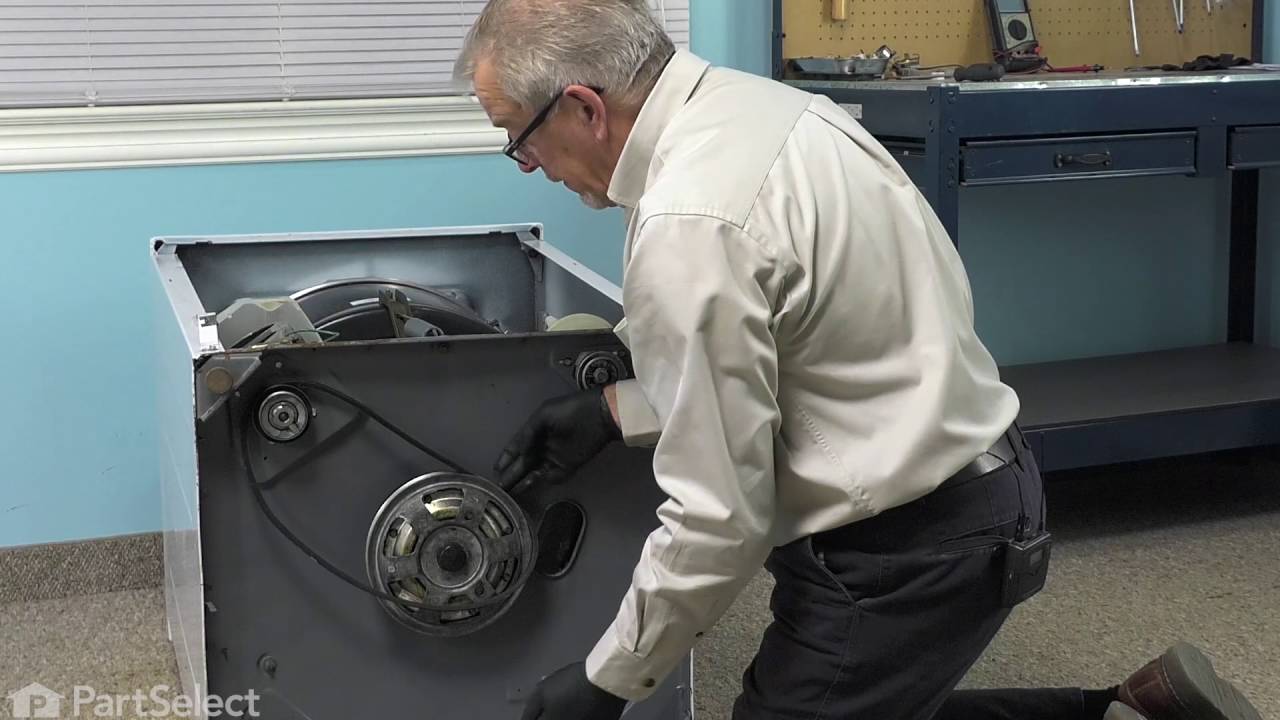
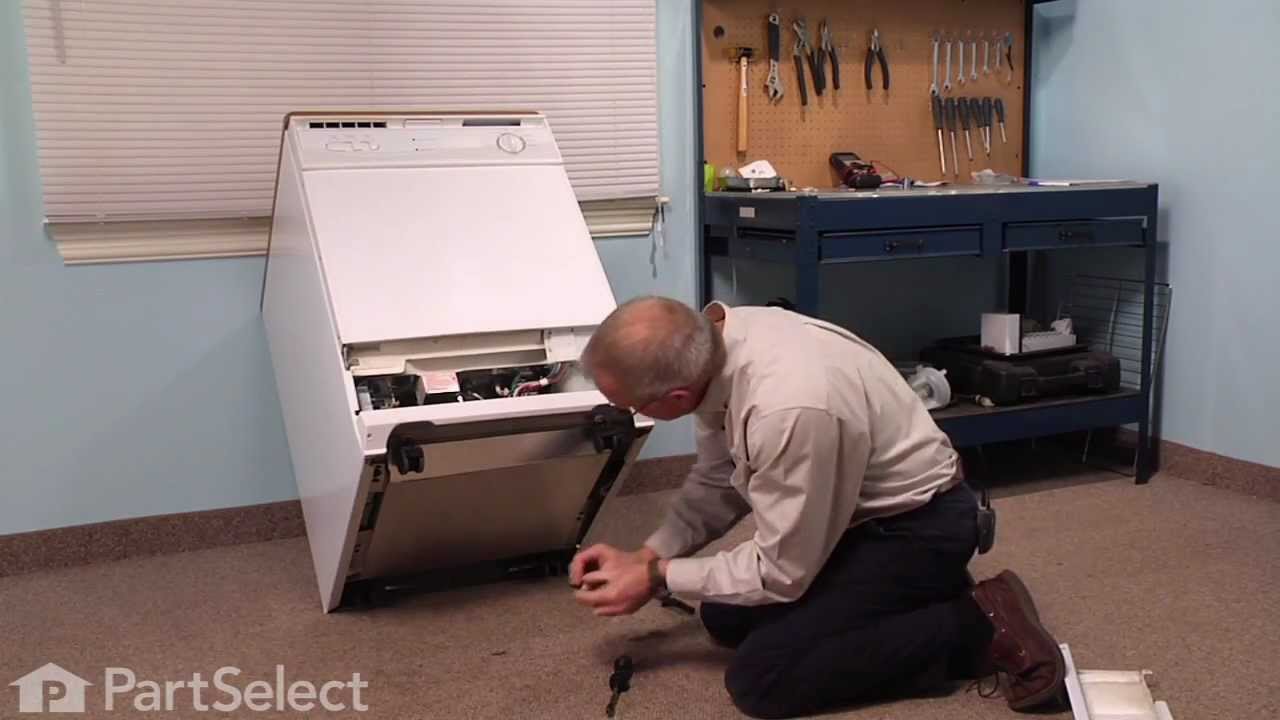
I removed the 2 phillips screws on the bottom of the front panel. Then checked around to find the belts were actually below the floor panel. I pulled the washing machine away from the wall and tilted it bacwards and found the pump belt was off the pully and the drive belt was badly damaged. I replaced the 2 belts which took no tools
... Read moreand about 3 minutes to accomplish then resecured the front panel, pushed back in place and leveled. Complete repair from diagnosis to back in operation took less than 15 minutes.
water leaking from around center shaft below fixed tub
530 of 560 peoplefound this instruction helpful.
douglas from bonita springs, FL
A Bit Difficult
1- 2 hours
Nutdriver, Pliers, Socket set
My washer is 5 years old and water began to leak on the floor. I took off the front panel and filled the tub. Water did not leak immediately, but after the tub filled with about 3-4 inches of water, the water began to leak from a rubber washer between the fixed tub and the drive shaft. I looked online for exploded diagrams of Maytag wa
... Read moreshers, when I came across your site. By looking at your diagrams, I determined what parts I needed and ordered them. The parts arrived in 2 days, and I installed them. There were no leaks and it cost me under $70 (a repairman would have cost at least $250). The only thing I would recommend to those in similar situations, is to purchase a spanner wrench (your site does not sell, but others do). The stem seal and hub assembly is reverse threaded (clockwise to loosen) and is difficult to remove due to tight quarters in the tub.
Read less
Was this helpful?
Thank you for voting!
Washer Leaking and Spin Cycle stopping frequenly
213 of 228 peoplefound this instruction helpful.
Dan from Mason, OH
A Bit Difficult
More than 2 hours
Pliers, Screw drivers, Socket set, Wrench set
* Remove front Panel * Remeove two screws that allow the top to hing up. * Loosen set screw on agitator (1/4" socket) * Remove Agitator *Loosen spanner nut from mounting seal with hammer and punch remember to loosen, turn clockwise * Remove Inner Tub * Losen Mounting stem with Hammer and Punch- Remember to l
... Read moreoosen, turn clockwise * Remove Boot seal with hands * Remove bolts from the three brackets that attach to the outer tub * Remove Outer Tub hoses * Remove outer Tub. CAREFUL, I cut my hands on sheet metal when outer tub broke free and came up * Knock Outer tub bearing out with large block of wood * Cut bearing sleeve off of the transmission with a drimmel tool and cutting wheel. It was siezed on and would not turn off. Also, first tried to chisel , but was too difficult * Cleaned area where bearing sleeve came off with fine sandpaper * Put small amount of non-permanent thread lock on transmission (bearing area) before installing the new bearing sleeve because the sleeve is not pressed on and I did not want it to turn freely * I did not but new bolts for the outer tub 3 brackets, but noticed that they needed to be sealed. So I bought some rubber washers at hardware store * I also used some stuff called CLR to clean some rust off of the outside of the INNER tank * I replaced the O-ring on the top of the agitator shaft Also, on the agitator shaft: To really do it right, I probably should have changed the agitator shaft because the old seal wore grooves into the shaft. I took my chances and cleaned it up with some fine metal sandpaper. I could not get the worn grooves completely smooth, but did not want to take off more material as I thought it may cause a leak. We'll see * I just used a hammer and punch to retighten the mounting stem and Spanner nut. REMEMBER COUNTER CLOCKWISE TO TIGHTEN * This was not too bad if you are somewhat mechanically inclined. I could have got a new washer, but quite frankly, I get more satisfaction from seeing the old one keep working * One last thing...and this is mostly for the younger guys cause the older guys already know it. CLEAN EVERYTHING on the washer...make it look like NEW and tell your wife how much you saved. Make sure you have the parts and tools to do the job within a timeframe that you do not have to go to the laundry mat and do not leave a big mess. This advice will definately pay off. GOOD LUCK



 My Orders