


 My Orders


KUDS01FLBT5 KitchenAid Dishwasher - Overview
Diagrams for KUDS01FLBT5
See every part. Know exactly what you need.


Enter a part description. DIY Heroes keep it simple, eg. "belt" or "pump".
Search filter:
Clear Filter
Your search term must have 3 or more characters.

$44.46
In Stock
Door Balance Link Kit
Part #8194001
The door balance kit helps support the dishwasher door. This kit includes 2 door balance links and 2 door balance mounts with wheels.

$62.14
In Stock
Chopper Assembly
Part #W10083957
This chopper assembly chops up/mince the food particles to prevent from clogging the dishwasher pump.

$23.11
In Stock
Dishwasher Mounting Bracket
Part #WP8269145
Sold individually. This part secures the upper side of the dishwasher to the underside of the counter or cabinet to prevent the dishwasher from moving, shaking, or tilting forward.

$126.45
In Stock
Dishwasher Silverware Basket Gray
Part #WPW10190415
This is a basket for washing flatware or silverware in your dishwasher. Note: This part has been updated by the manufacturer, it may appear different but will still function the same.

$122.86
In Stock
Door Gasket
Part #W11196317
This is a door seal, but you may also know it as a door gasket and it is a part for your dishwasher. It provides a leak proof seal between the tub and the door of your appliance. You will need to replace the door seal if you are experiencing leaking from the front of your dishwasher. Once you have removed your old seal, we recommend inspe...Read morecting the groove to make sure there are no food particles or debris caught inside that will impede the installation process.
Read less

$70.35
In Stock
Dishwasher Water Inlet Valve
Part #WP8531669
This water inlet valve should be located behind the lower kickplate panel in either the right or left corner. The attaching solenoid on the valve will open and close according to the desired amount of water needed.

No Longer Available
Touch-Up Paint - White
Part #72017
This 18 ml bottle of white appliance touch-up paint is used to cover scratches or marks on your appliance. The white touch-up paint can be used on refrigerators, microwaves, ranges, clothes dryers, and freezers. This is a genuine OEM part and includes a brush applicator. Please remember to wear gloves to protect your hands when applying this paint.

$69.25
In Stock
Fuse Kit
Part #8193762
When replacing these fuses the wire harness must be replaced as well. It is located in the control panel. The harness is included with this part now.

$97.97
In Stock
Dishwasher Detergent And Rinse Aid Dispenser
Part #WP8558129
This part releases the detergent and rinse aid into the dishwasher.

$339.72
In Stock
Dishwasher Circulation Pump And Motor
Part #WPW10757217
The part functions by spinning the impeller of the circulation pump, which is used to move the water through the spray arms during the wash cycle.

$35.15
In Stock

$50.55
Special Order
Upper Wash Arm Kit
Part #8193504
This part contains the mounting clips and helps distribute water from the top of the dishwasher tub.
Common Symptoms of the KUDS01FLBT5
How this model fails, and the parts that fix it.
Not cleaning dishes properly
Fixed by
these parts
these parts


Show All
Leaking
Fixed by
these parts
these parts


Show All
Door latch failure
Fixed by
these parts
these parts


Show All
Will Not Start
Fixed by
these parts
these parts


Show All
Noisy
Fixed by
these parts
these parts

Show All
Door won’t close
Fixed by
these parts
these parts
Show All
Not draining
Fixed by
these parts
these parts


Show All
Not drying dishes properly
Fixed by
these parts
these parts


Show All
Will not dispense detergent
Fixed by
these parts
these parts


Show All
Will not fill with water
Fixed by
these parts
these parts


Show All
Watch our pros, then fix it yourself.
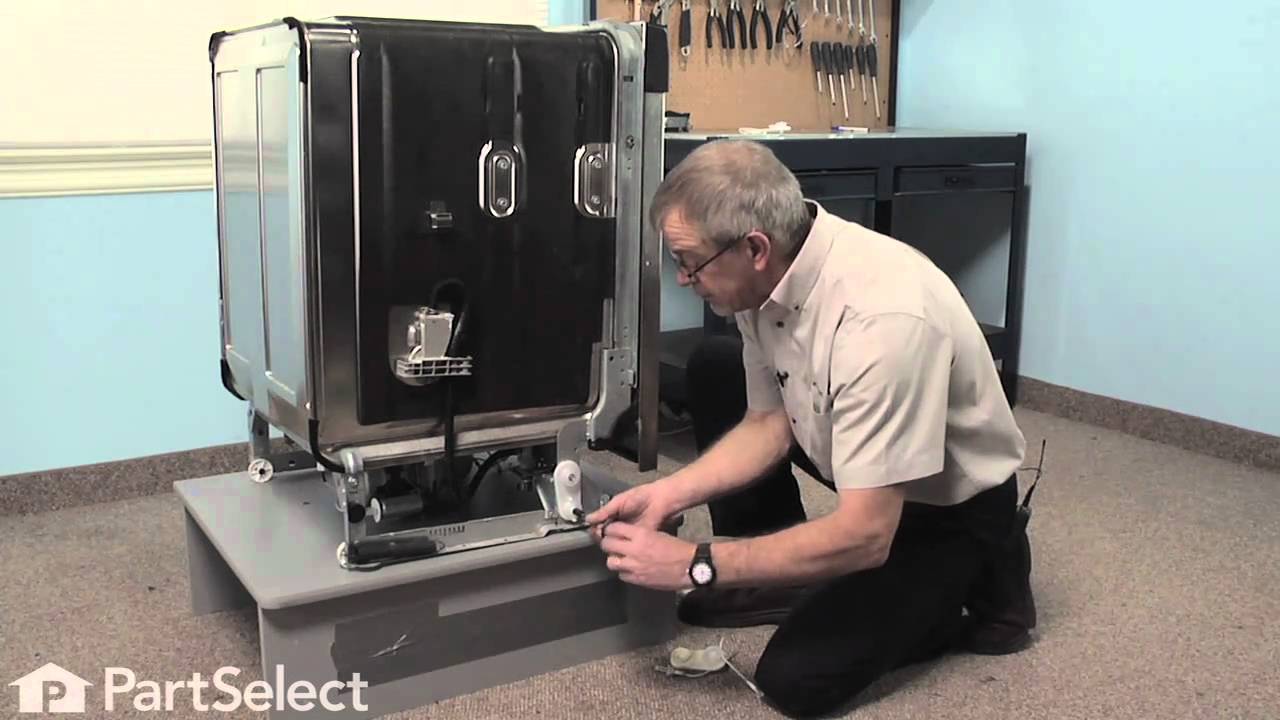
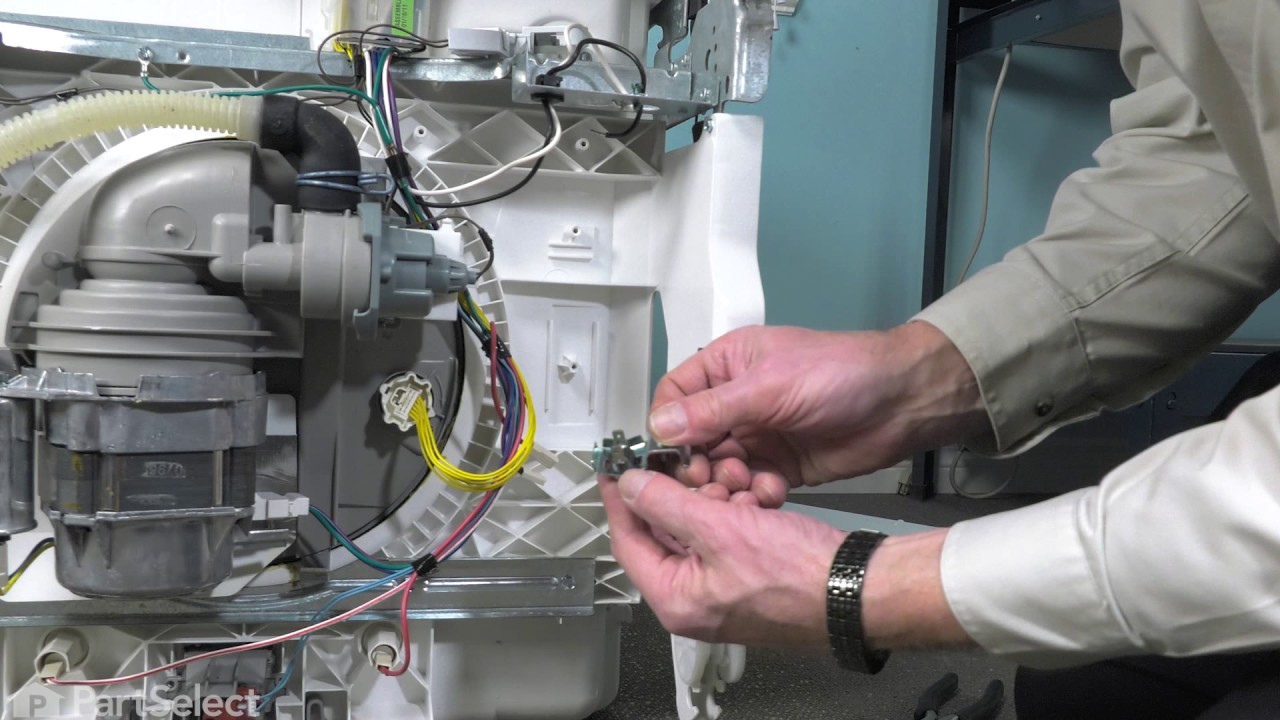
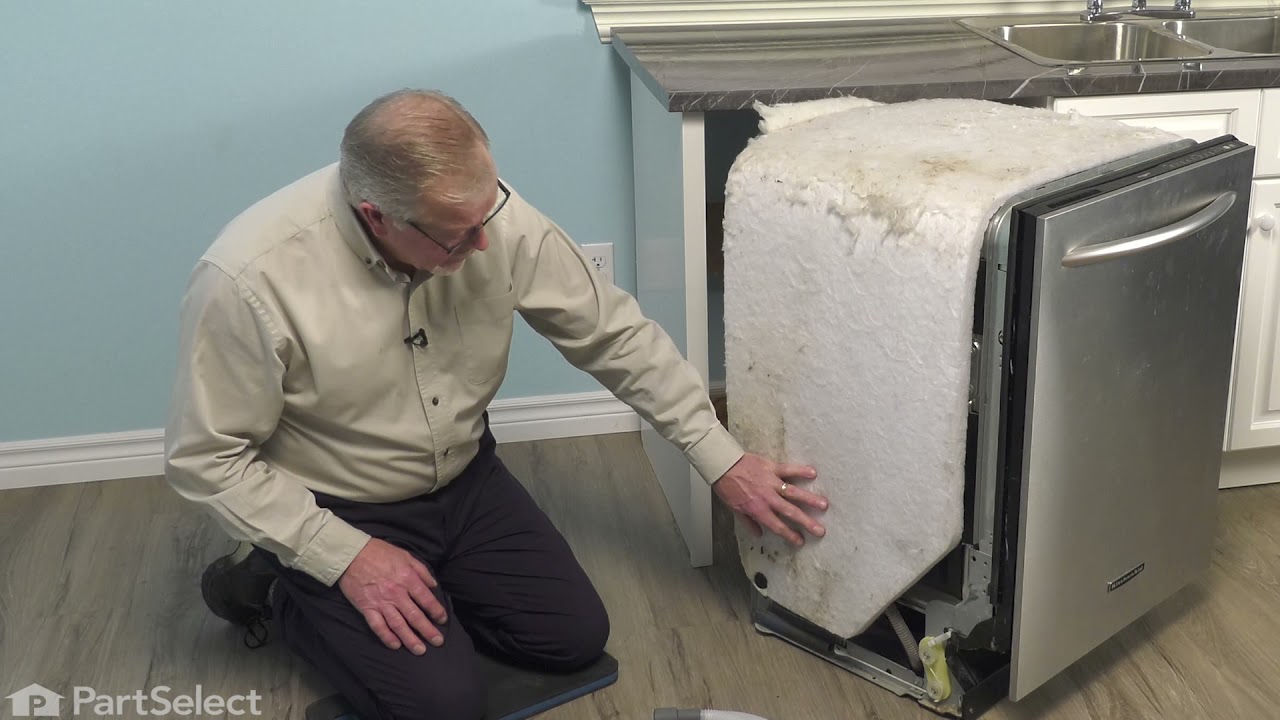
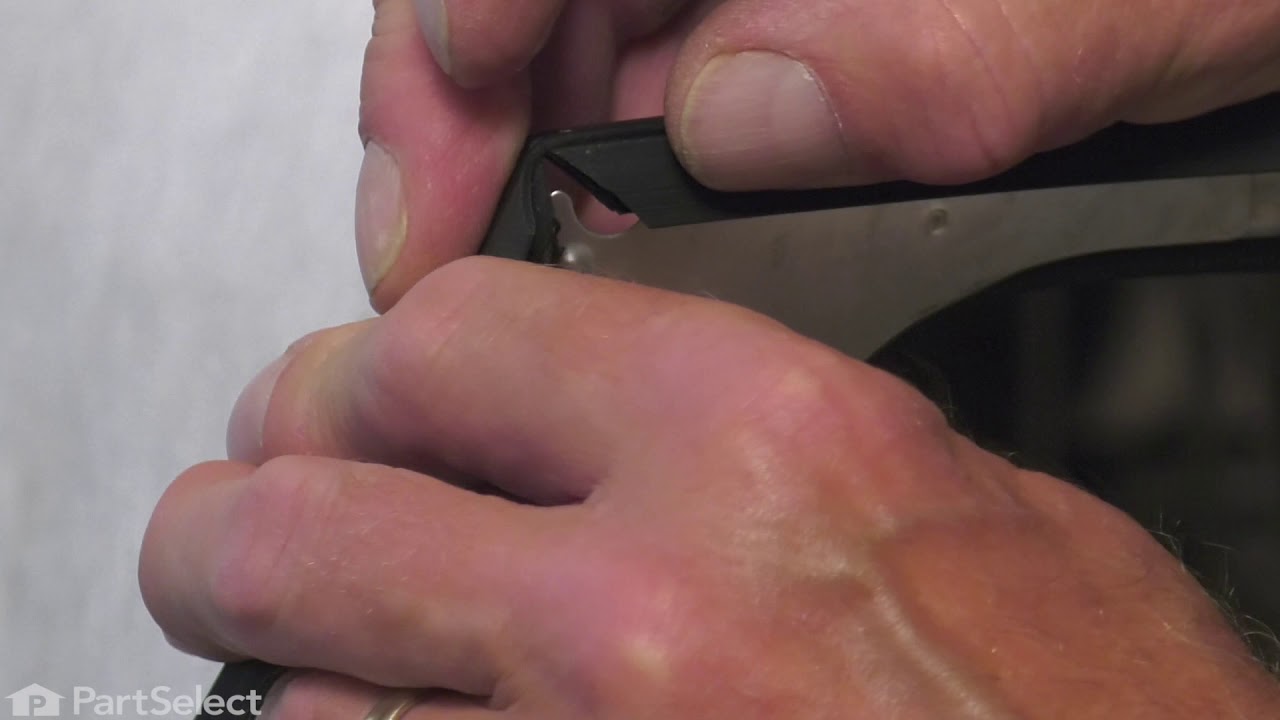
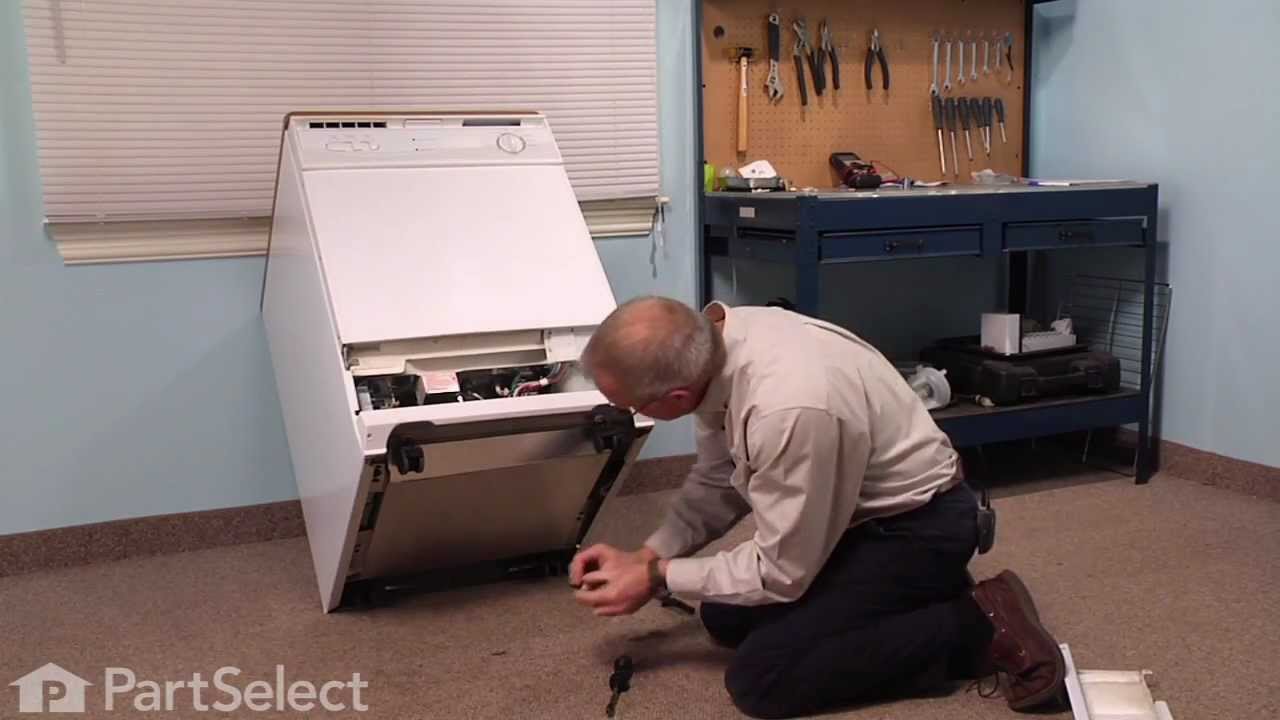
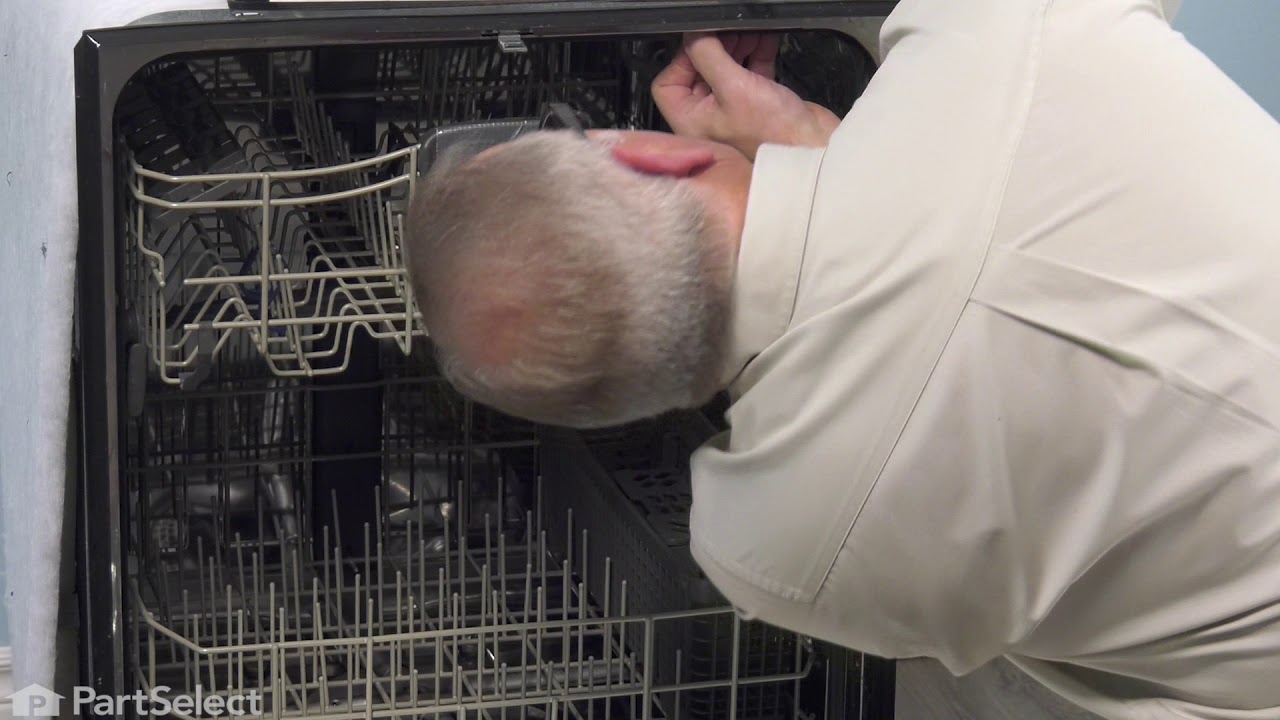
See how others fixed this model. Time, tools, difficulty, and steps that lead to victory!
View More