


 My Orders


KSGG700ESS6 KitchenAid Range - Overview
Diagrams for KSGG700ESS6
See every part. Know exactly what you need.


Enter a part description. DIY Heroes keep it simple, eg. "belt" or "pump".
Search filter:
Clear Filter
Your search term must have 3 or more characters.

No Longer Available
Touch-Up Paint - White
Part #72017
This 18 ml bottle of white appliance touch-up paint is used to cover scratches or marks on your appliance. The white touch-up paint can be used on refrigerators, microwaves, ranges, clothes dryers, and freezers. This is a genuine OEM part and includes a brush applicator. Please remember to wear gloves to protect your hands when applying this paint.

$30.40
In Stock
Screw
Part #W11233072
This is a multi-use and multi-appliance screw. It can be used on a microwave, refrigerator, range/oven, air conditioner, dehumidifier, washer, or dryer. The measurements of this screw are 8 x 1/2 inch. It has 6 threads. Refer to the manual provided by the manufacturer for further information on repair and accurate guidance. Remember to wear work gloves as a safety precaution.

$171.03
In Stock
Sensor
Part #W10833885
This oven temperature sensor is designed to monitor and regulate the internal heat levels of your range, ensuring consistent and accurate cooking performance. It communicates directly with the control board to adjust heating as needed. Over time, exposure to high temperatures can cause the sensor to degrade, leading to uneven heating or f...Read moreailure to maintain set temperatures. If your oven struggles to reach or hold the correct temperature, replacing the sensor may resolve the issue. This OEM replacement part includes a wire harness for connection and is installed using two mounting screws. Installation is simple and typically requires only a screwdriver. Please note that the sensor is sold individually and does not include additional hardware.
Read less

$69.24
In Stock

$15.35
In Stock

$78.43
In Stock

$12.77
In Stock
Appliance Scraper
Part #WA906B
Use this scraper for your ceramic/glass cooktop. It has a retractable blade and is an all-purpose tool for cooktops, mirrors, windows and tile. Use it to also remove paint, paper, dirt, stickers and more.

No Longer Available

$165.07
In Stock

$66.88
In Stock
2 Piece Broiler Pan
Part #4396923
This broiler pan and roasting rack set features a two-piece design that allows fat to drain away for cleaner cooking and reduced splatter. Made with a durable, high-heat resistant porcelain finish, it offers reliable performance and easy cleanup. Measuring approximately 16 3/4 inches long by 12 3/4 inches wide and 1 3/4 inches high, it provides a practical solution for everyday broiling and roasting.

$21.75
Special Order
Cooktop Cleaner
Part #W10355051
This cooktop cleaner will cut through tough grease and baked-on residue. The cleaner will leave a protective coating of silicone on the cooktop surface as it cleans. This 10oz bottle is safe for all glass, porcelain, and ceramic cooktops. Just apply a small amount to your cooktop and use a circular motion by using a sponge or a rag and ge...Read morently press until the grease or baked residue has been removed. Please remember to wear gloves to protect your hands while working with the cooktop cleaner.
Read less

$119.16
In Stock
Oven Bake Igniter
Part #WPW10324262
This oven bake igniter is for gas ovens with Direct Spark Ignition (DSI). It ignites the gas to light the bake burner. Before installation, turn off the house circuit breaker and gas supply. Wear gloves for protection and verify compatibility with your model before ordering.
Common Symptoms of the KSGG700ESS6
How this model fails, and the parts that fix it.
Little to no heat when baking
Fixed by
these parts
these parts


Show All
Oven not heating evenly
Fixed by
these parts
these parts

Show All
Door won’t close
Fixed by
these parts
these parts


Show All
Oven is too hot
Fixed by
these parts
these parts
Show All
Will Not Start
Fixed by
these parts
these parts
Show All
Gas igniter glows, but will not light
Fixed by
these parts
these parts
Show All
Element will not heat
Fixed by
these parts
these parts
Show All
Watch our pros, then fix it yourself.
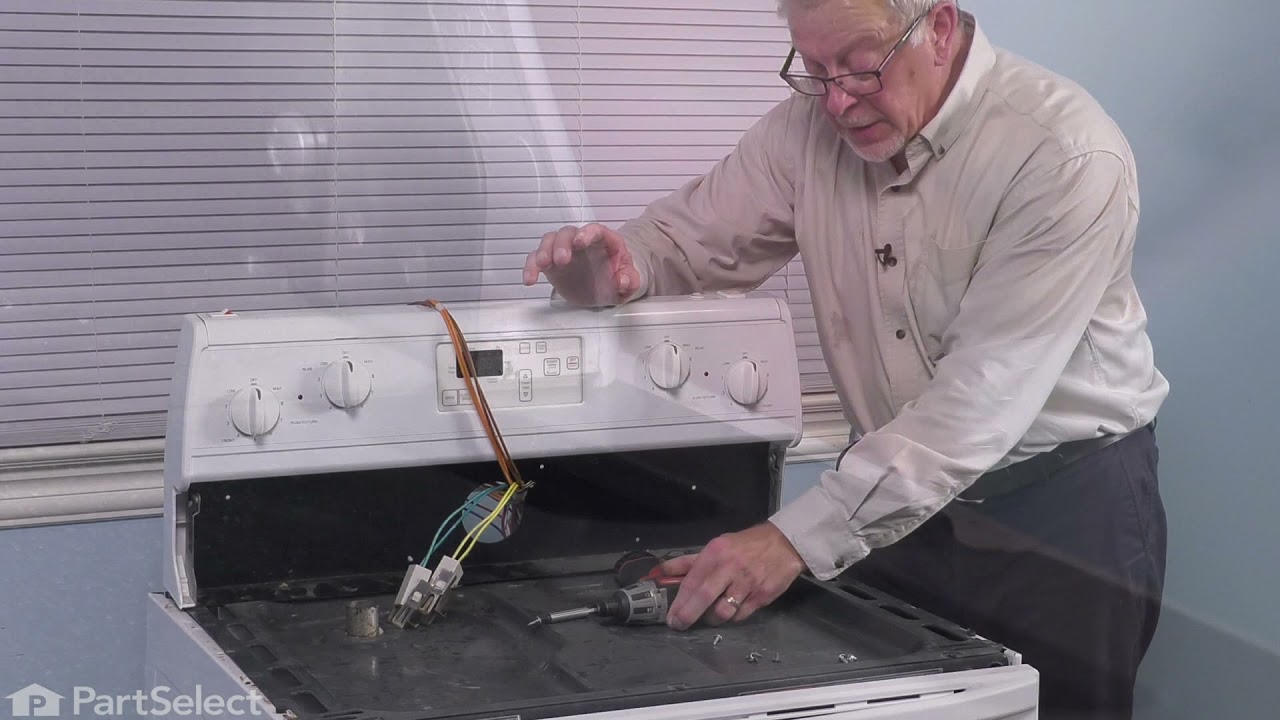
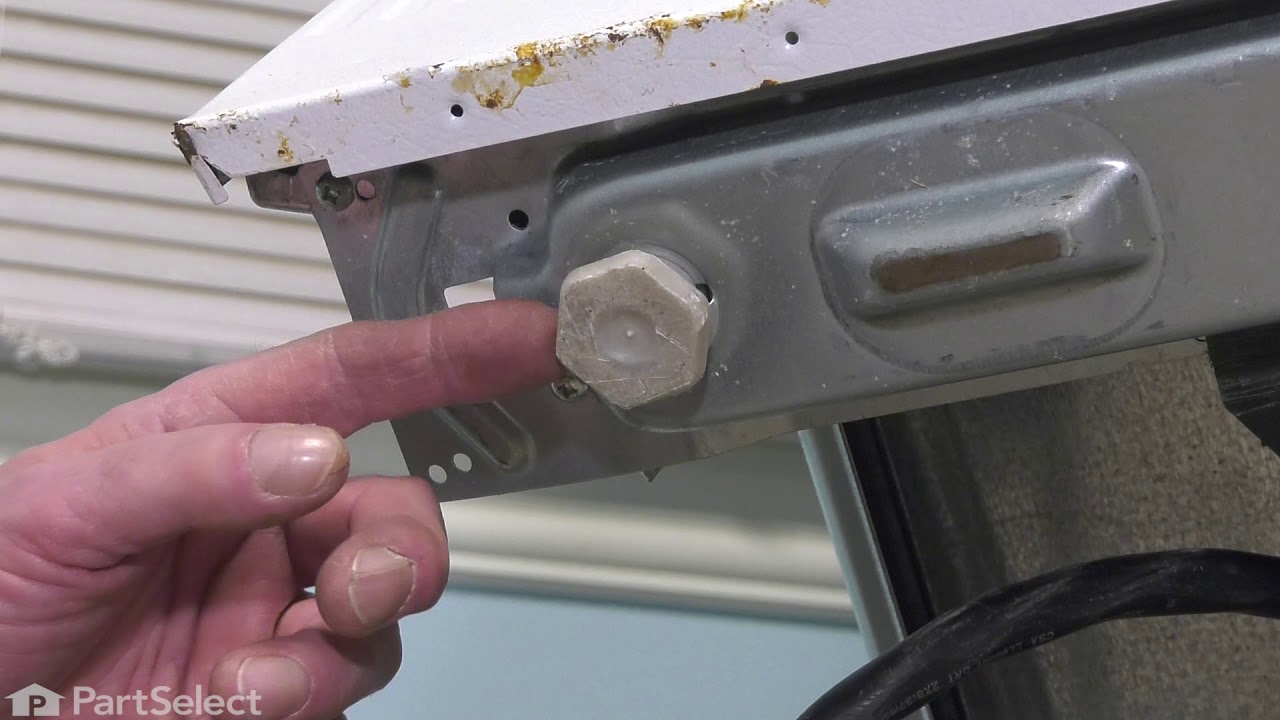
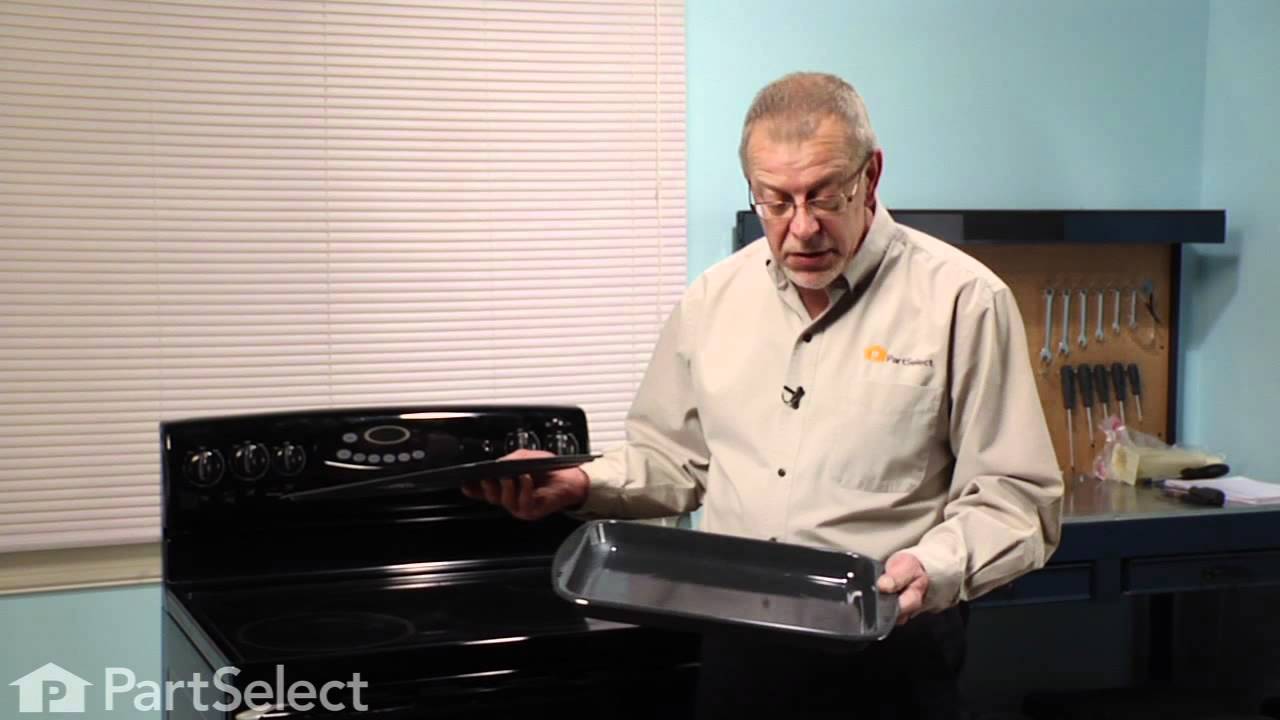
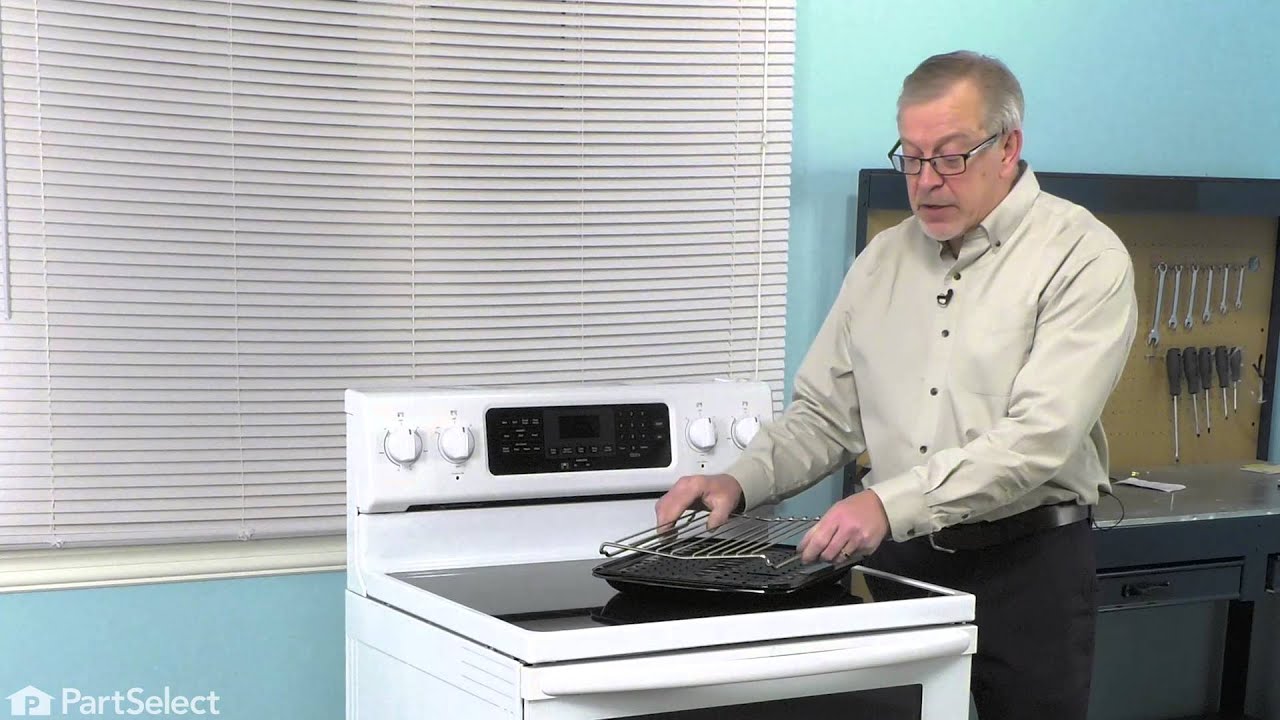
See how others fixed this model. Time, tools, difficulty, and steps that lead to victory!
View More