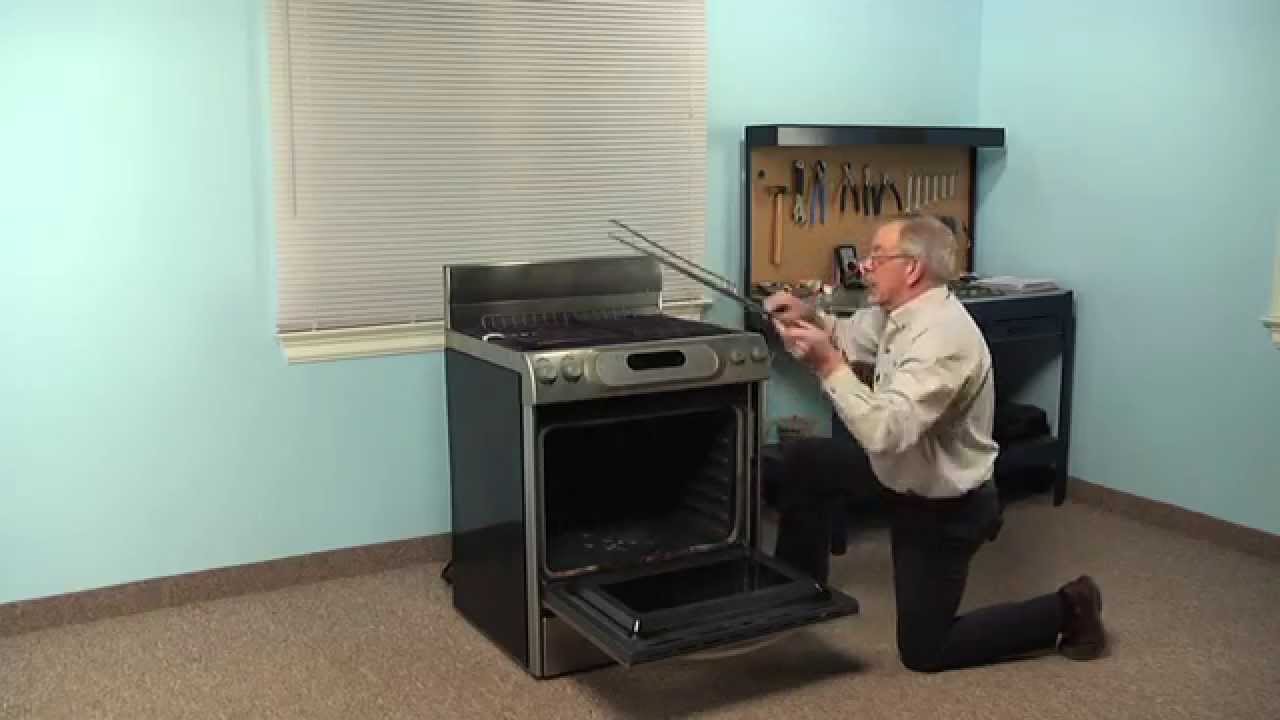
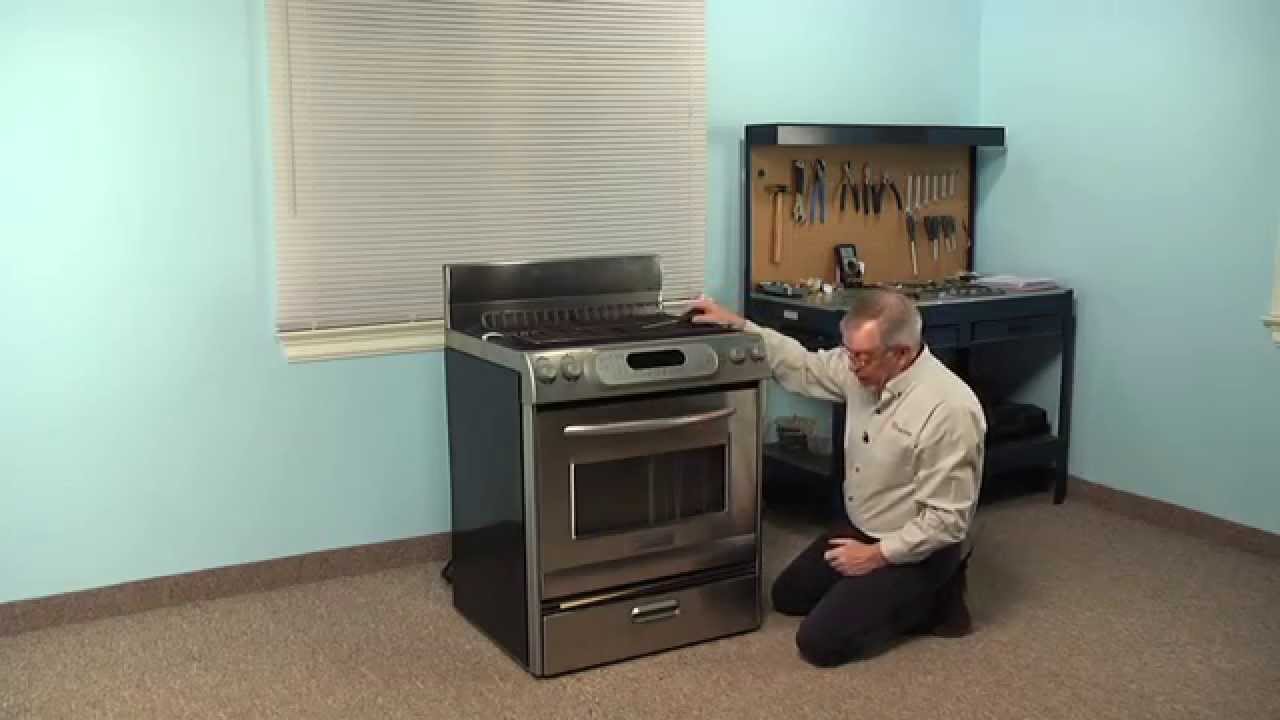
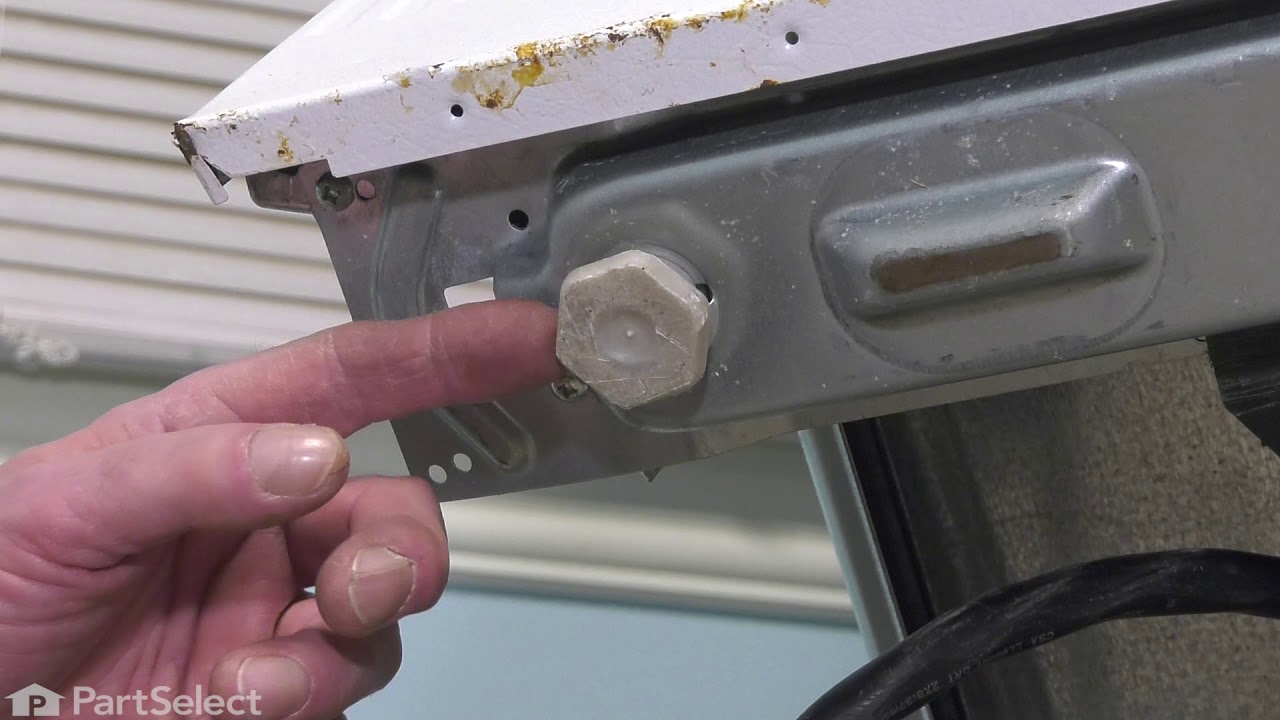
This is the replacement large surface element for your cooktop or range. It is approximately 10-inches in diameter and is 1200/2500 watts. The large surface element is installed under the cooktop and heats up the area directly above it. You will need to replace the element if it does not heat up properly. As you will be working around ele...Read morectricity, be sure that your range is disconnected from power before you begin this repair. This is an OEM part sourced directly from the manufacturer.
This 18 ml bottle of white appliance touch-up paint is used to cover scratches or marks on your appliance. The white touch-up paint can be used on refrigerators, microwaves, ranges, clothes dryers, and freezers. This is a genuine OEM part and includes a brush applicator. Please remember to wear gloves to protect your hands when applying this paint.
This broil element is a genuine replacement part designed to deliver high heat for broiling in compatible Whirlpool, KitchenAid, Maytag, Amana, and Jenn-Air ovens. Located at the top of the oven cavity, it provides direct radiant heat essential for broiling food evenly and efficiently. Constructed from corrosion-resistant materials, it is...Read more engineered to withstand high temperatures and ensure long-term performance. A malfunctioning broil element may result in no heat, low heat, or uneven cooking. Replacing the element restores proper broil functionality and improves cooking results. Installation requires basic hand tools and should be performed with the appliance unplugged or the circuit breaker turned off. Instructional videos are often available to guide the process.
This single oven rack is used to provide a durable surface for your cookware inside the oven for baking/broiling. The oven rack measures approximately 24.76” x 15.78”, is made of metal and is chrome in color. This oven rack is a genuine OEM part and is sold individually.
This 120-130 volt 15-watt light bulb is used to illuminate the interior part of the oven cavity when the door is open or when the light switch is turned on. The bulb has a small screw base and is approximately 2 inches long. If the light bulb does not come on when the door is open or the switch is turned on you may need to replace the bul...Read moreb. If the bulb has been replaced and still not working you may want to check the light socket. It is recommend to wear gloves while replacing the bulb in case the existing bulb breaks when you try to remove it. This is a genuine OEM part and is sold individually.
This surface element is for ranges.
The surface element supplies the heat to a cooking area on top of the range.
Unplug the range or shut off the house circuit breaker for the range before installing this part. Wear work gloves to protect your hands.
This is a multi-use and multi-appliance screw. It can be used on a microwave, refrigerator, range/oven, air conditioner, dehumidifier, washer, or dryer. The measurements of this screw are 8 x 1/2 inch. It has 6 threads. Refer to the manual provided by the manufacturer for further information on repair and accurate guidance. Remember to wear work gloves as a safety precaution.
This part is the replacement door gasket for your oven. It is now made of black rubber and is sold individually. The door gasket runs along the circumference of the oven door and creates a seal that insulates the oven and keeps heat in. If your oven will not heat up properly, or if you notice that the door gasket has become loose or worn,...Read more it may need to be replaced. To replace the door gasket, you will need to remove the retaining bracket at the bottom of the oven door, then carefully pull the gasket away from the front of the oven cavity. Then, push the new gasket inside the groove on the outside of the oven cavity, securing it with the arrowhead fasteners that are built in to the oven cavity. This is an OEM part from the manufacturer.
Ask our experts a question about this model and we'll get back to you as soon as possible!
We may have answered a similar question already! Search questions and answers left by others using simple keywords like "fit", "broken", "easy", or "quality" to find questions that match.
Search filter:
Clear Filter
Your search term must have 3 or more characters.
Sort by:
Prev
1
Next
Sorry, we couldn't find any existing answers that matched.Try using some different or simpler keywords, or submit your new question by using the "Ask a Question" button above!
Alejandro - For model number KERA807PSS02
January 5, 2023
The door won’t close so if I chage the hinges it will fixed
Hello Alejandro, thank you for contacting us. It is highly likely that replacing the hinges, part number PS11747290, and part number PS11747295, on your range could fix the issue with the door not closing properly. However, it could also be caused by other issues such as the door itself being out of alignment or the latch mechanism, part number PS11747306, being damaged. Customer service is available 7 days a week if you require assistance placing an order. Thanks again for reaching out!
See how others fixed this model. Time, tools, difficulty, and steps that lead to victory!View More
Search repair tips from other customers using simple keywords like "replace", "fit", "remove", "inspect". DIY doesn't mean you have to do it alone!
Search filter:
Clear Filter
Your search term must have 3 or more characters.
Self Cleaning blows the thermostat fuse
137 of 157 peoplefound this instruction helpful.
Joseph from Worthington, PA
Really Easy
15 - 30 mins
Screw drivers
Something Kitchen Aid wont tell you but running a self clean on this model stove blows the fuse located on the back of the stove.
First I slid the stove out and removed the back of the stove held in place by 8 Phillips screws. The thermostat fuse is located near the top middle on the back of the stove. Remove the 2 screws hold
... Read moreing it in place. Disconnect the wires, plug in the new part. Put it all back together. Job done in less than 30 minutes.
This repair would have cost $164 through A&E factory service.
Read less
Was this helpful?
Thank you for voting!
Radiant element, 2400 watt, under Ceran glass cok top needed replacement.
171 of 261 peoplefound this instruction helpful.
GEORGE from NEWNAN, GA
Easy
15 - 30 mins
Pliers, Screw drivers
turned off power removed ceran top from cabinet removed element installed new element replaced top powered up and was done
Was this helpful?
Thank you for voting!
Bad Element
77 of 123 peoplefound this instruction helpful.
Michael from Howell, MI
Easy
15 - 30 mins
Screw drivers
Bought new element and installed. Very simple. Used phillips screw driver.



 My Orders