


 My Orders


KDRS462VSS02 KitchenAid Range - Overview
Diagrams for KDRS462VSS02
See every part. Know exactly what you need.


Enter a part description. DIY Heroes keep it simple, eg. "belt" or "pump".
Search filter:
Clear Filter
Your search term must have 3 or more characters.

$108.62
In Stock
Range Temperature Sensor
Part #WPW10131825
This temperature sensor detects the temperature within the oven cavity.

$103.03
In Stock

$30.40
In Stock
Screw
Part #W11233072
This is a multi-use and multi-appliance screw. It can be used on a microwave, refrigerator, range/oven, air conditioner, dehumidifier, washer, or dryer. The measurements of this screw are 8 x 1/2 inch. It has 6 threads. Refer to the manual provided by the manufacturer for further information on repair and accurate guidance. Remember to wear work gloves as a safety precaution.

$17.95
In Stock
Grate Feet - Kit of 4
Part #W10185266
This kit contains 4 grate feet for a range. These are the feet to fit your burner grates so the burner will not scratch your cooktop. The are black in color and made of rubber. These feet are fitted with a specific fire-resistant adhesive. If necessary, be sure to order adhesive separately. Be sure your burners are off and have cooled down to the touch before replacing these parts.

$60.56
In Stock
Light Bulb
Part #WPW10169757
This is a replacement light bulb to illuminate the inside of your oven. It is 25 watts and 120 volts. Please wear gloves during replacement if your existing bulb is shattered. Consider ordering a spare as this is a common wear part.

$165.07
In Stock

$10.40
In Stock

$21.75
Special Order
Cooktop Cleaner
Part #W10355051
This cooktop cleaner will cut through tough grease and baked-on residue. The cleaner will leave a protective coating of silicone on the cooktop surface as it cleans. This 10oz bottle is safe for all glass, porcelain, and ceramic cooktops. Just apply a small amount to your cooktop and use a circular motion by using a sponge or a rag and ge...Read morently press until the grease or baked residue has been removed. Please remember to wear gloves to protect your hands while working with the cooktop cleaner.
Read less

$145.93
In Stock
Thermostat
Part #WP4449751
If your oven isn’t heating properly or seems to be getting too hot, the high-limit thermostat might be the issue. This part helps keep things safe by shutting off the heat if the temperature gets too high. It’s built to last and helps protect your oven from damage. Replacing a faulty thermostat can fix problems like uneven cooking or an o...Read moreven that won’t start. Just be sure to unplug the oven before installing the new part.
Read less

$433.40
On Order

$16.45
In Stock
Convection Fan
Part #W10758272

$10.74
Special Order
Manuals & Care Guides for KDRS462VSS02
Click to downloadCommon Symptoms of the KDRS462VSS02
How this model fails, and the parts that fix it.
Oven is too hot
Fixed by
these parts
these parts

Show All
Will Not Start
Fixed by
these parts
these parts


Show All
Little to no heat when baking
Fixed by
these parts
these parts
Show All
Oven not heating evenly
Fixed by
these parts
these parts
Show All
Element will not heat
Fixed by
these parts
these parts
Show All
Will not program
Fixed by
these parts
these parts

Show All
Door won’t open after self cleaning cycle
Fixed by
these parts
these parts
Show All
Watch our pros, then fix it yourself.
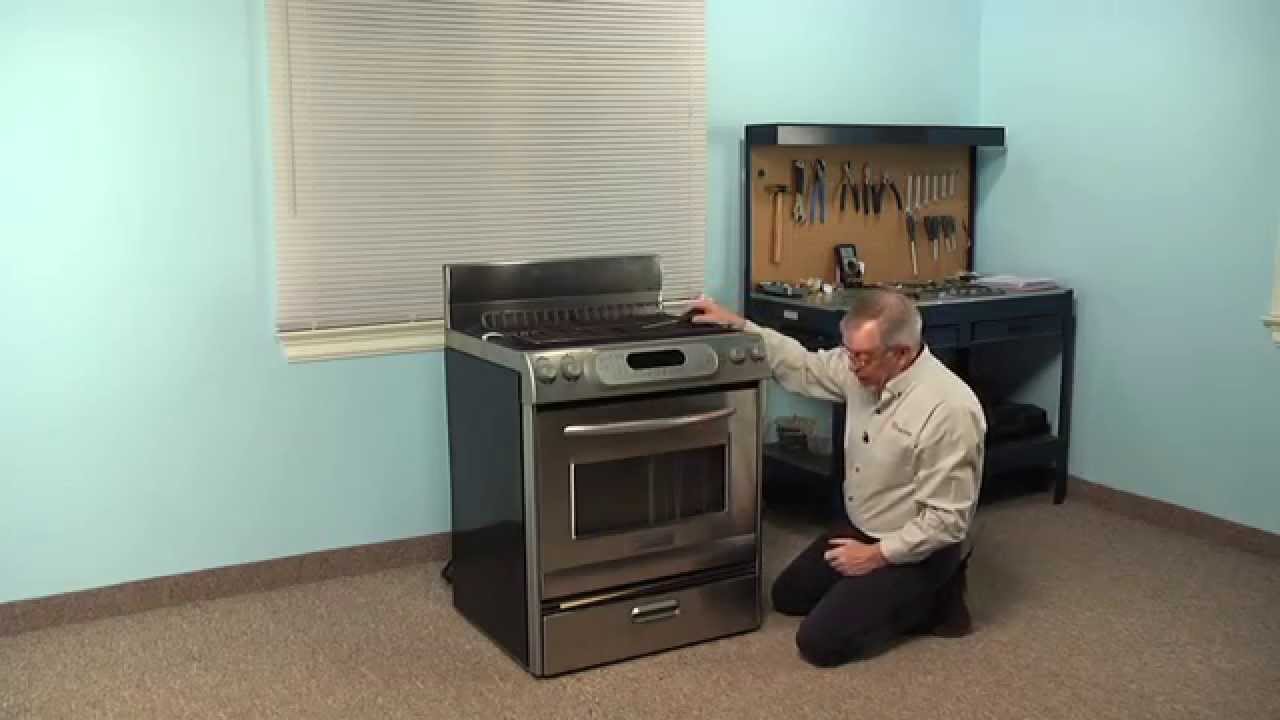
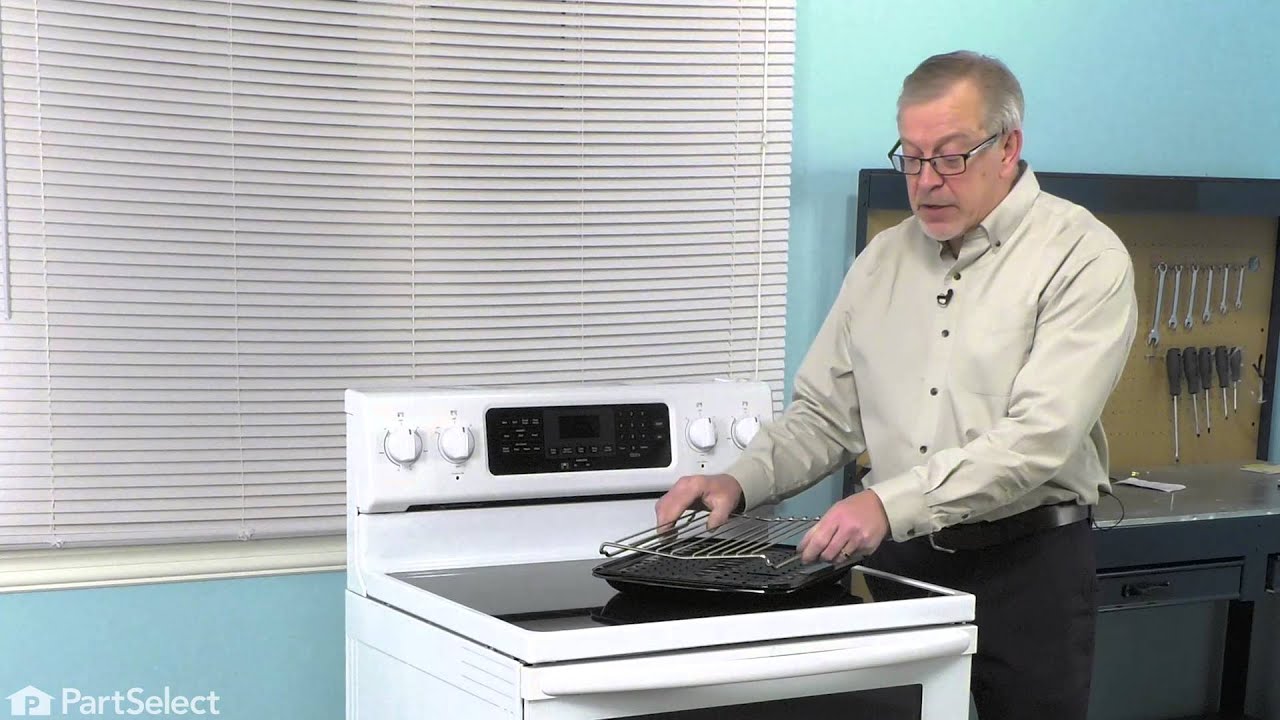
See how others fixed this model. Time, tools, difficulty, and steps that lead to victory!
View More