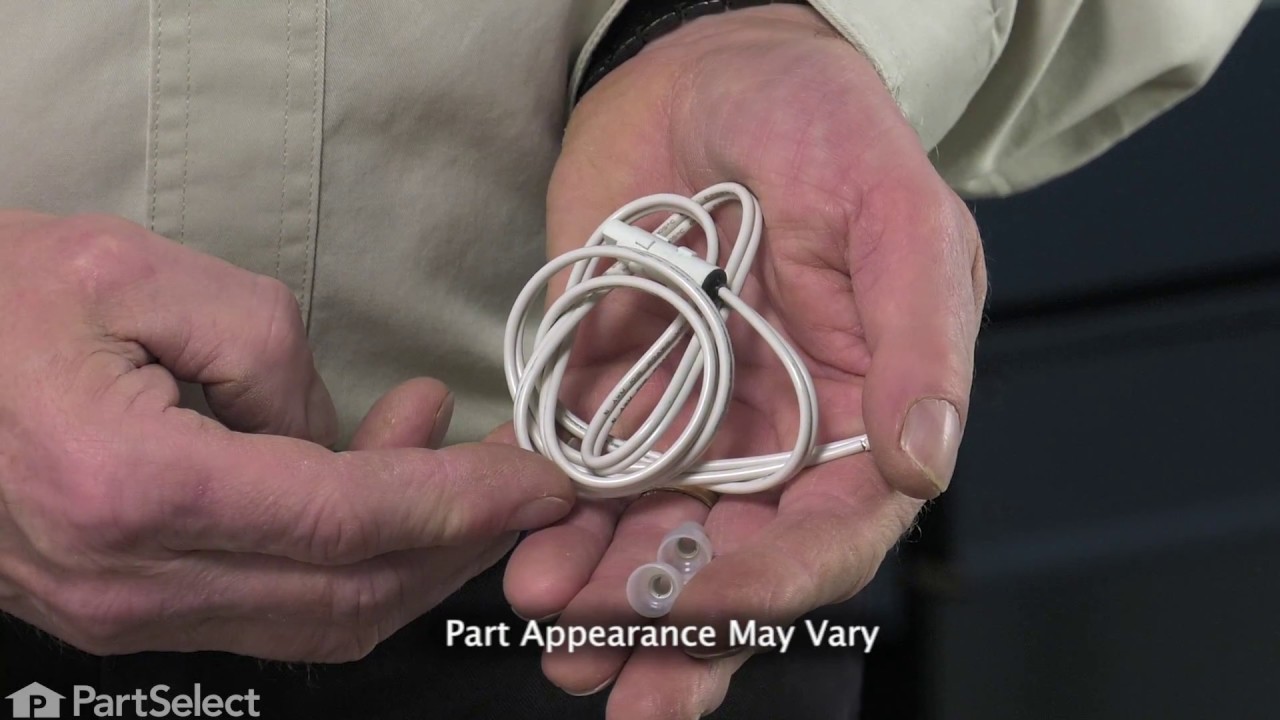
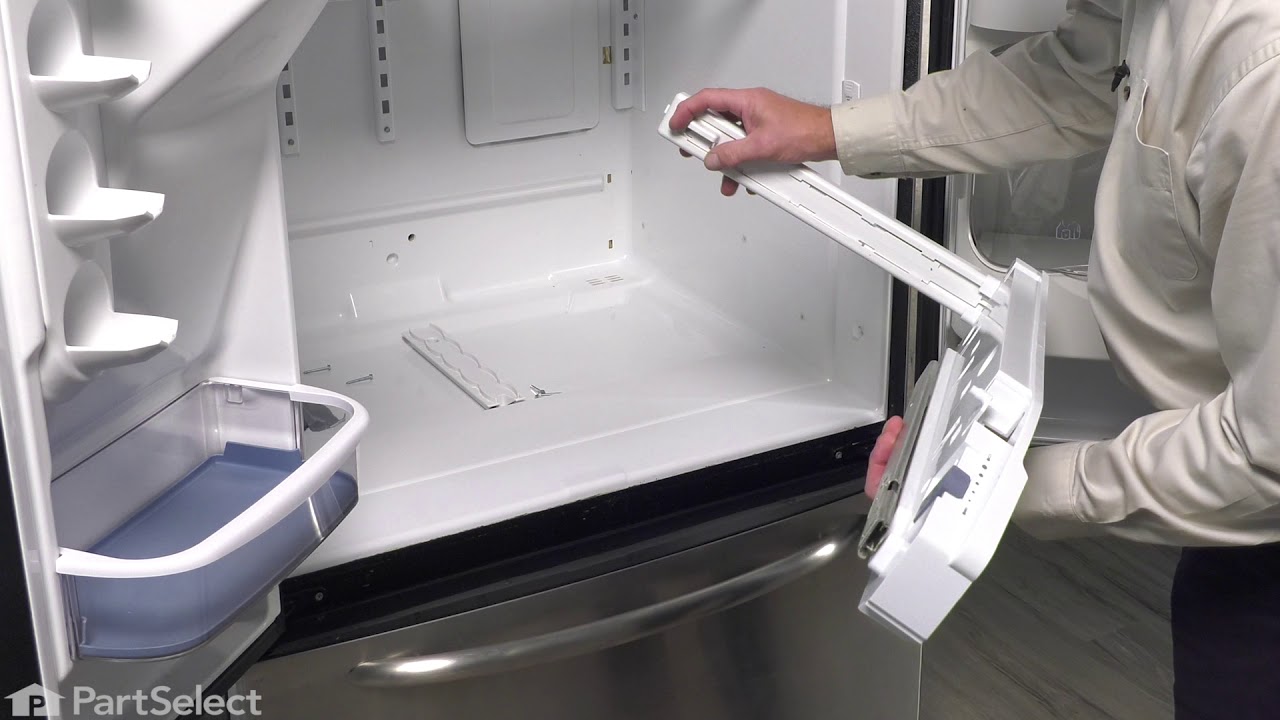
This manufacturer-approved Refrigerator Pantry End Cap Kit, also known as the Refrigerator Drawer Support, is a kit containing all parts of the Pantry End Cap. It snaps into place on the appliance’s pantry drawer to help contain the items inside and to keep your refrigerator door from sliding all the way out. It is rated as "medium" diff...Read moreiculty to install, is constructed of plastic and comes in white. If broken or missing, the pantry drawer will not stay in place and the part should be replaced. Refer to your user manual and model number to ensure this is the correct part for you. This kit includes both the right and left side end caps, as well as the pins that will hold them in place. To replace an end cap, remove the three screws holding it in place. Then, remove the pin and end cap, replacing the old end cap with the new end cap. In the past, the left and right end caps were sold separately, but the part has been updated and now includes both sides. The part is sold as a kit, and unfortunately, as such none of the parts are available individually.
This water filter purifies water going to the water dispenser and sometimes the icemaker as well. This part should be replaced if it is causing reduced water flow or just replaced periodically per the owner manual. Replacing this water filter may fix a noisy or leaking fridge, a fridge that is not dispensing water (or reduced flow rate), ...Read moreand an ice maker that is not making ice at all, or not making enough ice. This filter is white, sold individually and measures 8 inches by 3 inches in diameter. This water filter has been updated by the manufacturer. It may appear different but will still function the same. It is sold individually.
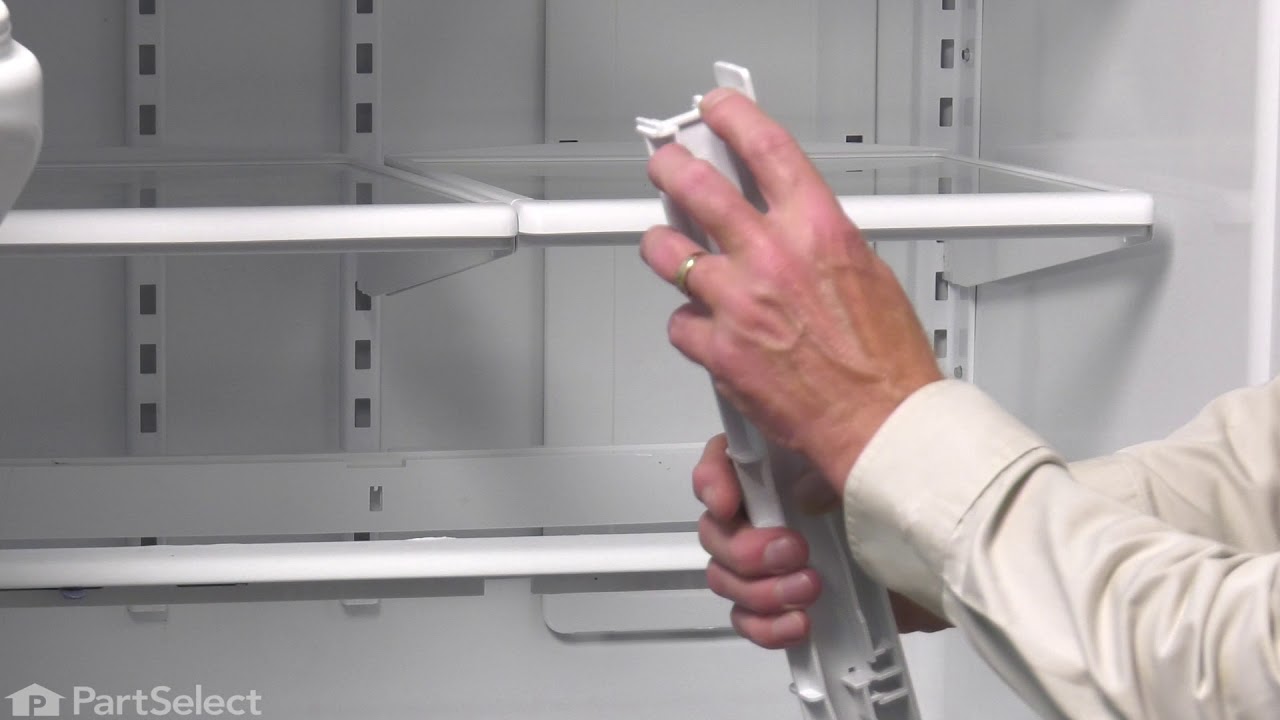
This OEM Center Rail is a white plastic part which supports the crisper frame, which holds the crisper. Fifteen inches long and white in colour, if broken, the support may no longer hold properly. Refer to your model number and user manual to see if this part will be right for your appliance. This part is a very easy repair which only ta...Read morekes a few minutes and does not require any tools. Just slide the crisper drawers out, lift out the glass shelf, slide the new rale into place and replace the glass shelf and crisper drawers. This part is sold individually and not as part of a set.
This modular ice maker assembly replaces worn-out units to restore ice production in refrigerators. It includes the ice mold and control device but excludes the cover, ice level arm, wire harness, and mounting hardware, which must be reused or ordered separately. Unplug the refrigerator before installation and use work gloves for safety. Check compatibility with your model number before purchase.
This 18 ml bottle of white appliance touch-up paint is used to cover scratches or marks on your appliance. The white touch-up paint can be used on refrigerators, microwaves, ranges, clothes dryers, and freezers. This is a genuine OEM part and includes a brush applicator. Please remember to wear gloves to protect your hands when applying this paint.
Keep your fridge’s pantry drawer sealed and fresh with this replacement lid! It’s made of sturdy white plastic and has a clear window so you can see what’s inside without opening it. This part helps control moisture and temperature to keep food fresher longer. It fits many Whirlpool, Maytag, and KitchenAid models—just check your fridge to make sure it’s the right match.
This water filter bypass cap is a genuine OEM component designed for select Whirlpool, Maytag, KitchenAid, and affiliated refrigerator models. Installed in place of the water filter, it allows uninterrupted water flow to the dispenser and ice maker when the filter is removed or non-functional. The cap fits securely into the water filter h...Read moreead, providing a temporary or permanent bypass solution without filtering the water. It is commonly used during troubleshooting or when a replacement filter is unavailable. The kit includes the bypass cap and may feature installation instructions for quick and secure setup. Note: This part does not purify water and should not be used as a substitute for a functioning filter in systems requiring filtration.
This includes both the run capacitor and the start relay. The capacitor helps the compressor kick on and off while maintaining a constant temperature to keep things frozen in your freezer.
The start relay boosts the compressor, and then shuts off as soon as the motor gets up to speed and the overload provides extra protection against excessive temperatures.
This part, when activated, releases water from the supply line into the ice mold. This water inlet valve is for refrigerators.
Water inlet valve supplies water to the refrigerator ice maker and water dispenser.
Safely store any food that could deteriorate while the power is off and unplug the refrigerator before installing this part. Wear work gloves to protect your hands.
Ask our experts a question about this model and we'll get back to you as soon as possible!
We may have answered a similar question already! Search questions and answers left by others using simple keywords like "fit", "broken", "easy", or "quality" to find questions that match.
Search filter:
Clear Filter
Your search term must have 3 or more characters.
Sort by:
Prev
1
Next
Sorry, we couldn't find any existing answers that matched.Try using some different or simpler keywords, or submit your new question by using the "Ask a Question" button above!
Wayne - For model number KBFA25ERSS01
March 12, 2025
CAN YOU TELL ME WHAT YR THIS IS..?
Hi Wayne, thank you for reaching out. Based on our research, your model was manufactured in 2005. For us to locate the exact age, we will require the serial number of your model. We hope this information helps!
2 peoplefound this instruction helpful.
Was this helpful?
Thank you for voting!
Debbie - For model number KBFA25ERSS01
May 7, 2024
We want to replace water filter with a plug and we need the screw in housing for the plug. Don’t know what it is called and where to get one.
Hi Debbie, thank you for reaching out. The water filter plug and the housing you are looking for comes as an assembly, the part number PS11743574. If you need help placing an order, customer service is open 7 days a week!
1 personfound this instruction helpful.
Was this helpful?
Thank you for voting!
Mike - For model number KBFA25ERSS01
June 26, 2022
Temperature keeps rising alarm going off but fridge cold
Hello Mike, Thank you for the question. If the compressor is running normally, we suggest testing the Thermistor. The resistance of the thermistor in the unit should be 2.7K ohms at 77 degrees. If the Thermistor is good, you can test the Defrost Thermostat. You can let the sensor warm up to room temperature. With the sensor warmed up to room temperature the sensor should read approximately 6.2K Ohms at 68°F. With the thermistor submerged is a glass full of ice water, the sensor should be very close to 32°F which should read approximately 16.3K Ohms. If the values that you are getting are far off from these readings, then the sensor is bad and should be replaced. If you need help placing an order, customer service is open 7 days a week. Please feel free to give us a call. We look forward to hearing from you!
ice maker is releasing ice cubes but then some ice cubes start to form a block of ice do I need a new ice maker installed
Hello Darryl, thank you for your question. There can be several reasons. Frequent opening and closing of the door can allow warm air to cause condensation allowing the cubes to eventually form clumps. Or, ice particles can build up in the ice bin and can cause clumping. The ice bin should be cleaned with water and a soft cloth. We hope this helps.
Was this helpful?
Thank you for voting!
Prev
1
Next
✖
Ask a Question
Ask our experts a question on this model and we'll respond as soon as we can.
See how others fixed this model. Time, tools, difficulty, and steps that lead to victory!View More
Search repair tips from other customers using simple keywords like "replace", "fit", "remove", "inspect". DIY doesn't mean you have to do it alone!
Search filter:
Clear Filter
Your search term must have 3 or more characters.
light on to order water filter
916 of 1059 peoplefound this instruction helpful.
Douglas from Byron, NY
Really Easy
Less than 15 mins
Pressed in the end of the filter cover, lowered it down part way. Twisted the old filter 1/4 turn and removed it. Set in the sink to drain. Inserted new filter and twisted it to lock. closed cover. Done. Total time @ 1 Minute.
Was this helpful?
Thank you for voting!
Icemaker producing few or no cubes and often leaving "kling-ons" on ice tray
816 of 915 peoplefound this instruction helpful.
Bernie from Diamond Bar, CA
Easy
30 - 60 mins
Nutdriver
Interior surface of ice tray felt rough & flaky (coating deteriorated) so cubes would not release. Unplug appliance. Remove timer cover by hand pressure @ edge. Remove single attachment screw & bracket at lower front of icemaker. Disconnect wiring harness from socket @ rear of compartment. Tricky part was determin
... Read moreing what type of connection held the other two attachment points along the long edge of the icemaker. I did not have repair manual or useful drawing but looked @ PartsDirect pic of side brackets & used a small mirror to confirm that mine were also some sort of "snap in" attachment. Remove icemaker unit by pushing upward and outward on the unit. I takes a good bit of pressure and will pop loose, but be careful not to break attachment bracket from freezer wall. Scavenge shut off bar and wiring harness from old icemaker once you have it out & attach to new one before installing it back in freezer. Again, you might find a mirror useful to align those pesky snap-in brackets with the new unit. Since you probably kept your freezer running while waiting for the part, the plastic snap-ins will be cold and brittle. I warmed them up first by applying a dampened cloth heated in the microwave to make them a little more pliable. A good push of the new unit towards the snap-ins along with some upward force will get it stable. Reattach the metal screw in bracket & connect the wiring harness to rear plug... and don't forget to plug the whole thing back in. It will take awhile for the first batch of cubes dump as the timer may need to cycle completely around to get to the fill cycle... be patient. Dump the first couple of batches of cubes just to make sure you're free of any residue.
Read less
Was this helpful?
Thank you for voting!
Ice maker leaking at first then quit making ice all together
433 of 497 peoplefound this instruction helpful.
Hootie from Joshua, TX
Really Easy
15 - 30 mins
Nutdriver
unplugged refrigerator and shut off water, removed one screw and loosened two more, after removing one side of the ice bucket rail, unplugged electrical from old ice maker. Then I removed the bail and out on new one, reinstalled ice maker in reverse order from taking it out.



 My Orders