


 My Orders


JSD2789GES Jenn-Air Refrigerator - Overview
Diagrams for JSD2789GES
See every part. Know exactly what you need.


Enter a part description. DIY Heroes keep it simple, eg. "belt" or "pump".
Search filter:
Clear Filter
Your search term must have 3 or more characters.

$147.86
In Stock
Replacement Ice Maker
Part #D7824706Q
This modular ice maker assembly replaces worn-out units to restore ice production in refrigerators. It includes the ice mold and control device but excludes the cover, ice level arm, wire harness, and mounting hardware, which must be reused or ordered separately. Unplug the refrigerator before installation and use work gloves for safety. Check compatibility with your model number before purchase.

$78.05
In Stock
Refrigerator Run Capacitor
Part #WP65889-4
This part helps the compressor kick on and off while maintaining a constant temperature to keep things frozen in your freezer.

$20.85
In Stock
Light Bulb - 120V 25W
Part #WPA3073101
This twenty-five watt microwave light bulb is two and a half inches long. It has a small, screw-in base and it carries 120V. This item sells in a quantity of one, though many microwaves require two.

$30.40
In Stock
Screw
Part #W11233072
This is a multi-use and multi-appliance screw. It can be used on a microwave, refrigerator, range/oven, air conditioner, dehumidifier, washer, or dryer. The measurements of this screw are 8 x 1/2 inch. It has 6 threads. Refer to the manual provided by the manufacturer for further information on repair and accurate guidance. Remember to wear work gloves as a safety precaution.

No Longer Available
Water Filter
Part #EDR7D1
This is the replacement water filter for your refrigerator. It is white in color with a red cap, and is approximately 3 inches wide and six inches tall. The water filter reduces contaminants and improves taste in your refrigerator water supply. It is recommended to replace the water filter every six months. You will find the water filter ...Read moreat the back, top portion of your fresh food compartment. To remove the filter, simply twist it to the left until it can be removed. Then, remove the cap on the new filter, line up the arrow with the indentation, and twist to the right until it is secure. You may want to put a towel down below the filter when completing this repair, to catch any spills or drips. When you replace the water filter, hold down the dispenser trigger for a few minutes so that all the air is purged from the water lines, and the water tank fills up. This is an OEM part and is sold individually.
Read less

$40.90
In Stock
Door Switch
Part #W11396033
This light switch may also be known as a refrigerator door switch or a light switch kit, and is compatible with your refrigerator. The function of the refrigerator door switch is to turn on the light when your fridge door is open, and to make sure it is off when your refrigerator door is closed. The reason you would need to replace this p...Read moreart is if your light is not turning on when your door is open. For this repair, you will need a putty knife, and a small flat-blade screwdriver.
Read less

$10.95
In Stock

No Longer Available
Crisper Drawer Shelf Support
Part #67764-1
This crisper drawer shelf support is used for many refrigerators.

No Longer Available
Adaptive Defrost Board
Part #61005988
This part allows the refrigerator to go into defrost mode only when required.

$46.15
On Order
Refrigerator Water Fill Cup & Bearing
Part #WP628356
This icemaker water inlet cup is three inches long. It is all white in color and is made of plastic.

$220.69
In Stock
Ice Dispenser Solenoid and Door Kit
Part #12001991
In addition to the solenoid (115V), this kit also comes with a door strike and an ice door assembly. Please be advised the spring and roll pin are not included with this kit.

$24.28
In Stock
Natural Door Closer
Part #61003647
This part is the replacement natural door closer for your refrigerator. It is black in color and is approximately 3 inches by 2 inches in size. The natural door closer allows your refrigerator door to open and close smoothly. If your door won’t open or close, the door is sweating, or the refrigerator is too warm, it could be an indication...Read more that you need to replace the door closer. You will also want to replace the door closer if it is cracked, broken, or missing. This part is sold individually and is an OEM part sourced directly from the manufacturer.
Read less
Manuals & Care Guides for JSD2789GES
Click to downloadCommon Symptoms of the JSD2789GES
How this model fails, and the parts that fix it.
Ice maker not making ice
Fixed by
these parts
these parts


Show All
Leaking
Fixed by
these parts
these parts

Show All
Fridge too warm
Fixed by
these parts
these parts


Show All
Light not working
Fixed by
these parts
these parts

Show All
Ice maker won’t dispense ice
Fixed by
these parts
these parts


Show All
Will Not Start
Fixed by
these parts
these parts


Show All
Freezer section too warm
Fixed by
these parts
these parts
Show All
Not dispensing water
Fixed by
these parts
these parts

Show All
Door won’t open or close
Fixed by
these parts
these parts


Show All
Freezer not defrosting
Fixed by
these parts
these parts
Show All
Noisy
Fixed by
these parts
these parts
Show All
Ice maker dispenses too much ice
Fixed by
these parts
these parts

Show All
Fridge and Freezer are too warm
Fixed by
these parts
these parts
Show All
Door Sweating
Fixed by
these parts
these parts
Show All
Clicking sound
Fixed by
these parts
these parts
Show All
Freezer too cold
Fixed by
these parts
these parts
Show All
Fridge too cold
Fixed by
these parts
these parts

Show All
Fridge runs too long
Fixed by
these parts
these parts
Show All
Ice maker dispenses too little ice
Fixed by
these parts
these parts
Show All
Door latch failure
Fixed by
these parts
these parts

Show All
Won’t start
Fixed by
these parts
these parts
Show All
Frost buildup
Fixed by
these parts
these parts
Show All
Too warm
Fixed by
these parts
these parts
Show All
Watch our pros, then fix it yourself.
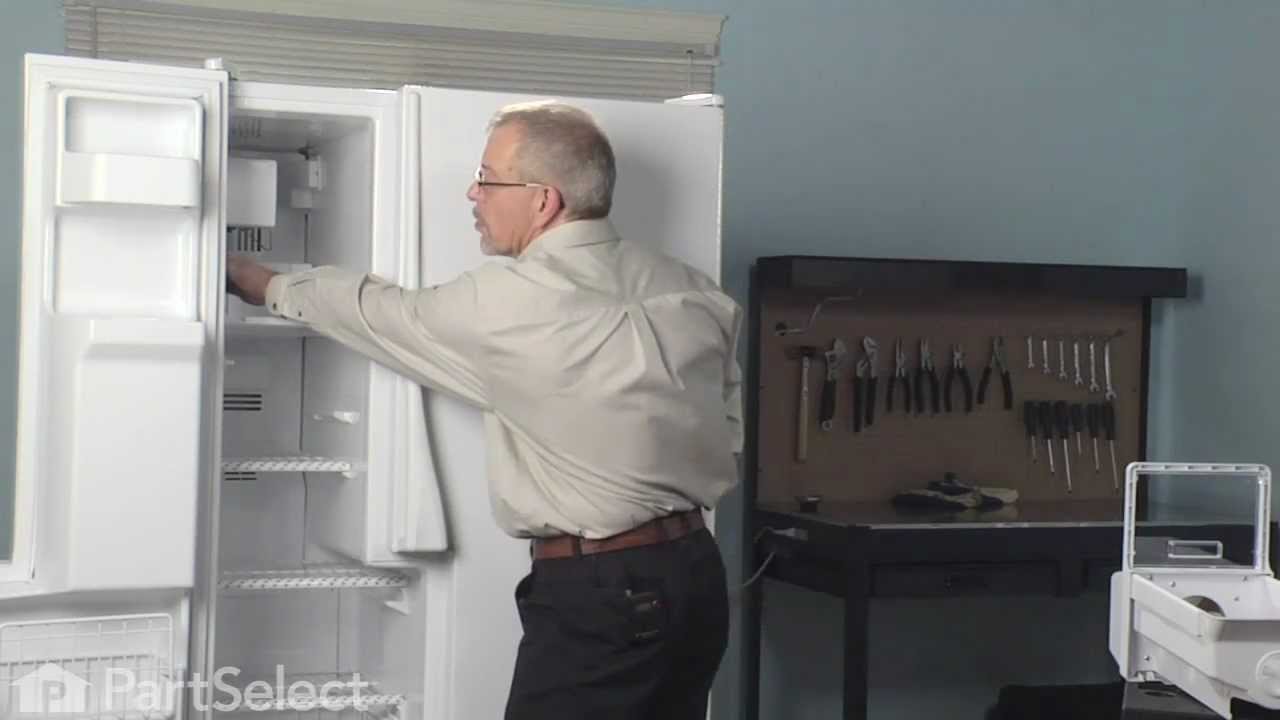
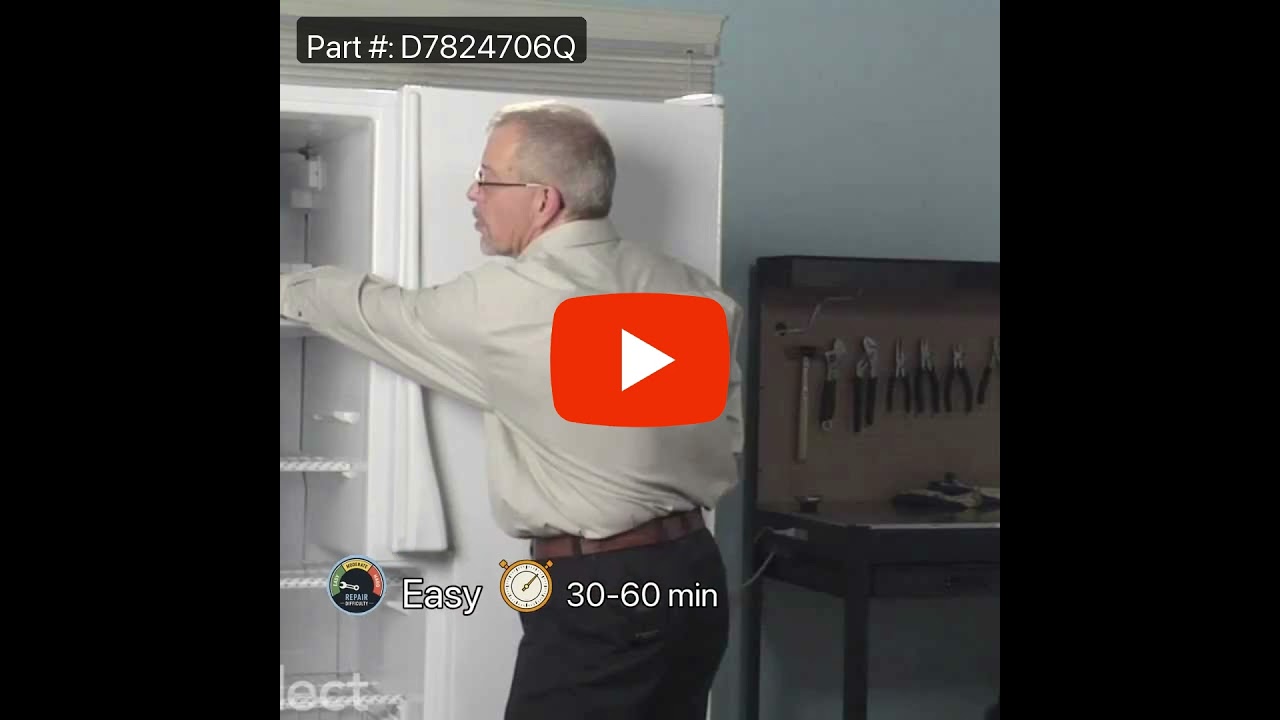
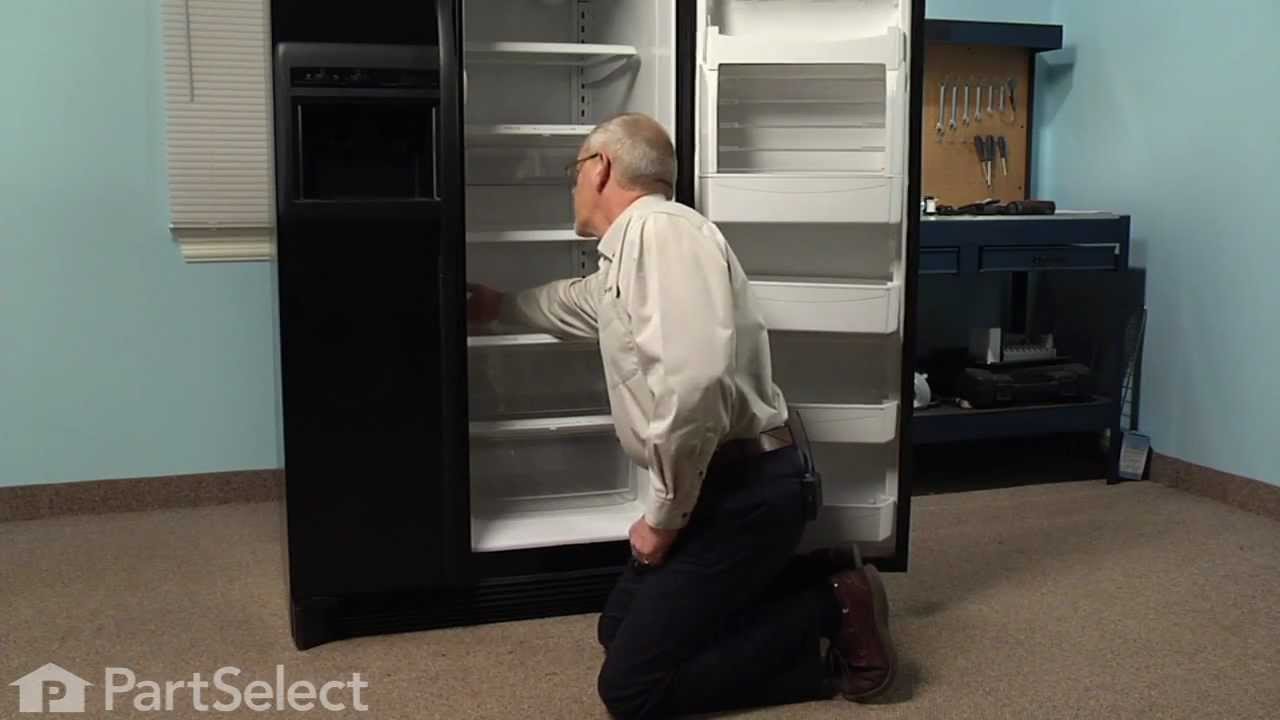
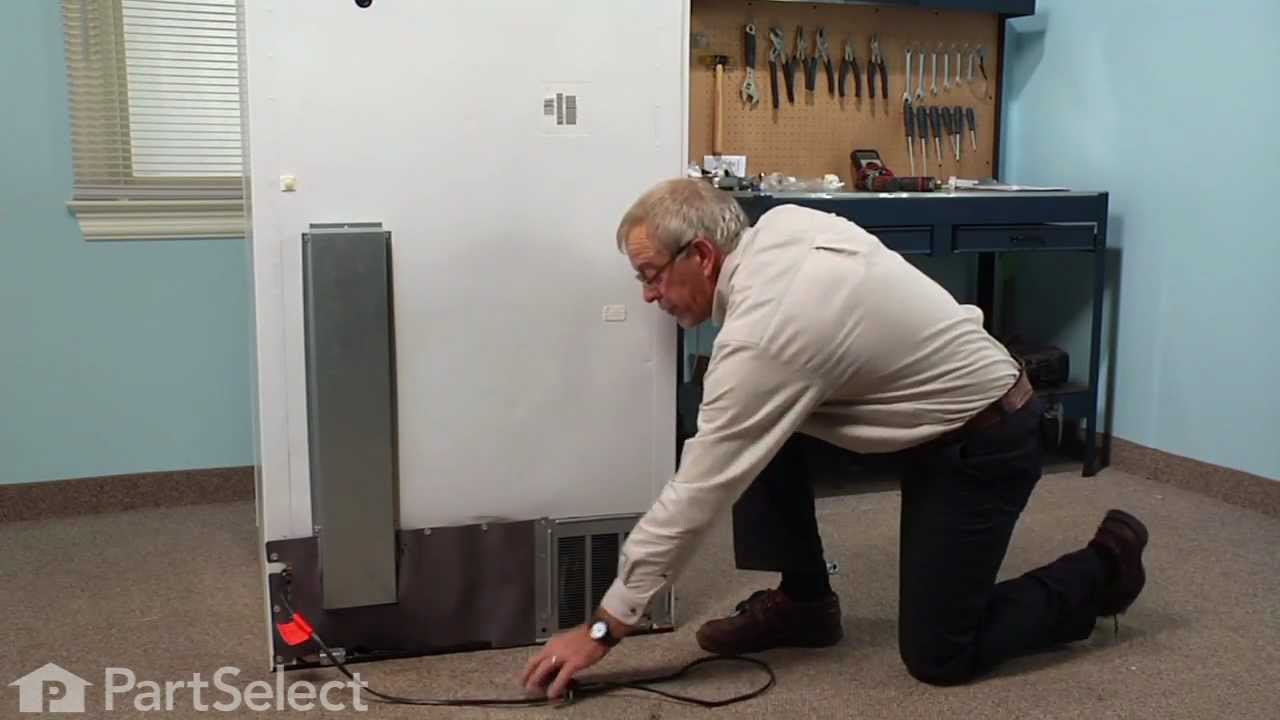
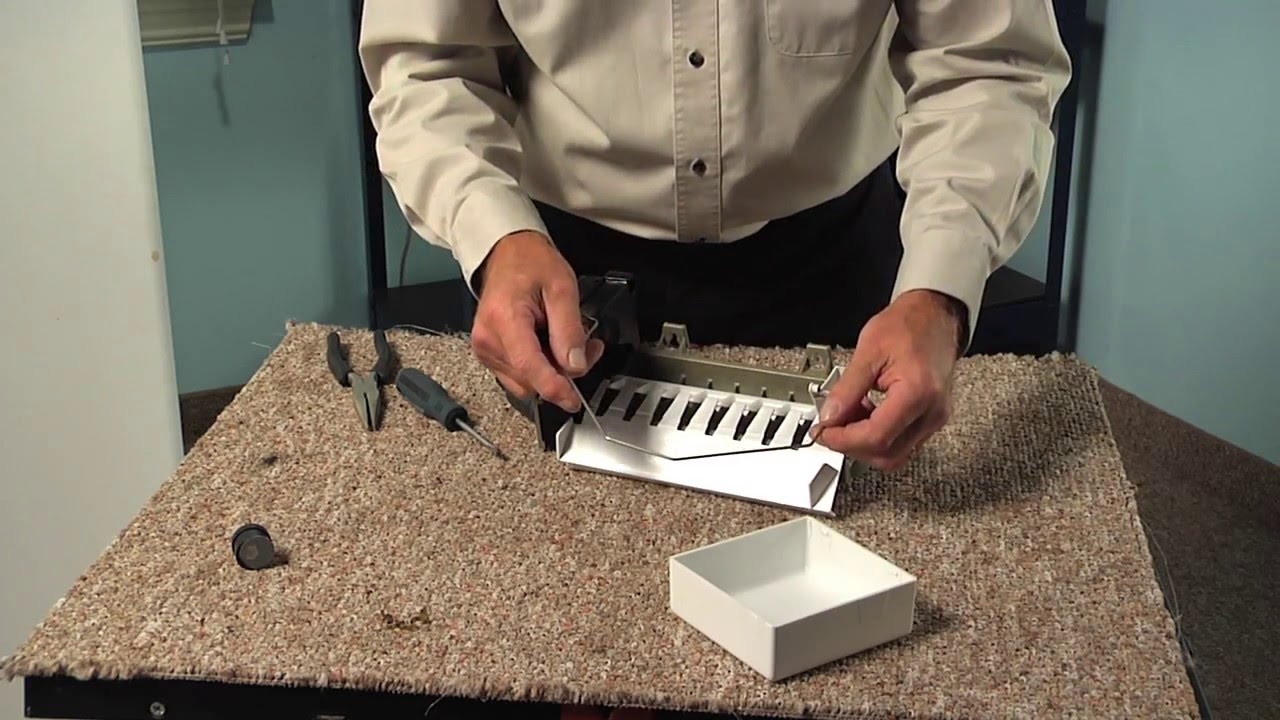
See how others fixed this model. Time, tools, difficulty, and steps that lead to victory!
View More