This ceramic microwave fuse is just over an inch in length. It is white in the center, and metal on both ends. This is a 20-amp fuse, and is used to power your microwave. If the touch pad on the micro...
This is the replacement monitor switch for your microwave. It is black in color and measures approximately 1 inch by ¾ of an inch. This switch monitors the door latch position of your microwave and co...
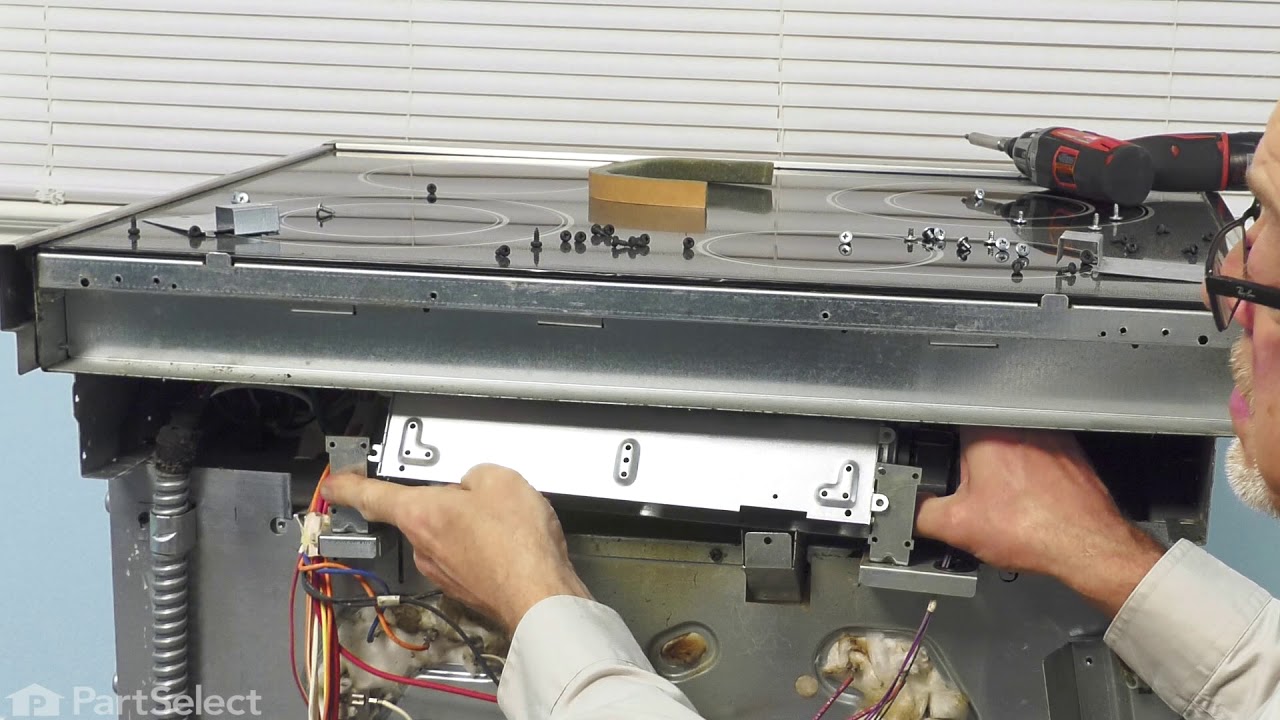
This part is a replacement screw for your oven. It is made of black metal and is sold individually. This screw is approximately 1/4 inch in diameter and about 1/2 inch in length. It is designed to con...
Ask our experts a question about this model and we'll get back to you as soon as possible!
2 questions answered by our experts.
< Prev
1
Next >
Sort by:
Search filter:
Clear Filter
Your search term must have 3 or more characters.
Keep searches simple. Use keywords, e.g. "leaking", "pump", "broken" or "fit".
Sorry, we couldn't find any existing answers that matched.Try using some different or simpler keywords, or submit your new question by using the "Ask a Question" button above!
Giselle
February 4, 2023
Oven shutdown because bottom exhaust fan wasn't working. How do I find it to clean it ???
For model number JK3800DH3BB
Hello Giselle, Thank you for your inquiry. We show the bottom exhaust fan for the model number that you have provided as part# PS1017141. While we do not have an installation video for this particular part number, we have included a link to our video for a similar fan motor to give you a general idea of how to access it. Good luck with your repair.
1 person found this helpful.
Was this helpful?
Thank you for voting!
Marilyn
October 21, 2023
When the oven warms up it says there is something wrong with the fan. The oven will not cool off. Is it difficult to replace the fan?
For model number JK3800DH3BB
Hello Marilyn, thank you for your inquiry. Based on the understanding of the issue, we would recommend replacing the range cooling fan, part number PS11736333, to fix the issue. To replace the cooling fan, we have found some relevant instructions. These may not be of exact model but will help you with the replacement. To replace the lower oven cooling fan blower, you will need to remove both the upper and lower rear access panels. To reach the lower fan blower unthread the screws securing the access plate. You will need to disconnect the bake element wires to fully remove the plate. Disconnect the cooling fan blower power wires. Unthread the mounting screws and you can remove the old component from the rear panel. When installing a new cooling fan blower in the lower oven, transfer the bumpers from the old component to the new one. Now position the new blower on the mounting brackets, then thread and tighten the screws connect the power. Glad to be of help!
Was this helpful?
Thank you for voting!
< Prev
1
Next >
✖
Ask a Question
Ask our experts a question on this model and we'll respond as soon as we can.
Turned out the issue was easily solved by replacing a single, inexpensive fuse.
First off, UNPLUG THE MICROWAVE.
The fuse is located under the plastic grill at the top of the microwave. It's held on by two screws. Once you've removed the screws and taken off the plastic grill, you go to the right side of the microwave and remove another screw that holds a small metal grill in place. Removing the small metal grill is probably the toughest part of this repair. You kind of have to rock it back and forth a bit to get it to release. Once that's off, you can get to the fuse. I removed the burnt out one with a pair of needle nose pliers. I also put a small piece of cardboard under the fuse when I did this so I didn't accidentally drop it into the innards of the microwave. I did the same thing when I replaced the new fuse. I then plugged the appliance back in and made sure it worked. Once that was confirmed, I replaced both grills.
Remove microwave outer cover. Turn on side & locate the upper & lower door switches. Better to replace in pairs even if one is ok. Remove the wire harness to each switch. Then replace switch and re connect the wire harness. Re attach outer cover and test to see if that solved the problem. If so then well done!!