This is the burner head and electrode for your gas range. If your gas igniter glows but will not light, or if the element will not start or heat entirely, you may need to replace the burner head. This burner head is approximately 4¼ inches in diameter and is sold individually. Please note that the mounting screws for this burner head are ...Read moresold separately. To replace the burner head, simply unscrew the old, defective burner head and screw in the new one.
This black grease filter helps keep your cooktop’s vent system clean by trapping grease from the exhaust air. It’s easy to install—no tools needed—and protects the blower from buildup. If your current filter is dirty or damaged, this replacement is a quick fix. Just check your model to make sure it fits.
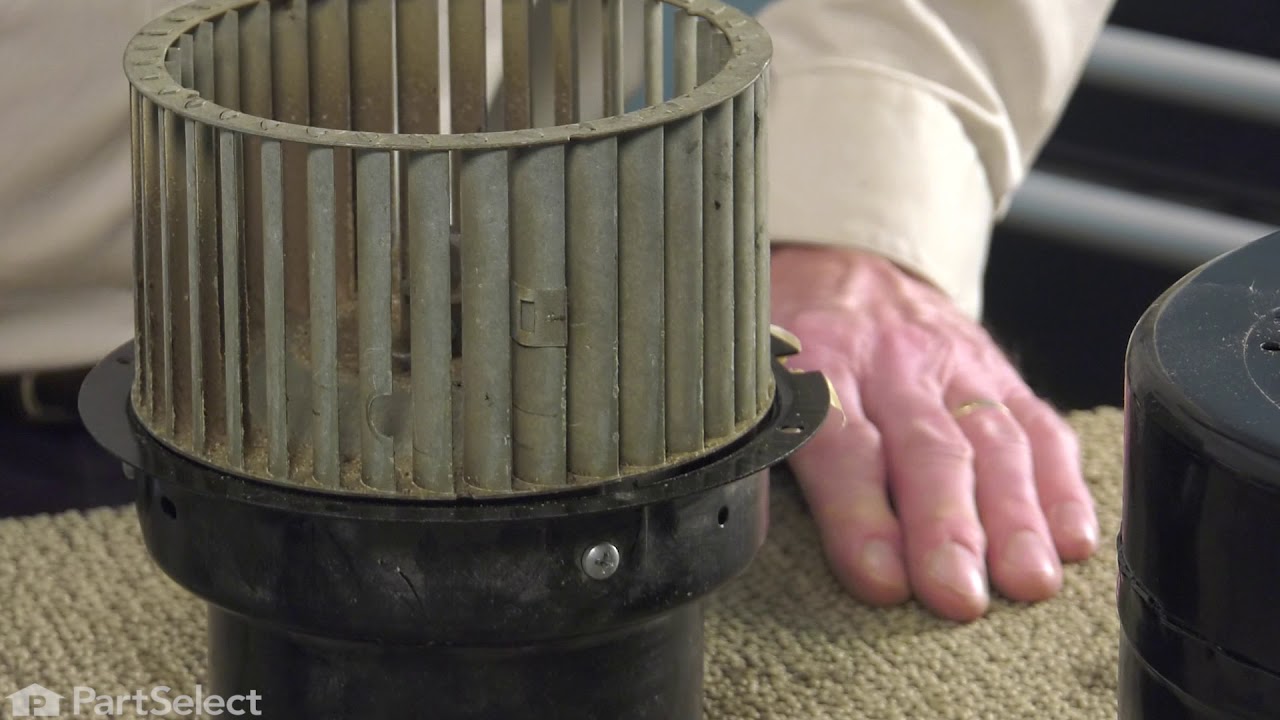
This blower wheel attaches to the ventilation motor to draw in and exhaust smoke, steam, and cooking vapors, helping maintain clean airflow in your kitchen. Built from durable metal for heat resistance and long-lasting performance, it measures approximately 7 inches in diameter and under 4 inches deep for a secure, efficient fit. Designed...Read more to spin smoothly on the motor shaft, replacing a worn or damaged blower wheel can restore proper airflow, reduce noise, and ensure reliable ventilation performance.
This small burner assembly includes the burner head and spark electrode to keep your cooktop working like new. It creates a steady flame and lights reliably for smooth cooking. If your burner won’t light or the flame is weak, replacing this part can fix it fast. Easy to install with basic tools.
Don't let faulty appliance parts hold you back! Our genuine OEM Speed Control Switch from Whirlpool is here to restore your cooking appliance's performance to its prime. It plays a vital role in activating and controlling the speed of your downdraft fan motor. This little wonder is compatible with select models of stoves, ovens, and ran...Read moreges from Whirlpool, KitchenAid, Maytag, Jenn-Air, Amana, Inglis, and Magic Chef. Before moving ahead, do remember to confirm if this handy gadget fits your specific appliance. When you replace your old control switch with this functional and reliable part, you can make sure that your appliance operates smoothly and efficiently. Convenient and practical, this speed control switch lets you whip up your culinary delights with ease. Bring the comfort and efficiency back to your kitchen with our Whirlpool Speed Control Switch. Remember, your appliances deserve nothing but the best!
Ask our experts a question about this model and we'll get back to you as soon as possible!
We may have answered a similar question already! Search questions and answers left by others using simple keywords like "fit", "broken", "easy", or "quality" to find questions that match.
Search filter:
Clear Filter
Your search term must have 3 or more characters.
Sort by:
Prev
1
Next
Sorry, we couldn't find any existing answers that matched.Try using some different or simpler keywords, or submit your new question by using the "Ask a Question" button above!
Susan - For model number JGD3430BB00
March 15, 2022
I have a kitchen aid gas downdraft cooktop (30") can't locate model number, was built into new house in 2013. Only literature I have is installation instructions which doesn't give part numbers. Need to order new burner knobs (all 4).
Hello Susan, Thank you for contacting us. We have researched the model you have provided and have found the part you are looking for is Part #: PS11756284 for the Stainless Steel Knob, Part #: PS8691509 for the White Knob and Part #: PS8691508 for the Black Knob. If you need help placing an order, customer service is open 7 days a week. Please feel free to give us a call. We look forward to hearing from you!
See how others fixed this model. Time, tools, difficulty, and steps that lead to victory!View More
Search repair tips from other customers using simple keywords like "replace", "fit", "remove", "inspect". DIY doesn't mean you have to do it alone!
Search filter:
Clear Filter
Your search term must have 3 or more characters.
Ignitor stopped working on gas cooktop
87 of 91 peoplefound this instruction helpful.
Jeff from Lake Orion, MI
Difficult
More than 2 hours
Pliers, Screw drivers, Wrench set
As others reported, there are 2 torx screws that need to be removed so that the burner element can be removed. One came out with a little effort, the other one did not as it was corroded. After breaking a torx bit, a second torx bit succeeded in breaking off the screw head. This then required a drill to drill out the broken shaft and th
... Read moreen rethreading the screw hole. On to the ignitor replacement. The tiny screw holding the ignitor was corroded and would not come out. It too had to be drllled out and rethreaded. It was a 1/3" #4 screw with fine threads. Had to get it an appliance repair store as the local hardware places don't carry fine threaded screws. Finally got it all put back together after a week. My advice before ordering an ignitor is make sure you can take the current burner off the cooktop first to do the repair in the first place. BTW, the ignitor I ordered came quickly and was the correct part!
Read less
Was this helpful?
Thank you for voting!
The ceramic insulator on the burner ignitor cracked & the spark shorted so that the burner would not ignite.
32 of 35 peoplefound this instruction helpful.
Loren from San Luis Obispo, CA
Really Easy
Less than 15 mins
Screw drivers
Firts I removed the 2 screws that held the burber in place. Then I lifted the burner up & disconnected the wire that connected to the ignitor. Then I removed the one screw that held the ignitor to the burner. I then reversed these steps, replacing the cracked ignitor with the new one, replaced the screw holding it to the burner, then reco
... Read morennected wire, returned the burner to the stove and replaced the two screws that held it. All Done!
Read less
Was this helpful?
Thank you for voting!
Burners kept clicking after ignited
32 of 36 peoplefound this instruction helpful.
Robert from Ranchos de Taos, NM
Really Easy
15 - 30 mins
Screw drivers
This problem was driving me crazy for months. Of course, after I bought and installed the part and it still was not fixed I finally found a website that told me how to fix the clicking. The problem is that the removable head burners (#8 on the top assembly diagram) are not making good electrical contact with the base burners (#22). What I
... Read more did was grab the head burners and grind them back and forth into the base burners with the weight on the heal of my hand. Steel wool or sandpaper would work too--you just want to clean the surfaces to restore electrical contact. If you still want to know how to replace the spark module start by removing #24. This will allow the removal of #9 (after you take the knobs off). You may have to do some fiddling cause the rubber gasket is sticky. Next there are 2 obvious regular screws for #14 and 2 not so obvious star screws in the space where the burner valves are. After #14 is off there are 2 screws on the spark module to be removed and one that you can't loosen that is in a slot. You wriggle the module out of that one.



 My Orders