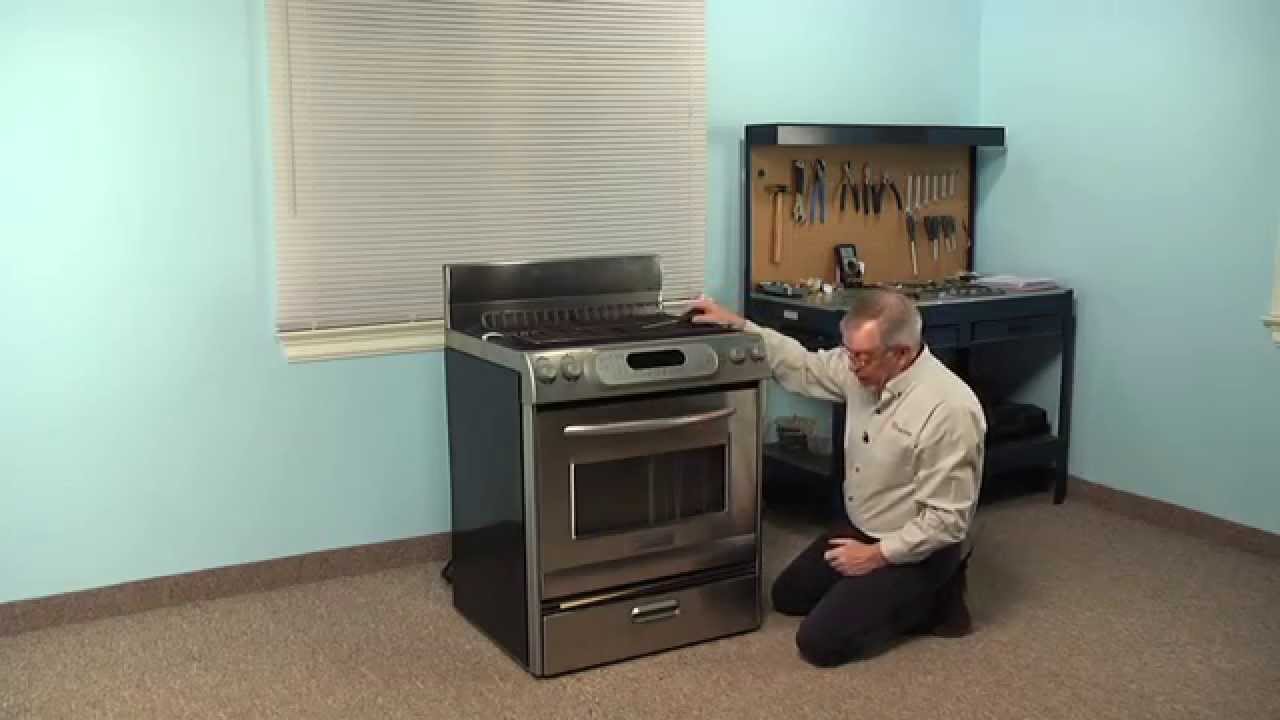
JGCP548WP00 Jenn-Air Cooktop - Overview

Diagrams for JGCP548WP00

See every part. Know exactly what you need.

Enter a part description. DIY Heroes keep it simple, eg. "belt" or "pump".

Search filter:
Clear Filter
Your search term must have 3 or more characters.
Range Temperature Sensor – Part Number: WPW10131825
$108.62
In Stock
Range Temperature Sensor
★★★★★
★★★★★
(27)
Part #WPW10131825
This temperature sensor detects the temperature within the oven cavity.
Screw – Part Number: W11233072
$30.40
In Stock
Screw
★★★★★
★★★★★
(5)
Part #W11233072
This is a multi-use and multi-appliance screw. It can be used on a microwave, refrigerator, range/oven, air conditioner, dehumidifier, washer, or dryer. The measurements of this screw are 8 x 1/2 inch. It has 6 threads. Refer to the manual provided by the manufacturer for further information on repair and accurate guidance. Remember to wear work gloves as a safety precaution.
Grate Feet - Kit of 4 – Part Number: W10185266
$17.95
In Stock
Grate Feet - Kit of 4
★★★★★
★★★★★
(4)
Part #W10185266
This kit contains 4 grate feet for a range. These are the feet to fit your burner grates so the burner will not scratch your cooktop. The are black in color and made of rubber. These feet are fitted with a specific fire-resistant adhesive. If necessary, be sure to order adhesive separately. Be sure your burners are off and have cooled down to the touch before replacing these parts.
Dryer Screw – Part Number: WP90767
$10.40
In Stock
Dryer Screw
Part #WP90767
This screw is sold individually.
Burner Grate – Part Number: W11344501
$230.34
In Stock
Burner Grate
★★★★★
★★★★★
(1)
Part #W11344501
NOTE: As per manufacturer this part no longer includes the grate feet and they must be ordered separately.
Washer Screw – Part Number: W11404293
$30.40
In Stock
Washer Screw
Part #W11404293
Sold individually.
Range Screw – Part Number: WP74003976
$9.85
Special Order
Range Screw
Part #WP74003976
This screw is sold individually.
WOK RING – Part Number: W10216179
$47.25
In Stock
WOK RING
Part #W10216179
Surface Ignitor – Part Number: WPW10250406
$41.71
Special Order
Surface Ignitor
Part #WPW10250406
ELECTRODE (LF & RF) (DUAL)
Palnut – Part Number: 7103P166-60
$22.24
Special Order
Palnut
Part #7103P166-60
Sold individually.
Surface Ignitor – Part Number: WPW10160235
$43.95
In Stock
Surface Ignitor
Part #WPW10160235
Surface Ignitor – Part Number: WPW10145991
$63.75
In Stock
Surface Ignitor
Part #WPW10145991
ELECTRODE (CR)

Common Symptoms of the JGCP548WP00

How this model fails, and the parts that fix it.

Watch our pros, then fix it yourself.

See how others fixed this model. Time, tools, difficulty, and steps that lead to victory! View More

Search repair tips from other customers using simple keywords like "replace", "fit", "remove", "inspect". DIY doesn't mean you have to do it alone!

Search filter:
Clear Filter
Your search term must have 3 or more characters.
bUILT IN OVEN NOT COMING UP TO TEMPERATURE
5 of 5 people found this instruction helpful.
  • Kenneth from BUFFALO, NY
  • Very Easy
  • 15 - 30 mins
  • Screw drivers
Replaced oven temp sensor, removed oven door and interior racks for easy access to oven upper rear sensor access. Used philips head screw driver to remove both screws, gently pulled old senor out of reat oven wall until electrical connector clear of rear wall, disconnected connector, connected new sensor and gently pushed wiring and conne ctor back into opening, reinstalled door and racks. Ran open thru cycle and used oven thermometer to check temp. fast easy install
Was this helpful?
Thank you for voting!
replace pads or feet on steel grate of gas stove
4 of 4 people found this instruction helpful.
  • RICHARD from BROKEN ARROW, OK
  • Very Easy
  • Less than 15 mins
pull old ones out of legs. need to glue new ones in, they fit too loose. Some kits contain glue. get some high temp head gasket cement. a drop on each one is plenty. I used some old porcelain glue and hope it will hold. the pads are 2 bucks each plus shipping so don't let them get away!!!
Was this helpful?
Thank you for voting!
All elements would heat to around 200 degrees, then stop
3 of 3 people found this instruction helpful.
  • frank from Wilmington, NC
  • Really Easy
  • 15 - 30 mins
  • Screw drivers
Disconnect the sensor harness and checked resistance on the sensor,should read around 1100 ohm I only got 25.The sensor is mounted in the oven cavity back wall below upper element,the door must be removed. Unscrew 2 Philips head screw,unhook the harness,install new sensor,reconnect harness,install screws.
Was this helpful?
Thank you for voting!