


 My Orders


JES1450CFB1 Jenn-Air Range - Overview
Diagrams for JES1450CFB1
See every part. Know exactly what you need.


Enter a part description. DIY Heroes keep it simple, eg. "belt" or "pump".
Search filter:
Clear Filter
Your search term must have 3 or more characters.

$80.75
In Stock
Bake Element
Part #W10779716
This is a heating element compatible with various makes of ranges and ovens and is sold as an individual part. Measuring 20.5-inches wide and 20.25-inches (with terminals) long, this heating element is a genuine OEM part. If your range is not heating during the bake setting, not heating evenly, or if the element is burnt out or damaged, t...Read morehe element will need to be replaced. This repair is simple and only requires that you disconnect your oven from the wall outlet and use an appropriate screwdriver to disassemble and replace the element with the additional support brackets to secure it.
Read less

$26.41
In Stock
Light Bulb - 40W
Part #8009
This an authentic OEM 40-Watt replacement light bulb, used in a number of household appliances. It is specially designed to withstand extreme temperatures, which is why these replacement bulbs are most often used to light the inside of refrigerators and ranges. It features a standard socket base, which means you simply unscrew the burnt-o...Read moreut bulb and screw in the replacement. Depending on the appliance you may require a screwdriver or nut driver to access the light bulb. We recommend you wear work gloves while handling this replacement part. It is constructed of glass and metal and is sold individually. Depending on the appliance and location of the bulb within it, you may want to consider disconnecting power and using a flashlight for easier access to unscrewing and re-screwing in your bulb during this repair.
Read less

$192.38
In Stock
Range Cooling Fan
Part #W11107275
If your oven’s control panel is getting too hot or showing fan errors, this cooling fan might be the fix. It helps keep the electronics cool by circulating air behind the panel, which can prevent overheating and extend the life of your appliance. This part includes a hall sensor and replaces older fan models used in many Whirlpool, Kitche...Read morenAid, Maytag, and Jenn-Air ranges. It’s a great solution for issues like slow fan speed or unusual smells from the control area. Installation may vary depending on your model, so be sure to check your appliance’s layout before starting.
Read less

$48.47
In Stock
Range Safety Thermostat
Part #WP3196548
This part is used as a safety feature. If your range overheats this part will shut the range down.

$30.40
In Stock
Screw
Part #W11233072
This is a multi-use and multi-appliance screw. It can be used on a microwave, refrigerator, range/oven, air conditioner, dehumidifier, washer, or dryer. The measurements of this screw are 8 x 1/2 inch. It has 6 threads. Refer to the manual provided by the manufacturer for further information on repair and accurate guidance. Remember to wear work gloves as a safety precaution.

$171.03
In Stock
Sensor
Part #W10833885
This oven temperature sensor is designed to monitor and regulate the internal heat levels of your range, ensuring consistent and accurate cooking performance. It communicates directly with the control board to adjust heating as needed. Over time, exposure to high temperatures can cause the sensor to degrade, leading to uneven heating or f...Read moreailure to maintain set temperatures. If your oven struggles to reach or hold the correct temperature, replacing the sensor may resolve the issue. This OEM replacement part includes a wire harness for connection and is installed using two mounting screws. Installation is simple and typically requires only a screwdriver. Please note that the sensor is sold individually and does not include additional hardware.
Read less

$69.24
In Stock

$97.21
In Stock
SOCKT-LITE
Part #W11594027
The light socket on your electric range connects the power source to the light bulb. If your oven light is malfunctioning, you may need to replace the light socket. The light socket is located in the back of your range, so in order to access it you will need to remove the back panel. Many of our customers have rated this repair as easy, a...Read morend it should take less than 15 minutes. Before you begin this repair, make sure to disconnect the power source from your range. This is an OEM part sourced directly from the manufacturer.
Read less

$15.35
In Stock

$103.55
In Stock
Infinite Switch Left Front
Part #W11129442
This surface burner switch is an essential component for electric ranges, controlling the power and heat level of the left front burner. It regulates the temperature by cycling the burner on and off to maintain the selected heat setting. If the switch is faulty, the burner may not heat properly, may remain stuck at one temperature, or may...Read more fail to turn on at all.
For installation, first, unplug the range or switch off the circuit breaker to prevent electrical hazards. The control panel must be accessed by removing the back panel or control knobs, depending on the range model. Once the old switch is detached from the wiring harness, the new switch can be installed by reconnecting the wires in the correct configuration and securing it in place. Always wear work gloves to protect your hands.
Read less

$210.09
In Stock

$41.51
In Stock
Range Terminal Block
Part #WPW10245259
It provides a way of connecting individual electrical wires and offers protection of the device from electrical surges (voltages and/or currents).
Common Symptoms of the JES1450CFB1
How this model fails, and the parts that fix it.
Element will not heat
Fixed by
these parts
these parts


Show All
Little to no heat when baking
Fixed by
these parts
these parts


Show All
Oven not heating evenly
Fixed by
these parts
these parts
Show All
Will Not Start
Fixed by
these parts
these parts

Show All
Oven is too hot
Fixed by
these parts
these parts
Show All
Little to no heat when broiling
Fixed by
these parts
these parts

Show All
Door won’t close
Fixed by
these parts
these parts


Show All
Touchpad does not respond
Fixed by
these parts
these parts
Show All
Watch our pros, then fix it yourself.
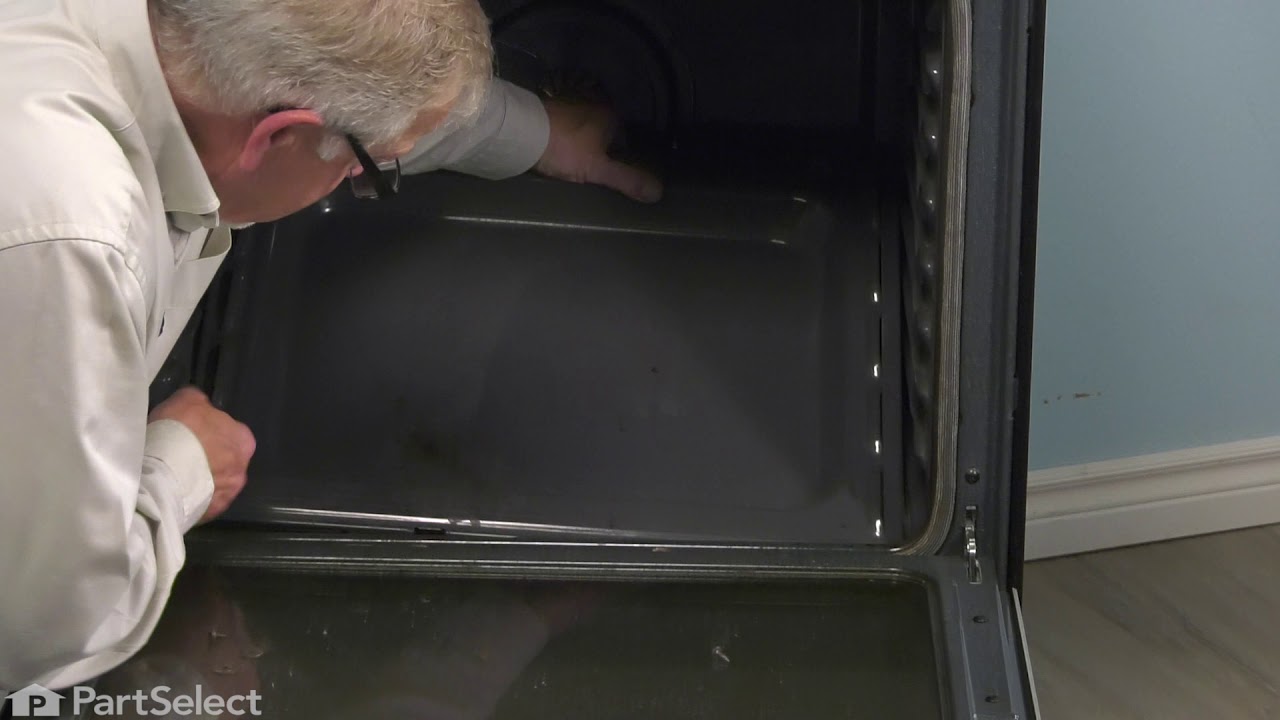

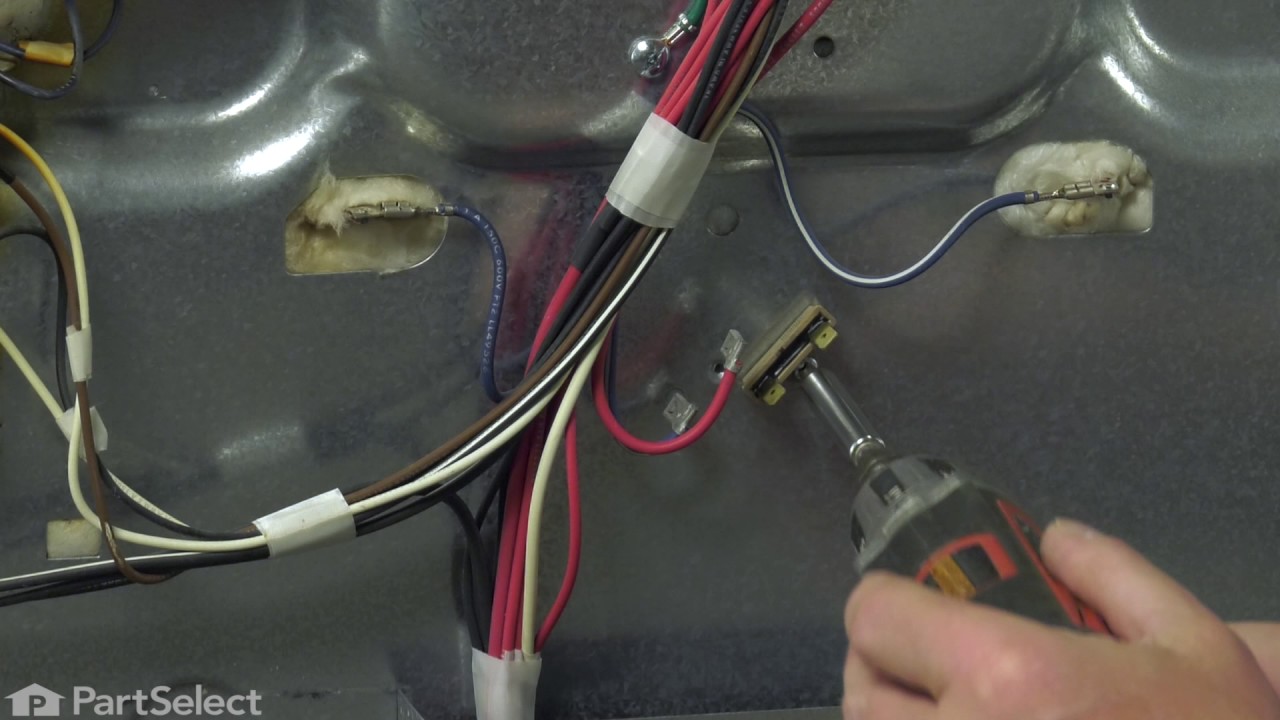
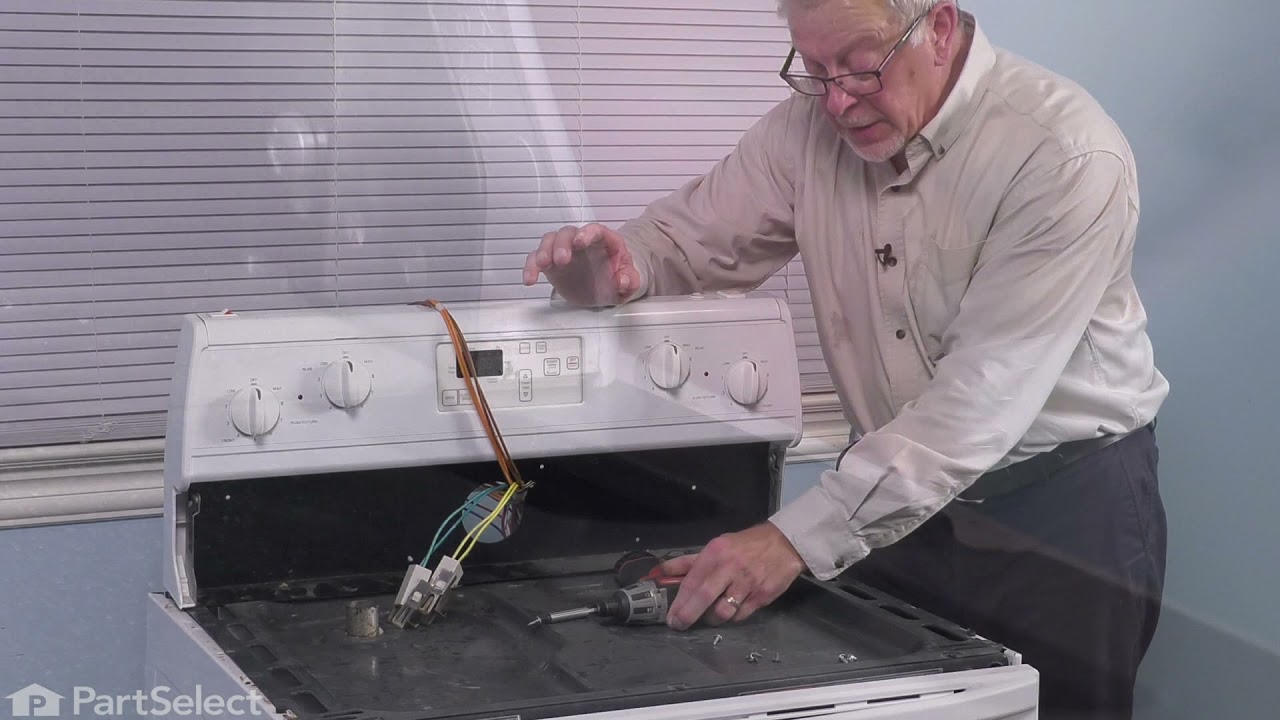
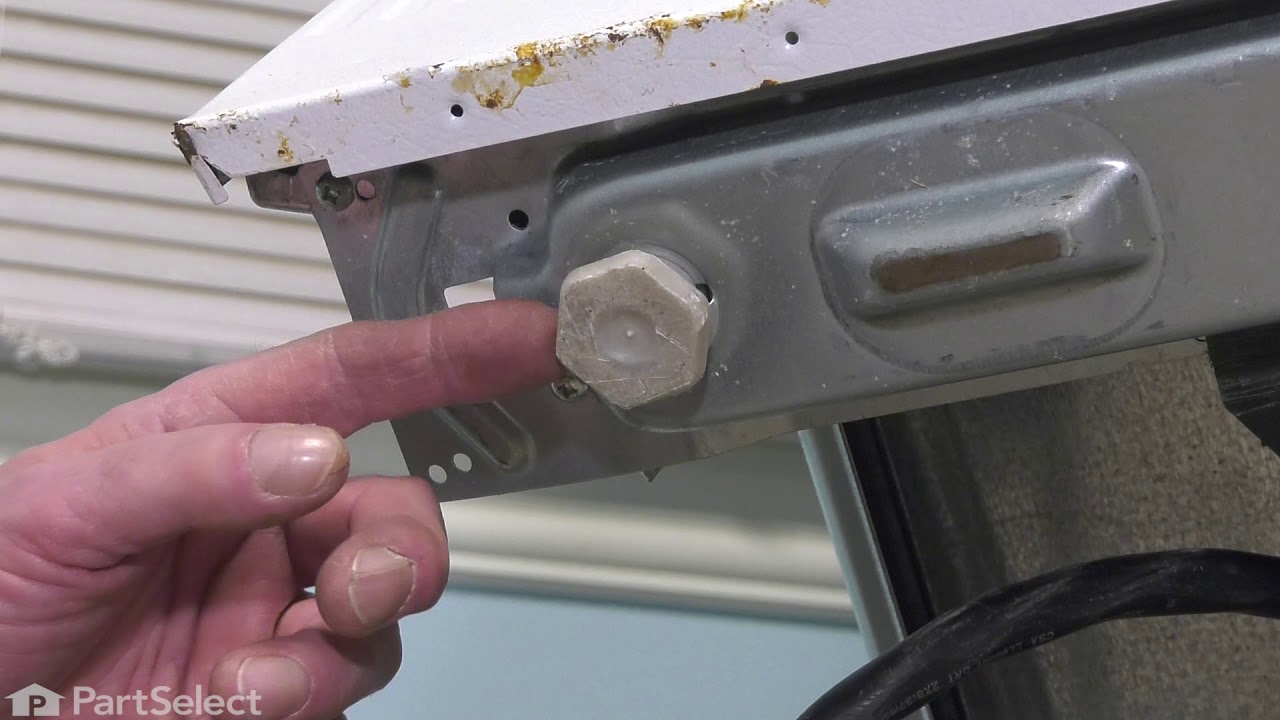
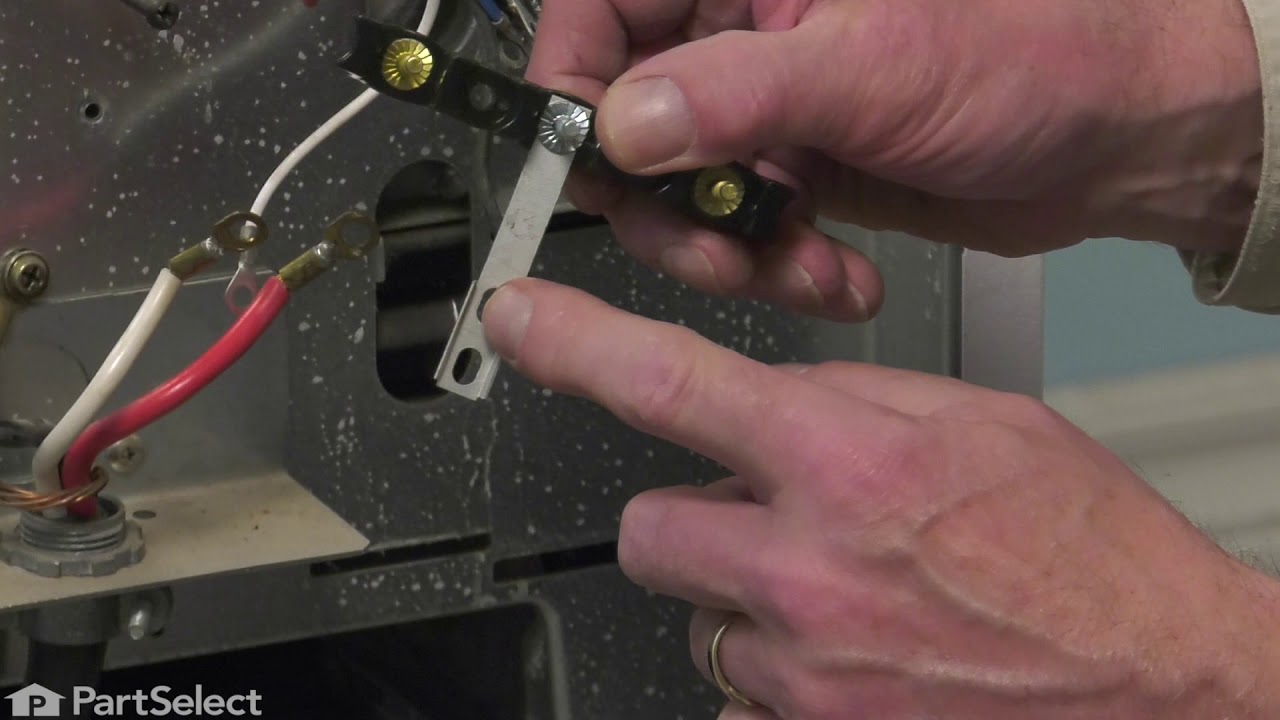
See how others fixed this model. Time, tools, difficulty, and steps that lead to victory!
View More