JBP35DM1WW General Electric Range - Overview

Diagrams for JBP35DM1WW

See every part. Know exactly what you need.

Enter a part description. DIY Heroes keep it simple, eg. "belt" or "pump".

Search filter:
Clear Filter
Your search term must have 3 or more characters.
Bake Element - Push On Terminals - 240V – Part Number: WB44T10011
$104.44
Special Order
Bake Element - Push On Terminals - 240V
★★★★★
★★★★★
(17)
Part #WB44T10011
This bake element is found on the bottom of the oven. This part is made of metal, and is approximately 20 inches in length and 18 inches in width.
Surface Burner Switch - 8 Inch - 2500W – Part Number: WB24T10025
$74.43
Special Order
Surface Burner Switch - 8 Inch - 2500W
★★★★★
★★★★★
(17)
Part #WB24T10025
The 8-inch surface element switch is also known as an infinite heat switch, and is a part for your range. It controls the large surface element. It will turn the element on and off, and allow you to change the heat intensity. The knob to adjust the heat setting mounts on the shaft of this swtich. The burner knob is sold separately. If your large surface element will not turn on, or you cannot adjust the heat intensity, you may have a broken or damaged surface burner switch. Be sure you disconnect your range from the power source before you begin this repair.
Light Bulb - 40W – Part Number: 40A15
$19.10
Special Order
Light Bulb - 40W
★★★★★
★★★★★
(3)
Part #40A15
This 40-Watt light bulb is sold individually. It is specially designed to withstand extreme temperatures, so this bulb is compatible with a variety of appliance types including refrigerators, ranges, microwaves, and dryers. It features a frosted glass bulb with a standard metal socket base, which allows you to easily unscrew the burnt-out light and twist the new bulb into place.
Temperature Sensor – Part Number: WB21X22134
$36.73
Special Order
Temperature Sensor
★★★★★
★★★★★
(7)
Part #WB21X22134
The temperature sensor detects the temperature within the oven cavity. If your oven is too hot, not heating evenly, or has little to no heat when baking, you may need to replace the temperature sensor. The sensor is usually located in the back of the oven. This is a genuine OEM part. Please make sure to disconnect the power to your range before starting your repair.
Lens – Part Number: WB25T10041
$13.95
Special Order
Lens
★★★★★
★★★★★
(4)
Part #WB25T10041
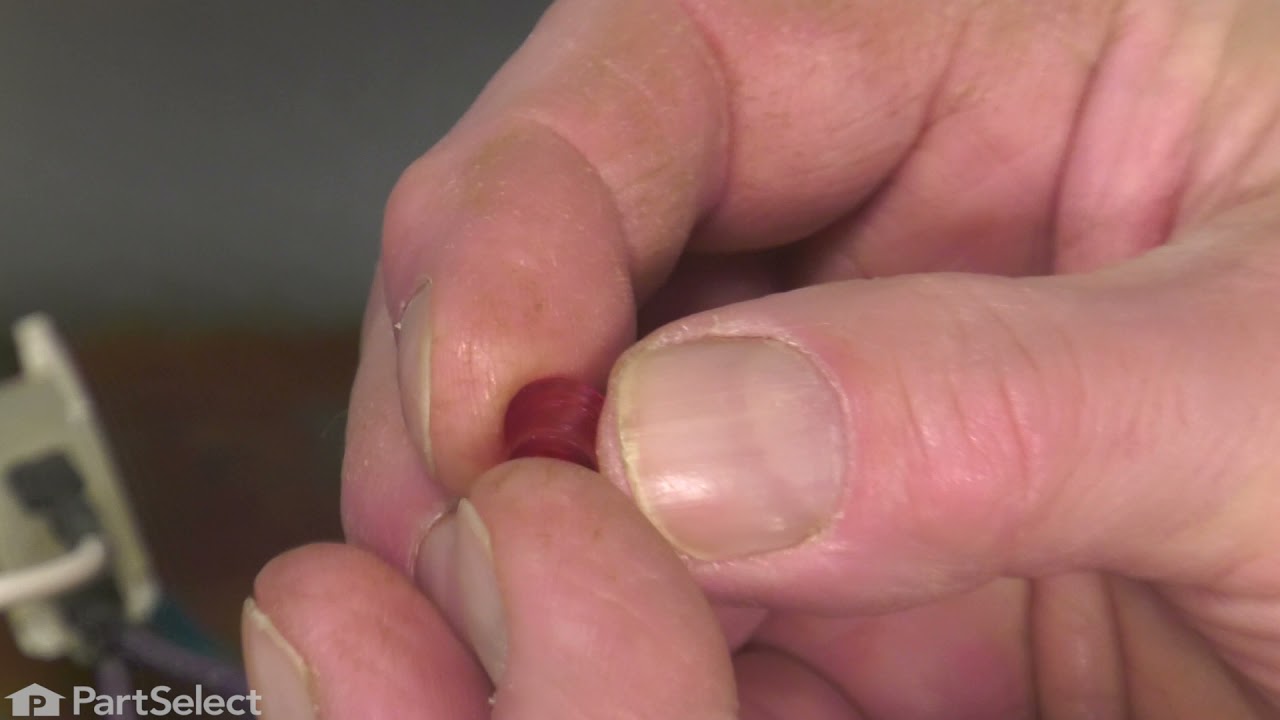
This part is a replacement lens for your oven or range. The lens is red in color, and when the elements are turned on, the light behind the lens will turn on to inform the user that the element is, in fact, on. The lens is a little less than half an inch in diameter and is made of plastic. If the light behind the lens still works, you should be able to simply remove the front panel and pop the damaged lens out of position, then replace it with the new one. This part is sold individually and is an OEM part sourced directly from the manufacturer.
Range Surface Element Control Switch - 6 Inch - 1560 W – Part Number: WB24T10029
$69.15
Special Order
Range Surface Element Control Switch - 6 Inch - 1560 W
★★★★★
★★★★★
(10)
Part #WB24T10029
If your stove’s burner isn’t heating right—maybe it’s stuck on high or won’t turn on at all—this control switch could be the fix. It’s made for 6-inch burners and lets you adjust the heat smoothly, not just in set steps. It works by turning the burner on and off to reach the temperature you want. Swapping out a worn switch can help your stove cook more evenly and safely.
REAR SUPPORT – Part Number: WB02X33180
No Longer Available
REAR SUPPORT
Part #WB02X33180
This genuine GE drawer support is an original replacement part sourced from the manufacturer and is designed for use with electric ranges. Made of durable plastic, it attaches to the rear of the drawer and provides stable support by securing the rear side in place. This part includes the necessary mounting screw for installation and is sold individually. It’s a simple yet essential component for maintaining smooth drawer operation and proper alignment.
Foot - Leveller – Part Number: WB02X10521
$29.72
Special Order
Foot - Leveller
Part #WB02X10521
Sold individually.
Surface Burner Terminal Block Kit – Part Number: WB17T10006
$87.90
Special Order
Surface Burner Terminal Block Kit
★★★★★
★★★★★
(1)
Part #WB17T10006
This kit includes the female contact with wires, terminal block and mounting clip.
CONTROL OVEN TO9 – Part Number: WB27X45466
No Longer Available
CONTROL OVEN TO9
★★★★★
★★★★★
(15)
Part #WB27X45466
The electronic oven control board manages heating and temperature functions in wall ovens. Modified wiring may require professional installation. Unplug the oven or shut off the circuit breaker before replacing.
RECEPTACLE PUSH-IN – Part Number: WB08T10026
$15.95
Special Order
RECEPTACLE PUSH-IN
★★★★★
★★★★★
(6)
Part #WB08T10026
This part is the replacement light socket for your oven. The oven light socket provides power to the light, and at the same time holds the light bulb in place.
Front Drawer Support – Part Number: WB48T10013
$17.70
Special Order
Front Drawer Support
Part #WB48T10013

Manuals & Care Guides for JBP35DM1WW

Click to download

Questions And Answers for JBP35DM1WW

Ask our experts a question about this model and we'll get back to you as soon as possible!

Sort by:
  • 1
Sorry, we couldn't find any existing answers that matched.Try using some different or simpler keywords, or submit your new question by using the "Ask a Question" button above!
Lizzie - For model number JBP35DM1WW
April 8, 2023
Is it possible that this company will the wall board in soon.
Chris Boyle Profile
Hi Lizzie, Thank you for your question. The oven control board is currently available. The part number for the oven control board is PS16873547. If you need the overlay or faceplate graphics, the part number listed for it is PS2321448. We hope this helps!
Was this helpful?
Thank you for voting!
  • 1

Common Symptoms of the JBP35DM1WW

How this model fails, and the parts that fix it.

Watch our pros, then fix it yourself.

See how others fixed this model. Time, tools, difficulty, and steps that lead to victory! View More

Search repair tips from other customers using simple keywords like "replace", "fit", "remove", "inspect". DIY doesn't mean you have to do it alone!

Search filter:
Clear Filter
Your search term must have 3 or more characters.
oven element burned itself up
270 of 294 people found this instruction helpful.
  • Dennis from Bondville, VT
  • Really Easy
  • 15 - 30 mins
  • Screw drivers, Socket set
Turned off circuit breaker to range.
Removed the 2 oven racks. Removed two screws in back of oven compartment. Pulled element forward and the terminal connections get exposed.
The right terminal clip disconnected by itself and the wire went back into the stove and could not be retrieved.
Removed range draw under the oven an d pulled entire range out from wall about 4 feet.. Removed metal backing with a socket wrench and exposed the oven element wires and terminals.
Reinstalled new element and metal backing.
Since range was out from wall, cleaned and vacuumed before pushing stove back in place.
Since range draw was out re-leveled by setting adjustable feet.
Reinstalled drawer and racks.
Turned on circuit breaker.
Tested element by setting bake cycle on.
Was this helpful?
Thank you for voting!
The baking assembly in the oven burst into flames one day, then broke apart.
142 of 152 people found this instruction helpful.
  • Theresa from Sherman, TX
  • Easy
  • 15 - 30 mins
  • Nutdriver, Pliers
After the element cooled down, I pulled the racks out of the oven, turned off the oven at the breaker box, then, using a nut driver, loosened the screws that held the baking assembly in the back of the oven, and pulled the connecting wires off. I bent the wires to make sure they would stay out, because if they get back in the insulation, they are hard to find. I would recommend getting a pair of locking pliers and putting them on the ends of the wires just to keep them from getting back into the insulation. Then I attached the left connection wire and then the right one, pushed them back into the insulation, tightened the baking assembly to the back wall of the oven, turned it back on at the breaker box, then tested the oven to see if it heated up. It did. Total repair time 15 -20 minutes. Would have been less if I didn't have to chase one of the wires back in the insulation. Shamless plug for the company ...By paying extra for 2-day shipping to receive the part, I saved just over $20 from buying it at Sears, which would have had to order the part anyway.
Was this helpful?
Thank you for voting!
Oven would go in to a F2 Error
148 of 226 people found this instruction helpful.
  • Peter from stamford, CT
  • Really Easy
  • 15 - 30 mins
  • Nutdriver
Removed six 1/4" hex nuts on rear of oven. Then through front/inside removed a single 1/4" hex nut to actually remove sensor. Unplug sensor connector, remove. Reversed steps, push oven back in place and plugged in. Tested oven function.
Was this helpful?
Thank you for voting!