


 My Orders


JB850ST1SS General Electric Range - Overview
Diagrams for JB850ST1SS
See every part. Know exactly what you need.


Enter a part description. DIY Heroes keep it simple, eg. "belt" or "pump".
Search filter:
Clear Filter
Your search term must have 3 or more characters.

$133.39
Special Order
Dual Radiant Element - 9 Inch
Part #WB30T10133
This 9-inch radiant element sits under your cooktop and heats your pots and pans while you cook. If it’s not heating up or cooking unevenly, it’s time for a replacement. It’s the larger burner on your range and is sold on its own. Be sure to unplug your stove before installing the new one.

$19.10
Special Order
Light Bulb - 40W
Part #40A15
This 40-Watt light bulb is sold individually.
It is specially designed to withstand extreme temperatures, so this bulb is compatible with a variety of appliance types including refrigerators, ranges, microwaves, and dryers. It features a frosted glass bulb with a standard metal socket base, which allows you to easily unscrew the burnt-out light and twist the new bulb into place.

$280.49
Special Order
Triple Haliant Element - 12 Inch
Part #WB30T10126
If your cooktop burner isn’t heating up, this 12-inch haliant surface element might be the fix. It sits under the glass top and provides the heat for your cooking surface. You’ll need to unplug the range before starting the repair. Just remove the screws holding the cooktop, lift it up, swap out the old burner by disconnecting the wires, ...Read moreand screw everything back into place. This updated part may look a little different, but it works just like the original.
Read less

$36.73
Special Order
Temperature Sensor
Part #WB21X22134
The temperature sensor detects the temperature within the oven cavity. If your oven is too hot, not heating evenly, or has little to no heat when baking, you may need to replace the temperature sensor. The sensor is usually located in the back of the oven. This is a genuine OEM part. Please make sure to disconnect the power to your range before starting your repair.

$13.95
Special Order
Lens
Part #WB25T10041
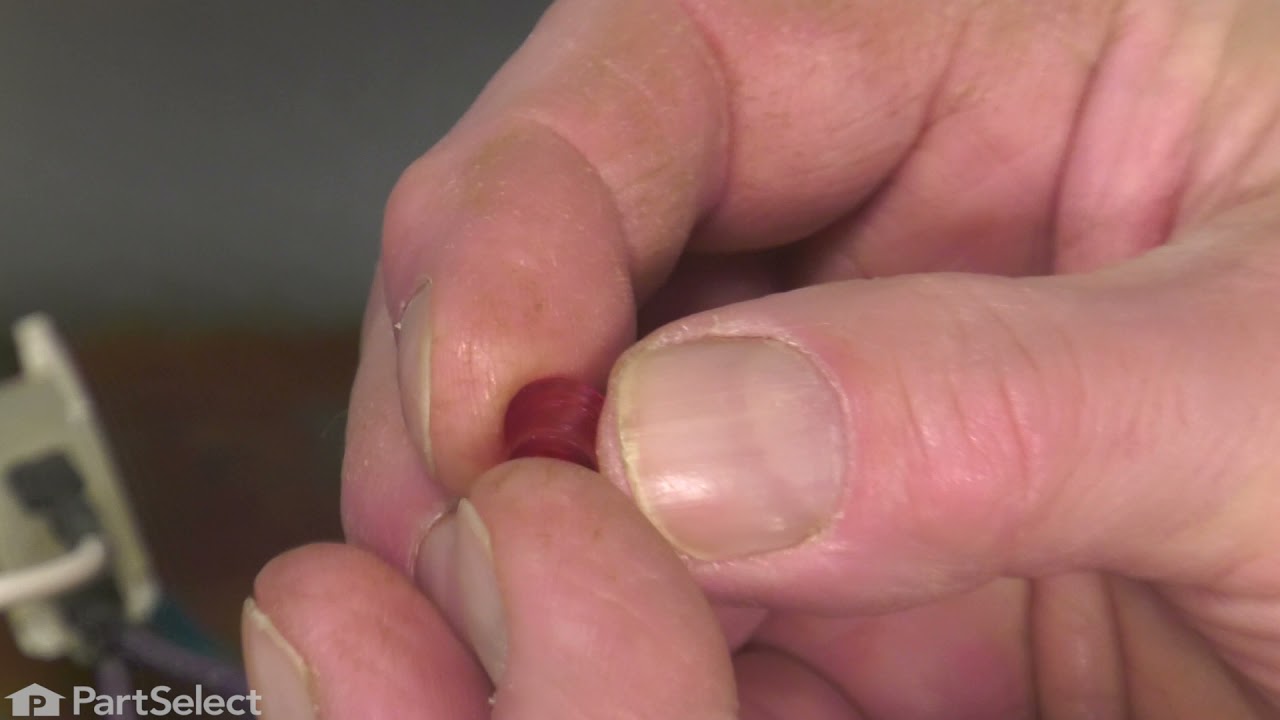
This part is a replacement lens for your oven or range. The lens is red in color, and when the elements are turned on, the light behind the lens will turn on to inform the user that the element is, in fact, on. The lens is a little less than half an inch in diameter and is made of plastic. If the light behind the lens still works, you sho...Read moreuld be able to simply remove the front panel and pop the damaged lens out of position, then replace it with the new one. This part is sold individually and is an OEM part sourced directly from the manufacturer.
Read less

$63.84
Special Order
Oven Sensor
Part #WB23T10015
This temperature sensor detects the temperature within the oven cavity.

$29.72
Special Order

$79.64
Special Order
Door Gasket
Part #WB04T10050
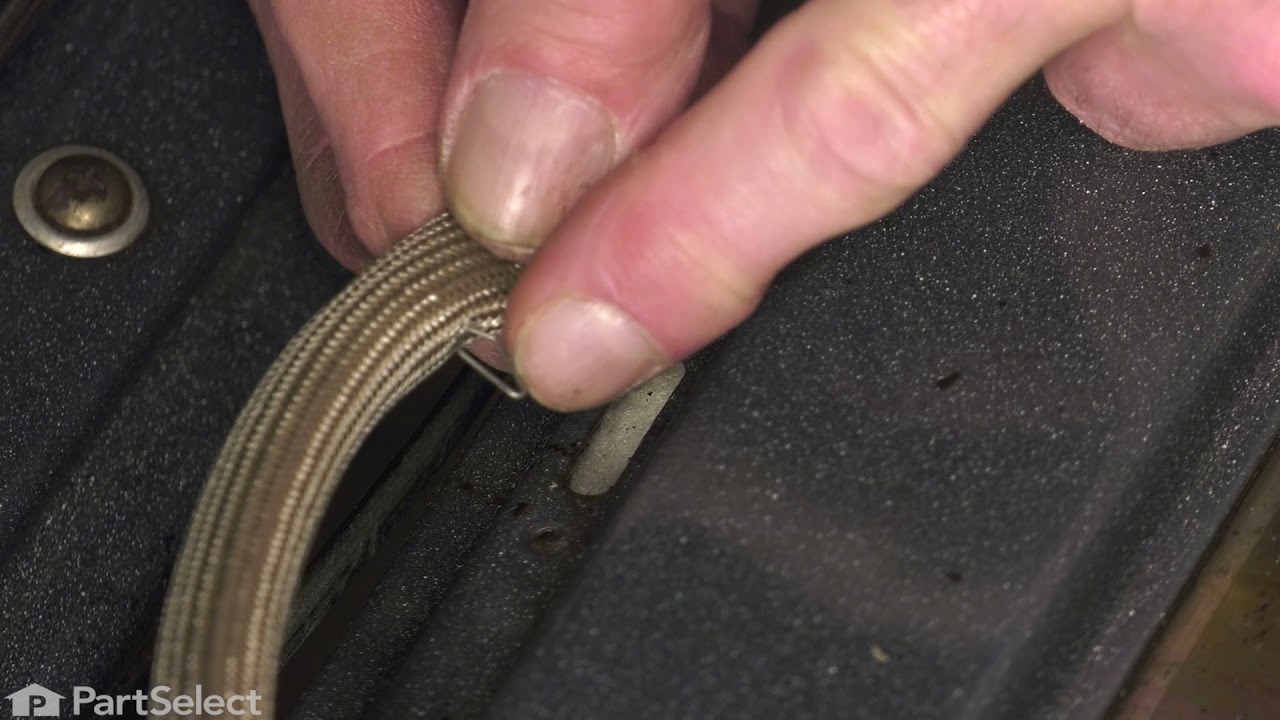
If your oven isn’t heating evenly or feels hot around the door, it might be time to replace the door gasket. This flexible seal keeps heat inside the oven, helping your food cook properly and saving energy. Made from tough rubber and fiberglass, it’s built to handle high temperatures. It’s easy to install—just use pliers to remove the old...Read more one and clip the new one into place. If you notice cracks or heat escaping, swapping out the gasket can make a big difference.
Read less

$128.05
Special Order

$93.94
Special Order
Infinite Knob - Stainless Steel
Part #WB03T10284
This plastic knob is sold individually. This knob accepts a double-flat shaft.

$35.79
Special Order
Oven Bulb Lens Cover - Glass
Part #WB25T10002
This part is the replacement oven bulb lens cover. It is made of glass and is approximately 3 inches in diameter. The lens cover is rigid and protects the oven light bulb from being damaged. The main reason to replace the oven bulb lens cover is if it is cracked, damaged, or missing. Be sure that the lens cover is cool to the touch before...Read more you begin this repair. To remove the lens cover simply turn it counterclockwise until you can remove it. Replace it with a new cover and turn it clockwise to lock it into place. This is an OEM part sourced from the manufacturer, and it is sold individually.
Read less

$223.56
Special Order
Window Pack Assembly
Part #WB56T10105
The GE Oven Door Window Pack Assembly is a genuine OEM part that fits select GE ranges and ovens. It includes a heat-resistant inner glass panel, frame, and seals, providing insulation and clear visibility into the oven cavity. Common issues like cracked glass or heat loss can indicate the need for a replacement. Ensure the oven is cool to the touch and wear gloves for safe installation.
Manuals & Care Guides for JB850ST1SS
Click to downloadInstall
Installation Instructions
(1.63MB)
Manual
Owner's Manuals
(12.84MB)
Manual
Owner's Manuals
(5.51MB)
Common Symptoms of the JB850ST1SS
How this model fails, and the parts that fix it.
Element will not heat
Fixed by
these parts
these parts


Show All
Little to no heat when baking
Fixed by
these parts
these parts


Show All
Oven not heating evenly
Fixed by
these parts
these parts

Show All
Oven is too hot
Fixed by
these parts
these parts
Show All
Will Not Start
Fixed by
these parts
these parts

Show All
Little to no heat when broiling
Fixed by
these parts
these parts
Show All
Door won’t close
Fixed by
these parts
these parts

Show All
Watch our pros, then fix it yourself.



See how others fixed this model. Time, tools, difficulty, and steps that lead to victory!
View More