


 My Orders


IME31301 Inglis Range - Overview
Diagrams for IME31301
See every part. Know exactly what you need.


Enter a part description. DIY Heroes keep it simple, eg. "belt" or "pump".
Search filter:
Clear Filter
Your search term must have 3 or more characters.

$26.41
In Stock
Light Bulb - 40W
Part #8009
This an authentic OEM 40-Watt replacement light bulb, used in a number of household appliances. It is specially designed to withstand extreme temperatures, which is why these replacement bulbs are most often used to light the inside of refrigerators and ranges. It features a standard socket base, which means you simply unscrew the burnt-o...Read moreut bulb and screw in the replacement. Depending on the appliance you may require a screwdriver or nut driver to access the light bulb. We recommend you wear work gloves while handling this replacement part. It is constructed of glass and metal and is sold individually. Depending on the appliance and location of the bulb within it, you may want to consider disconnecting power and using a flashlight for easier access to unscrewing and re-screwing in your bulb during this repair.
Read less

$69.25
In Stock
Surface Burner Element Switch, Large Burner
Part #WP3149400
This control switch controls the stove top 8" surface burner. 8.9- 11.0 amp. This surface burner element switch is for an 8-inch surface burner on an oven, stove, or range. The element switch controls the heat of the surface burner. Disconnect power to your range before completing this repair because you will be working closely with elec...Read moretrical circuits. Remove the screws from back panel and the console, and remove the console to expose the switch. It is recommended to check for overheating or arcing on the wiring harness in case they need to be replaced as well. The harness that connects to the switch features a slip-on terminal for easy installation.
Read less

No Longer Available
Touch-Up Paint - White
Part #72017
This 18 ml bottle of white appliance touch-up paint is used to cover scratches or marks on your appliance. The white touch-up paint can be used on refrigerators, microwaves, ranges, clothes dryers, and freezers. This is a genuine OEM part and includes a brush applicator. Please remember to wear gloves to protect your hands when applying this paint.

$112.60
In Stock
Oven Sensor
Part #WPW10181986
This temperature sensor detects the temperature within the oven cavity. This oven temperature sensor, for ranges, works together with the oven control board to measure and regulate the oven temperature. The sensor detects the temperature in the oven cavity. If the following symptoms occur, replacing the temperature sensor could be the sol...Read moreution: Little or no heat when baking, oven not heating evenly, oven will not start, and/or oven is overheating. Often, if the sensor is defective, the oven temperature will fluctuate and be inaccurate by more than 50 degrees. The tool needed for this replacement is a #2 square head screwdriver or a #2 Philips screwdriver. Remember to unplug the range before installing the part.
Read less

$27.13
In Stock

$74.64
In Stock
Oven Bake Element
Part #WPW10308477
This Whirlpool OEM 2400-watt bake element has push-on terminals and is located on the bottom of the oven cavity. The bake element supplies heat while baking. If the oven is not heating properly the bake element may have burned out. If the element has burned out there would be visible damage such as holes, cracks, or blisters. When replaci...Read moreng the element, do not allow the wires to fall back through the rear of the oven. Disconnect the power to the range before starting your repair.
Read less

$48.35
In Stock
Range Receptacle Kit
Part #814399
This surface burner receptacle assembly comes with the receptacle, two wires, two wire nuts, and two pieces of heat-shrink tubing.

$48.47
In Stock
Range Safety Thermostat
Part #WP3196548
This part is used as a safety feature. If your range overheats this part will shut the range down.

$156.45
In Stock
Range Surface Element
Part #WPW10259865
This element has looped terminal ends and 5-turns. This element features pigtail, looped ends. This element is 8" in diameter. This element is 2100 watts. This element coil has 5 turns. This surface element has a black centre medallion. The coil surface element supplies the heat to a cooking area on top of the range.

$38.62
In Stock
Standard Y-Frame Range Surface Burner
Part #WP660532
The manufacturer suggests replacing the receptacle at the same time.

$30.40
In Stock
Screw
Part #W11233072
This is a multi-use and multi-appliance screw. It can be used on a microwave, refrigerator, range/oven, air conditioner, dehumidifier, washer, or dryer. The measurements of this screw are 8 x 1/2 inch. It has 6 threads. Refer to the manual provided by the manufacturer for further information on repair and accurate guidance. Remember to wear work gloves as a safety precaution.

$26.42
In Stock
Manuals & Care Guides for IME31301
Click to downloadInstall
Installation Instructions
(0.21MB)
Install
Installation Instructions
(2.96MB)
Manual
Owner's Manuals
(4.23MB)
Common Symptoms of the IME31301
How this model fails, and the parts that fix it.
Element will not heat
Fixed by
these parts
these parts


Show All
Little to no heat when baking
Fixed by
these parts
these parts


Show All
Oven is too hot
Fixed by
these parts
these parts
Show All
Oven not heating evenly
Fixed by
these parts
these parts
Show All
Little to no heat when broiling
Fixed by
these parts
these parts

Show All
Will Not Start
Fixed by
these parts
these parts
Show All
Door won’t close
Fixed by
these parts
these parts


Show All
Will not program
Fixed by
these parts
these parts
Show All
Watch our pros, then fix it yourself.

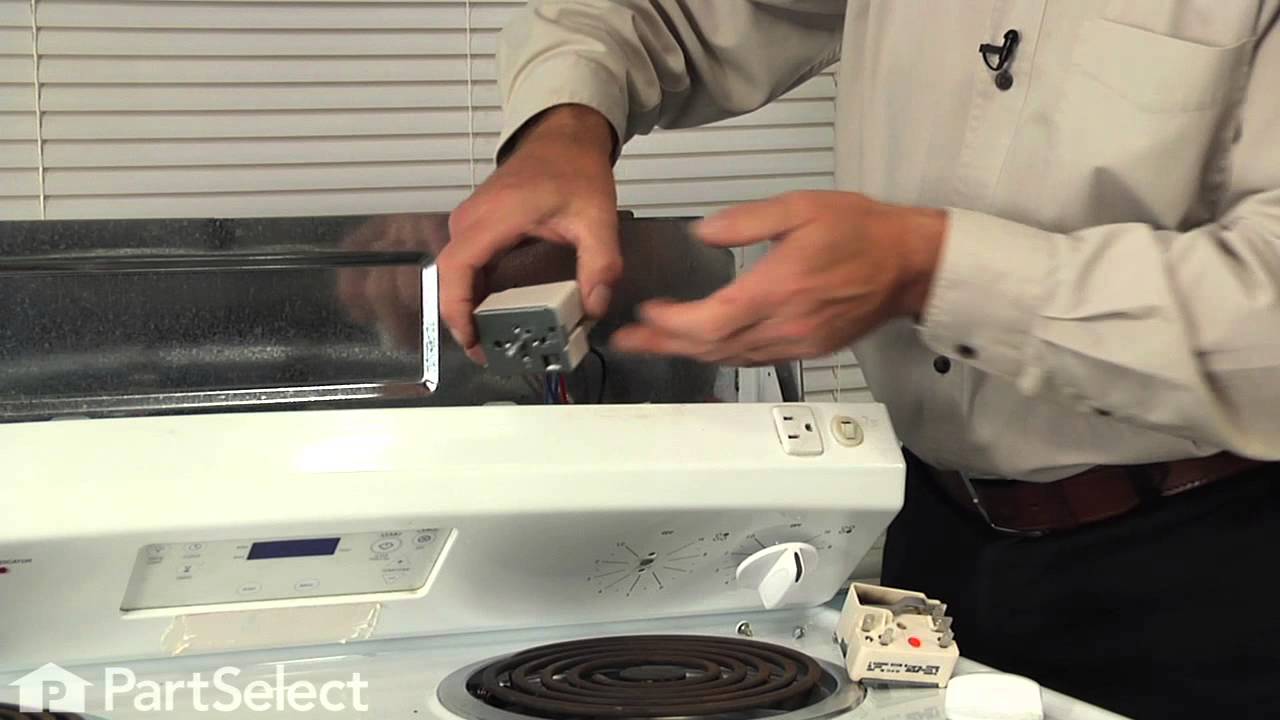
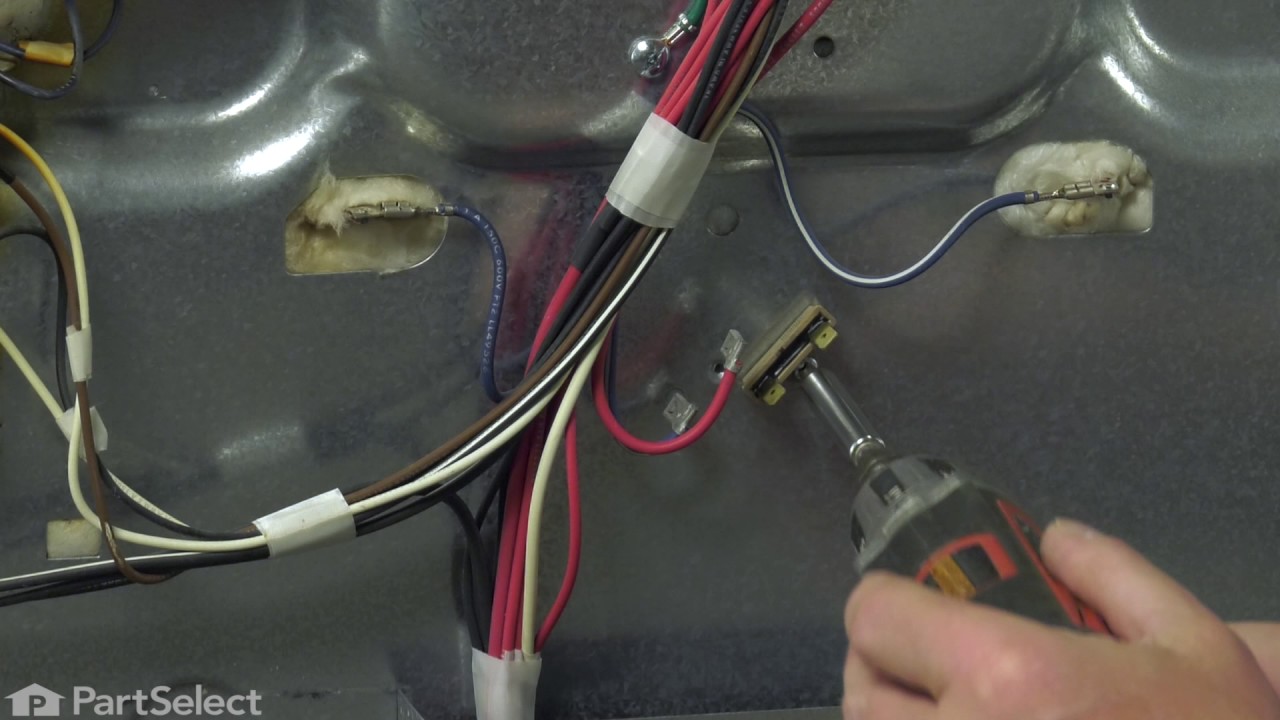
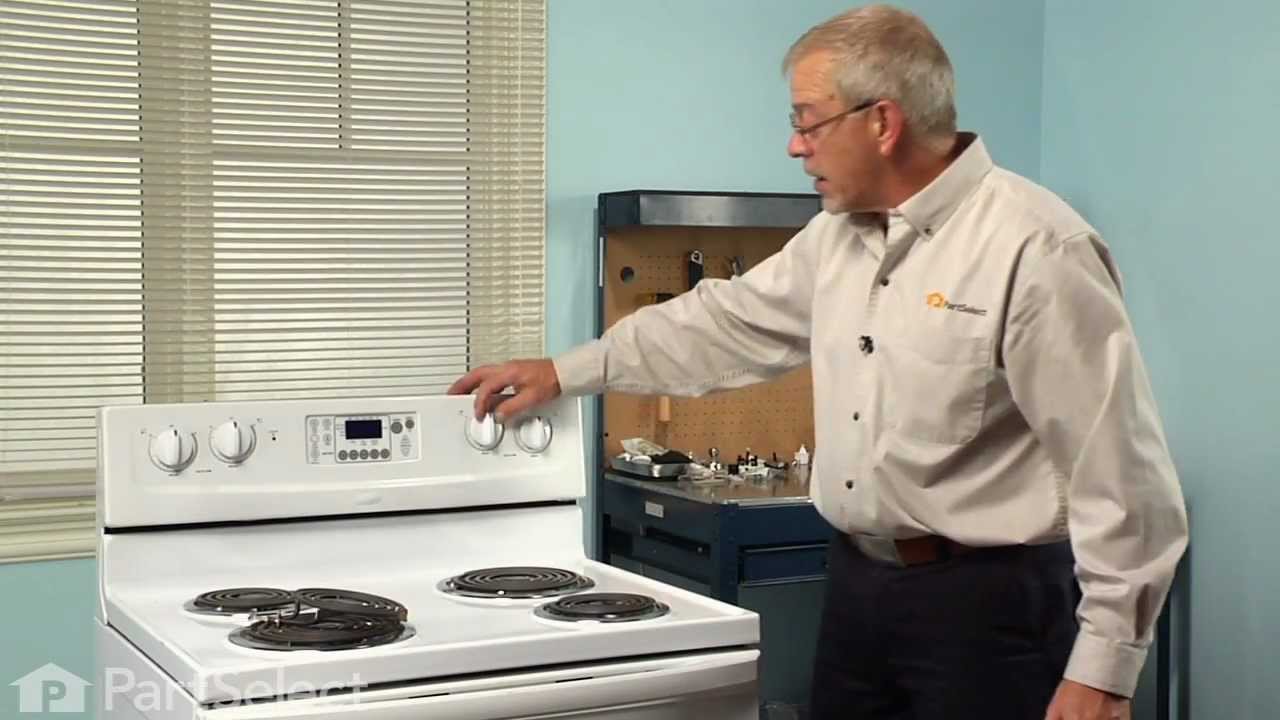

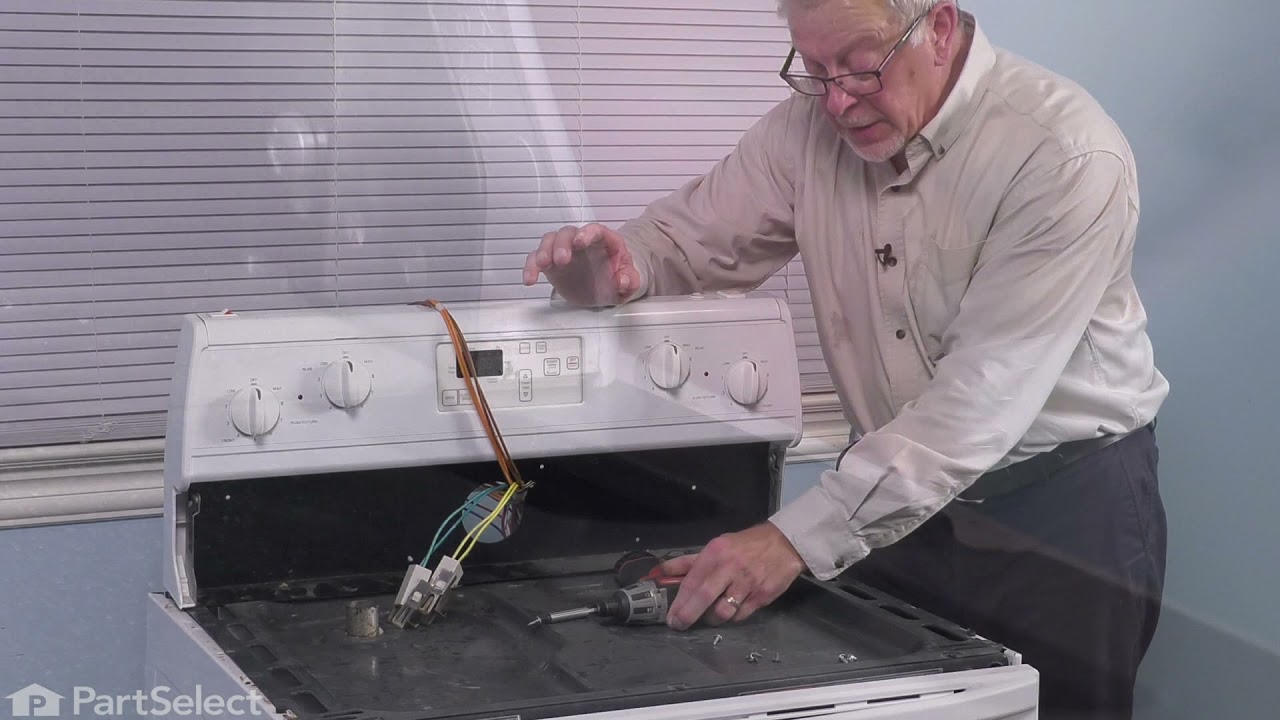
See how others fixed this model. Time, tools, difficulty, and steps that lead to victory!
View More