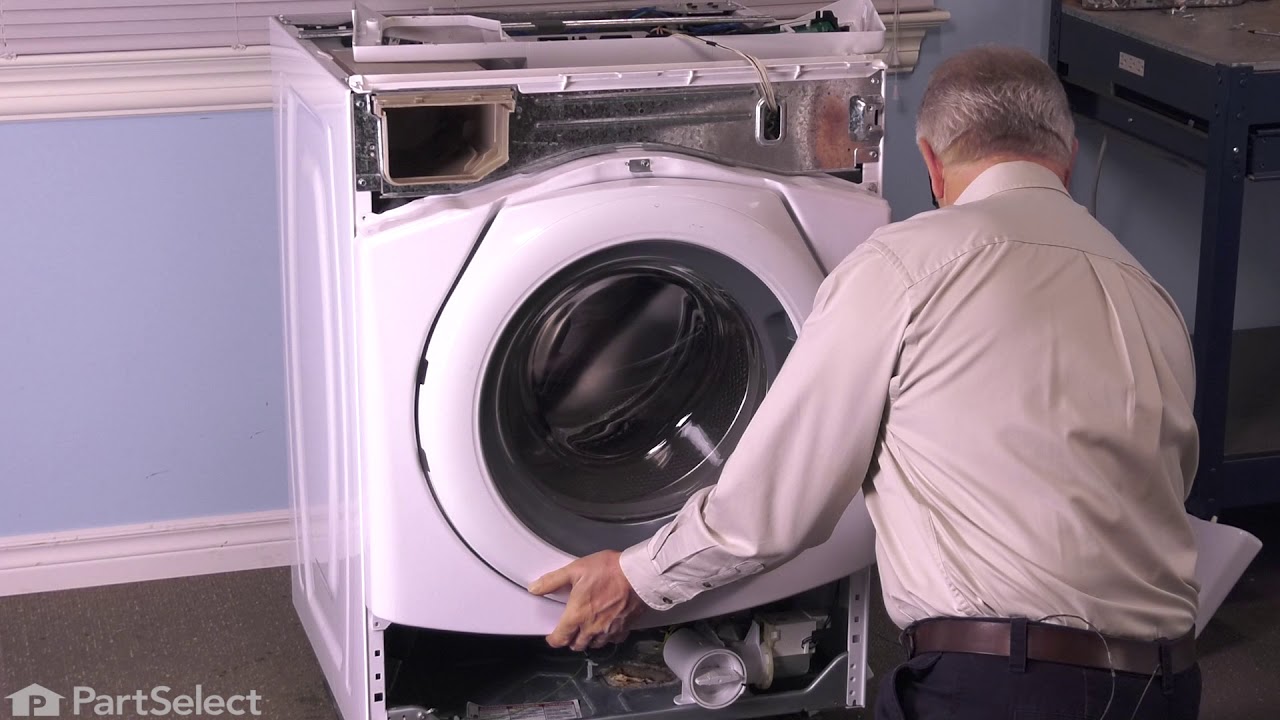
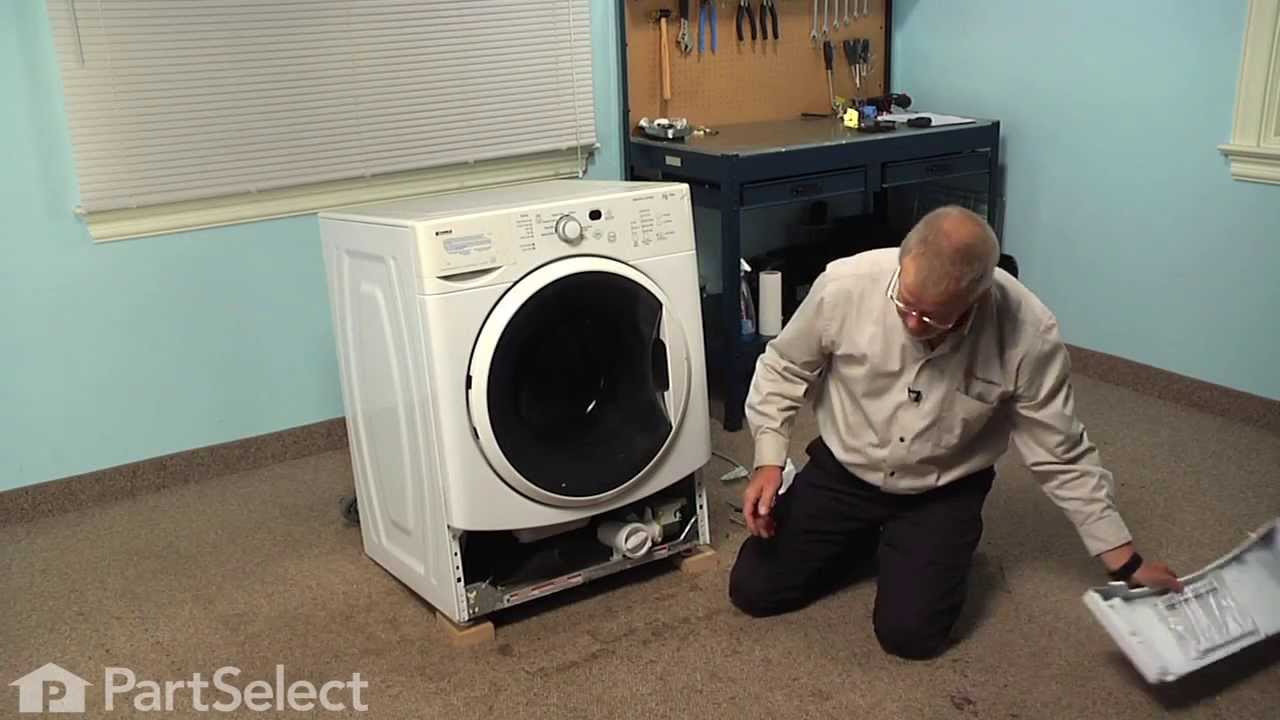
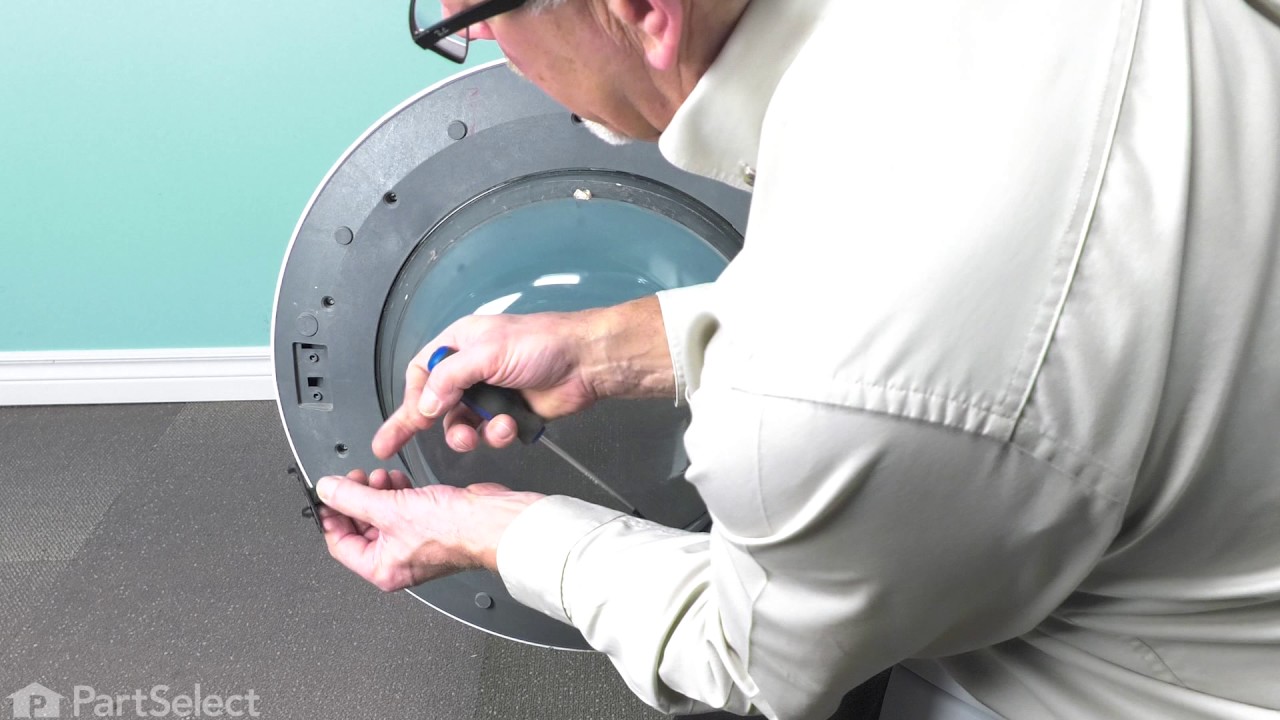
This is the main seal between the front bulkhead and the outer tub. If the washer is leaking, the door boot may have a tear in it. Overloading the washer is the most common cause for a torn door boot
This pump helps expel water from the washing machine and is activated after the spin speed is maintained for a specific period of time. It has two ports for water to pass through: a large one, and a smaller one. This pump also comes with a removable filter.
This 18 ml bottle of white appliance touch-up paint is used to cover scratches or marks on your appliance. The white touch-up paint can be used on refrigerators, microwaves, ranges, clothes dryers, and freezers. This is a genuine OEM part and includes a brush applicator. Please remember to wear gloves to protect your hands when applying this paint.
Sold individually. These shock absorbers keep the washer from vigorous shaking during its cycles. This shock absorber is for washers.
Shock absorber absorbs the vibrations and movements of the outer washer tub.
Unplug the washer before installing this part. Wear work gloves to protect your hands.
This is a replacement tub-to-pump hose for your washer. This hose runs from the bottom of the tub to the water pump, and is used to transport water. The hose can develop a hole, and when this happens you will notice water leaking onto the floor. The tub-to-pump hose is found below the washer tub. To disconnect the hose, you will need to r...Read moreelease the clamps that hold it in place with a pair of pliers. When you replace the tub hose, you will need to transfer the ball, air chamber, and clamps from the old pump to the new one. To do this, you will need a set of wire cutters and a new zip tie to replace the one you will need to cut.
Water inlet valve controls the water flow into the washer.
Fits some washers in the following series: Kenmore 110; Whirlpool CHW, WFW and YWFW; Maytag CHW, MHN, MHP, MHWE, MHWZ and YMHWE; Amana NFW and YNFW; and Inglis IFW and YIFW.
Also fits some laundry centers in these series: Whirlpool CET and CGT; and Maytag MLE and MLG.
If your washer door won’t close or lock, or your machine won’t start, this door latch might be the issue. It’s the part that keeps the door shut tight during the cycle and makes sure everything runs safely and smoothly. Made from tough plastic and metal, it’s built to last and helps prevent leaks and interruptions. It locks and unlocks au...Read moretomatically, so you don’t have to think about it—just make sure it fits your model before ordering, and unplug your washer before installing.
This is the replacement bellow clamp for your washer. It is approximately 18 inches in diameter and is sold individually. The bellow clamp goes around the bellow in your washer and holds it in place on the washer frame. The main reason you would want to replace the bellow clamp is if it is rusted or damaged, and it is not holding the bell...Read moreow in place. To remove the bellow clamp, simply use a screwdriver to pop the bellow clamp out of the groove it rests in. Place the new clamp back into the bellow groove until it snaps into place. This is an OEM part from the manufacturer.
This part is the replacement drive belt for your washer. It is made of black rubber and is approximately ½ an inch wide and 48 inches long. It has 6 grooves and is sold individually. The drive belt is found between the motor pulley and the drive pulley, and it connects the motor to the drive system. When the belt is running, it allows the...Read more basket or tub to spin. If the belt is stretched, worn, or broken, the tub will not turn. A warped belt can also cause the washer to be noisy while operating. This part is an authentic OEM part sourced directly from the manufacturer.
Ask our experts a question about this model and we'll get back to you as soon as possible!
We may have answered a similar question already! Search questions and answers left by others using simple keywords like "fit", "broken", "easy", or "quality" to find questions that match.
Search filter:
Clear Filter
Your search term must have 3 or more characters.
Sort by:
Prev
1
Next
Sorry, we couldn't find any existing answers that matched.Try using some different or simpler keywords, or submit your new question by using the "Ask a Question" button above!
Jim - For model number IFW7300WW01
December 29, 2024
Washer doesn't remove all the water out of items being washed. Spins very slowly. Would this be the belt?
Hello Jim, thank you for your question. It is either a worn Belt PS11746258 that is about to fail, or the loads are too big. We hope this helps.
See how others fixed this model. Time, tools, difficulty, and steps that lead to victory!View More
Search repair tips from other customers using simple keywords like "replace", "fit", "remove", "inspect". DIY doesn't mean you have to do it alone!
Search filter:
Clear Filter
Your search term must have 3 or more characters.
F 21 error
376 of 426 peoplefound this instruction helpful.
Andrew from St.Louis, MO
Easy
15 - 30 mins
Screw drivers, Socket set
Removed the front panel unplugged The washer drained water out, lift the washer up to un screw the drain pump. Then unhooked the hoses from pump put the other pump in.
Was this helpful?
Thank you for voting!
water pump failed
98 of 110 peoplefound this instruction helpful.
Kurt from Caliente, NV
Really Easy
15 - 30 mins
Nutdriver, Pliers
Pump started making noises like ball bearings grinding. took the lower front cover off pulled the strainer out of the pump housing and found $2.55 in nickles dimes and quarters. Some 223 bullets and about 20 bobby pins. Together they had destroyed the impeller, so ordering a new one and installing it did the trick. Easy installation about
... Read more 15mins.
Read less
Was this helpful?
Thank you for voting!
Door latch module was defective
103 of 125 peoplefound this instruction helpful.
Carlton from Greer, SC
Easy
Less than 15 mins
Nutdriver, Pliers, Screw drivers
This model is a front-loading washer. The spring loaded retainer for the front of the boot must be removed, then the boot can moved to the side exposing the module. Remove the two screws holding the model, pull the model out, remove the three electrical plugs, then reverse this procedure to install new module.



 My Orders