


 My Orders


IF42BDCBOL Dacor Refrigerator - Overview
Diagrams for IF42BDCBOL
See every part. Know exactly what you need.


Enter a part description. DIY Heroes keep it simple, eg. "belt" or "pump".
Search filter:
Clear Filter
Your search term must have 3 or more characters.

$20.85
In Stock
Light Bulb - 120V 25W
Part #WPA3073101
This appliance light bulb illuminates the interior compartment so stored items are easier to see and reach. Its clear glass design allows light to spread through the surrounding area, while the incandescent filament produces light when powered. A burned-out filament or damaged bulb may leave the compartment dark. Replacing a failed bulb h...Read moreelps restore interior lighting. Disconnect appliance power and allow the old bulb to cool before removal, then gently screw the replacement into the socket without overtightening and reinstall the protective cover. This is an OEM part sourced directly from the manufacturer.
Read less

$30.40
In Stock
Screw
Part #W11233072
This is a multi-use and multi-appliance screw. It can be used on a microwave, refrigerator, range/oven, air conditioner, dehumidifier, washer, or dryer. The measurements of this screw are 8 x 1/2 inch. It has 6 threads. Refer to the manual provided by the manufacturer for further information on repair and accurate guidance. Remember to wear work gloves as a safety precaution.

No Longer Available
Water Filter
Part #EDR7D1
This is the replacement water filter for your refrigerator. It is white in color with a red cap, and is approximately 3 inches wide and six inches tall. The water filter reduces contaminants and improves taste in your refrigerator water supply. It is recommended to replace the water filter every six months. You will find the water filter ...Read moreat the back, top portion of your fresh food compartment. To remove the filter, simply twist it to the left until it can be removed. Then, remove the cap on the new filter, line up the arrow with the indentation, and twist to the right until it is secure. You may want to put a towel down below the filter when completing this repair, to catch any spills or drips. When you replace the water filter, hold down the dispenser trigger for a few minutes so that all the air is purged from the water lines, and the water tank fills up. This is an OEM part and is sold individually.
Read less

$10.95
In Stock

$11.52
In Stock
Washer Hose Clamp
Part #WP596669

$46.15
On Order
Refrigerator Water Fill Cup & Bearing
Part #WP628356
This icemaker water inlet cup is three inches long. It is all white in color and is made of plastic.

$10.44
In Stock

$74.75
In Stock

$84.24
In Stock
Cycling thermostat
Part #WP627985
This part is also known as the cycling thermostat and this bi-metal device controls the activation of the icemaker ejection cycle.

$10.40
In Stock

$11.96
In Stock

$10.41
In Stock
Common Symptoms of the IF42BDCBOL
How this model fails, and the parts that fix it.
Leaking
Fixed by
these parts
these parts


Show All
Ice maker not making ice
Fixed by
these parts
these parts


Show All
Not dispensing water
Fixed by
these parts
these parts


Show All
Ice maker won’t dispense ice
Fixed by
these parts
these parts


Show All
Noisy
Fixed by
these parts
these parts


Show All
Fridge too warm
Fixed by
these parts
these parts

Show All
Ice maker dispenses too much ice
Fixed by
these parts
these parts
Show All
Door won’t open or close
Fixed by
these parts
these parts
Show All
Light not working
Fixed by
these parts
these parts

Show All
Door latch failure
Fixed by
these parts
these parts

Show All
Fridge and Freezer are too warm
Fixed by
these parts
these parts
Show All
Will Not Start
Fixed by
these parts
these parts

Show All
Watch our pros, then fix it yourself.
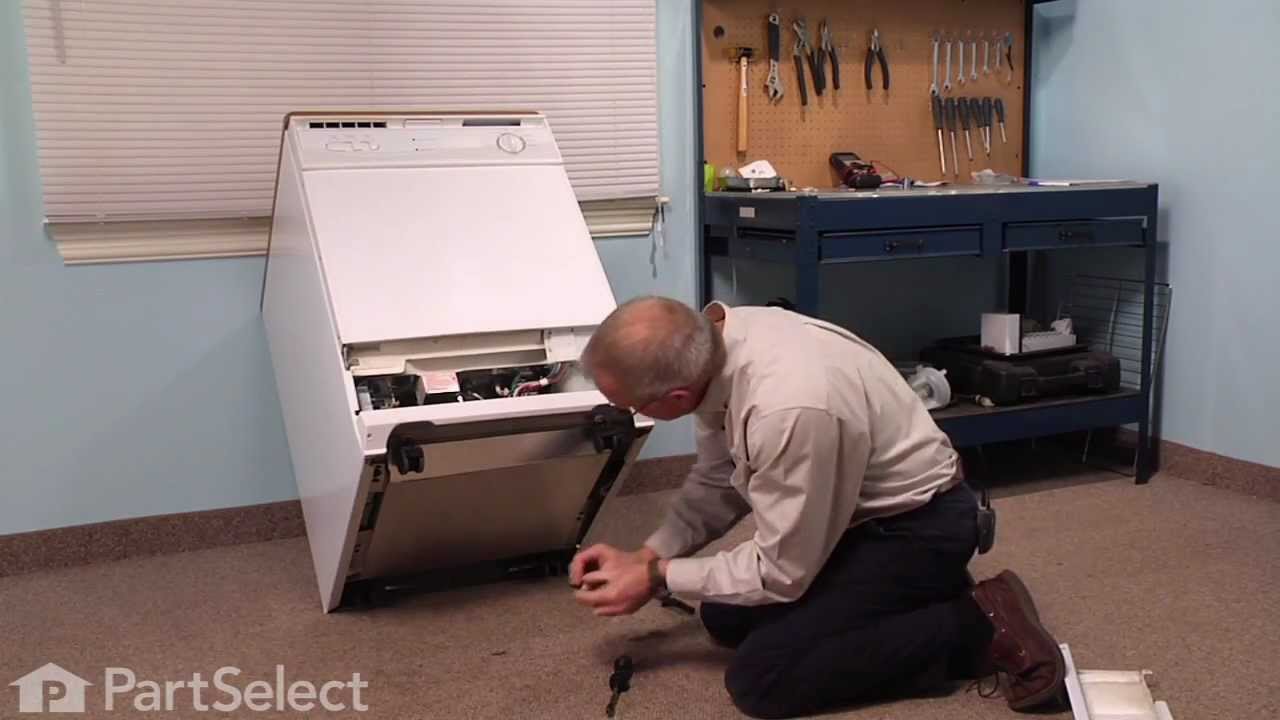
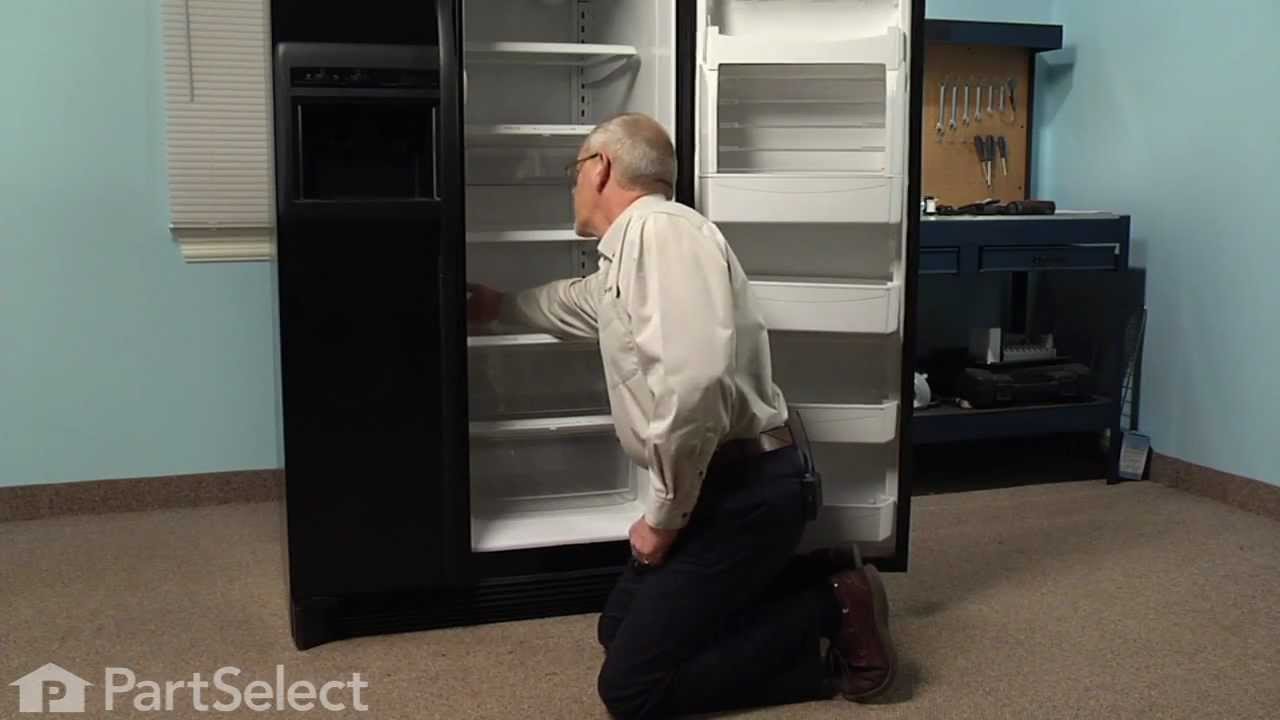
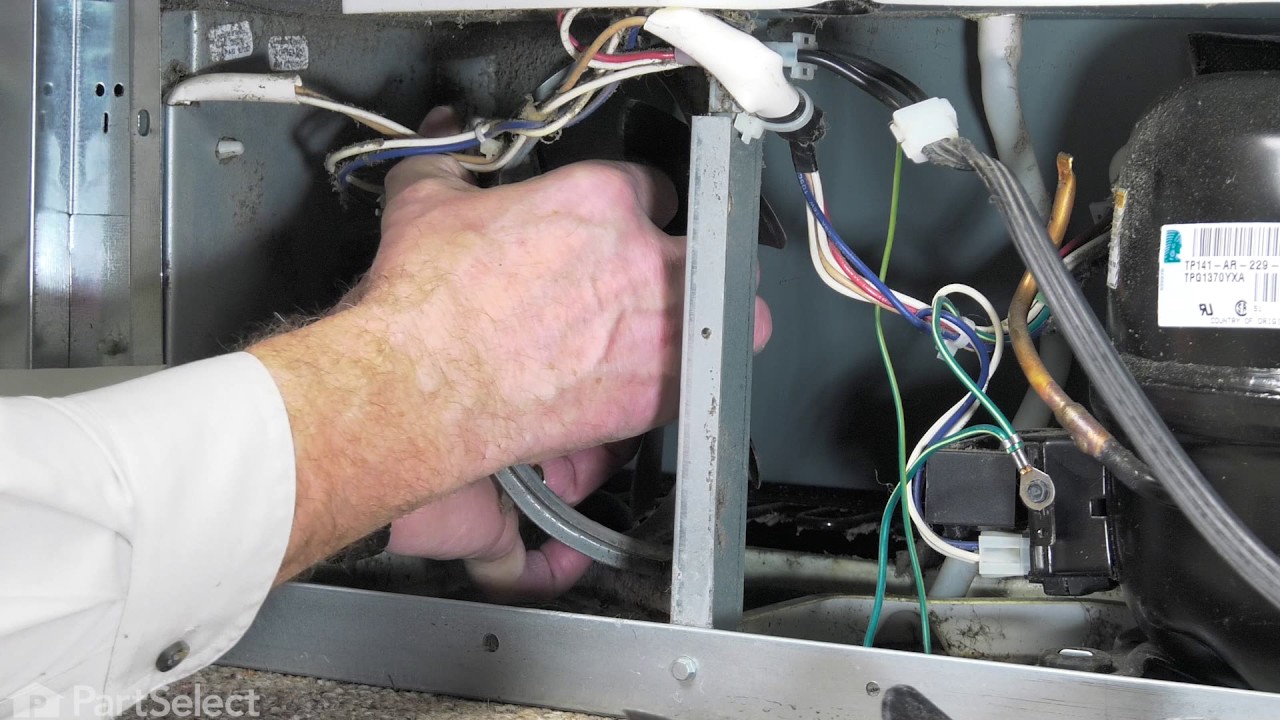
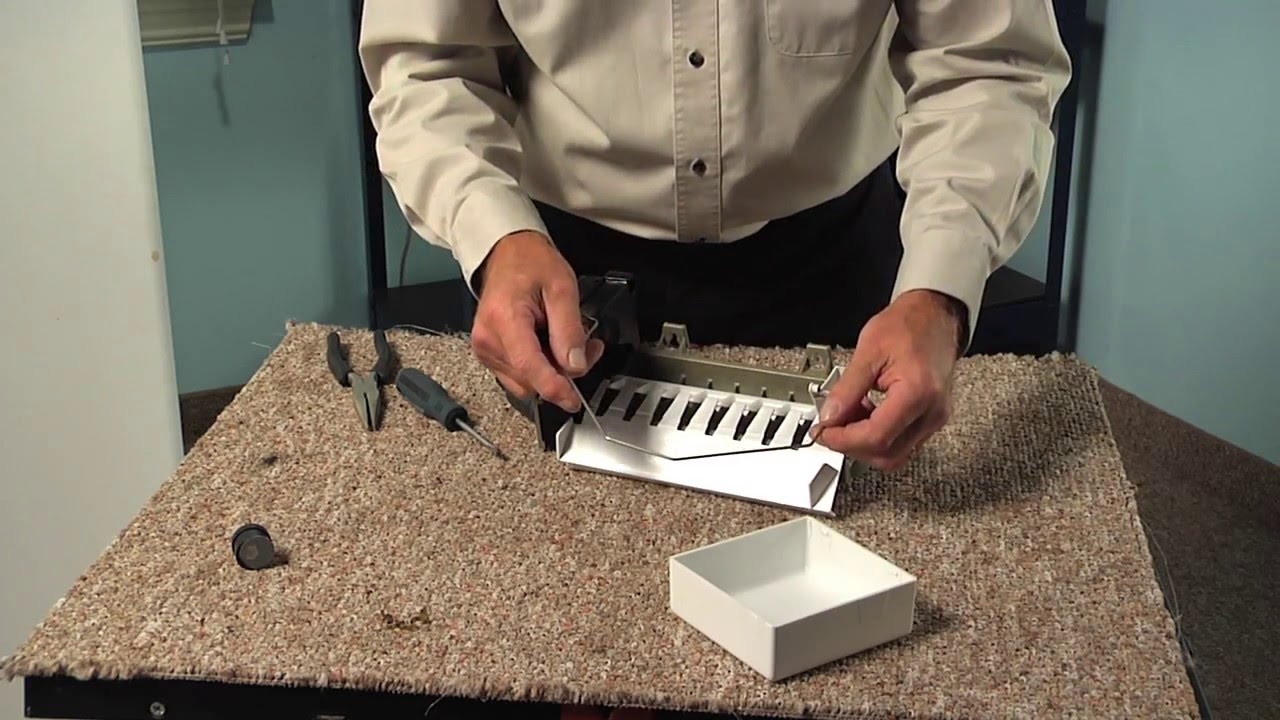
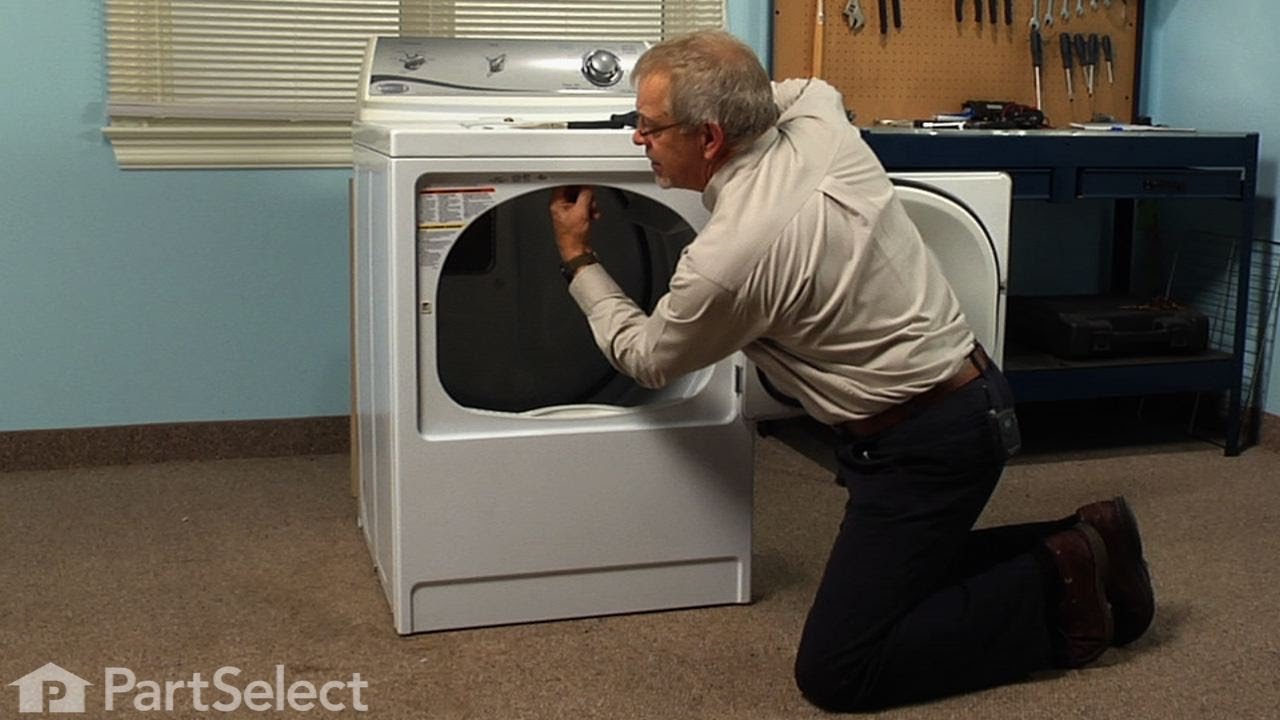
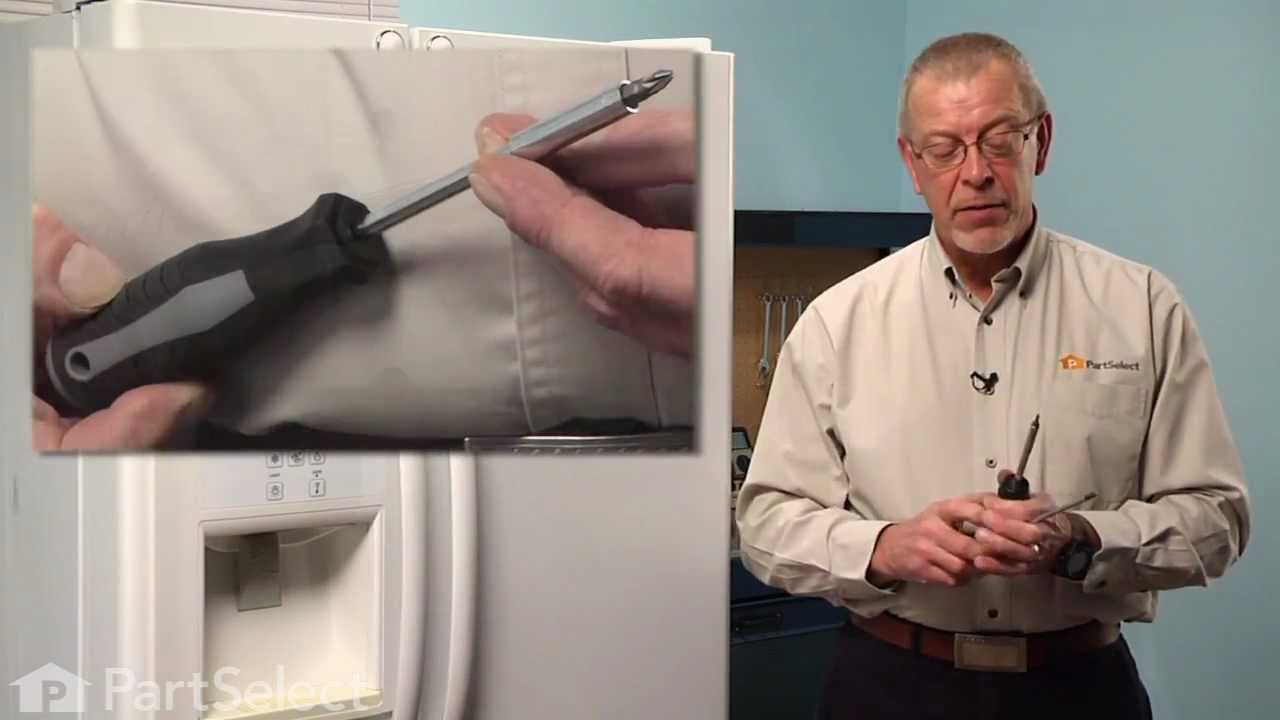
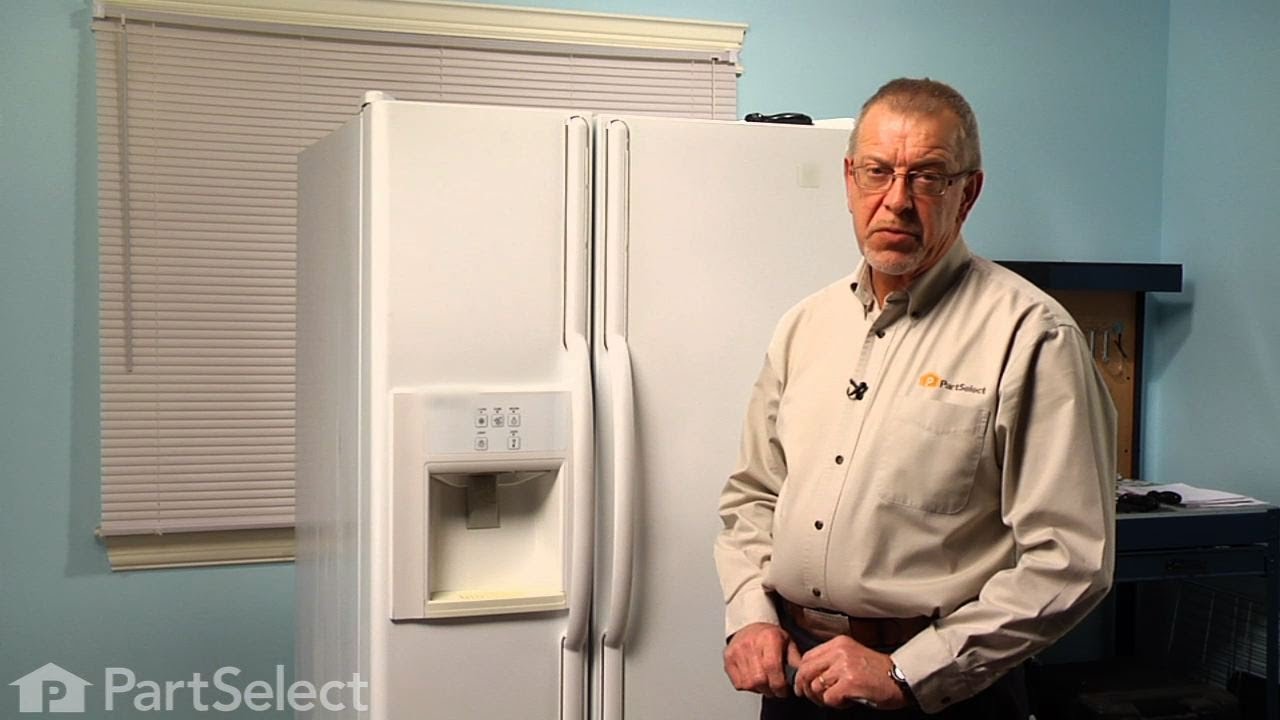
See how others fixed this model. Time, tools, difficulty, and steps that lead to victory!
View More