


 My Orders


GX5FHDXVQ00 Whirlpool Refrigerator - Overview
Diagrams for GX5FHDXVQ00
See every part. Know exactly what you need.


Enter a part description. DIY Heroes keep it simple, eg. "belt" or "pump".
Search filter:
Clear Filter
Your search term must have 3 or more characters.

$38.32
In Stock
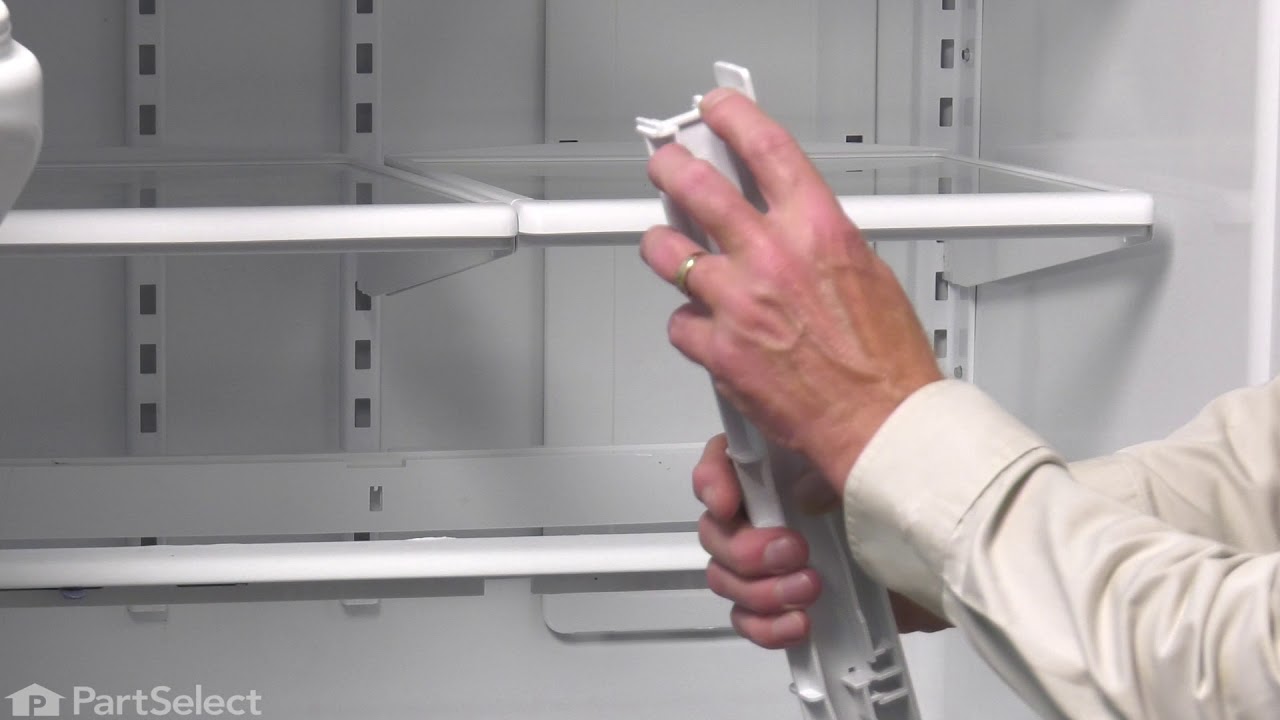
Refrigerator Center Rail
Part #WPW10326469
This OEM Center Rail is a white plastic part which supports the crisper frame, which holds the crisper. Fifteen inches long and white in colour, if broken, the support may no longer hold properly. Refer to your model number and user manual to see if this part will be right for your appliance. This part is a very easy repair which only ta...Read morekes a few minutes and does not require any tools. Just slide the crisper drawers out, lift out the glass shelf, slide the new rale into place and replace the glass shelf and crisper drawers. This part is sold individually and not as part of a set.
Read less

$147.86
In Stock
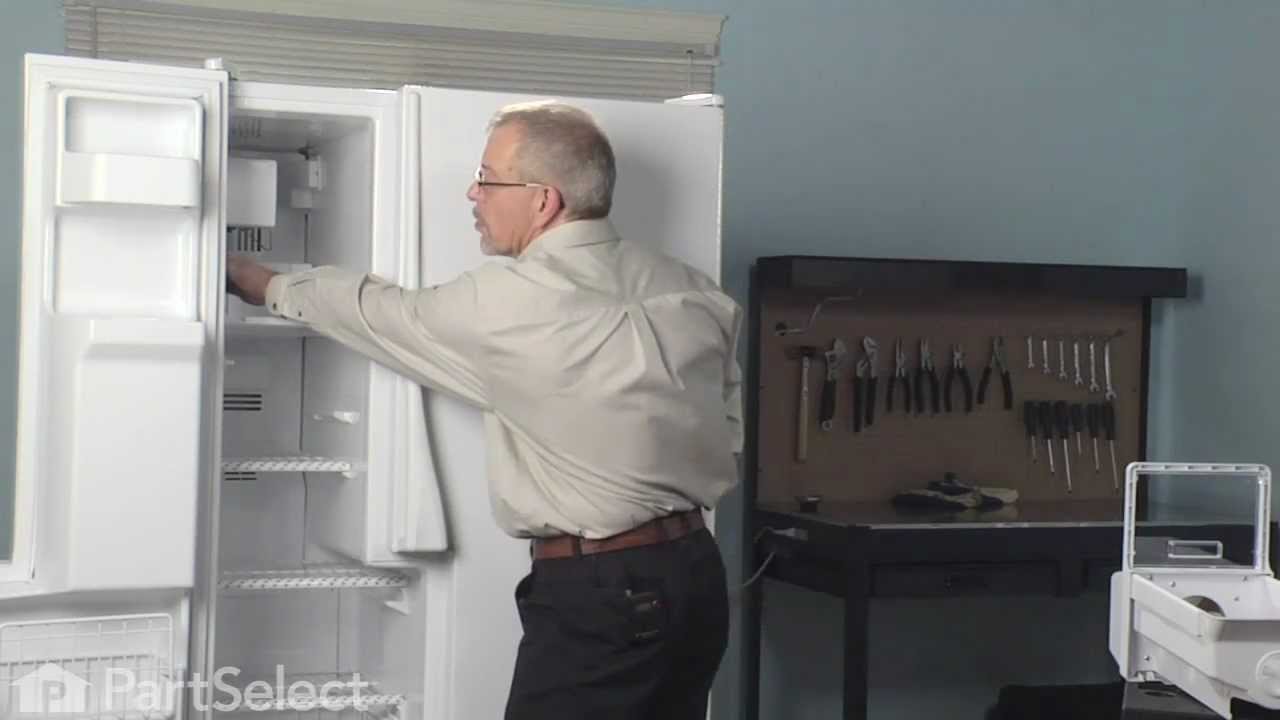
Replacement Ice Maker
Part #D7824706Q
This modular ice maker assembly replaces worn-out units to restore ice production in refrigerators. It includes the ice mold and control device but excludes the cover, ice level arm, wire harness, and mounting hardware, which must be reused or ordered separately. Unplug the refrigerator before installation and use work gloves for safety. Check compatibility with your model number before purchase.

$58.29
In Stock
Refrigerator Capacitor
Part #WPW10662129
This part helps the compressor kick on and off while maintaining a constant temperature to keep things frozen in your freezer.

No Longer Available
Touch-Up Paint - White
Part #72017
This 18 ml bottle of white appliance touch-up paint is used to cover scratches or marks on your appliance. The white touch-up paint can be used on refrigerators, microwaves, ranges, clothes dryers, and freezers. This is a genuine OEM part and includes a brush applicator. Please remember to wear gloves to protect your hands when applying this paint.

$266.76
In Stock
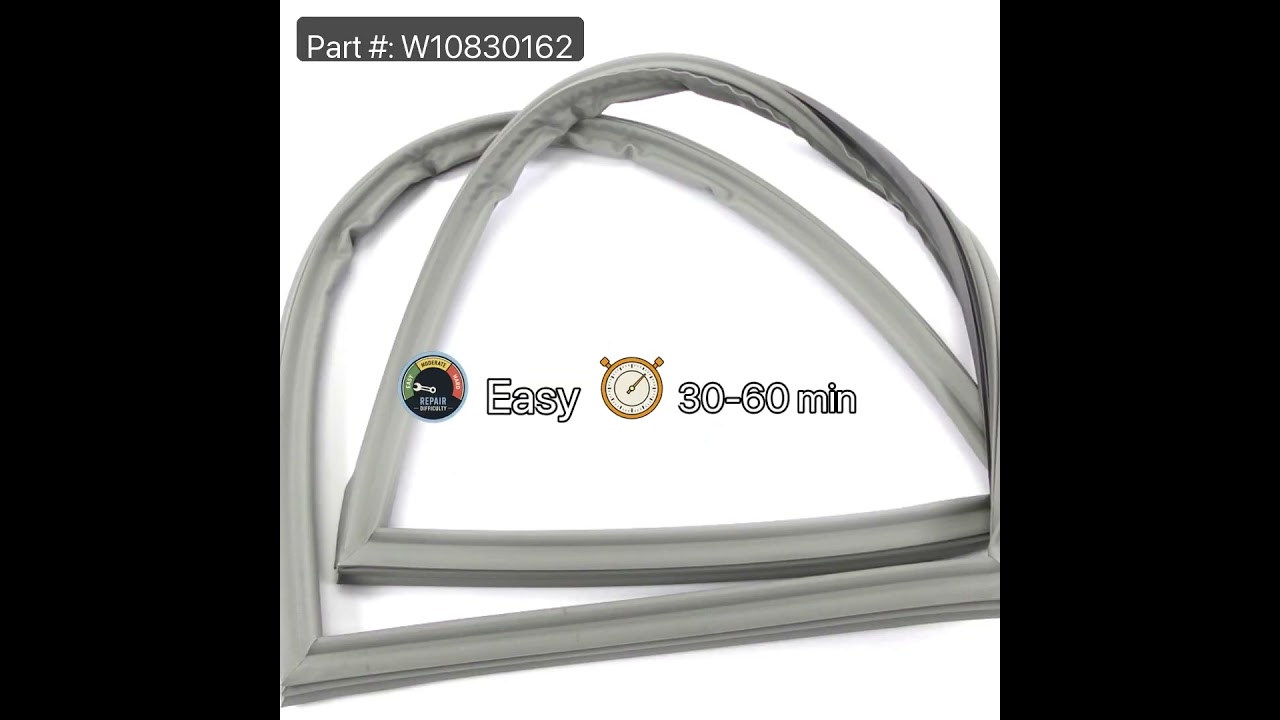
Door Gasket - Gray
Part #W10830162
If your fridge door is sweating or hard to open and close, the gasket might need replacing. This gray magnetic gasket helps seal the door tightly to keep cold air in and warm air out. It runs along all sides of the door and helps your fridge stay efficient. If it’s cracked or not sealing well, swapping it out is a simple fix that can make a big difference.

$43.83
In Stock

$69.52
In Stock
Refrigerator Electronic Control Board
Part #WPW10503278
This electronic control board is a critical component in refrigerator systems, responsible for regulating temperature settings and managing cooling and defrost cycles. If your appliance is experiencing issues such as inconsistent temperatures, failure to start, prolonged operation, or ineffective defrosting, replacing the control board ma...Read morey resolve the problem. Installation requires a small flat blade screwdriver and should be performed with the refrigerator unplugged to ensure safety. Please note that this board must be programmed after installation to function correctly. For precise installation steps and programming instructions, refer to the manufacturer’s manual specific to your refrigerator model.
Read less

$96.02
In Stock
Icemaker Control Assembly
Part #W10190935
This part is used to help tell the icemaker what to do - it turns the timing cams and the ejector blades. Motor is not sold separately.

$84.47
In Stock
Refrigerator Door Bin
Part #WPW10371194
Running out of space in your fridge door? This clear, shallow bin is perfect for organizing jars, bottles, and small items. It’s made from sturdy plastic and fits right into the door—no tools needed. Whether your old bin cracked or you just need more room, this replacement is a quick and easy fix. It works with lots of models from Whirlpo...Read moreol and other popular brands, so just check your fridge’s model number before ordering.
Read less

$15.65
In Stock
Deli Drawer Glide- Left Side
Part #WP67001054
This is a replacement pan glide for your refrigerator. The pan glide can be found attached to the refrigerator shelf, and allows the pan to slide in and out efficiently. If your refrigerator pan will not slide in or out of place properly, or if the pan will not stay in place, you may need to replace the glide. There is a pan glide on the ...Read moreleft and the right side of the refrigerator shelf. This part is the left side glide, so be sure to determine whether you need to replace the left glide or the right glide. This part is made of white plastic, and is approximately 15 inches long.
Read less

$15.35
In Stock
Refrigerator Humidity Control Slide
Part #WP67005864
This part mounts on the crisper drawer cover and is used to limit the amount of air that gets into the crisper.

$15.65
In Stock
Refrigerator Deli Drawer Glide
Part #WP67001053
This is a deli drawer glide for the right side of your refrigerator. It allows the deli drawer to glide in and out smoothly. In order to access your glider, you will have to remove drawer and shelf, and unscrew the existing screws. Reverse and reinstall. This part is approximately 14.5 inches long, and made of white plastic.
Manuals & Care Guides for GX5FHDXVQ00
Click to downloadCommon Symptoms of the GX5FHDXVQ00
How this model fails, and the parts that fix it.
Ice maker not making ice
Fixed by
these parts
these parts


Show All
Light not working
Fixed by
these parts
these parts


Show All
Fridge too warm
Fixed by
these parts
these parts


Show All
Leaking
Fixed by
these parts
these parts


Show All
Door won’t open or close
Fixed by
these parts
these parts


Show All
Will Not Start
Fixed by
these parts
these parts

Show All
Ice maker won’t dispense ice
Fixed by
these parts
these parts
Show All
Fridge and Freezer are too warm
Fixed by
these parts
these parts
Show All
Noisy
Fixed by
these parts
these parts


Show All
Freezer section too warm
Fixed by
these parts
these parts

Show All
Fridge too cold
Fixed by
these parts
these parts

Show All
Freezer not defrosting
Fixed by
these parts
these parts


Show All
Door Sweating
Fixed by
these parts
these parts


Show All
Clicking sound
Fixed by
these parts
these parts

Show All
Frost buildup
Fixed by
these parts
these parts


Show All
Too warm
Fixed by
these parts
these parts
Show All
Freezer too cold
Fixed by
these parts
these parts
Show All
Ice maker dispenses too much ice
Fixed by
these parts
these parts

Show All
Fridge runs too long
Fixed by
these parts
these parts
Show All
Won’t start
Fixed by
these parts
these parts
Show All
Ice maker dispenses too little ice
Fixed by
these parts
these parts
Show All
Not dispensing water
Fixed by
these parts
these parts
Show All
Watch our pros, then fix it yourself.
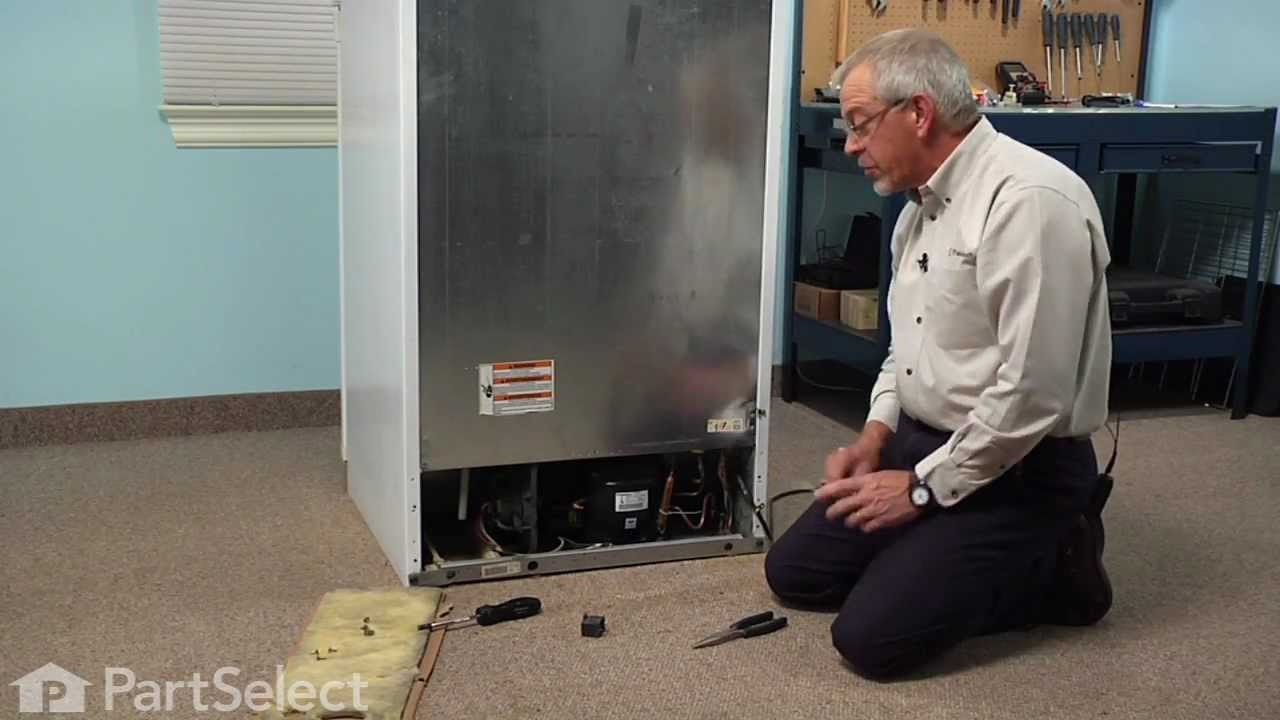
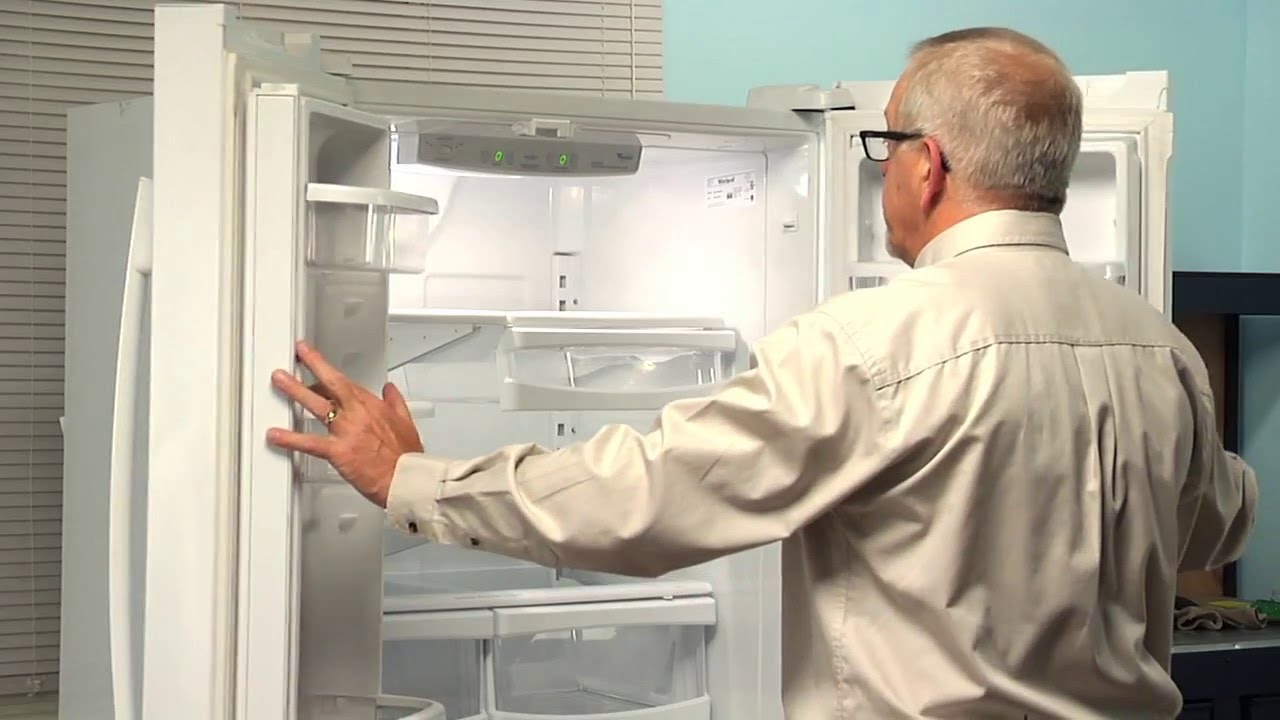
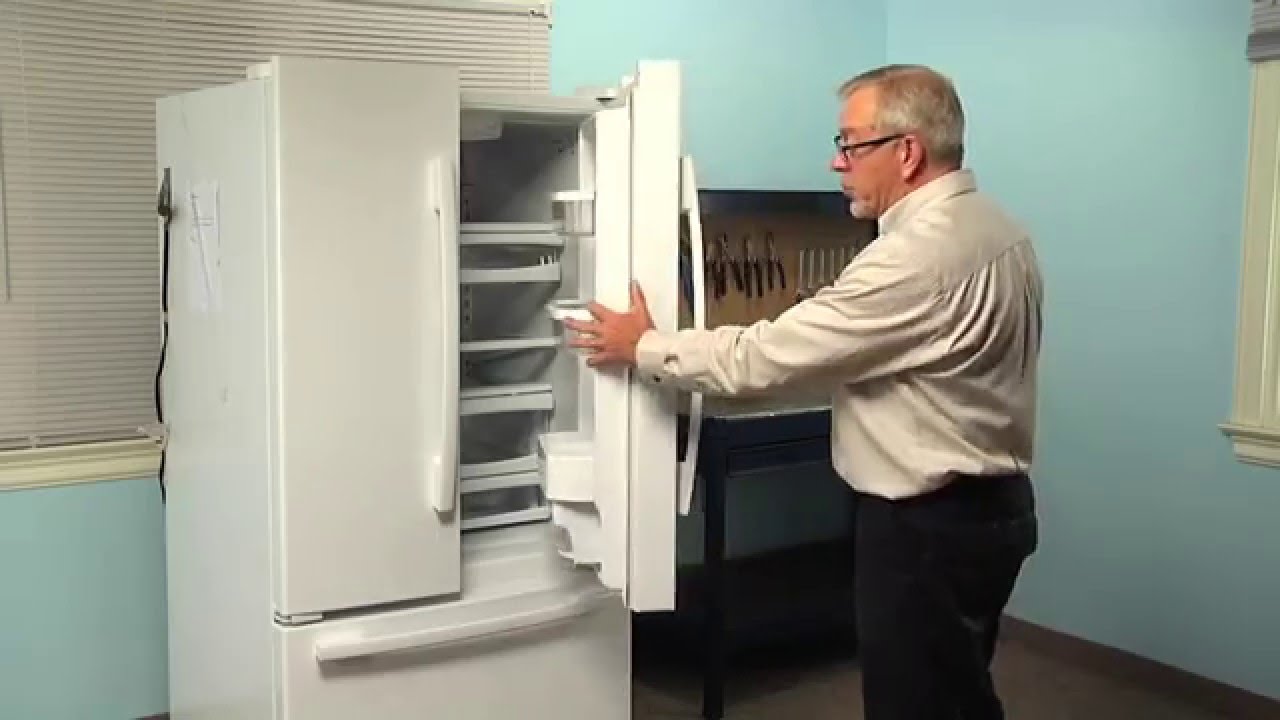
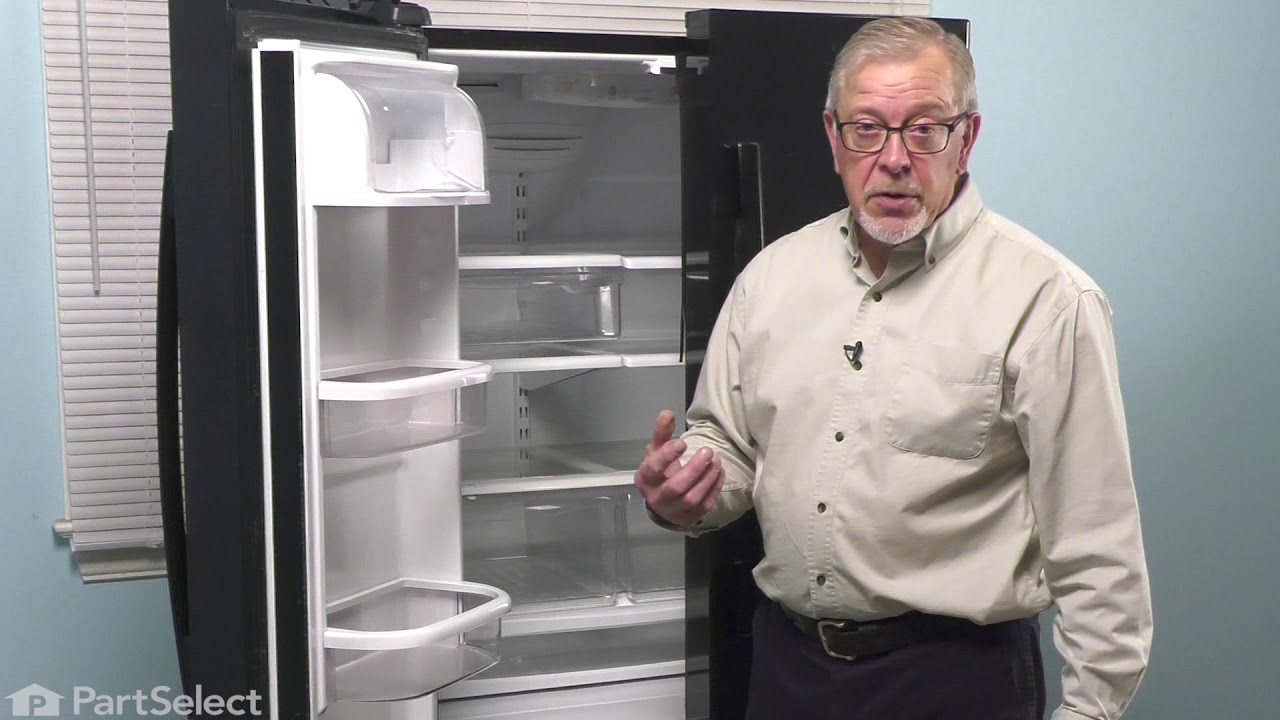
See how others fixed this model. Time, tools, difficulty, and steps that lead to victory!
View More