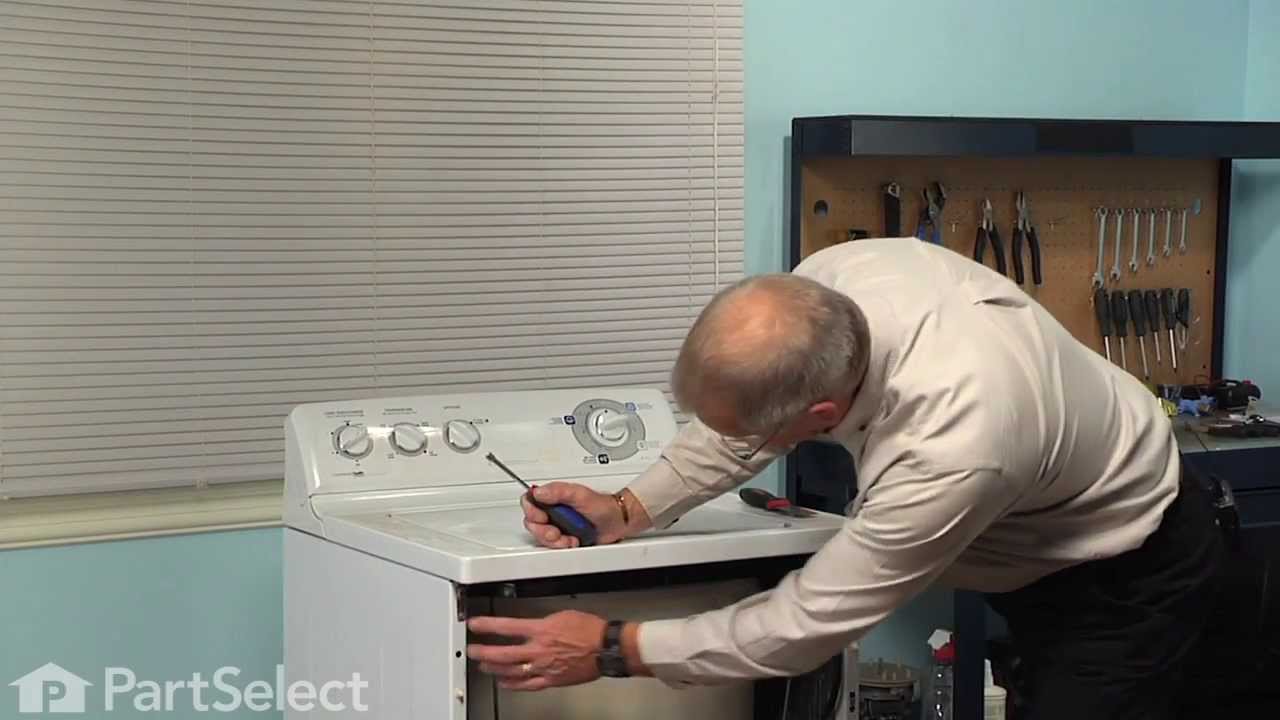
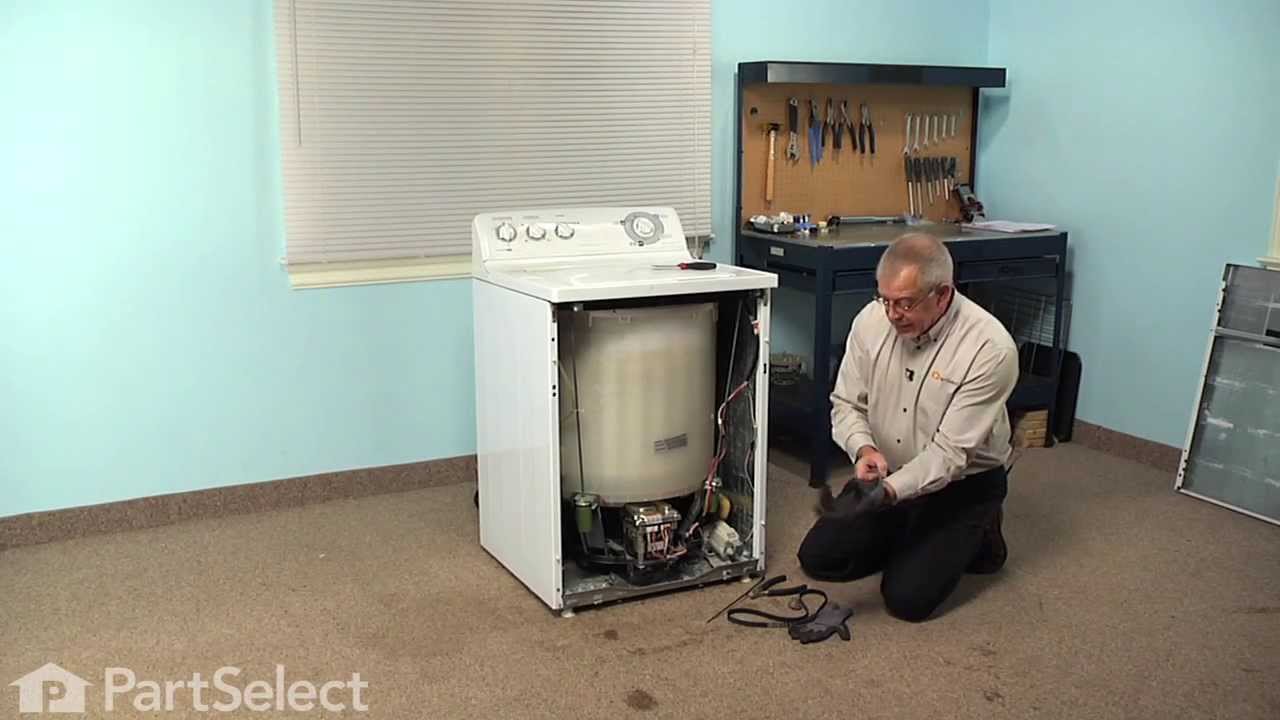
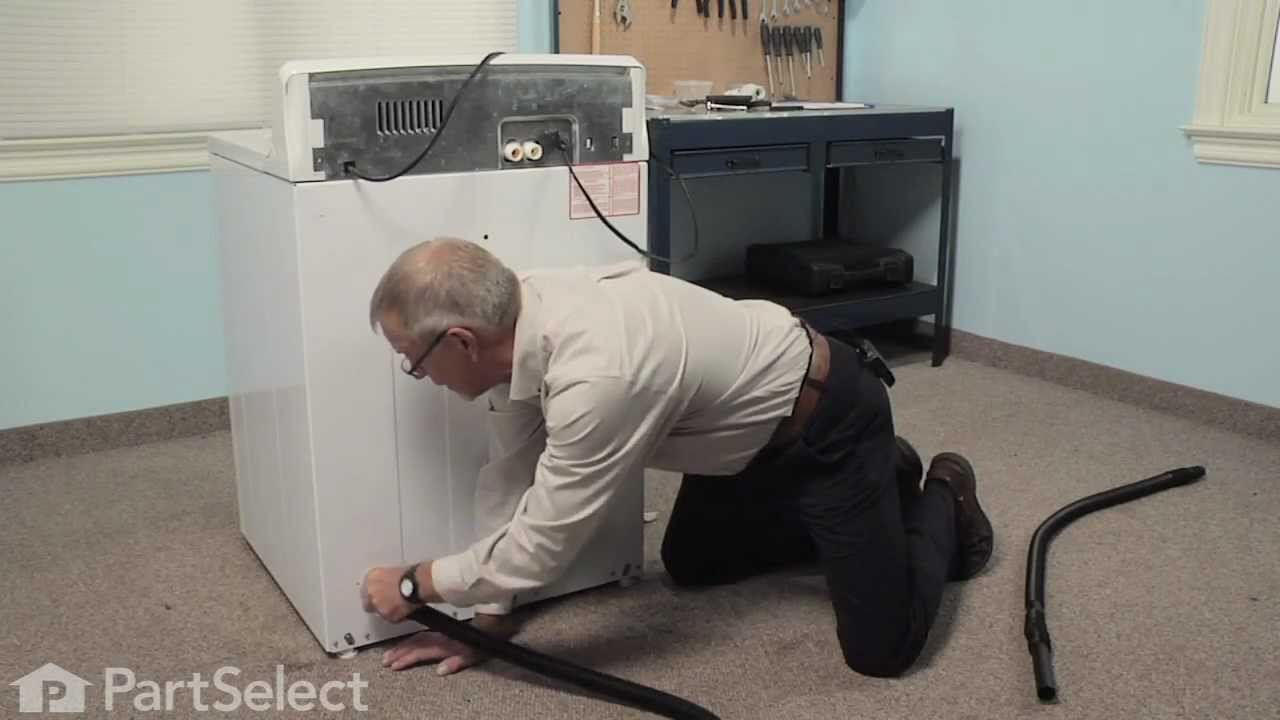
The tub dampening straps support the wash tub and reduce vibration by keeping the tub at the center of the cabinet. If your washer shakes and moves, or is making a loud banging noise during the wash cycle, the washing machine tub could be off-balance, meaning one or more of these straps may be loose, or broken. Other symptoms include: the...Read more washer leaking, not agitating, or pumping but not spinning. These straps are sold individually. However, we recommend that you replace all 4 straps at the same time. It is also recommended that you check the tub for cracks where these straps mount.
The main tub seal is located between the transmission and the outer tub. It's the primary water seal in the outer tub for the transmission-shaft. This seal is difficult to replace and should probably be installed by a qualified technician.
This tub bearing goes in your washing machine. You will find it on the bottom of the outer tub, where the transmission goes through the tub. If you hear metal on metal when the washer is spinning, you may need to replace the tub bearing. This bearing is made of metal, and is approximately 3 inches wide and 2 inches tall.
This replacement inlet drain hose connects your washer's water pump to its tub. This hose is seven and a half inches in length and only two inches wide.
This part is a replacement socket rod support for your washer. The socket rod support is found at the top of the washer frame in the front part of the washer. It supports the suspension rod, so the rod can prevent the tub from shaking too much during operation. If your washer is shaking excessively or emitting an odd sound during use, it ...Read moremay be because the rod support is broken, and the suspension rod is not able to do its job. This part is made of white plastic and is sold individually.
This essential washer component helps switch between washing and spinning modes by linking the motor to the wash plate. If your machine is stuck in one cycle, making grinding noises, or failing to agitate or spin properly, this part may need replacing. It’s designed to fit specific models and ensures smooth transitions between cycles. Ins...Read moretalling a new assembly can resolve performance issues and get your washer back to working efficiently.
Ask our experts a question about this model and we'll get back to you as soon as possible!
We may have answered a similar question already! Search questions and answers left by others using simple keywords like "fit", "broken", "easy", or "quality" to find questions that match.
Search filter:
Clear Filter
Your search term must have 3 or more characters.
Sort by:
Prev
1
2
Next
Sorry, we couldn't find any existing answers that matched.Try using some different or simpler keywords, or submit your new question by using the "Ask a Question" button above!
Joe - For model number GTWN4950L0WS
February 27, 2020
My washer leaks water when it is not in use. I pulled the front cover and it appears to be leaking from the upper left of the washer. I lifted the valve which connects the water hoses. There appears to be a small plastic wheel that incoming water must pass through. This wheel turns freely on the cold side but not on the hot side. Could this be causing my leak or is it something else? If not, do you have any suggestions for repair?Thanks, Joe
Hi Joe, thank you for your question. That part would be the filter inside of your valve. It should not turn, however it would be strange if it was the reason for your leaking. It just makes sure that no debris comes in to your machine from your inlet water. We would suggest checking if the valve itself is leaking or not. Usually if you are getting a leak when your machine is not running at all, it is either because of the hose connections or the valve itself. We hope that helps. Good luck with your repair.
2 peoplefound this instruction helpful.
Was this helpful?
Thank you for voting!
Mark - For model number GTWN4950L0WS
September 27, 2023
My washer is making a grinding noise in wash cycle?
Hi Mark, thank you for your question! We have found that this issue is probably because of the damaged tub bearing, part number PS271510. We would suggest replacing the tub bearing to fix the issue. We hope this helps.
My pump was making noise.I removed the hoses that go to it and found several small metal pieces lodged in the pump. I removed the pieces and put hoses back on but not sure where the metal pieces are coming from. They look to be like cast iron. Any ideas on what is going on? Thanks
Hello Marvin, thank you for contacting us. Might be something foreign was left in a clothes pocket and has come out in the wash. Also, look for any damages in the basket and hub assembly as the drain pump is connected to the tub basket and the basket is metallic. We hope this helps.
1 personfound this instruction helpful.
Was this helpful?
Thank you for voting!
Mike - For model number GTWN4950L0WS
February 12, 2026
There is water dripping from top of the washer on the left rear side. The drip occurs when machine is off. Is there a replace piece that the hot and cold water hose attach to?
Hello Mike, thank you for contacting us. Inspect the hoses on the left rear for leaks, cracks, or loose connections. Ensure the washers inside the hose connections are not damaged. If the leak continues with the hoses tight, replace the water inlet valve, part number PS2354072, to fix the issue. We hope this information helps!
Flashing fill light and a 2x beeps during start. Machine will not fill or perform any function.
Hello Jacob, Thank you for the question. We suggest testing the Lid Switch, PartSelect Number PS1482372. You can test the continuity with a multi meter, replace if the switch has no continuity. Thank you for your inquiry, good luck with this repair.
See how others fixed this model. Time, tools, difficulty, and steps that lead to victory!View More
Search repair tips from other customers using simple keywords like "replace", "fit", "remove", "inspect". DIY doesn't mean you have to do it alone!
Search filter:
Clear Filter
Your search term must have 3 or more characters.
Washing Machine was not draining water from tub.
304 of 334 peoplefound this instruction helpful.
Gerald from Midlothian, VA
Easy
30 - 60 mins
Nutdriver, Pliers
1. Drained the wash tub by taking the drain hose from the back of the washing machine and dropping it below the tub - water flowed out of hose a lot easier than trying to suck water out of tub using a pump (tried this on the first time I tried to fix washer). (Washing machine on 2nd floor of house and didn't want water running on floor)<
... Read morebr />2. Removed the 2 bolts holding the Pump/Motor assembly to the machine. 3. Removed both hose clamps on the Pump/Motor assembly and removed Pump. 4. Attached the new drain inlet hose to the pump and then to the tub with the original hose clamps. 5. Attached the drain hose to the pump and then plugged in the 2 wires for the pump. 6. Plugged in the washing machine and everything worked.
NOTES: 1. Hardest part was working with hose clamps (spring type clamps) in the tight space under the machine. 2. Easier to fix since I pulled machine apart a few days before - removing the clog in the pump/motor assembly only to get everything back together to find out that the motor was dead. Still well worth the time and effort due to not having to go out and buy a new Machine...
washing machine would not go through all cycles or agitate
230 of 294 peoplefound this instruction helpful.
Brian from Millerplace, NY
Easy
15 - 30 mins
After removing frt panel which prys off I checked for anything obvious like a loose belt. Then I jiggled the magnet switch located on the inside of the loading cover. I saw the machine start agitating the it stopped again when I stopped touching it. I ordered the new part and spliced it in with the wire crip tool. Now the machine is A ok.
Was this helpful?
Thank you for voting!
machine would not drain all other functions seemed o.k
88 of 92 peoplefound this instruction helpful.
douglas from danby, VT
Easy
30 - 60 mins
Socket set
Aside from getting the wet clothes and most of the water out,the toughest part of the job for me was to figure out how to get inside the machine. I nearly wrecked the thing trying to lift the top panel. After some frustration I removed the star-type screws on back of the control panel and found, tucked away neatly, the documentation/parts
... Read more list complete with instructions on how to remove the FRONT panel. Once I got inside it was easy to locate the pump. I ran the drain cycle for a moment to see if the pump turned at all. The original had an exposed fan so it was easy to see that indeed the motor was not turning. I inspected all the hose and electrical connections to make sure I had the tools I'd need and the savvy to replace the part(s) if I could locate them. I'm not much of a web-head, so I was a little surprised when I typed G.E. appliances and the search took me to partselect.com where I was pretty much coached through the procedure before I even ordered the part. The box arrived ahead of schedule (yay) and when I looked at the pump it didn't look much like the one I was replacing. But then I realized it was the same thing just ten years more advanced. I used a small pair of vise grips to pinch and lock the pipe clamps open. I know there is a plier made for this, but... Anyways, after loosening the clamps and sliding them away from the pump I pulled the hoses off and let the last of the rinse water still in them run down my shirt sleeve to my elbow. (optional, not recommended) Thus refreshed I then rummaged through my socket set and found what I needed to remove the 2 sheet metal mounting screws and disconnected the 2 power leads. I removed the faulty pump and proudly showed it to my wife. Unimpressed, she asked how much longer. I quickly reversed the procedure to install the new unit and confidently piled in a load of laundry. The cycle completed just fine and has done so since. I will and have recommmended partselect.com to friends and will use it again for sure.



 My Orders