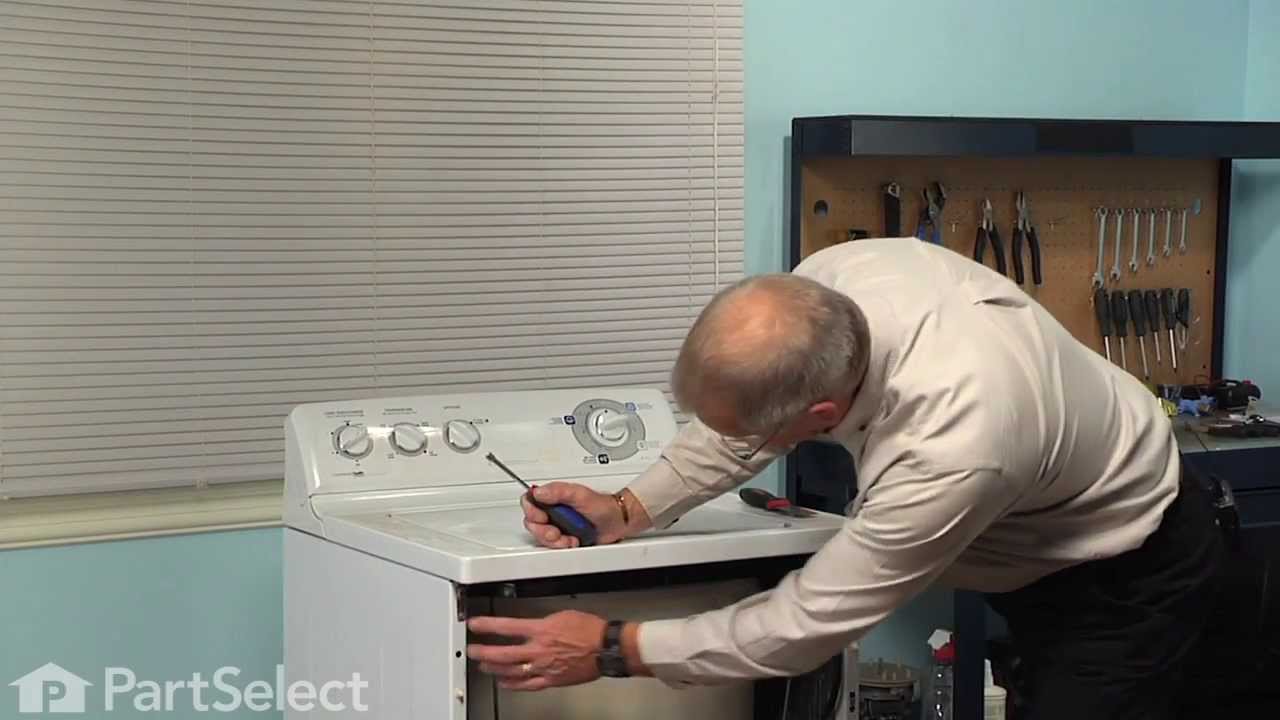
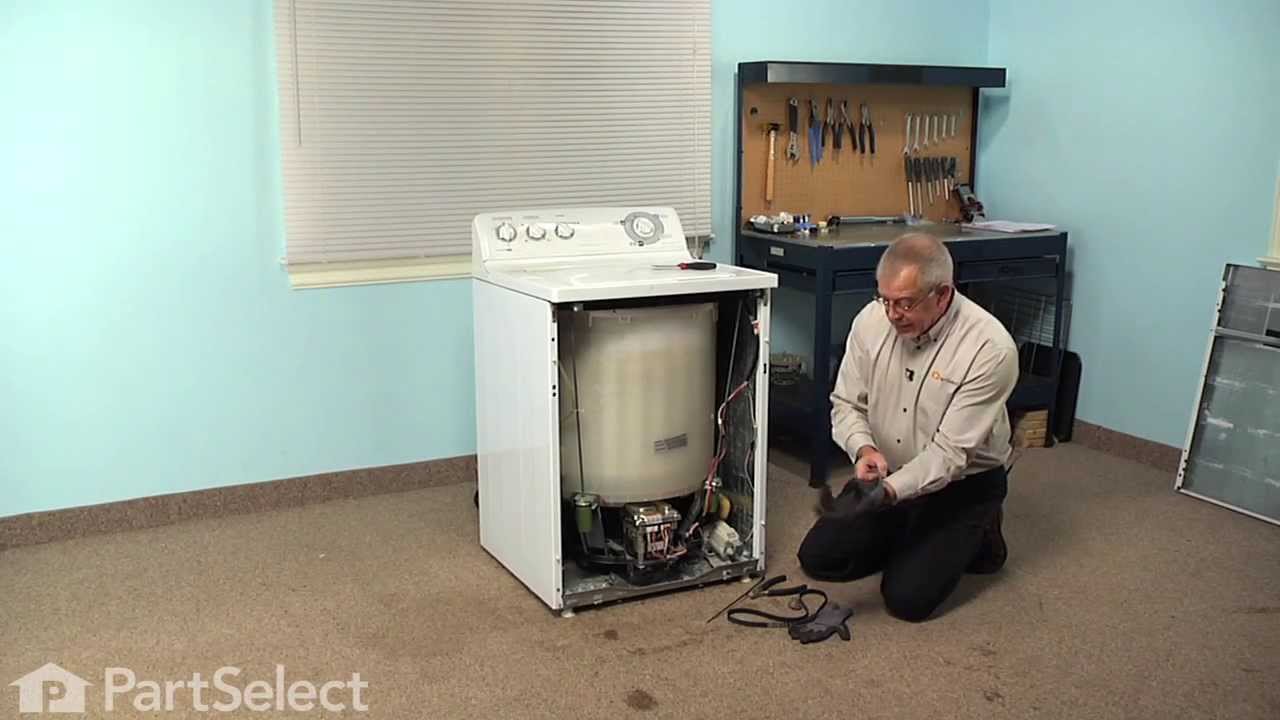
The tub dampening straps support the wash tub and reduce vibration by keeping the tub at the center of the cabinet. If your washer shakes and moves, or is making a loud banging noise during the wash cycle, the washing machine tub could be off-balance, meaning one or more of these straps may be loose, or broken. Other symptoms include: the...Read more washer leaking, not agitating, or pumping but not spinning. These straps are sold individually. However, we recommend that you replace all 4 straps at the same time. It is also recommended that you check the tub for cracks where these straps mount.
The main tub seal is located between the transmission and the outer tub. It's the primary water seal in the outer tub for the transmission-shaft. This seal is difficult to replace and should probably be installed by a qualified technician.
This tub bearing goes in your washing machine. You will find it on the bottom of the outer tub, where the transmission goes through the tub. If you hear metal on metal when the washer is spinning, you may need to replace the tub bearing. This bearing is made of metal, and is approximately 3 inches wide and 2 inches tall.
This replacement drain pump is designed to efficiently remove water from your washing machine during the draining cycle. Encased in durable gray plastic, it measures approximately 9 inches in height, 6 inches in length, and 4 inches in thickness. If your washer isn’t draining properly, is leaking, or the pump isn’t spinning, this componen...Read moret may need to be replaced. Installation typically requires basic tools such as a screwdriver and wrench. Always disconnect power before beginning any repair.
This is a water pressure switch hose, also known as the air dome tube, for your washer. It is made of clear plastic and is sold individually. The hose transports water to your water pressure switch, so the switch can control how much water enters the washer during a cycle. If your washer will not fill up with water, or if water continues ...Read moreto fill the tub even after it is full, you may have a damaged water pressure switch hose. Inspect the hose for cracks and leaks, and if the hose is damaged you will need to replace it.
Ask our experts a question about this model and we'll get back to you as soon as possible!
We may have answered a similar question already! Search questions and answers left by others using simple keywords like "fit", "broken", "easy", or "quality" to find questions that match.
Search filter:
Clear Filter
Your search term must have 3 or more characters.
Sort by:
Prev
1
2
3
Next
Sorry, we couldn't find any existing answers that matched.Try using some different or simpler keywords, or submit your new question by using the "Ask a Question" button above!
Chris - For model number GTWN4250D1WS
January 13, 2020
Occasionally water will drip into the washtub after the cycle is complete and the clothes have been removed.
Hi Chris, thank you for your question. If you are getting a little bit of a leaking into your tub, you may need to take a look at your water inlet valve for being the issue. It could be that it is not shutting completely to stop the water from coming through. Good luck with your repair.
19 peoplefound this instruction helpful.
Was this helpful?
Thank you for voting!
Jennifer Bissell - For model number GTWN4250D1WS
February 4, 2020
Randomly my washer will not drain and spin. I could do several loads of laundry and they all work fine, then it will randomly not drain and spin. I then turn the knob to drain and spin, sometimes it works, sometimes it doesn’t. Any suggestions of what could be going on?
Hello Jennifer, thank you for your question. That sounds like an issue with the timer, or the lid switch. I would recommend testing/replacing those two parts. I hope this helps.
12 peoplefound this instruction helpful.
Was this helpful?
Thank you for voting!
Beth - For model number GTWN4250D1WS
March 9, 2023
water continues to drip into the tub after spin cycle
Hello Beth, thank you for contacting us. According to our research, this issue indicates that the water inlet valve, part number PS3652834, is probably faulty. It could be that it is not shutting completely to stop the water from coming through. We hope this information helps!
Some times it wont turn on , some time it fills up with water and then drains, some times it goes thru a rinse cycle longer then it need to
Thanks raymond
Hello Raymond, thank you for your question. That sounds like an issue with the electronic timer unit. We would recommend replacing PartSelect Number PS8757105. I hope this helps!
3 peoplefound this instruction helpful.
Was this helpful?
Thank you for voting!
Tom - For model number GTWN4250D1WS
December 18, 2019
Spin cycle does not remove enough water, still wringing wet
What to do
Hello Tom and thanks for writing.
It certainly sounds like a faulty or loose belt PS1482278 check for signs of damage and replace it if needed. We hope this helps. Please contact us anytime.
See how others fixed this model. Time, tools, difficulty, and steps that lead to victory!View More
Search repair tips from other customers using simple keywords like "replace", "fit", "remove", "inspect". DIY doesn't mean you have to do it alone!
Search filter:
Clear Filter
Your search term must have 3 or more characters.
washing machine would not go through all cycles or agitate
230 of 294 peoplefound this instruction helpful.
Brian from Millerplace, NY
Easy
15 - 30 mins
After removing frt panel which prys off I checked for anything obvious like a loose belt. Then I jiggled the magnet switch located on the inside of the loading cover. I saw the machine start agitating the it stopped again when I stopped touching it. I ordered the new part and spliced it in with the wire crip tool. Now the machine is A ok.
Was this helpful?
Thank you for voting!
broken drive belt
96 of 120 peoplefound this instruction helpful.
jon from barry, IL
A Bit Difficult
15 - 30 mins
Nutdriver
To diagnose, first I unhooked the washer: power, water supply, and drain pipe. I then slid the washer out, laying it on its front. With nutdriver, I unscrewed two screws that held the other end of the drain tube and removed it completely. Then, again with the nutdriver removed 4 screws from the back near the legs, two in between the leg
... Read mores in the middle, and approx. 4 to 6 on the bottom. This let me pull the bottom off partially to access the motor area. (I did did not take the bottom completely off, only about 2/3 off and let it bend over, as it was flexible tin) The belt was broken. After receiving the new belt, I positioned it between the pulley and the motor and between the drum and the big pulley. Then I rotated the big pulley, pulling the belt onto it as I rotated. At the same time, as I rotated, I pulled the other end of the belt on to the little pulley. Once it was on, I would put pressure on it as I turned the pulley, to jump the belt to the appropriate grooves on the little pulley. Note: the replacement belt had been modified, so it had one less groove than the pulley. I would have known this if I had read the insert that came with the belt first! Anyway, this was not a problem, only a design change. Also it was important to start the belt on the inside, so if it slipped, you didnt loose your bite. Total diagnostic, repair, and reassembly time: 30 minutes plus or minus. I had read other online forums that said you had to loosen the motor, etc. And I do know some type of a belt installation tool was offered on line, but I got along fine with my installation method. An extra set of hands would have been helpful, but not necessary.
Read less
Was this helpful?
Thank you for voting!
Blades broken off agitator
73 of 90 peoplefound this instruction helpful.
Michael from Itasca, IL
Really Easy
Less than 15 mins
Simply put hands, one under each side of the agitaror and pulled up. The part snapped off very easily. I then placed the new part in the tub and pressed down. Extremely easy, should have done it sooner!



 My Orders