


 My Orders


GSHF3KGXGCCC General Electric Refrigerator - Overview
Diagrams for GSHF3KGXGCCC
See every part. Know exactly what you need.


Enter a part description. DIY Heroes keep it simple, eg. "belt" or "pump".
Search filter:
Clear Filter
Your search term must have 3 or more characters.

$94.45
Special Order
Refrigerator Ice and Water Filter
Part #MWFP
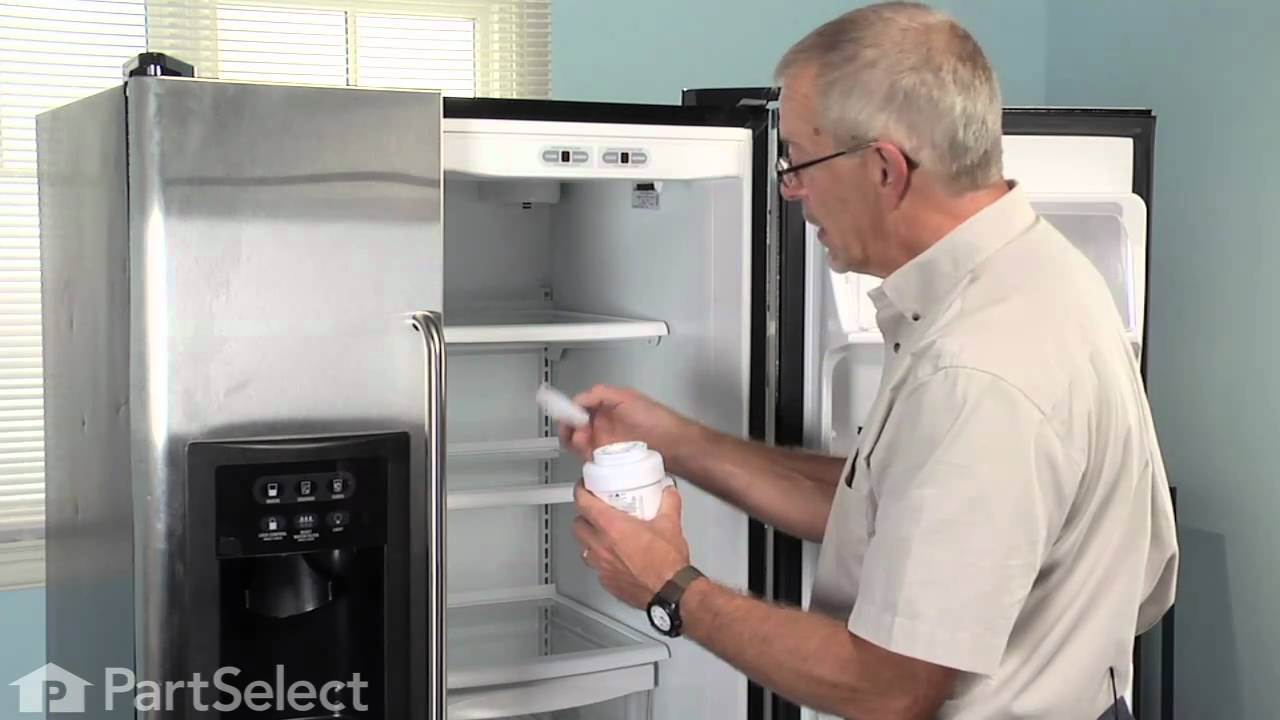
This ice and water filter helps reduce impurities in select side by side and bottom freezer refrigerators. Replace it about every six months, or when water flow slows, ice production drops, or the filter light turns red. Some older filter setups may need an adapter. Place a cloth under the filter before removal. Check the exact refrigerator model before ordering.

$34.68
Special Order
Temperature Sensor
Part #WR55X10025
Also known as a thermistor. This part is used to sense the temperature in the cabinet.

$64.23
Special Order
Module Shelf Insert - Clear
Part #WR71X10761
The Module Shelf Insert is a complete assembly for the module shelf. This repair is rated as "Easy" by users. Simply remove the old shelf insert and snap the new one into place using the locking tabs. This part is used to hold items in the fridge, and if broken it should be replaced. Refer to your user manual and model number to ensure this part is right for you.

$23.79
Special Order
Union Connector - 5/16 Inch to 5/16 Inch
Part #WR02X11330
Quick connector for plastic water line - 5/16" to 5/16"

No Longer Available
Main Control Board Assembly
Part #WR55X10942C
This electronic board (Main Control Board Assembly, Control Board, Motherboard) controls the temperature and defrost functions of the unit. This control board is located on the back of the refrigerator, and measures 8 inches by 5 inches. It’s constructed of metal and plastic, and comes in green. This kit includes one main control board wi...Read moreth built in defrost controls. If broken due to electrical surges or normal use, your fridge may experience temperatures that are too warm or too cold, or inconsistent defrost cycles. If this happens, the part should be replaced.
Read less

$59.40
Special Order
Water Tank Assembly
Part #WR17X11440
This tank stores water until the water actuator is activated and water is requested.

No Longer Available
WATER VALVE WITH GUARD
Part #WR57X33326
This double inlet water valve has quick connections. This valve has 1/4 and 5/16 John Guest fittings for the outlet lines and a 1/4 compression fitting for the inlet line.

$155.93
Special Order
Defrost Heater Harness Kit
Part #WR51X10101
This dual heater kit replaces the single heater. It's redesigned to use two heating elements for a better defrost cycle.

$16.74
Special Order
Evaporator Fan Grommet - Red
Part #WR02X12008
This evaporator fan grommet is red in color, and is about 1 inch in diameter.

$19.10
Special Order
Light Bulb - 40W
Part #40A15
This 40-Watt light bulb is sold individually.
It is specially designed to withstand extreme temperatures, so this bulb is compatible with a variety of appliance types including refrigerators, ranges, microwaves, and dryers. It features a frosted glass bulb with a standard metal socket base, which allows you to easily unscrew the burnt-out light and twist the new bulb into place.

No Longer Available
BUCKET AUGER
Part #WR29X43990
When activated, the auger rotates and pushes ice out of the bin through the chute to the user.

$13.95
Special Order
Compression Ring
Part #WR02X12149
Manuals & Care Guides for GSHF3KGXGCCC
Click to downloadCommon Symptoms of the GSHF3KGXGCCC
How this model fails, and the parts that fix it.
Leaking
Fixed by
these parts
these parts


Show All
Not dispensing water
Fixed by
these parts
these parts


Show All
Fridge too warm
Fixed by
these parts
these parts


Show All
Ice maker won’t dispense ice
Fixed by
these parts
these parts


Show All
Freezer section too warm
Fixed by
these parts
these parts
Show All
Ice maker not making ice
Fixed by
these parts
these parts

Show All
Noisy
Fixed by
these parts
these parts


Show All
Light not working
Fixed by
these parts
these parts


Show All
Freezer not defrosting
Fixed by
these parts
these parts
Show All
Fridge too cold
Fixed by
these parts
these parts

Show All
Will Not Start
Fixed by
these parts
these parts
Show All
Frost buildup
Fixed by
these parts
these parts
Show All
Ice maker dispenses too little ice
Fixed by
these parts
these parts
Show All
Door Sweating
Fixed by
these parts
these parts
Show All
Fridge and Freezer are too warm
Fixed by
these parts
these parts
Show All
Door won’t open or close
Fixed by
these parts
these parts

Show All
Clicking sound
Fixed by
these parts
these parts
Show All
Freezer too cold
Fixed by
these parts
these parts
Show All
Too warm
Fixed by
these parts
these parts
Show All
Fridge runs too long
Fixed by
these parts
these parts
Show All
Ice maker dispenses too much ice
Fixed by
these parts
these parts

Show All
Won’t start
Fixed by
these parts
these parts
Show All
Doesn’t stop running
Fixed by
these parts
these parts
Show All
Engine revs but auger will not turn
Fixed by
these parts
these parts
Show All
Too cold
Fixed by
these parts
these parts
Show All
Touchpad does not respond
Fixed by
these parts
these parts
Show All
Leaks water
Fixed by
these parts
these parts
Show All
Engine runs but cutters do not turn
Fixed by
these parts
these parts
Show All
Watch our pros, then fix it yourself.
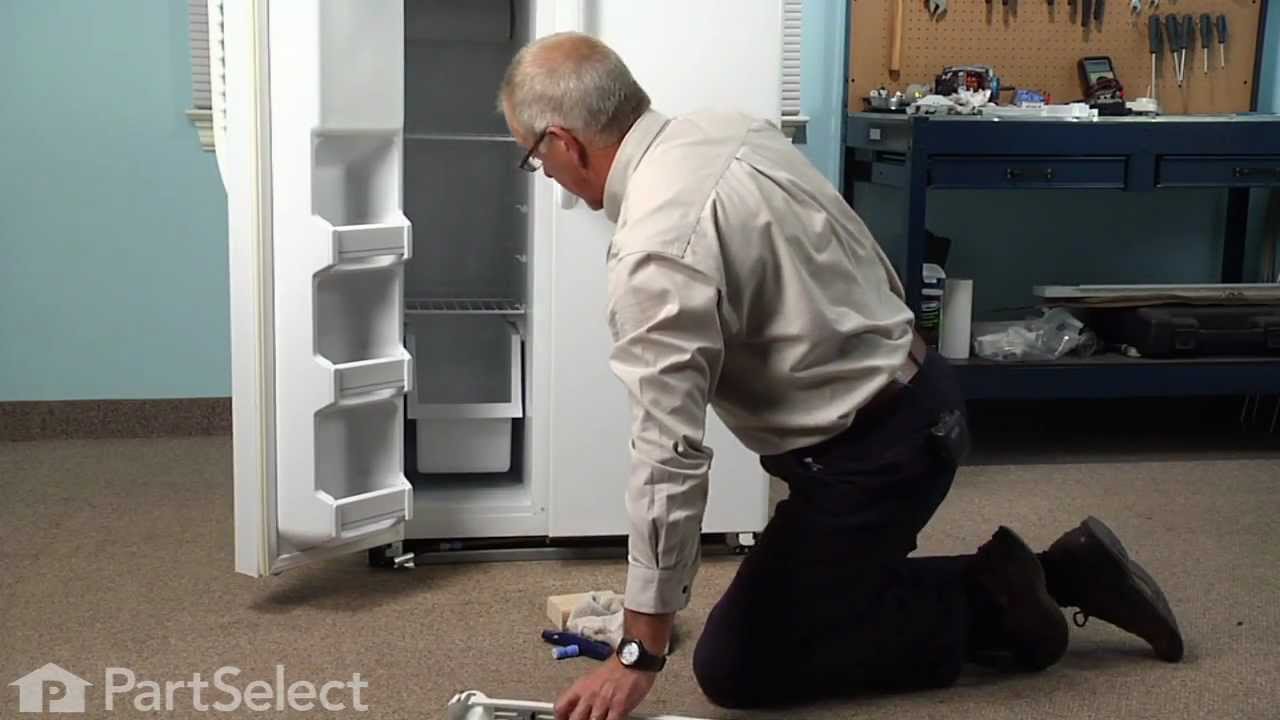

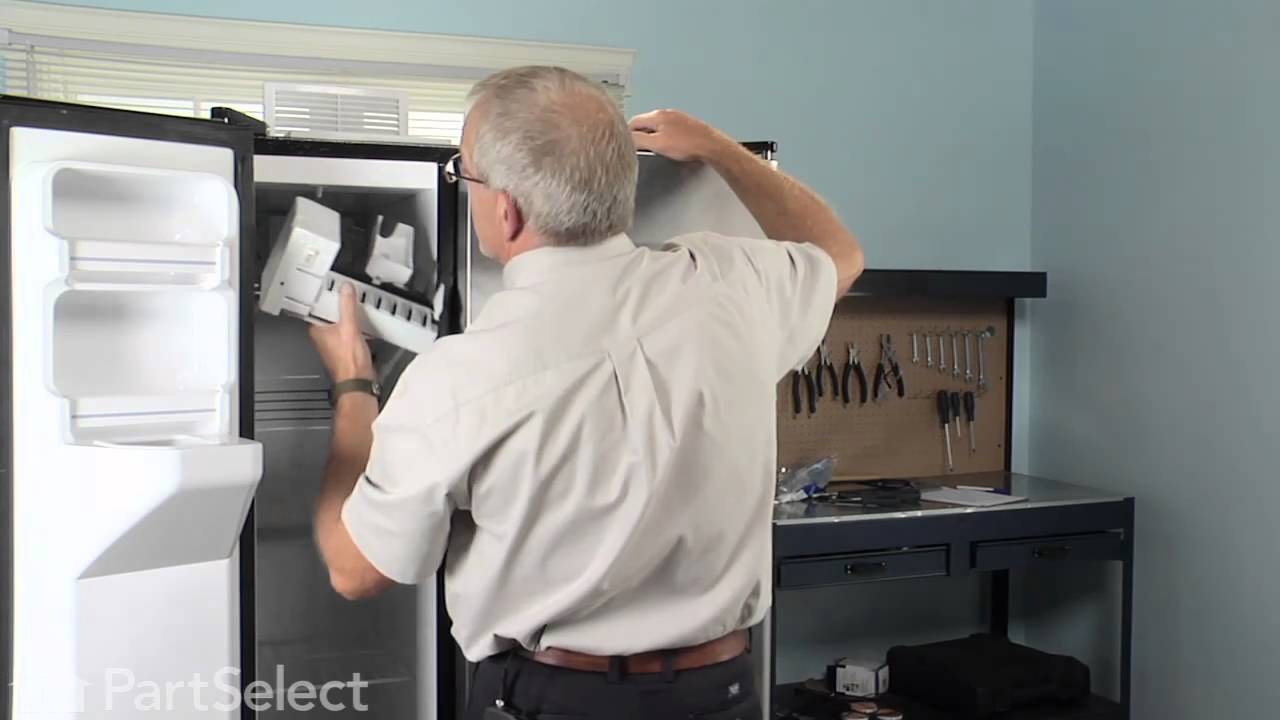
See how others fixed this model. Time, tools, difficulty, and steps that lead to victory!
View More
Search repair tips from other customers using simple keywords like "replace", "fit", "remove", "inspect". DIY doesn't mean you have to do it alone!
Search filter:
Clear Filter
Your search term must have 3 or more characters.
Fridge too warm, evaporator icing up
606 of 738 people
found this instruction helpful.
After replacing the defrost heater, main board and thermistor I still had the same problem. Called a repair guy and he (with the help of GE on the phone) diagnosed that the temperature sensor was bad. So I ordered from partselect and installed it and it fixed the problem. Been good for a couple months (knocking on wood). To install I
... Read more
had to cut the 2 wires to the old sensor, crimp the 2 new wires on and snap the new sensor to the clip on the evaporator. Very easy. Make sure you seal the ends of the wire crimps so moisture doesn't get in and corrode the connection.
Read less
Other Parts Used:


Was this helpful?
Thank you for voting!