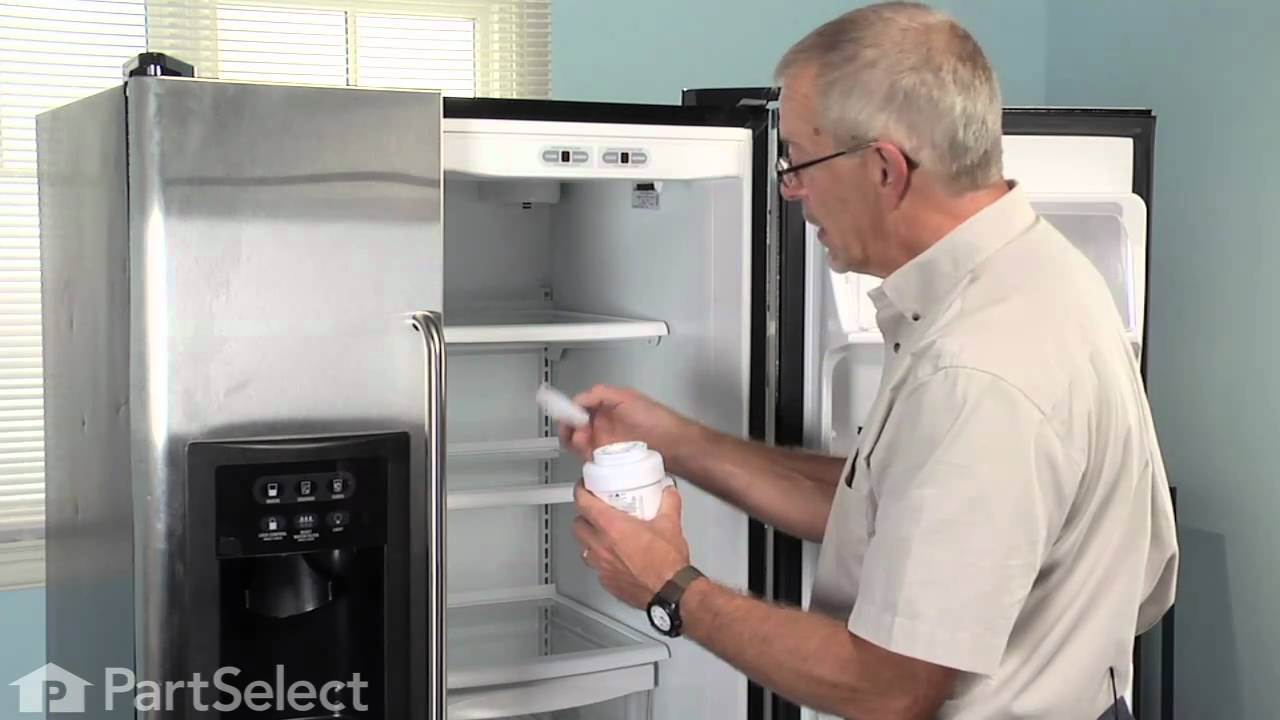
This ice and water filter helps reduce impurities in select side by side and bottom freezer refrigerators. Replace it about every six months, or when water flow slows, ice production drops, or the filter light turns red. Some older filter setups may need an adapter. Place a cloth under the filter before removal. Check the exact refrigerator model before ordering.
This temperature sensor, also called a thermistor, measures temperature inside the refrigerator or freezer and sends readings to the main control board. The board uses this information to control cooling, including compressor and fan operation. Incorrect readings may cause the compartment to become too warm or too cold, or make cooling ru...Read moren longer than needed. The replacement includes the sensor body and wire leads. Its location varies by appliance. This is an OEM part sourced directly from the manufacturer.
A refrigerator water system uses this straight quick union connector to join two plastic water lines. Both ends connect to 5/16-inch lines. This is an OEM part, so check that it matches your refrigerators model before ordering.
If your refrigerator is leaking, the dispenser is not dispensing, or the ice maker is not making or dispensing ice, the inlet valve may be involved. It controls water flow to the refrigerators water system and includes a guard. Check water pressure first; if it is sufficient, test valve continuity with a multimeter. Disconnect power befor...Read moree testing or replacing the valve. The inlet uses a 1/4-inch compression fitting, with 1/4-inch and 5/16-inch John Guest outlets. Confirm fit for your refrigerator.
This 40-Watt light bulb is sold individually.
It is specially designed to withstand extreme temperatures, so this bulb is compatible with a variety of appliance types including refrigerators, ranges, microwaves, and dryers. It features a frosted glass bulb with a standard metal socket base, which allows you to easily unscrew the burnt-out light and twist the new bulb into place.
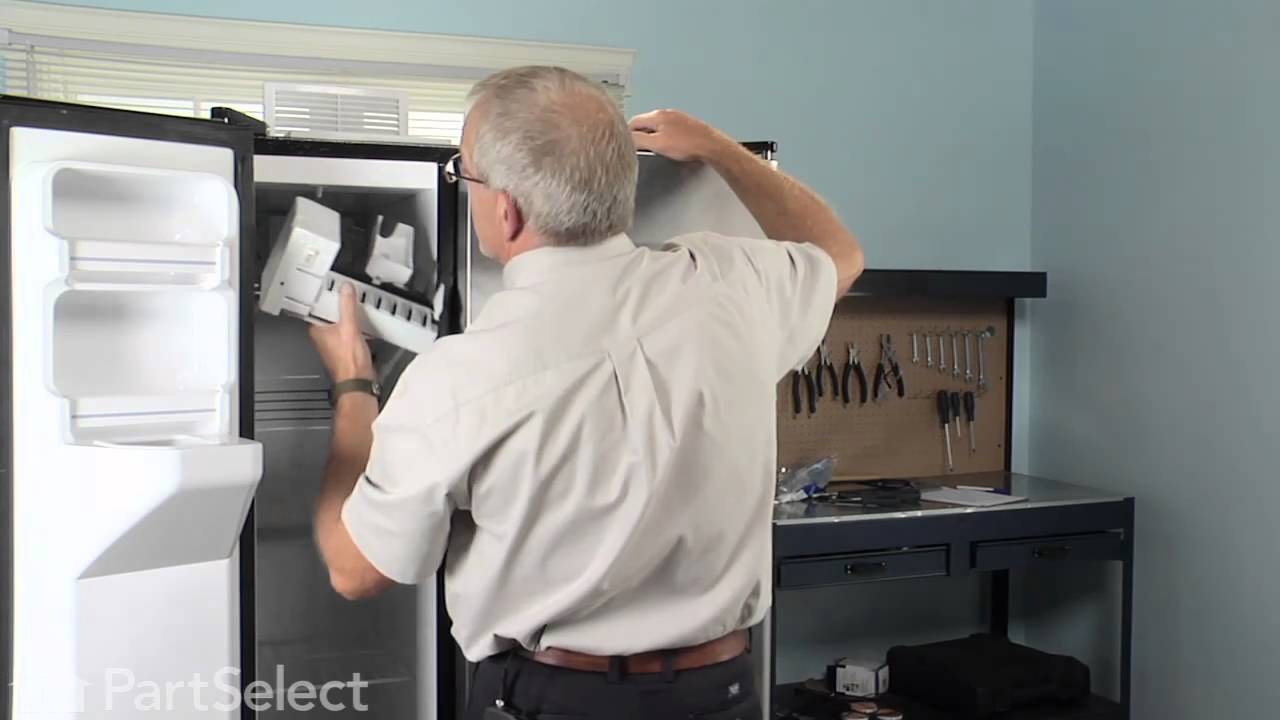
This refrigerator ice maker assembly automatically freezes water and releases crescent-shaped ice cubes into the storage bin. It replaces an existing ice maker that has stopped cycling, fails to release ice, or has damaged components. Poor ice production can also result from a restricted water supply or incorrect freezer temperature, so c...Read moreheck these conditions before replacing the assembly. Confirm the mounting arrangement, fill cup position, electrical connections, and included adapters against the appliance parts list to ensure the kit matches the original installation. This is an OEM part sourced directly from the manufacturer.
This part is a replacement filter bypass cap for your refrigerator. If you intend to use an external water filtration system for your refrigerator, the bypass cap will allow you to do so. To use a filter bypass cap, simply screw it in where you would normally screw in the regular water filter. If you have a bypass system installed and you...Read morer ice maker doesn’t make ice, your water dispenser doesn’t make water, or if there is water dripping inside your refrigerator, you may need to replace the bypass filter cap. This part is made of white plastic and is sold individually.
This ice dispenser solenoid moves the linkage that opens the ice chute door when dispensing is activated. When power is released, the mechanism allows the flap to close and limit warm air entering the freezer. A failed or sticking solenoid may prevent ice from dispensing or leave the chute door open, contributing to frost or moisture buil...Read moredup. Inspect the solenoid, spring, and door linkage before replacement, since other mechanism faults can cause similar symptoms. Disconnect power before accessing the dispenser assembly and follow the appliance instructions for mounting and wiring. This is an OEM part sourced directly from the manufacturer.
Ask our experts a question about this model and we'll get back to you as soon as possible!
We may have answered a similar question already! Search questions and answers left by others using simple keywords like "fit", "broken", "easy", or "quality" to find questions that match.
Search filter:
Clear Filter
Your search term must have 3 or more characters.
Sort by:
Prev
1
2
Next
Sorry, we couldn't find any existing answers that matched.Try using some different or simpler keywords, or submit your new question by using the "Ask a Question" button above!
George - For model number GSH25JSDDSS
June 14, 2021
What are the dimensions
Hello George, Thank you for the question. According to the GE website, This model appliance is Dimensions: 69 3/4 High x 35 3/4 Wide x 33 5/8 Deep and 25.3 Cu. Ft. We hope this helps.
9 peoplefound this instruction helpful.
Was this helpful?
Thank you for voting!
Tim - For model number GSH25JSDDSS
December 30, 2022
Will not dispense ice. I can hear it humming like it wants to. It did this about 2 weeks ago, after a few hours it started working again
Hello Tim, thank you for your question. We suggest replacing the Ice Solenoid kit PS11699580. If that does not fix it you may need to replace the Refrigerator Ice Bucket and Auger Assembly PS11701246. Good luck with your repair.
2 peoplefound this instruction helpful.
Was this helpful?
Thank you for voting!
Kelley - For model number GSH25JSDDSS
February 4, 2023
What are the specifications for the type of light bulb needed for the freezer? Ours went out and we need a new one, so I want to make sure we get the correct type. Thank you.
Hi Kelley,
Thank you for your question. The freezer section takes a 40 watt light bulb. The part number listed under your model number for the light bulb is PS217532. If you would like to place an order for it, please call our customer service line and anyone will be happy to assist you. We look forward to hearing from you!
i REPLACE WATER VALVE HAVE ICE AFTER REPLACE WITH A GE WATER FILTER I HAVE NO WATER
Hello Nicholas, thank you for your question. According to our research, you need to check the dispenser switch, part number PS8259956, for continuity with a multimeter. If the switch is not causing the issue, please check the grommet and tube assembly, part number PS292253, and make sure it is not clogged or damaged. We hope this information helps!
Hi Thomas, thank you for contacting us. To replace the light bulb, follow the instructions:
01- Unplug the refrigerator.
02- Remove the shelf just below the light shield.
03- Lift up and remove the light shield.
04- Replace with the light bulb, part number PS217532.
05- Reinstall the shelf and plug the refrigerator back in. Glad to be of assistance!
See how others fixed this model. Time, tools, difficulty, and steps that lead to victory!View More
Search repair tips from other customers using simple keywords like "replace", "fit", "remove", "inspect". DIY doesn't mean you have to do it alone!
Search filter:
Clear Filter
Your search term must have 3 or more characters.
Refrigertor water dispenser not working BUT ice machine is working
1038 of 1163 peoplefound this instruction helpful.
ralph from bristow, VA
Really Easy
Less than 15 mins
Nutdriver, Screw drivers, Socket set
The very first symptom here is important! The door water dispenser is not working but the ice macine is working. You may only have a frozen water tube in the door so do the following before diagnosing that your solenoid valve is bad: 1) the tube usually runs under the front of the refrigerator and usually has a quick disconnect. Undo t
... Read morehe connection and press the dispenser. If water comes out of the tube you have a frozen or blocked tube in the door. 2) Immediately adjust the temperature in the freezer and warm the freezer compartment as much as you can without destroying the freezer contents. Wait 24 hours. This will usually unfreeze the line. Do not waste your time with a hair dryer. NOW, if this doesn't work and you are convinced you need to order and replace the solenoid, follow these steps. Assemble your tools first. I needed a good ratchet set and a screwdriver. A shop towel is helpful for spilled water. A light is handy. Pull out the refreigerator to gain access to the rear of the unit. Unplug the power and close the water valve (older homes, you may need to actually shut the house water supply). Remove the screws which hold the cover over the lower half of the refrigerator. On the left you will see the solenoid. It's always good to see that your new part matches the one you feel needs replaced. They may not match perfectly due to changing design but they should be very similar. One screw holds this part in place and access is very simple. Now simply unplug the electrical connections. In my case, one blue "blade" type connection (powering the water) and one red "blade" type connection powering the ice maker. They are not the same size and this coupled with the coloring means you will not accidently switch them. pull the tubes clear of the solenoid. This is simple and needs no explantion. Grab your new solenoid and reattach both the electrical and water lines (two, remember, ice maker and drink dispencer). Replace the single screw. Re-attach the rear, lower refrigerator cover and go to the front of the unit to check the water. You can listen carefully and hear the power engage from the new part bringing you water. Clean up, replace the refrigerator back to its place and look really tired when your wife sees that you worked "so hard"! You probably saved at least $50-$80 from a service call which can now be used to take the family to dinner after your "exhausting" 15 minute workout of removing about 10 screws and wheeling the unit in and out of place. Writing this article took longer! My 4 year old worked harder holding the flash light!
Read less
Was this helpful?
Thank you for voting!
Plastic Auger blades broke in ice tray
586 of 630 peoplefound this instruction helpful.
Tim from Newport News, VA
A Bit Difficult
30 - 60 mins
Pliers, Screw drivers
I used a digital camera and photographed the assembled unit and the metal blades before I started the repair. Then, I removed the top screw on the clear shield. Flip over ice tray and removed two Phillips screws on bottom. Exterior plastic white cover comes off next. The cover sides have hard push-in white plastic tabs. Push them in; pry
... Read moreup top cover with small flathead screwdriver. Slide white top cover up and you will now see the metal blades and assembly. Auger is held in place with a metal c-clip and washer on the end. Use flat head screwdriver to pry off c-clip. Then you will see a nylon round slotted nut. The threads are reverse, use pliers and loosen nut. It is not that tight but pliers are needed. Then it all is loose and ready for removal. I slid all the blades off at one time and kept them stacked together. Slide out auger and clear flat shield cover. Install new auger, clear shield, and metal blade stack. When you put it all back together take a look at the long metal J-hook on the bottom make sure it is in the slot before you make everything tight. Failing to do this will prevent cubed ice from dispensing. It is not that hard to do the repair it just takes some patience and paying attention to details.
Read less
Was this helpful?
Thank you for voting!
Fridge too warm, evaporator icing up
606 of 738 peoplefound this instruction helpful.
Gerald from San Clemente, CA
Easy
15 - 30 mins
Screw drivers
After replacing the defrost heater, main board and thermistor I still had the same problem. Called a repair guy and he (with the help of GE on the phone) diagnosed that the temperature sensor was bad. So I ordered from partselect and installed it and it fixed the problem. Been good for a couple months (knocking on wood). To install I
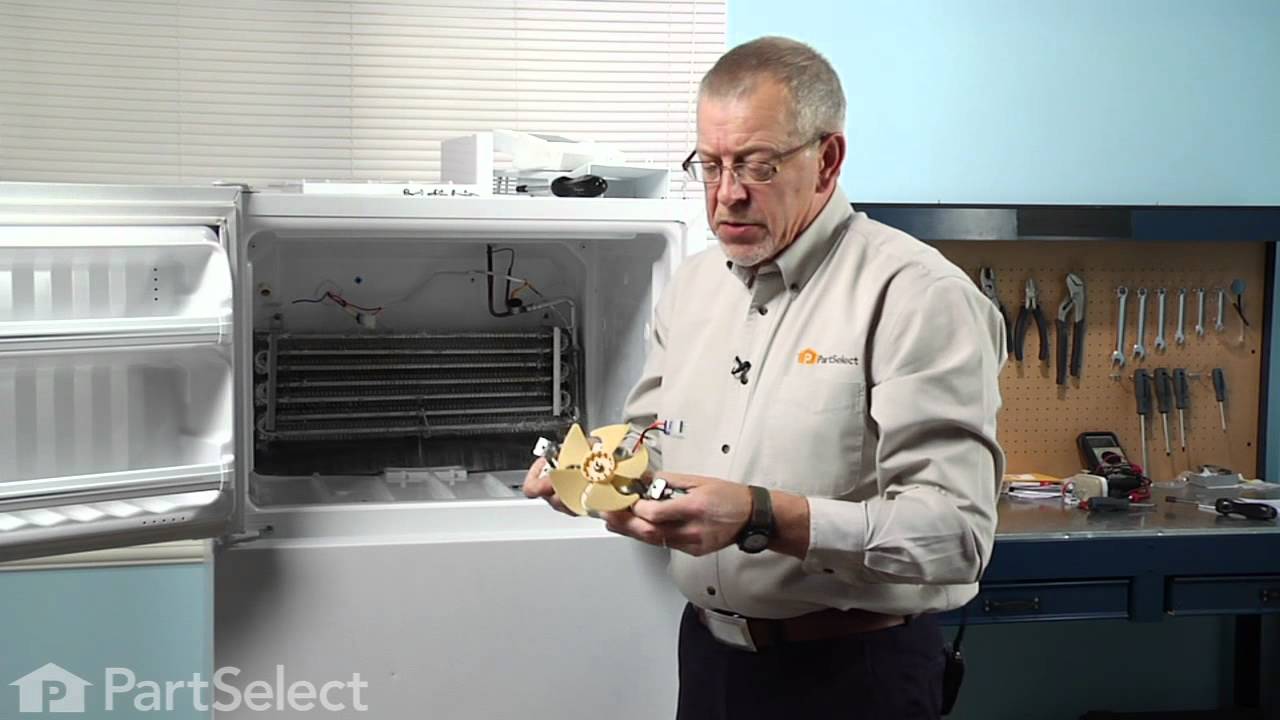
... Read morehad to cut the 2 wires to the old sensor, crimp the 2 new wires on and snap the new sensor to the clip on the evaporator. Very easy. Make sure you seal the ends of the wire crimps so moisture doesn't get in and corrode the connection.



 My Orders