


 My Orders


GSE746RFS0 Gibson Dryer - Overview
Diagrams for GSE746RFS0
See every part. Know exactly what you need.


Enter a part description. DIY Heroes keep it simple, eg. "belt" or "pump".
Search filter:
Clear Filter
Your search term must have 3 or more characters.

$56.24
In Stock
Rear Drum Bearing Kit
Part #5303281153
This kit includes one bearing, one ball shaft, one ball bearing, one ball bearing retainer, a small tube of high temperature lubricant, and installation screws.

$22.44
In Stock
Drum Belt
Part #134503600
This 88 3/4 inches long and 1/4 inch wide dryer drum belt goes around the dryer drum and the pulley to rotate the drum once the motor is activated.

$69.78
On Order
Upper Drum Glide
Part #5303937139
The upper drum felt glide kit helps to support the front drum as it rotates smoothly and quietly while operating. This kit includes three glides with the adhesive. If your dryer won’t tumble or is noisy, the glide could be worn down causing you to hear a metal on metal noise and will need to be replaced. The drum glide is a genuine OEM pa...Read morert and sold individually. Please remember to disconnect the power to the dryer before starting your repair.
Read less

$111.54
In Stock
Heating Element Assembly
Part #131553900
This dryer heating and housing assembly has terminals at four o'clock. This E-line assembly comes with a felt strip and insulators already attached.

$75.04
In Stock

$12.91
In Stock
Drum Support Bearing
Part #131825900
The rear drum support bearing helps support the dryer drum to rotate quietly and smoothly during operation. The bearing attaches on the inside of the rear panel of the dryer cabinet. If your dryer is making unusual noises or will not tumble, you may need to replace this part. It is white in color and made of plastic. This is a genuine OE...Read moreM part. Please remember to disconnect the power to your dryer before starting the repair.
Read less

$23.45
In Stock
Thermal Limiter - Limit 220
Part #134120900
This thermal fuse limiter, with a limit of 220 degrees Fahrenheit, is manufactured for both gas and electric clothes dryers. Once the internal temperature of the dryer reaches 220 degrees, the heating element cuts out.

$61.37
Special Order
Front Lower Drum Seal
Part #5303283286
This part helps to keep the dryer running as quietly as possible.

$92.69
In Stock
Turn - Type Start Switch
Part #134398300
This part is used to start the dryer once you have selected a setting on the timer.

$41.95
In Stock
Lint Filter
Part #131450300
This white dryer lint filter screen collects lint as it passes through the dryer vent.

$36.73
In Stock

$28.95
In Stock
Screw
Part #131302800
This is a replacement screw for your washer or dryer. The screw is approximately half an inch in length and is a Phillips-head screw. It screws in from the outside of the drum, into the vane/baffle. The main reason you would replace this screw is if the old screw is missing or damaged. This part is sold individually and is an OEM part sourced directly from the manufacturer.
Common Symptoms of the GSE746RFS0
How this model fails, and the parts that fix it.
Noisy
Fixed by
these parts
these parts


Show All
Marks left on clothes
Fixed by
these parts
these parts


Show All
Door won’t close
Fixed by
these parts
these parts


Show All
Drum Not Spinning
Fixed by
these parts
these parts
Show All
Too hot
Fixed by
these parts
these parts


Show All
Not Heating
Fixed by
these parts
these parts
Show All
Won’t Start
Fixed by
these parts
these parts

Show All
Door Pops Open
Fixed by
these parts
these parts
Show All
Watch our pros, then fix it yourself.
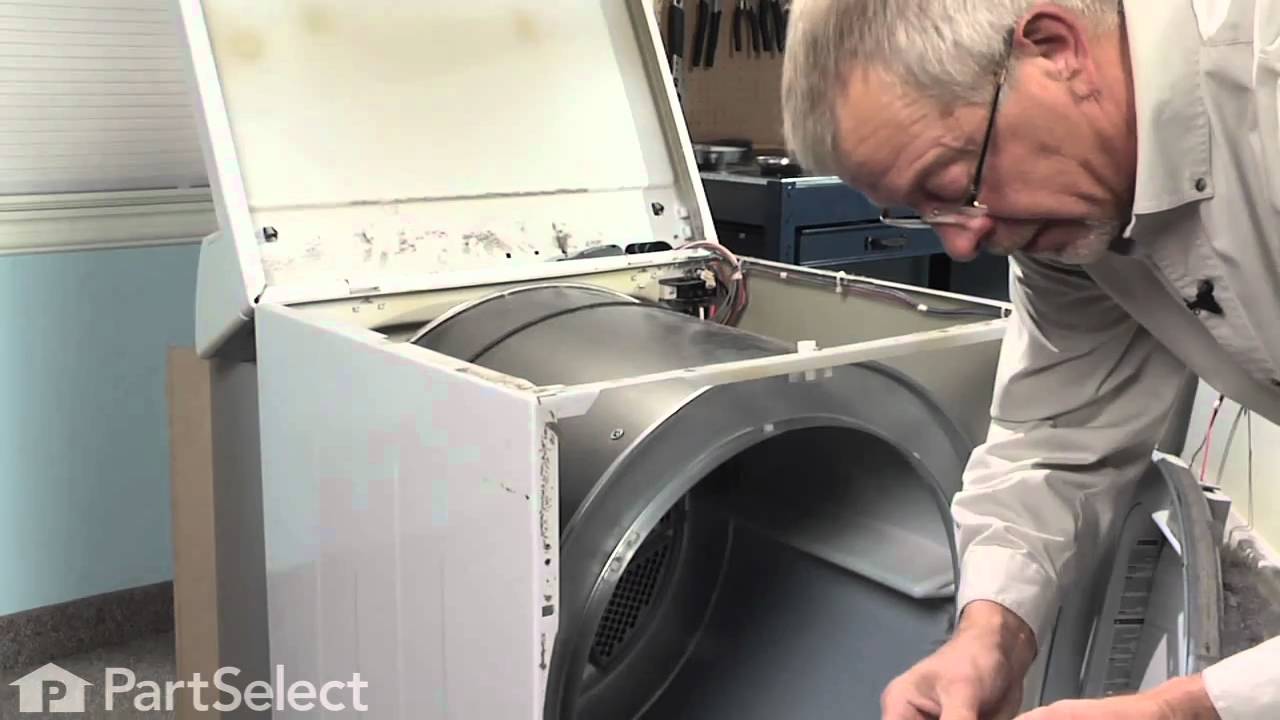
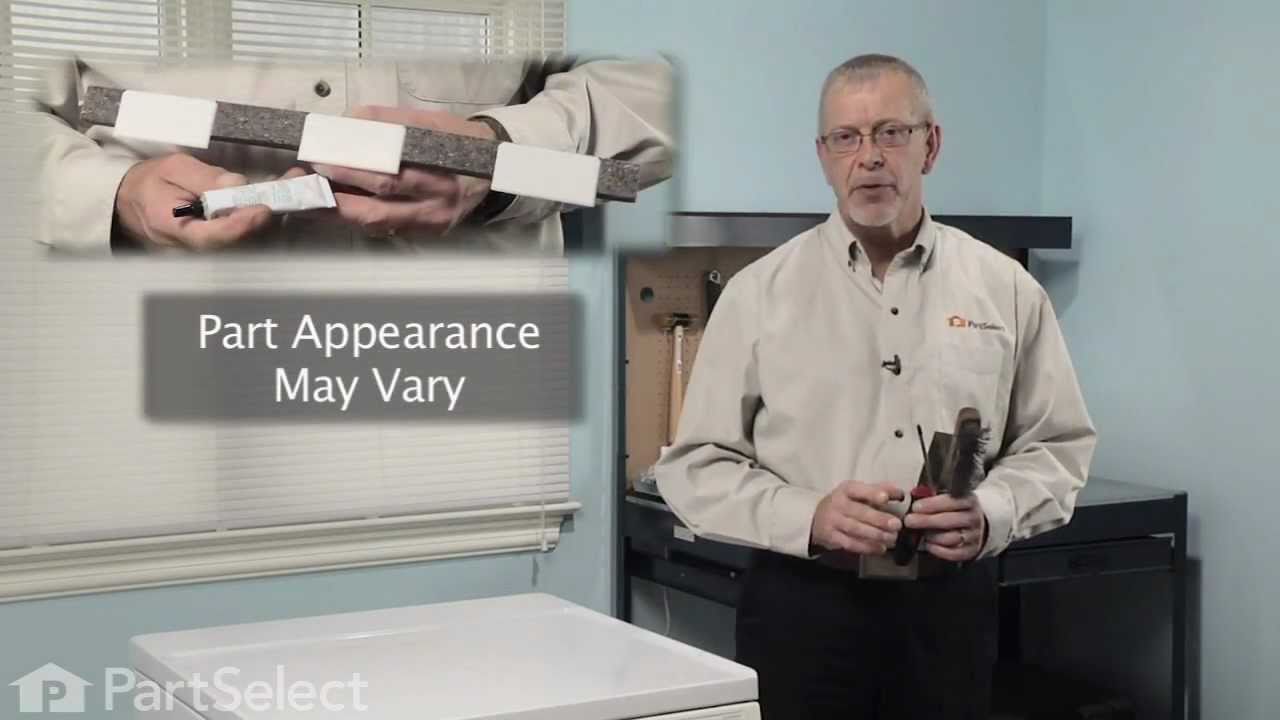
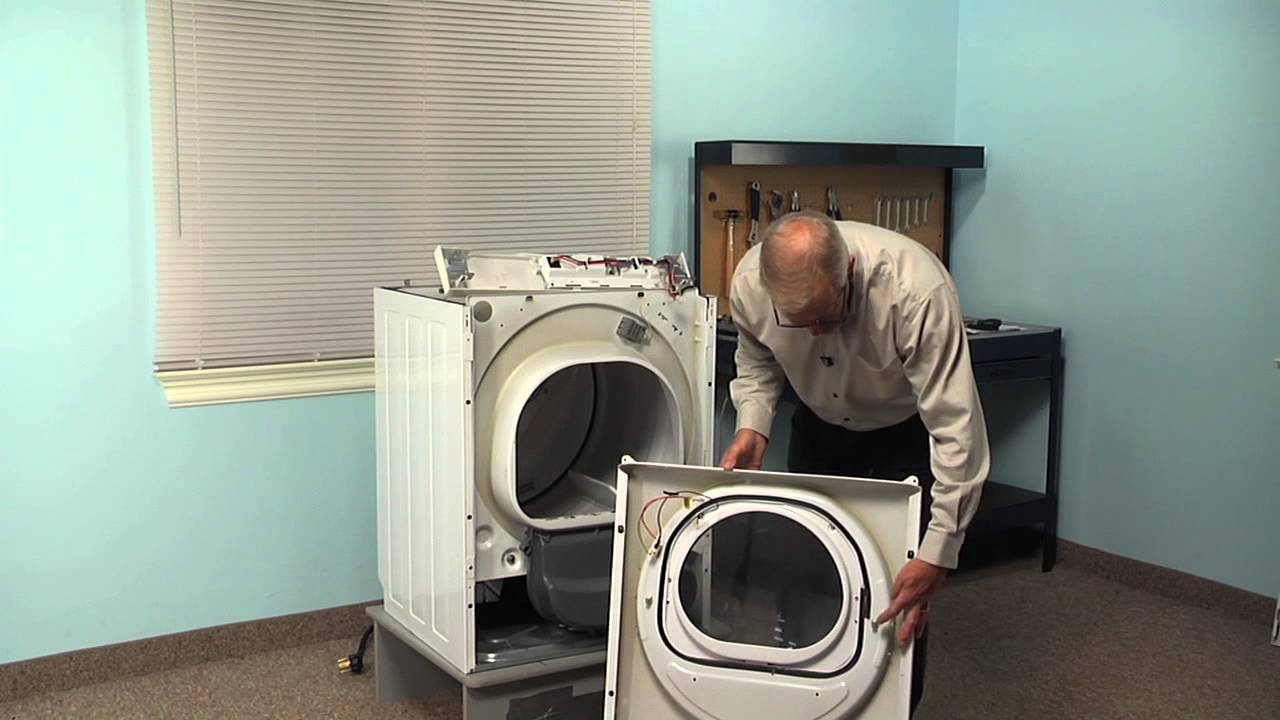
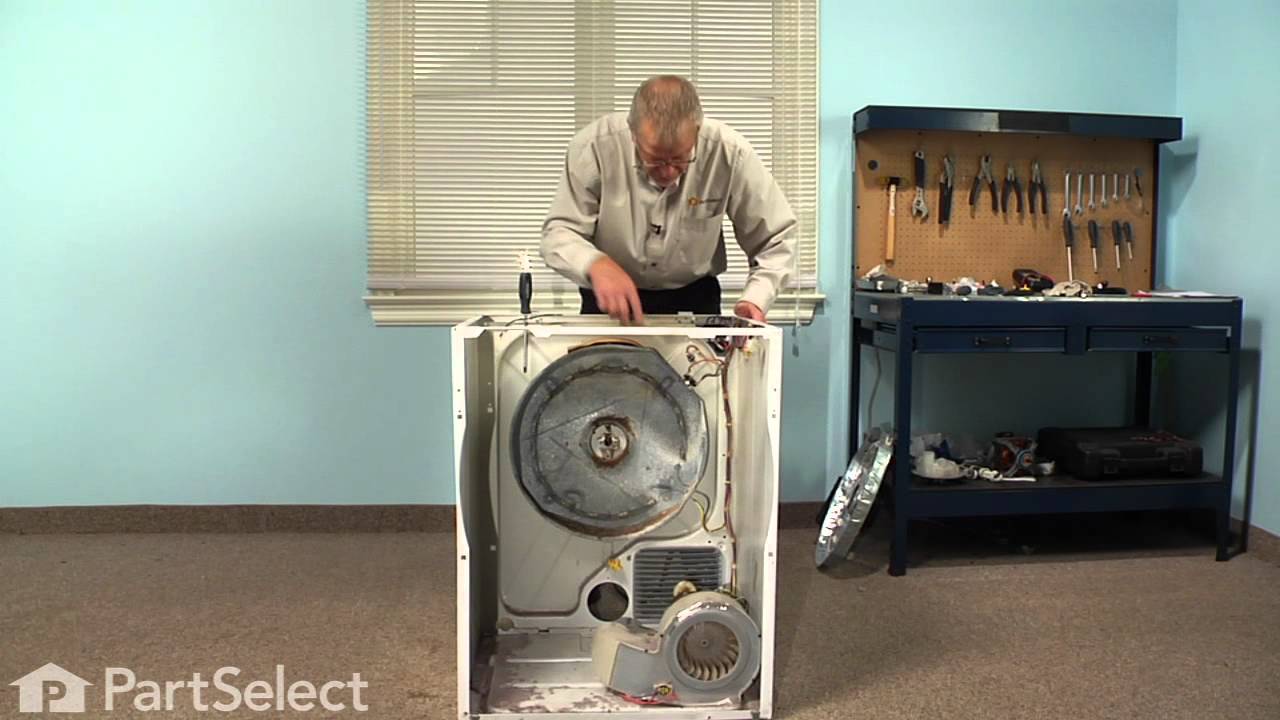
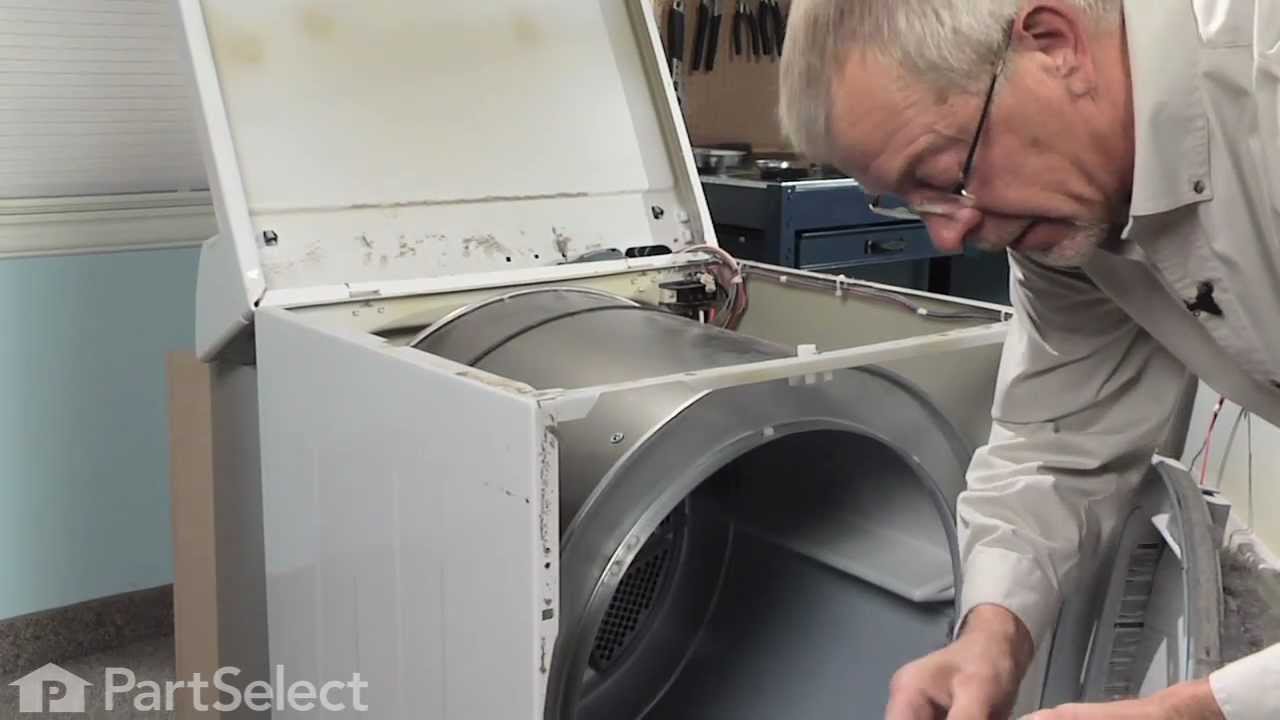
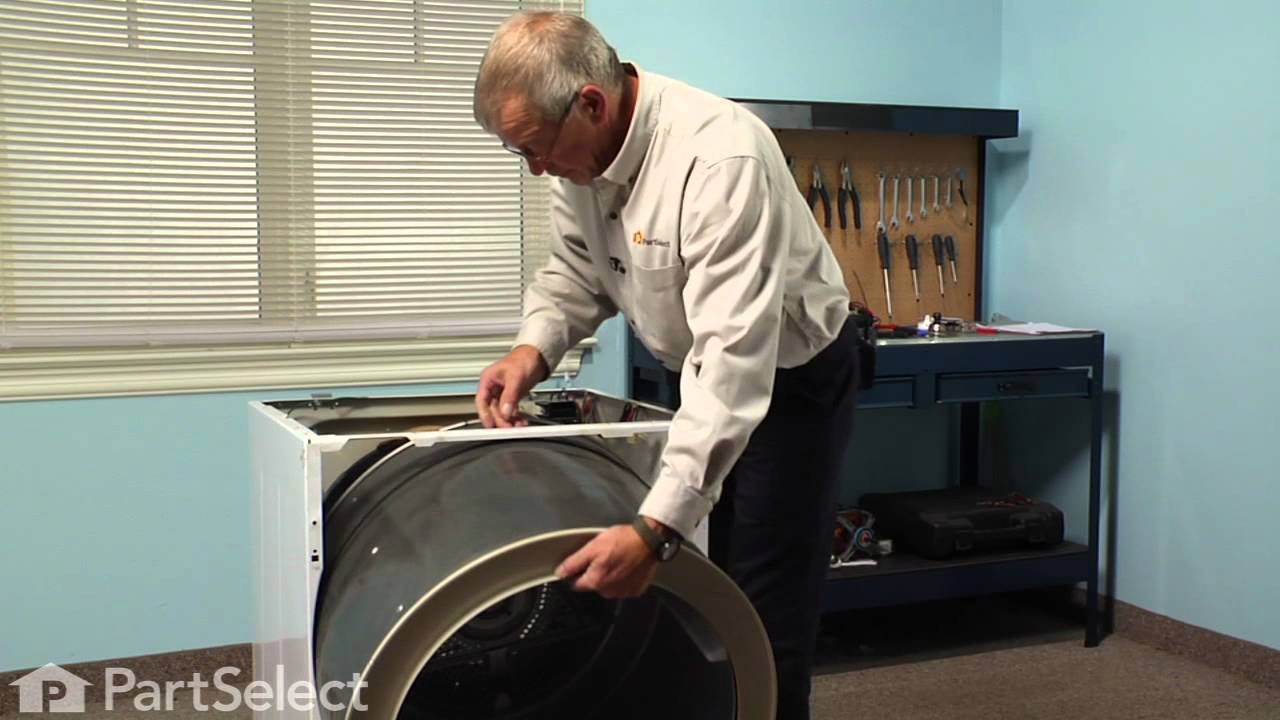
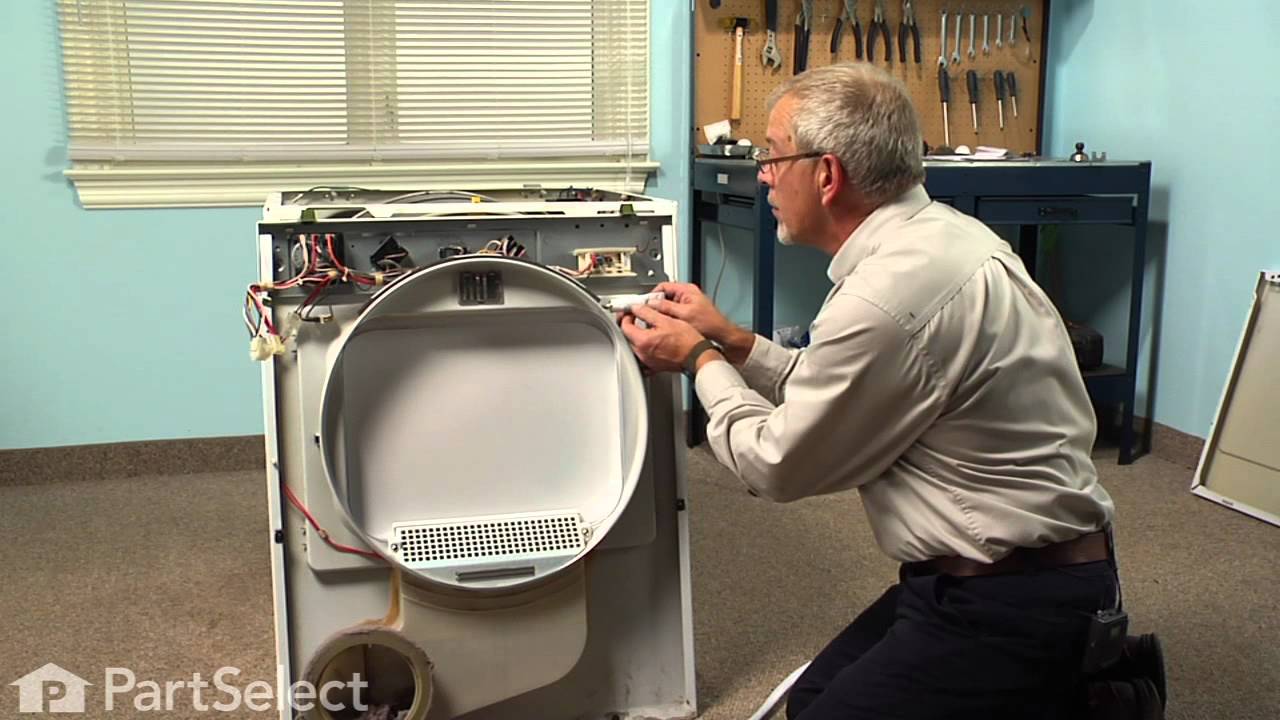
See how others fixed this model. Time, tools, difficulty, and steps that lead to victory!
View More
Search repair tips from other customers using simple keywords like "replace", "fit", "remove", "inspect". DIY doesn't mean you have to do it alone!
Search filter:
Clear Filter
Your search term must have 3 or more characters.
Squealing noise
532 of 554 people
found this instruction helpful.
We followed the instructions for the drum glide replacement and changed the belt and drum support bearing piece, cleaned it out too. Works like a charm. Thanks for saving us a bundle.
Other Parts Used:


Was this helpful?
Thank you for voting!