


 My Orders


GGE388LXB03 Whirlpool Range - Overview
Diagrams for GGE388LXB03
See every part. Know exactly what you need.


Enter a part description. DIY Heroes keep it simple, eg. "belt" or "pump".
Search filter:
Clear Filter
Your search term must have 3 or more characters.

No Longer Available
Touch-Up Paint - White
Part #72017
This 18 ml bottle of white appliance touch-up paint is used to cover scratches or marks on your appliance. The white touch-up paint can be used on refrigerators, microwaves, ranges, clothes dryers, and freezers. This is a genuine OEM part and includes a brush applicator. Please remember to wear gloves to protect your hands when applying this paint.

$33.95
In Stock
Leveler Foot Screw (Nylon)
Part #W11665456
This leveling leg is two inches long. It is all black in color and it is made entirely of plastic.

$132.76
In Stock
Range Rack
Part #WPW10179152
This single oven rack is used to provide a durable surface for your cookware inside the oven for baking/broiling. The oven rack measures approximately 24.76” x 15.78”, is made of metal and is chrome in color. This oven rack is a genuine OEM part and is sold individually.

$52.75
In Stock
Range Infinite Burner Switch - 8 Inch
Part #WP7403P239-60
This infinite switch for eight inch range burners is almost three inches long. This infinite switch is for 8-inch range burners. When an element is unable to produce any heat on a modern oven, the problem may lie with the infinite switch. This switch is responsible for sending power to the surface elements. Check the element and terminal ...Read moreblock to ensure they are working properly. If they are in working order, check the infinite switch at the control panel for any wires that have overheated, or broken terminals to or from the infinite switch. If the infinite switch is damaged or malfunctioning, it will need to be replaced. Remember to unplug your range before beginning this repair.
Read less

$69.24
In Stock

$97.21
In Stock
SOCKT-LITE
Part #W11594027
The light socket on your electric range connects the power source to the light bulb. If your oven light is malfunctioning, you may need to replace the light socket. The light socket is located in the back of your range, so in order to access it you will need to remove the back panel. Many of our customers have rated this repair as easy, a...Read morend it should take less than 15 minutes. Before you begin this repair, make sure to disconnect the power source from your range. This is an OEM part sourced directly from the manufacturer.
Read less

$210.09
In Stock

$41.51
In Stock
Range Terminal Block
Part #WPW10245259
It provides a way of connecting individual electrical wires and offers protection of the device from electrical surges (voltages and/or currents).

$12.77
In Stock
Appliance Scraper
Part #WA906B
Use this scraper for your ceramic/glass cooktop. It has a retractable blade and is an all-purpose tool for cooktops, mirrors, windows and tile. Use it to also remove paint, paper, dirt, stickers and more.

No Longer Available

$142.03
In Stock

$81.12
In Stock
Infinite Switch - 6 Inch
Part #WP7403P238-60
Having trouble with the heat control on your Whirlpool cooking range? This 6-Inch Infinite Switch Surface Element Control is made just for you. Crafted from top-drawer materials, this real OEM part is specifically built to last while promising the best control of your range's heat. When your range isn't giving you the heat control you ne...Read moreed, meals can end up undercooked or burnt, and that's no fun. This is where this new control switch jumps in! With it, your cooking range will be back to serving up meals just how you like them'no more guesswork on heat levels. Before you begin, it's crucial that your range is unplugged, or that your home's circuit breaker is switched off'for your safety. You should also consider wearing protective gloves to protect your hands during installation. In just a few minutes, your range will be back in tip-top shape! This control switch is a true testament to Whirlpool's commitment to quality and enhancing your cooking experience. Remember, using genuine OEM parts for your repair ensures a perfect fit and optimal efficiency. So go right ahead, get your plenty-needed Whirlpool Infinite Switch Surface Element Control, and return your range to its best performance. Enjoy those perfectly cooked meals again!
Read less
Manuals & Care Guides for GGE388LXB03
Click to downloadInstall
Installation Instructions
(2.20MB)
Install
Installation Instructions
(1.48MB)
Manual
Owner's Manuals
(0.9MB)
Manual
Owner's Manuals
(6.55MB)
Common Symptoms of the GGE388LXB03
How this model fails, and the parts that fix it.
Element will not heat
Fixed by
these parts
these parts


Show All
Will Not Start
Fixed by
these parts
these parts


Show All
Little to no heat when baking
Fixed by
these parts
these parts


Show All
Door won’t close
Fixed by
these parts
these parts

Show All
Touchpad does not respond
Fixed by
these parts
these parts
Show All
Oven not heating evenly
Fixed by
these parts
these parts
Show All
Watch our pros, then fix it yourself.
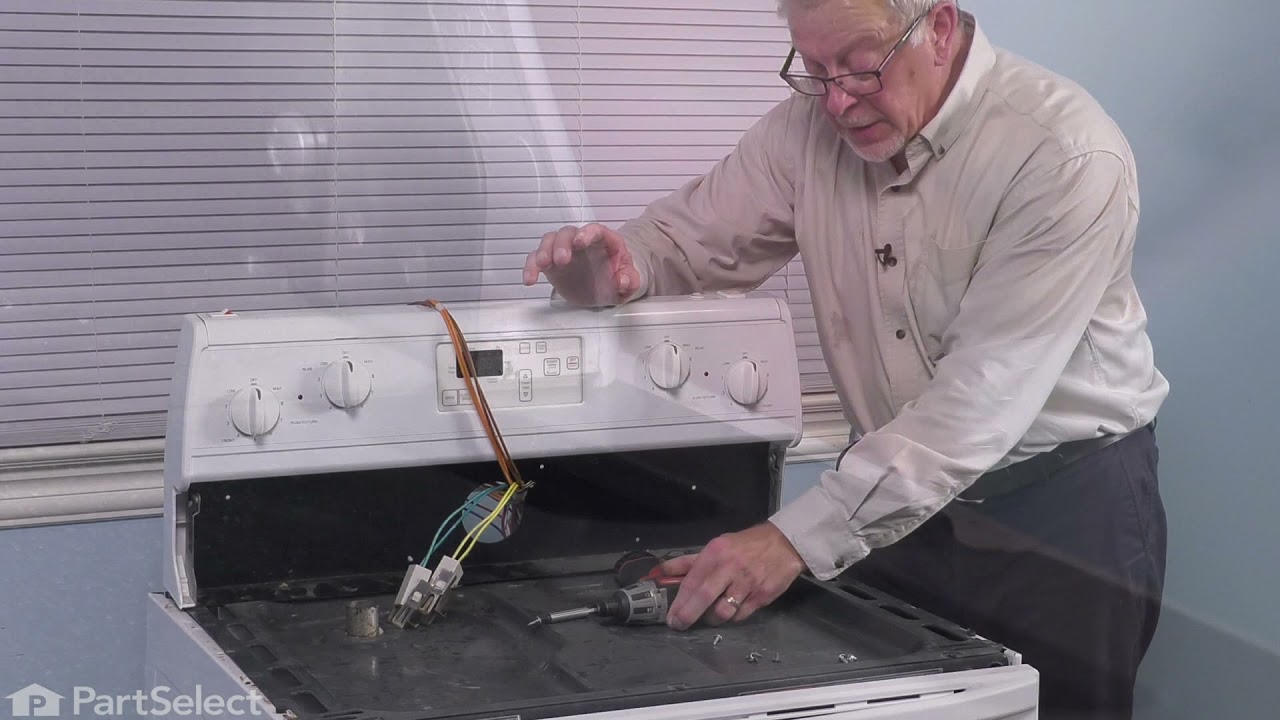
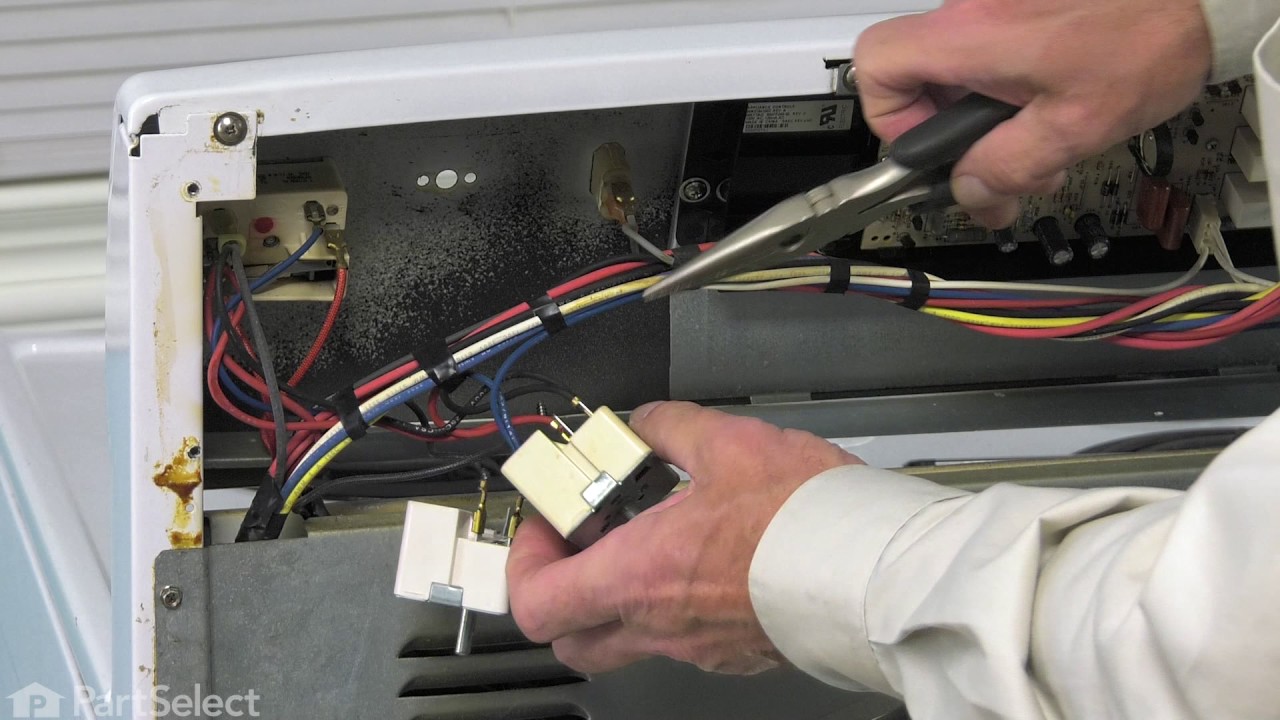
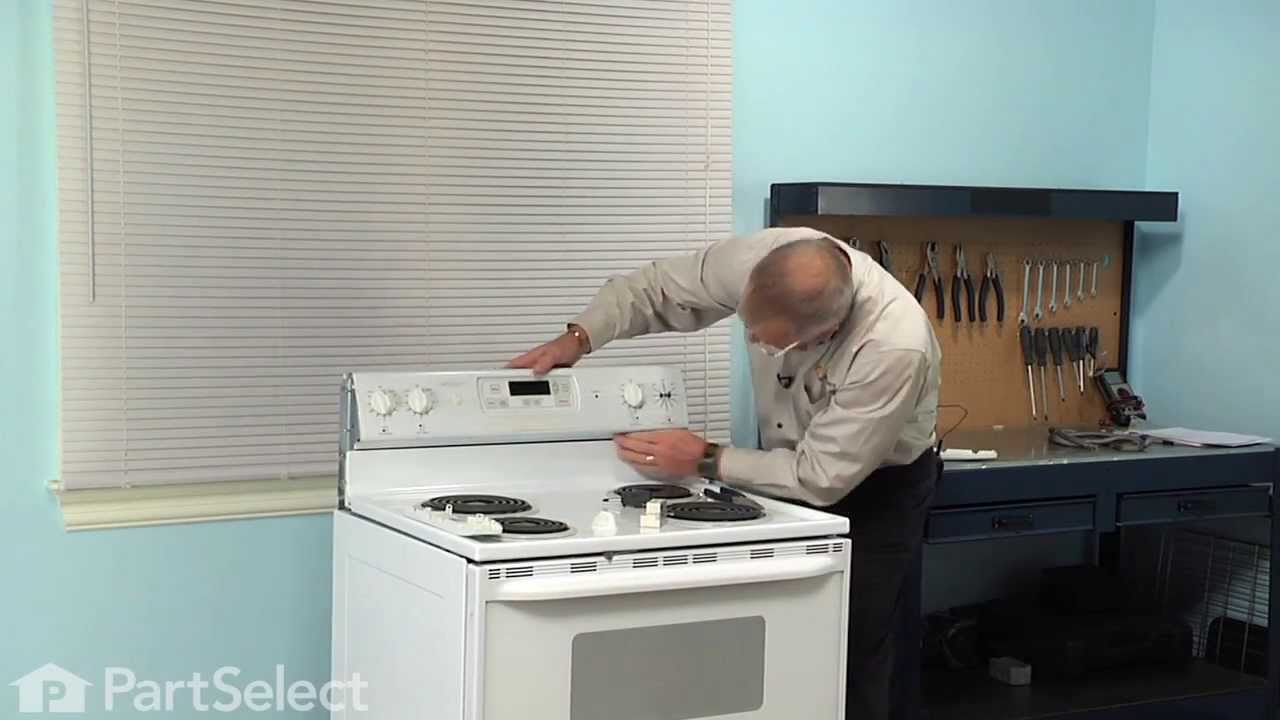
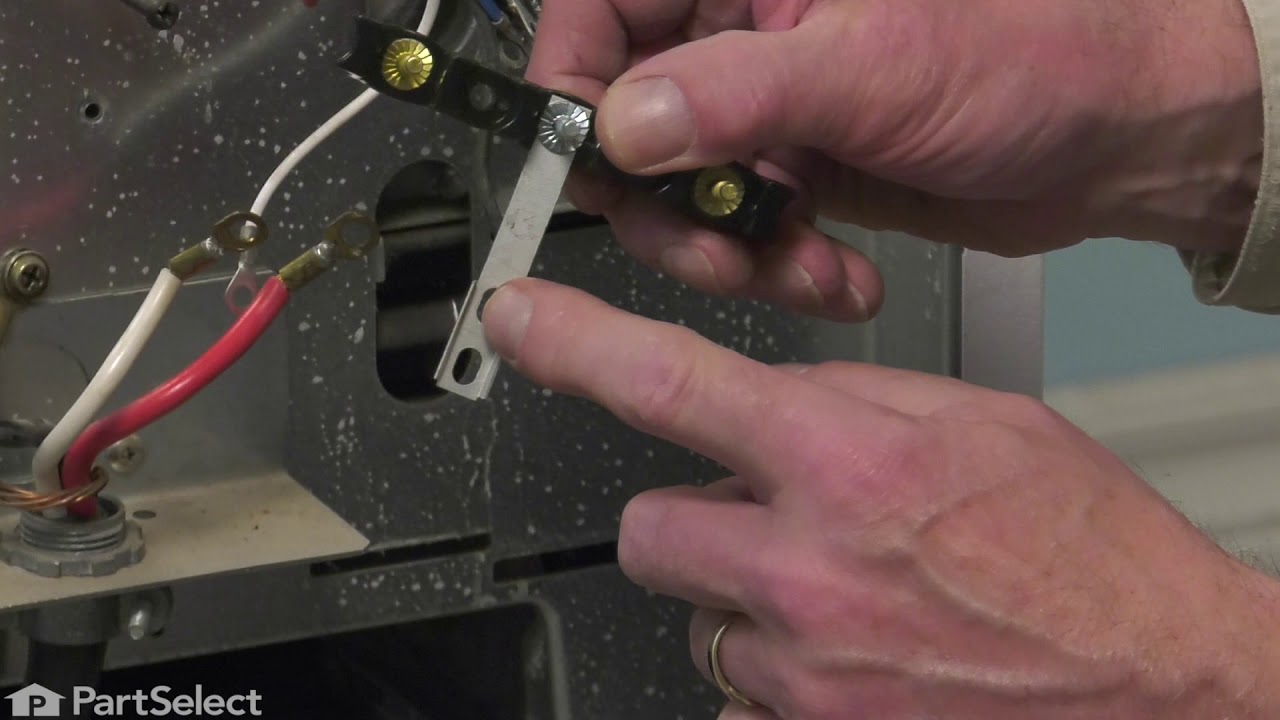

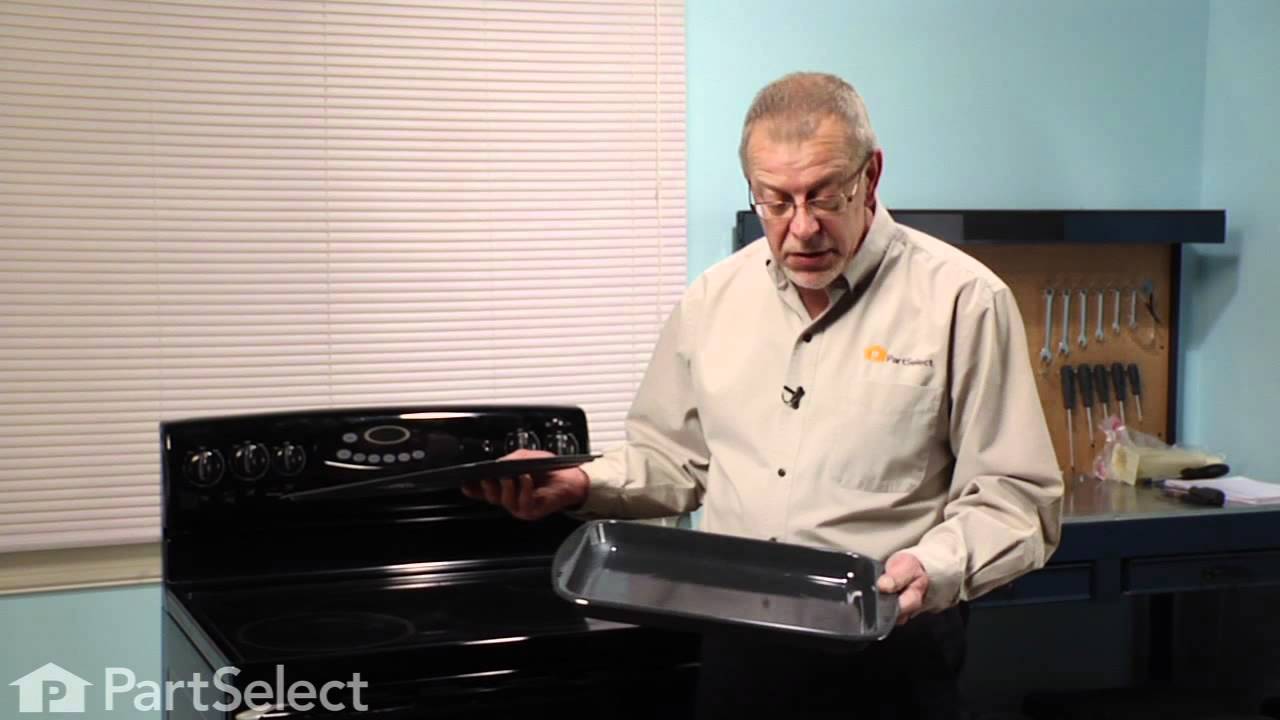
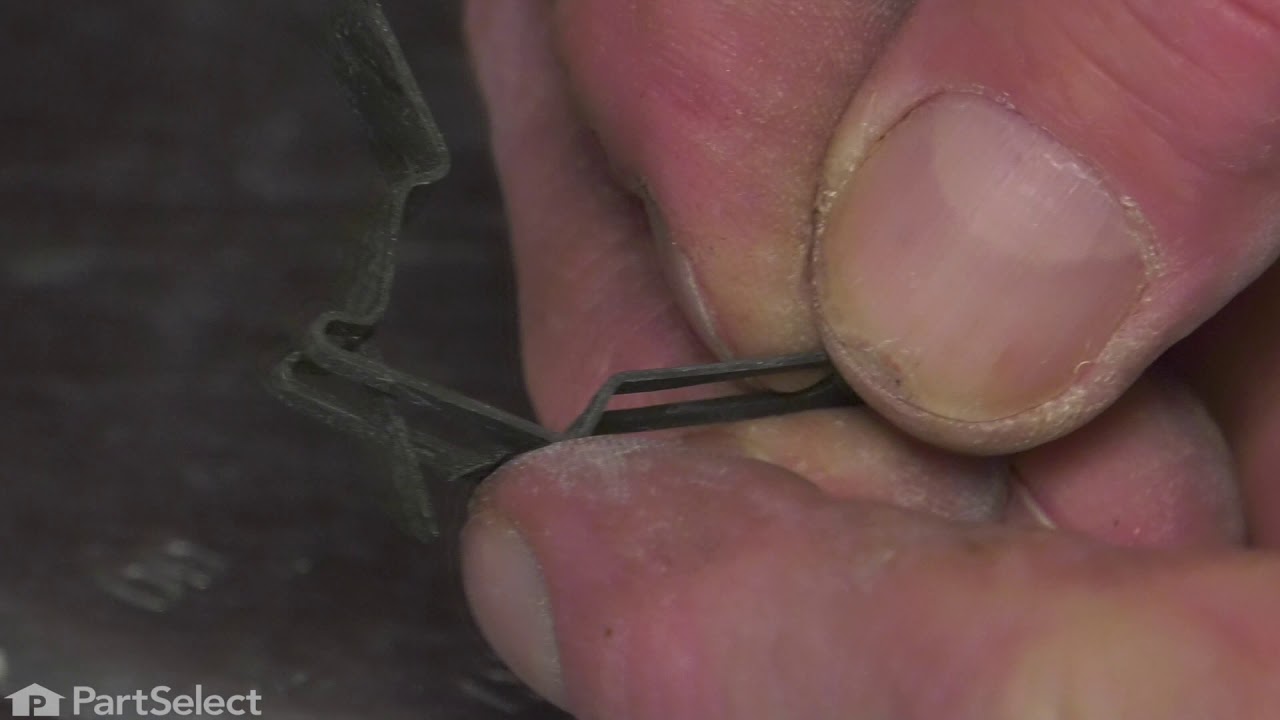
See how others fixed this model. Time, tools, difficulty, and steps that lead to victory!
View More