GFSF2KEXAWW General Electric Refrigerator - Overview

Enter a part description. DIY Heroes keep it simple, eg. "belt" or "pump".

Search filter:
Clear Filter
Your search term must have 3 or more characters.
Temperature Sensor – Part Number: WR55X10025
$34.68
Special Order
Temperature Sensor
★★★★★
★★★★★
(10)
Part #WR55X10025
Also known as a thermistor. This part is used to sense the temperature in the cabinet.
Drawer Slide Rail - Right Side – Part Number: WR72X10072
$93.07
Special Order
Drawer Slide Rail - Right Side
★★★★★
★★★★★
(18)
Part #WR72X10072
This part is the replacement drawer slide rail for your refrigerator. The crisper draw will slide in and out along this rail. If the rail is damaged or missing, the crisper will either hang from one side, or it will not stay in place at all. The drawer slide rail is for the right side of the drawer only, so be sure to check that you are replacing the correct drawer rail. This part is made of white plastic and is approximately 15 inches long and 1.5 inches wide. This part is sold individually and is an OEM part sourced directly from the manufacturer.
Defrost Thermostat – Part Number: WR50X10068
$60.28
Special Order
Defrost Thermostat
★★★★★
★★★★★
(2)
Part #WR50X10068
This defrost thermostat acts as a safety device against over heating in case of mechanical failure.
Light Bulb - 40W – Part Number: 40A15
$19.10
Special Order
Light Bulb - 40W
★★★★★
★★★★★
(3)
Part #40A15
This 40-Watt light bulb is sold individually. It is specially designed to withstand extreme temperatures, so this bulb is compatible with a variety of appliance types including refrigerators, ranges, microwaves, and dryers. It features a frosted glass bulb with a standard metal socket base, which allows you to easily unscrew the burnt-out light and twist the new bulb into place.
Refrigerator Water Filter – Part Number: GSWF
$86.54
Special Order
Refrigerator Water Filter
★★★★★
★★★★★
(3)
Part #GSWF
This refrigerator water filter is designed to improve the taste and quality of water and ice by reducing common contaminants found in household water supplies. Installed using a convenient twist-and-lock design, the filter fits securely into compatible refrigerators without the need for tools, making replacement quick and simple. It helps reduce impurities such as chlorine taste and odor, lead, cysts, sediment, and turbidity, supporting cleaner, better-tasting drinking water and clearer ice. For optimal performance and water quality, the filter is recommended to be replaced on a regular schedule, typically after several months of use, depending on household water usage.
Mullion Articulation Assembly – Part Number: WR17X12591
No Longer Available
Mullion Articulation Assembly
★★★★★
★★★★★
(10)
Part #WR17X12591
Also known as a mullion heater. This mullion rail is white in colour. The door mullion rail creates an airtight seal between the doors on a French door refrigerator.
LIGHT SWITCH – Part Number: WR23X37285
No Longer Available
LIGHT SWITCH
★★★★★
★★★★★
(9)
Part #WR23X37285
The interior light of your refrigerator is controlled by a switch that is activated when the door is opened and closed. If your refrigerator light will not turn on, there could be an issue with the switch. The switch is spring loaded and is a generally closed type of switch meaning there should be no continuity when the button is depressed, and continuity through the switch when the button is not depressed. This plastic, white, OEM switch is sourced directly from the manufacturer, is sold individually and is easy to replace. The repair usually takes less than 15 minutes and requires a flat blade screwdriver and needle nose pliers.
SLIDE PAN Left Hand – Part Number: WR72X10073
$64.23
Special Order
Compression Ring – Part Number: WR02X12149
$13.95
Special Order
Compression Ring
Part #WR02X12149
Screw - 8-18 DG TRT20 5/8 S – Part Number: WR01X10621
$13.95
Special Order
Screw - 8-18 DG TRT20 5/8 S
Part #WR01X10621
This genuine OEM screw is designed for use in refrigerators. It measures approximately ¾ of an inch in length.
Ice Maker – Part Number: WR30X10093
$267.74
Special Order
Ice Maker
★★★★★
★★★★★
(5)
Part #WR30X10093
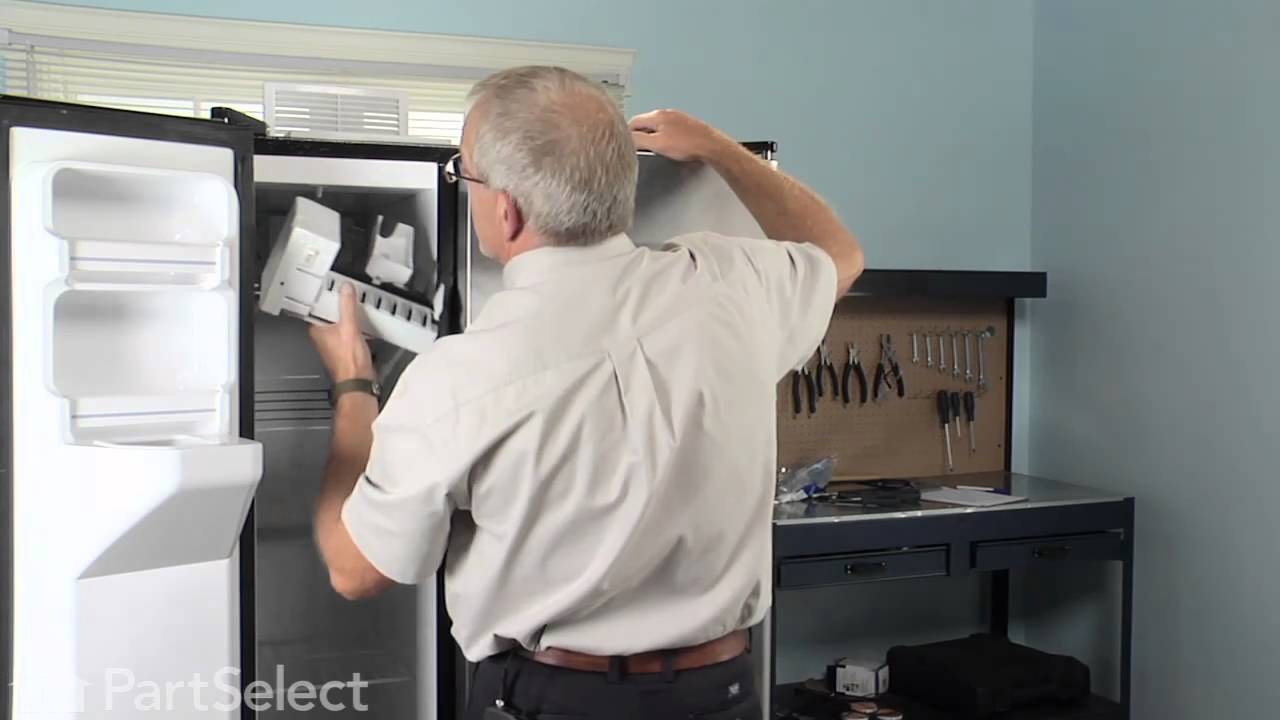
This ice maker assembly is used to make ice in your refrigerator. The ice maker receives water from the water inlet valve and will freeze until ice cubes are formed. Once the water has been frozen the cubes will be ejected from the mold into the ice bucket. The ice maker will continue the process until the ice bucket has reached the limit. If your ice maker is not making ice you may need to replace this part. This kit includes the fill cup, 4-pin wire harness adapter, and a tube. Disconnect the power and water supply before starting your repair. This ice maker is a genuine OEM part.
SUPPORT Vegetable PAN  ASM – Part Number: WR02X13504
$14.32
Special Order
SUPPORT Vegetable PAN ASM
Part #WR02X13504
SUPPORT Vegetable PAN ASM

Manuals & Care Guides for GFSF2KEXAWW

Click to download

Questions And Answers for GFSF2KEXAWW

Ask our experts a question about this model and we'll get back to you as soon as possible!

Sort by:
  • 1
Sorry, we couldn't find any existing answers that matched.Try using some different or simpler keywords, or submit your new question by using the "Ask a Question" button above!
John - For model number GFSF2KEXAWW
July 25, 2023
Need shelf that goes over the veg bins
Chris Boyle Profile
Hello John, thank you for contacting us. The shelf frame for the crisper drawers is part number PS2374840. This is the frame only. Crisper cover glass, part number PS2340362, is sold separately. Glad to be of assistance!
$99.94
Special Order
Vegetable Glass Shelf Insert
$187.66
Special Order
Cripser Cover Frame - White
Was this helpful?
Thank you for voting!
  • 1

Common Symptoms of the GFSF2KEXAWW

How this model fails, and the parts that fix it.

Watch our pros, then fix it yourself.

See how others fixed this model. Time, tools, difficulty, and steps that lead to victory! View More

Search repair tips from other customers using simple keywords like "replace", "fit", "remove", "inspect". DIY doesn't mean you have to do it alone!

Search filter:
Clear Filter
Your search term must have 3 or more characters.
Freezer wouldn't maintain temperature ... got warm.
297 of 353 people found this instruction helpful.
  • Mike from Scottsdale, AZ
  • Easy
  • 15 - 30 mins
  • Nutdriver, Screw drivers
The freezer in my side-by-side kept warming up -- often 20 degrees or more, which of course caused the fresh food side to warm up also. I do a lot of jump-in-with-both-feet home repairs, but never on a large appliance. Not having an ohmmeter, which cost about $100 for a reliable one, I took the symptoms to the internet. Countless self-hel p sites and U-Tube videos later, I was positive it was one of two possible problems, either the defrost thermostat was broken and the defroster wasn't coming out of its cycle or the temperature sensor wasn't reading the correct temp and thus kicking in the fan motor when needed. Fortunately I found both parts easily on PartSelect.com and the total cost for both, including shipping, was $30, less than 1/3 of the cost of an ohmmeter. Not knowing for sure which part it was that was bad, I ordered both, figuring, since I had to pull out the panel anyway, I might just as well replace them both ... the price was right. (In retrospect I should have order 4 Temperature Sensors as my fridge has two in both the freezer side and the Fresh Food side. Any one of them being bad could have caused the same problem. Fortunately, I was lucky because it was either ONLY the Defrost Thermostat or I just happened to pick the right Sensor, but the repair worked.)

The repair was easy: Unplug the power. A Nut Driver removed the four screws holding on the panel in the back of the freezer. A screw driver removes the one screw holding the lamp cover in place. Remove the light bulbs, pull off the panel and right above the freezer coils you'll see both parts -- plain as day. (If your coils are clogged with ice, you will probably need de-ice first.) Cut the wires to both parts as close to the parts as you can to leave as much wire exposed as possible. Strip the ends of all four wires about 1/2 inch and also on the new parts. Match up the wires in the fridge to the wires on the parts and twist the ends together (Note: both wires on the Sensor are white so they match up either way, but the two wire on the thermostat will need to match up orange to orange and pink to pink.) I used silicone filled wire nuts, which you can buy at any hardware store or use your own wing nuts and fill them with silicone or shoe goo which works just as well ... anything to keep the moisture out and prevent the wires ends from corroding. Tuck the wires up and replace the panel, light bulbs and light cover That's it. Very easy. By far the hardest part was wedging my wide body into the narrow freezer compartment. Some one-handed work added a little extra time to the project.

In my case the freezer fan didn't kick in for about twenty minutes after I plugged it back in, but I assume that it either begins in the defrost mode or it takes that long for it to reset itself ... either way the repair worked great.
Was this helpful?
Thank you for voting!
my refigerator was warm but the freezer was cold and working correcttly
305 of 405 people found this instruction helpful.
  • michele from North Smithfield, RI
  • Really Easy
  • 15 - 30 mins
  • Pliers
I went to a GE repair center to explain my problem, the service center reccomended that I have a techinician come out o look at it. $75.00 for the visit and what ever labor and materials wuld cost.

I went on line to see if there were others having this same problem and found that there were many with the same problem.
... Read more />After reading some of the ways that people found out what was wrong ...it became a matter of three components, the timer, heater or thermostat.

I tried the most common component and the less expensive one first , the thermostat switch I installed it very easily snipping two wires and attaching the news using wire nuts I used the diagram on this website to pinpoint the component and there has not been a problem since.
Was this helpful?
Thank you for voting!
refrigerator was getting too cold
149 of 219 people found this instruction helpful.
  • Larry from Menomonie, WI
  • A Bit Difficult
  • 15 - 30 mins
I removed the old temperature sensor by cutting the wires. I attached the wires of the new sensor with wire nuts and mounted it in the same bracket.
Was this helpful?
Thank you for voting!