


 My Orders


GD1329QGS2 LG Dryer - Overview
Models starting with GD1329QGS2
Click on the best match to narrow your results.
Enter a part description. DIY Heroes keep it simple, eg. "belt" or "pump".
Search filter:
Clear Filter
Your search term must have 3 or more characters.

$141.66
In Stock
4 PACK ROLLER ASSEMBLY
Part #4581EL2002L
The drum support roller for your dryer holds the drum in place while the drum turns on the support wheels. The drum roller is round with a bearing in the middle and measures approximately 3 inches in diameter. If the dryer is noisy, won’t tumble, or takes too long to dry, you might need to replace the support roller. It is recommended tha...Read moret you replace both rollers at once. The bearing inside this roller is self-lubricating, so no grease will be required. Please remember to disconnect the power to your appliance before starting your repair. This is a genuine OEM part.
Read less

$71.45
In Stock
Dryer Lint Filter
Part #5231EL1003B
This part has the felt strip and is used to collect lint as it passes through the dryer vent. The lint filter in your dryer is used to collect lint as it passes through the dryer vent. If you notice that your dryer is not providing enough heat, or if it takes too long to dry, you may need to replace the lint filter. You should also replac...Read moree the lint filter if you notice it is damaged during regular maintenance. Many of our customers have rated this repair as easy. To complete the repair, simply remove the old lint filter and replace it with the new one. You may want to use a flat head screwdriver to remove any residual lint before you install the new filter.
Read less

$20.85
In Stock
Moisture Sensor
Part #6500EL3001A
The moisture sensor, also known as a humidity sensor, works in conjunction with your dryer by helping determine the amount of moisture in the drum to reduce overdrying. If the timer doesn’t advance correctly, it is suggested to check the moisture sensor bar for damage. A damaged sensor can cause the automatic drying cycle to not work prop...Read moreerly and will need to be replaced. This is a genuine OEM part. Please remember to disconnect the power to the dryer before starting this repair.
Read less

$72.55
In Stock
Dryer Drum Belt
Part #4400EL2001F
The drive belt is made to wrap around the drum, working with the tension pulley to rotate the drum. If your dryer drum will not turn, then you may need to replace your belt. This drive belt is 1/4-inch wide with 4 ribs and 3 grooves. It is recommended to disconnect the power to your dryer before you start your repair. This drive belt is a genuine OEM part.

$52.75
In Stock

$46.15
In Stock

$42.99
In Stock
Pulley Idle
Part #4560EL3001A

$13.15
In Stock
Dryer Leg
Part #4778EL3001B
This plastic adjustable dryer leg is used to support the weight and adjust the height of your dryer to keep it level. To install the leg, tip the dryer back and screw it into the bottom of your dryer unit. Please note that this dryer leg is sold individually.

$89.05
In Stock

$107.90
In Stock

$60.45
In Stock
PARTS ASSEMBLY
Part #383EEL3002R

$46.15
In Stock
Common Symptoms of models starting with GD1329QGS2
How this model fails, and the parts that fix it.
Noisy
Fixed by
these parts
these parts


Show All
Not Heating
Fixed by
these parts
these parts


Show All
Door won’t close
Fixed by
these parts
these parts


Show All
Drum Not Spinning
Fixed by
these parts
these parts

Show All
Won’t Start
Fixed by
these parts
these parts


Show All
Marks left on clothes
Fixed by
these parts
these parts


Show All
Timer Not Working
Fixed by
these parts
these parts
Show All
Door Pops Open
Fixed by
these parts
these parts
Show All
Door Sags
Fixed by
these parts
these parts
Show All
Watch our pros, then fix it yourself.
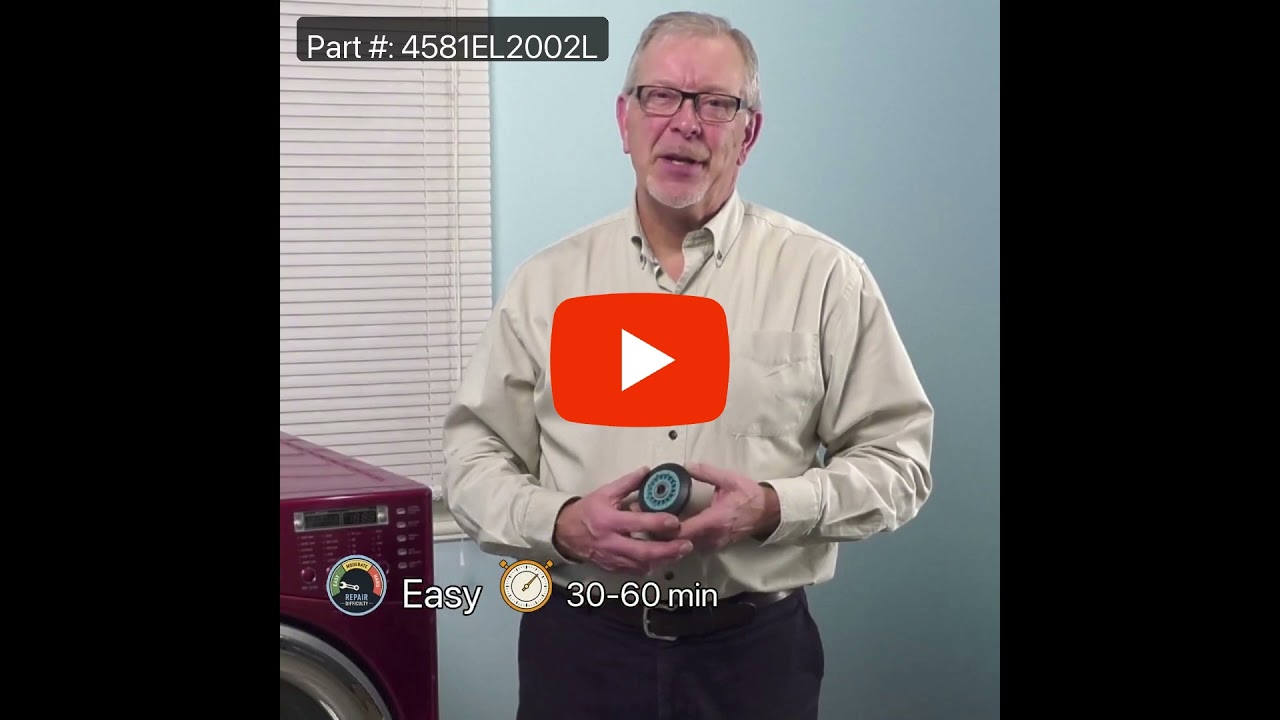

See how others fixed this model. Time, tools, difficulty, and steps that lead to victory!
View More