


 My Orders


GBD277PDB3 Whirlpool Wall Oven - Overview
Diagrams for GBD277PDB3
See every part. Know exactly what you need.


Enter a part description. DIY Heroes keep it simple, eg. "belt" or "pump".
Search filter:
Clear Filter
Your search term must have 3 or more characters.

No Longer Available
Touch-Up Paint - White
Part #72017
This 18 ml bottle of white appliance touch-up paint is used to cover scratches or marks on your appliance. The white touch-up paint can be used on refrigerators, microwaves, ranges, clothes dryers, and freezers. This is a genuine OEM part and includes a brush applicator. Please remember to wear gloves to protect your hands when applying this paint.

$83.47
In Stock
Range High-Limit Thermostat
Part #WP9759242
Also known as Thermal cut-off (fuse). This part establishes and maintains the internal temperature of the oven cavity.

$64.85
In Stock
Range Light Bulb (15w)
Part #WP4173175
This 120-130 volt 15-watt light bulb is used to illuminate the interior part of the oven cavity when the door is open or when the light switch is turned on. The bulb has a small screw base and is approximately 2 inches long. If the light bulb does not come on when the door is open or the switch is turned on you may need to replace the bul...Read moreb. If the bulb has been replaced and still not working you may want to check the light socket. It is recommend to wear gloves while replacing the bulb in case the existing bulb breaks when you try to remove it. This is a genuine OEM part and is sold individually.
Read less

$67.05
In Stock
Limit Thermostat
Part #WP9759243
This part establishes and maintains the internal temperature of the oven cavity.

$155.84
In Stock
Range Interior Oven Door Glass
Part #WP4449253
The interior oven door glass is the innermost heat resistant piece of glass that faces in your oven when the door is closed. The glass measures approximately 9.99-inchx16.99-inch. If the glass is cracked it should be replaced. This is a genuine OEM part.

$84.02
In Stock
Oven Bake Element
Part #WPW10207397
This part is located at the bottom of the oven. This bake element is for ranges. The bake element is at the bottom of the oven and supplies the heat for baking. Unplug the range or shut off the house circuit breaker for the range before installing this part.

No Longer Available

$165.07
In Stock

$66.88
In Stock
2 Piece Broiler Pan
Part #4396923
This broiler pan and roasting rack set features a two-piece design that allows fat to drain away for cleaner cooking and reduced splatter. Made with a durable, high-heat resistant porcelain finish, it offers reliable performance and easy cleanup. Measuring approximately 16 3/4 inches long by 12 3/4 inches wide and 1 3/4 inches high, it provides a practical solution for everyday broiling and roasting.

$291.97
In Stock
Range Blower Motor Assembly
Part #WPW10016550
Need to fix your oven or stove? We have a solution for you - the Whirlpool Blower Motor Assembly. This is a genuine original equipment manufacturer (OEM) part that fits perfectly in a range of brands including Whirlpool, KitchenAid, Maytag, Jenn-Air, Amana, Inglis, and Magic Chef. The key role of this cooling fan motor assembly is to en...Read moresure a smooth, optimum performance of your oven or range by circulating air through the oven control area. This stream of air keeps all controls, wiring, and other components cool during use which in turn, protects your appliance and enhances its longevity. Designed with a 45mm diameter fan blade, this motor assembly fits comfortably into most double ovens, plus it comes with an insulation strip to prevent any annoying air leaks through the back oven panel. In short, the Whirlpool Blower Motor Assembly is a surefire way to get your appliance back to its optimal working condition. So, why wait? Bring home this quality part and restore your appliance to its full working glory. Trust in genuine Whirlpool quality - your appliance deserves it.
Read less

$86.12
In Stock
Range Door Hinge
Part #WP4455525
Sold individually. This hinge works for both the left and right side. This Black Spring is used on white, black, and black stainless models.

$34.20
In Stock
Common Symptoms of the GBD277PDB3
How this model fails, and the parts that fix it.
Little to no heat when baking
Fixed by
these parts
these parts


Show All
Element will not heat
Fixed by
these parts
these parts
Show All
Will Not Start
Fixed by
these parts
these parts

Show All
Door won’t open after self cleaning cycle
Fixed by
these parts
these parts
Show All
Oven not heating evenly
Fixed by
these parts
these parts
Show All
Door won’t close
Fixed by
these parts
these parts


Show All
Little to no heat when broiling
Fixed by
these parts
these parts

Show All
Oven is too hot
Fixed by
these parts
these parts
Show All
Watch our pros, then fix it yourself.
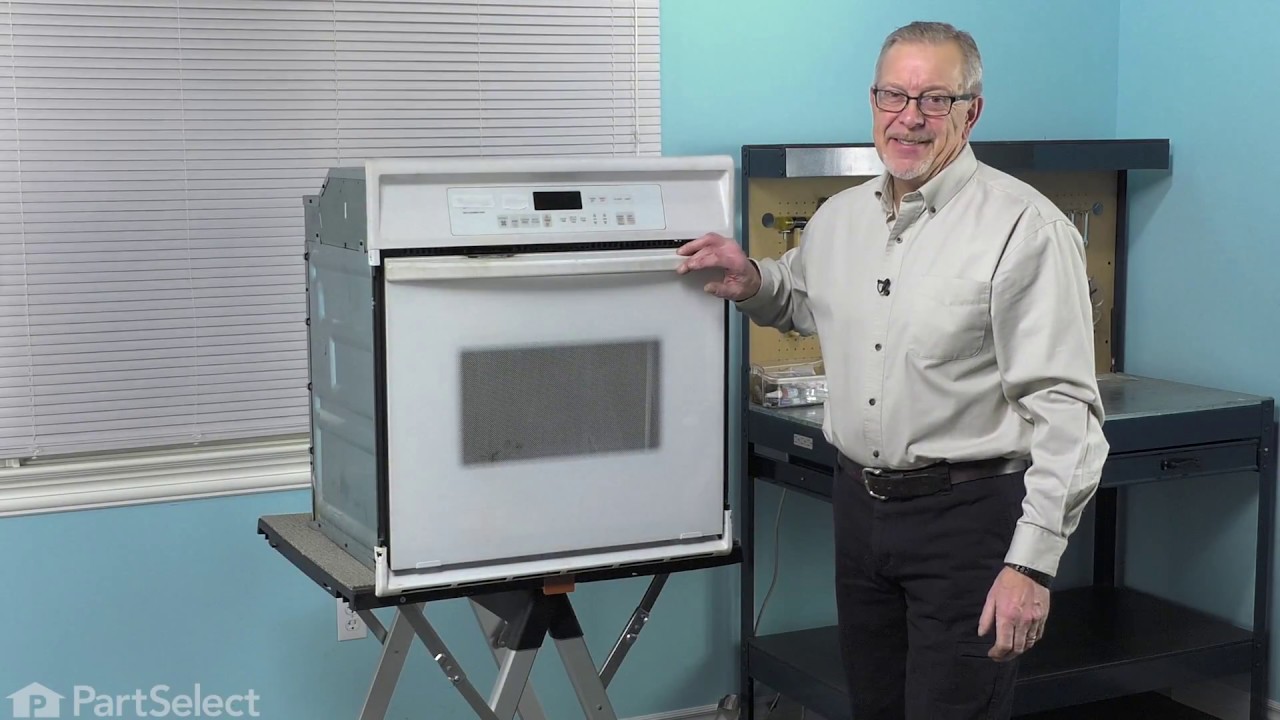
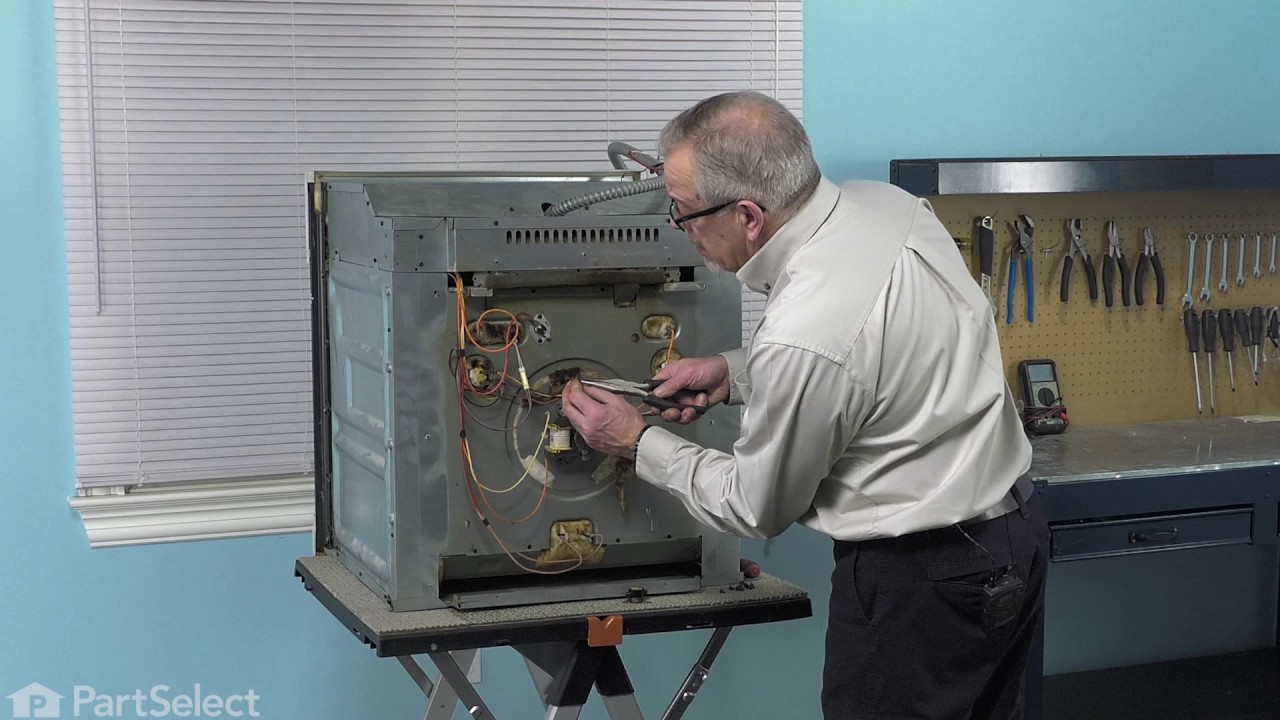
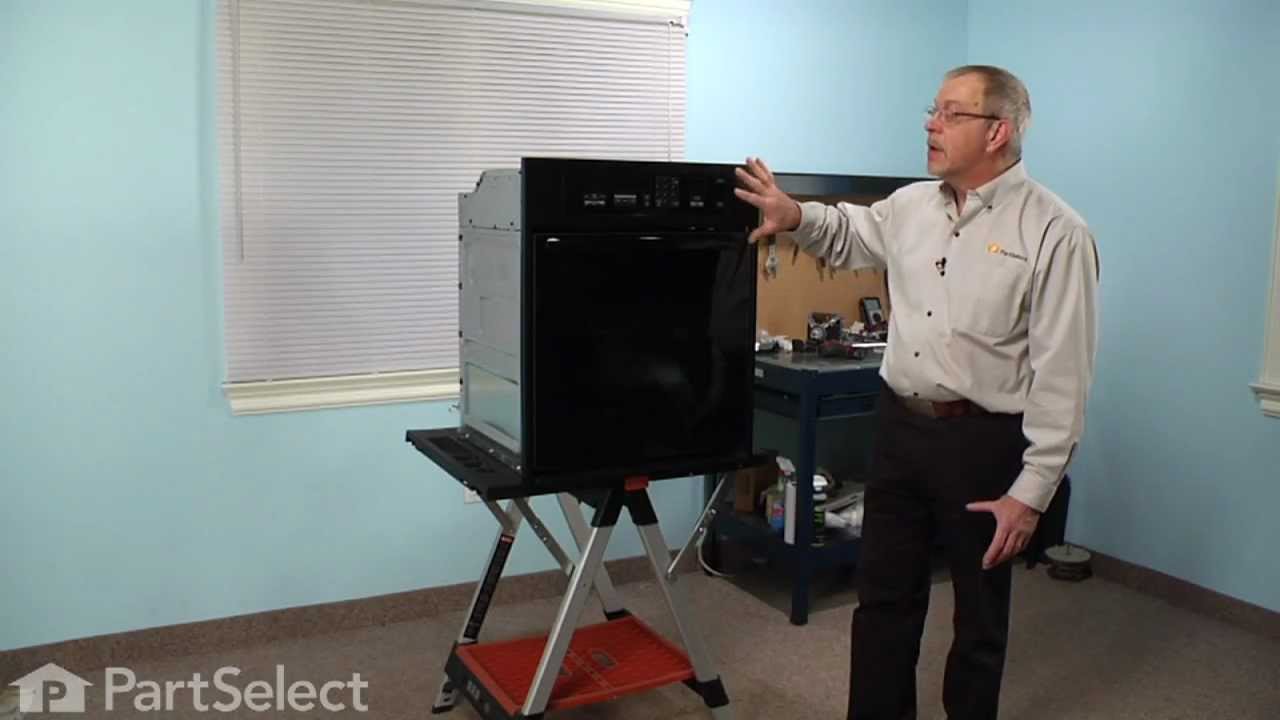
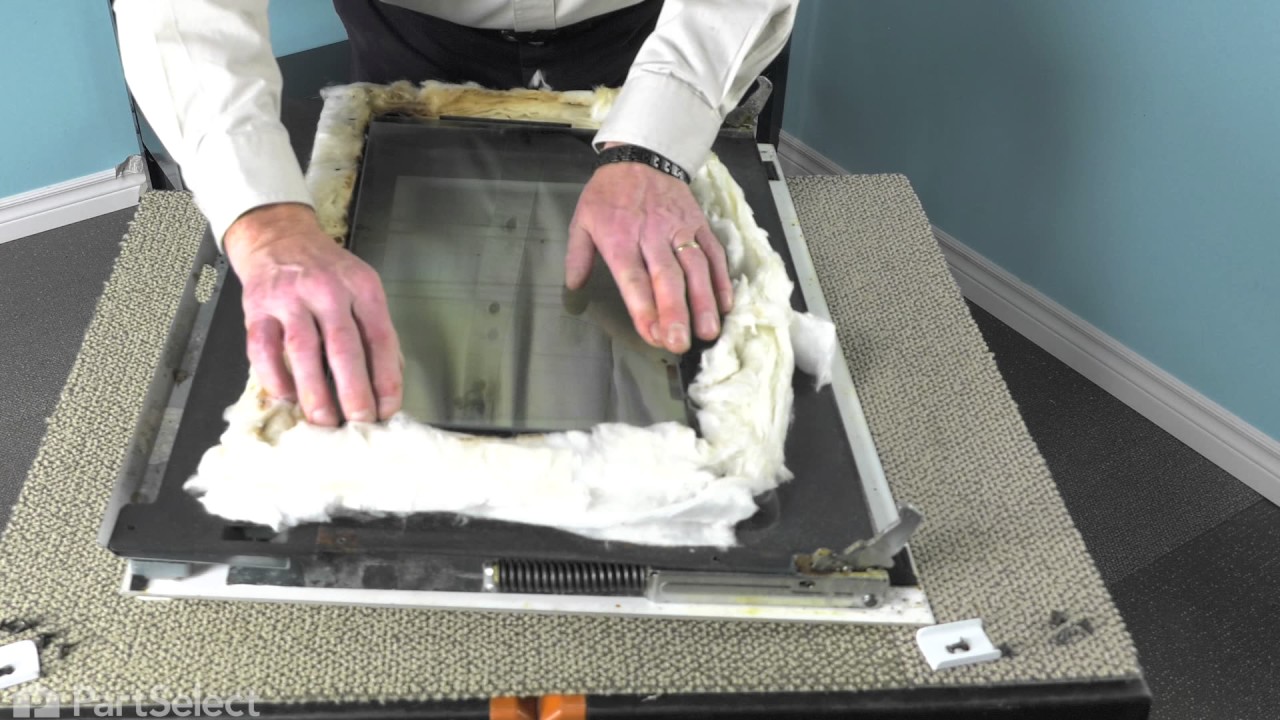

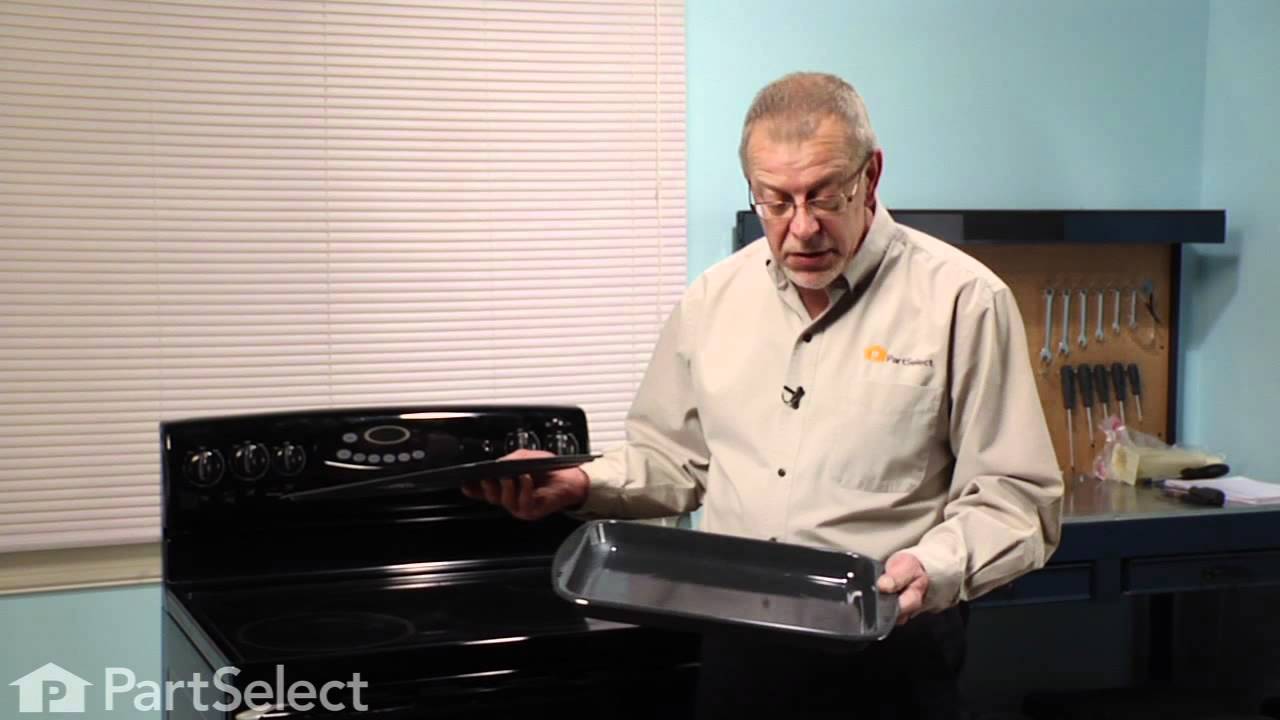
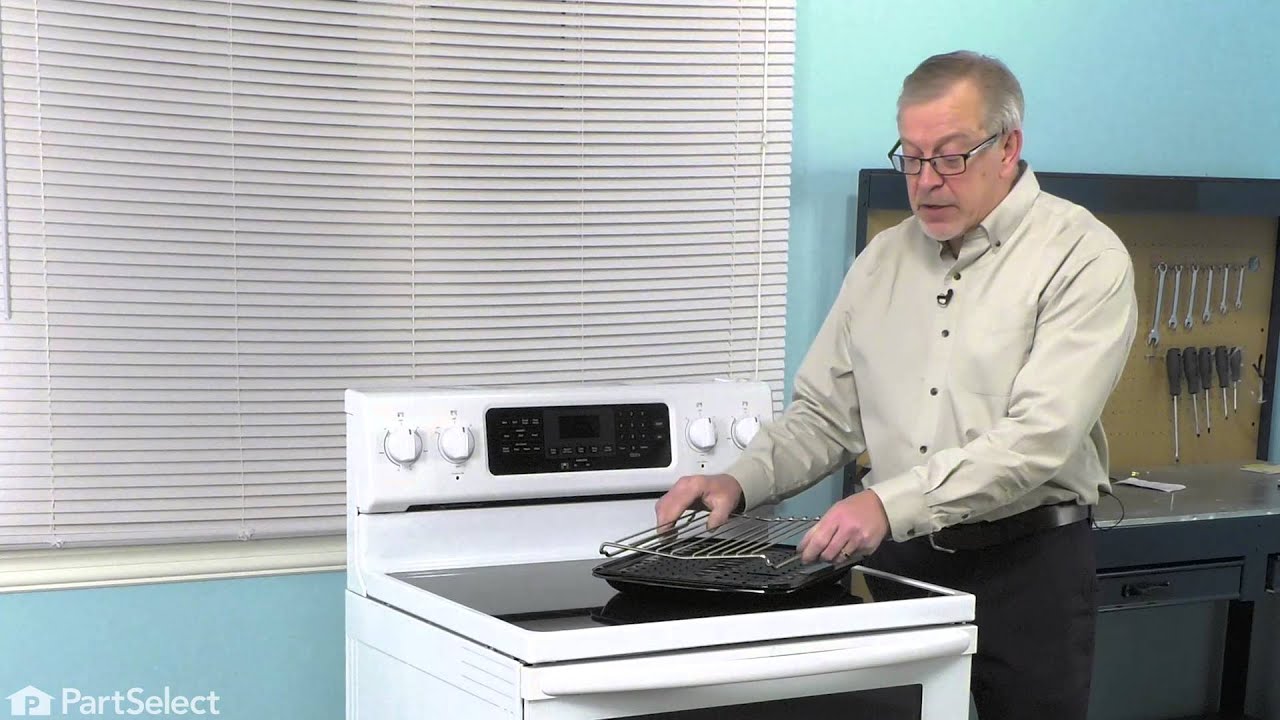

See how others fixed this model. Time, tools, difficulty, and steps that lead to victory!
View More