


 My Orders


FWS845GCT0 Frigidaire Washer - Overview
Diagrams for FWS845GCT0
See every part. Know exactly what you need.


Enter a part description. DIY Heroes keep it simple, eg. "belt" or "pump".
Search filter:
Clear Filter
Your search term must have 3 or more characters.

$31.95
In Stock
Drive V-Belt
Part #134511600
This belt is made to slip on the motor pulley to bring the basket up to the speed required and this makes the belt get wear and tear.

$177.60
In Stock
Water Inlet Valve
Part #134190200
If your washer isn’t filling properly, leaking, or not cleaning clothes like it should, the water inlet valve might be the issue. This part controls how hot and cold water flows into your machine. It’s easy to install and comes with the bracket and screws you need. Just make sure it fits your model, and turn off the power and water before starting.

$28.95
In Stock
Screw
Part #131302800
This is a replacement screw for your washer or dryer. The screw is approximately half an inch in length and is a Phillips-head screw. It screws in from the outside of the drum, into the vane/baffle. The main reason you would replace this screw is if the old screw is missing or damaged. This part is sold individually and is an OEM part sourced directly from the manufacturer.

$107.19
Special Order
Tub Seal Assembly
Part #5303279394
This seal helps prevent any leaking around the transmission of washing machines.

$32.89
In Stock

No Longer Available
Washer Lid Lock with External Safety Switch
Part #134101800
Mounting bracket on this part replaces old style ( You may need to drill off old bracket before mounting new lock).

No Longer Available

$29.95
In Stock

No Longer Available

$113.66
In Stock
Spin Bearing
Part #3204405
This washer spin bearing supports the drive shaft and helps the drum spin smoothly during the spin cycle. Located at the bottom of the outer tub, it plays a key role in reducing friction and noise during operation. Replacing a worn or damaged bearing can help resolve loud or unusual noises and restore proper spinning performance.

$33.30
In Stock

No Longer Available
Common Symptoms of the FWS845GCT0
How this model fails, and the parts that fix it.
Leaking
Fixed by
these parts
these parts


Show All
Burning smell
Fixed by
these parts
these parts


Show All
Will not agitate
Fixed by
these parts
these parts

Show All
Will not drain
Fixed by
these parts
these parts
Show All
No hot or cold water
Fixed by
these parts
these parts
Show All
Spins slowly
Fixed by
these parts
these parts
Show All
Noisy
Fixed by
these parts
these parts

Show All
Will Not Start
Fixed by
these parts
these parts

Show All
Spinning Issues
Fixed by
these parts
these parts
Show All
Watch our pros, then fix it yourself.
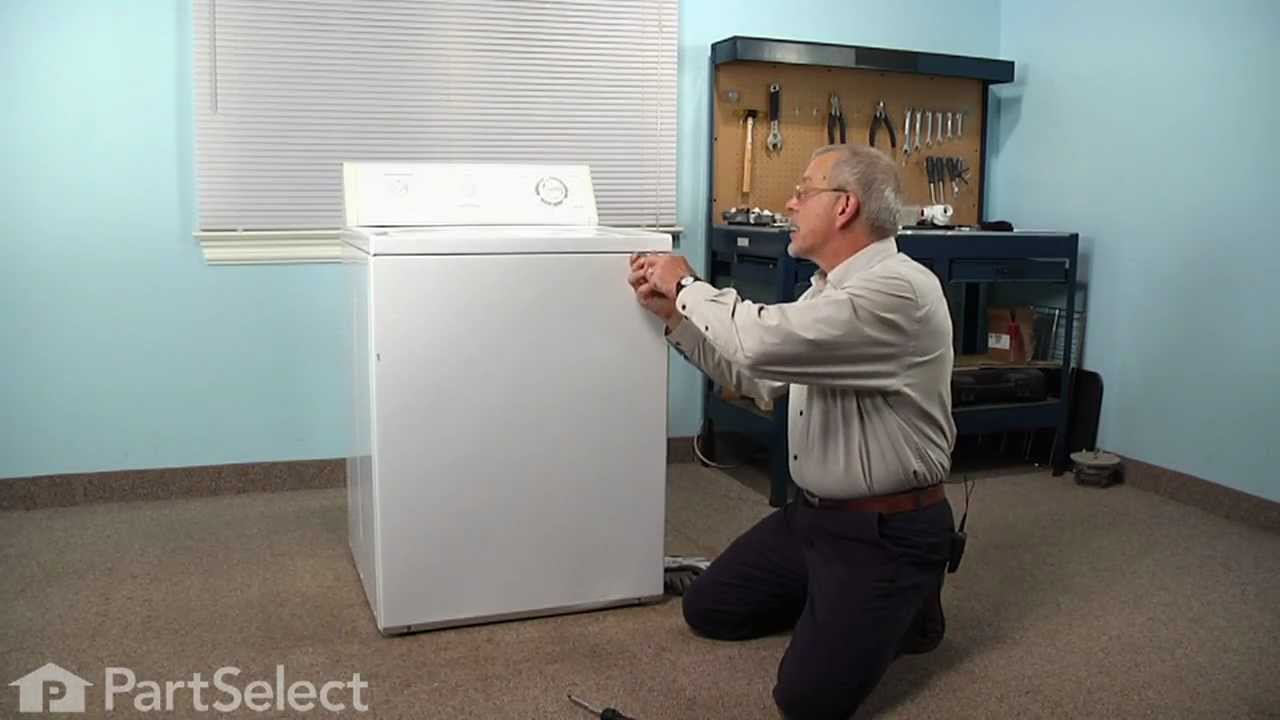
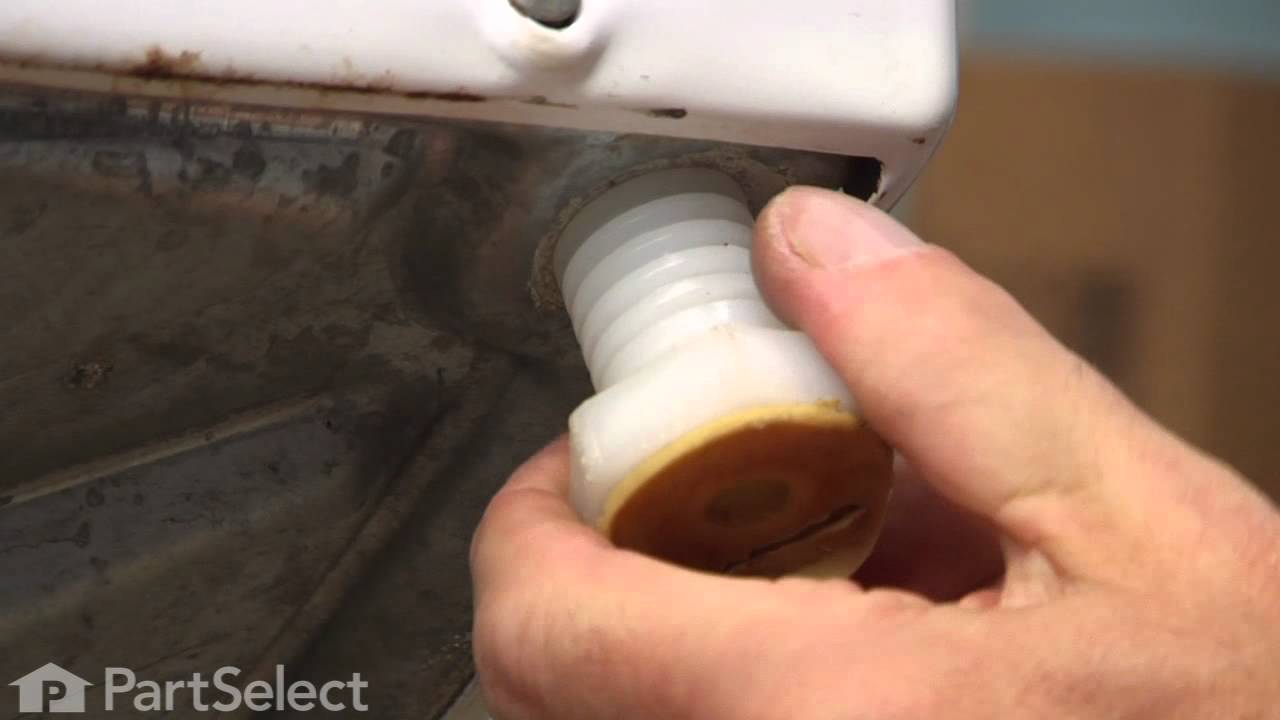
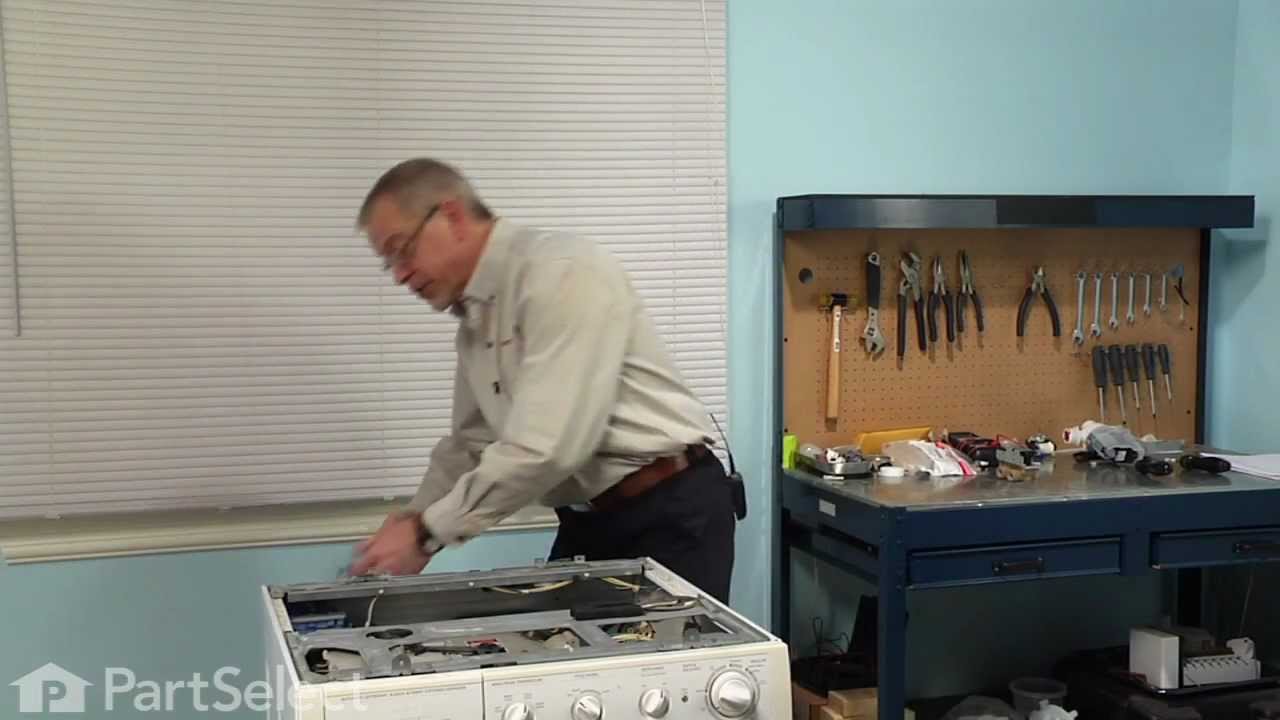

See how others fixed this model. Time, tools, difficulty, and steps that lead to victory!
View More