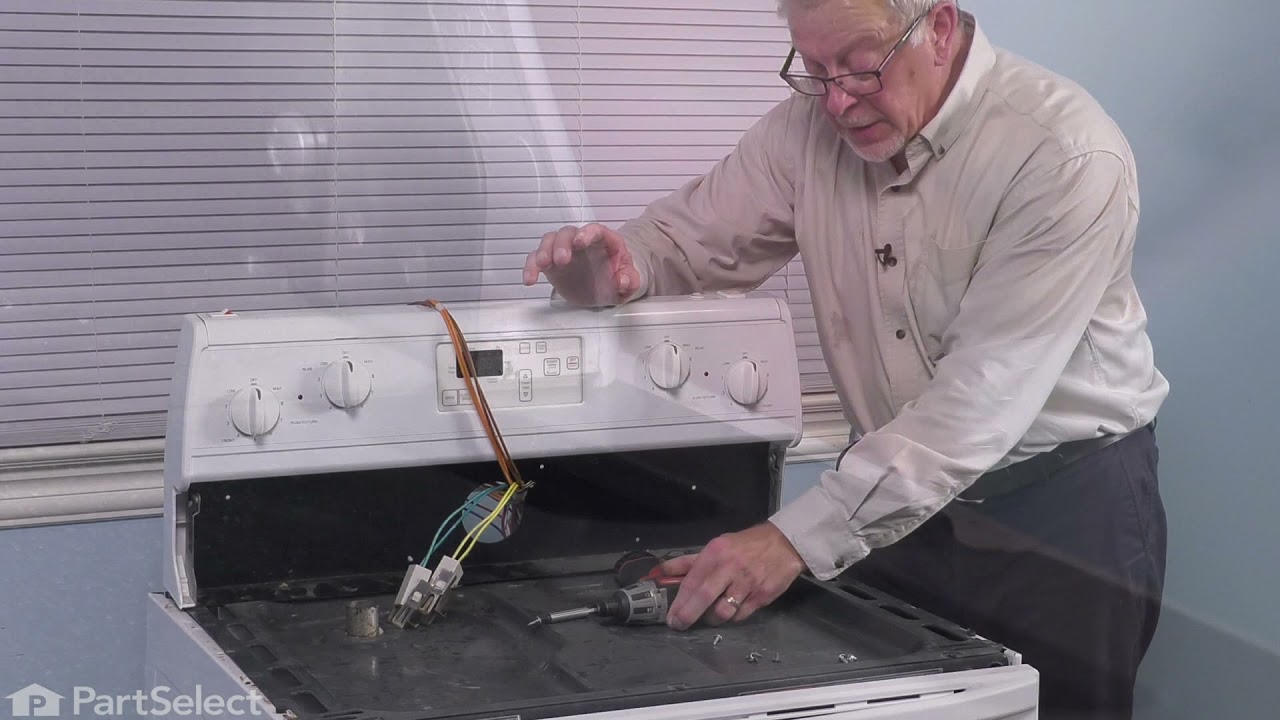
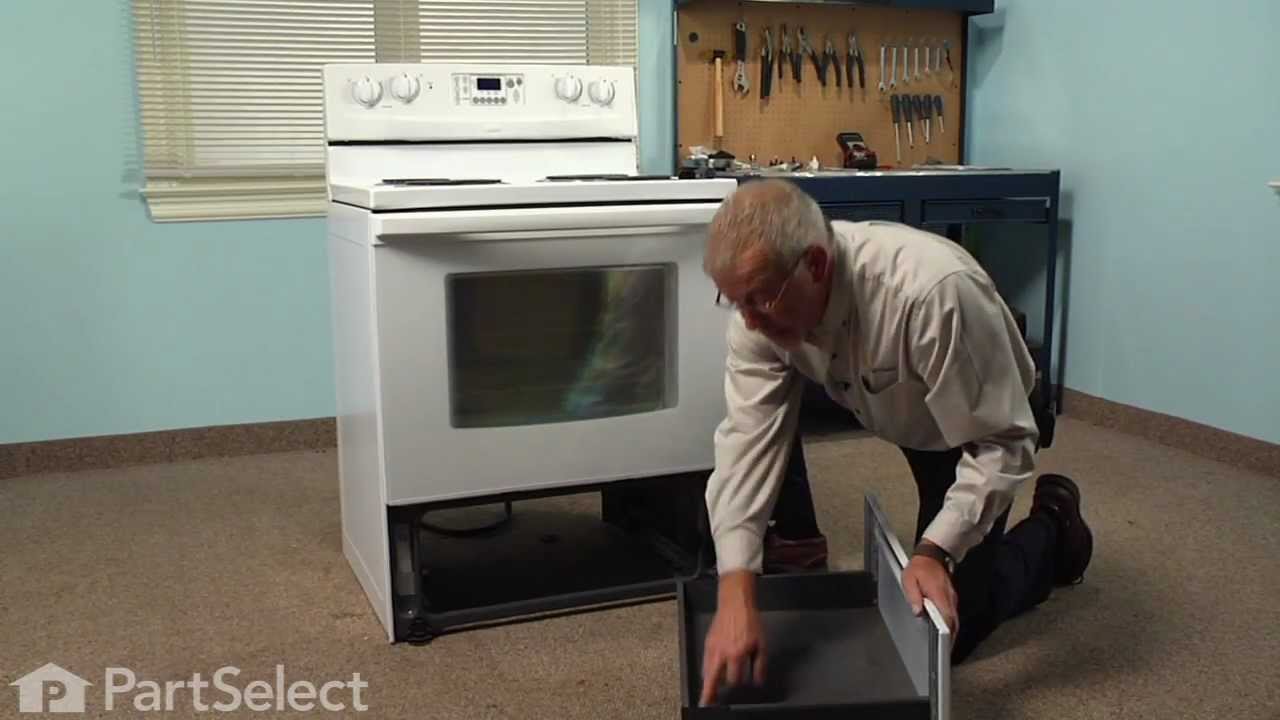
FGS337GW0 Roper Range - Overview

Diagrams for FGS337GW0

See every part. Know exactly what you need.

Enter a part description. DIY Heroes keep it simple, eg. "belt" or "pump".

Search filter:
Clear Filter
Your search term must have 3 or more characters.
Touch-Up Paint - White – Part Number: 72017
No Longer Available
Touch-Up Paint - White
★★★★★
★★★★★
(23)
Part #72017
This 18 ml bottle of white appliance touch-up paint is used to cover scratches or marks on your appliance. The white touch-up paint can be used on refrigerators, microwaves, ranges, clothes dryers, and freezers. This is a genuine OEM part and includes a brush applicator. Please remember to wear gloves to protect your hands when applying this paint.
Screw – Part Number: W11233072
$30.40
In Stock
Screw
★★★★★
★★★★★
(5)
Part #W11233072
This is a multi-use and multi-appliance screw. It can be used on a microwave, refrigerator, range/oven, air conditioner, dehumidifier, washer, or dryer. The measurements of this screw are 8 x 1/2 inch. It has 6 threads. Refer to the manual provided by the manufacturer for further information on repair and accurate guidance. Remember to wear work gloves as a safety precaution.
Range Insulation – Part Number: WPW10208653
$69.24
In Stock
Range Insulation
★★★★★
★★★★★
(9)
Part #WPW10208653
Oven Wrap Insulation.
Range Rear Drawer Glide – Part Number: WP8053334
$15.43
In Stock
Range Rear Drawer Glide
★★★★★
★★★★★
(3)
Part #WP8053334
Sold Individually. As the broiler drawer slides back and forth, these glides prevent metal-to-metal contact.
Rack – Part Number: W11520287
$68.64
In Stock
Rack
★★★★★
★★★★★
(12)
Part #W11520287
This oven rack offers a sturdy, chrome-finished surface for baking, roasting, and broiling in your range. It fits a wide selection of compatible ovens and is built to handle high heat and frequent use. If your current rack is bent, rusted, or missing, this replacement restores safe and reliable cooking support. Be sure to check your oven model for compatibility. Sold separately.
Range Rear Leveling Leg – Part Number: WPW10058460
$15.35
In Stock
Oven Igniter – Part Number: W10918546
$74.00
In Stock
Oven Igniter
★★★★★
★★★★★
(3)
Part #W10918546
This part helps your gas oven heat up by lighting the burner. If it’s glowing but not lighting the flame, it’s probably time for a replacement. It’s a flat-style igniter with a ceramic base and comes with a connector for easy setup. Be sure to unplug your oven and turn off the gas before installing.
Range Screw – Part Number: WP179051
$10.95
In Stock
Range Screw
Part #WP179051
Sold individually. Lock washers are used with screws when vibration from an appliance may cause the screw to loosen. Lock washers are also used in the electrical components of an appliance to ensure an electrical connection is not lost.
Front Foot – Part Number: WP3196037
$58.85
Special Order
Front Foot
Part #WP3196037
This adjustable front leveling foot is sold individually.
Range Front Drawer Glide – Part Number: WP3195546
$15.36
In Stock
Range Front Drawer Glide
Part #WP3195546
Sold individually.
Screw – Part Number: W10491985
$9.85
In Stock
Screw
★★★★★
★★★★★
(1)
Part #W10491985
Sold individually.
Door Gasket – Part Number: W11542153
$60.01
In Stock
Door Gasket
★★★★★
★★★★★
(7)
Part #W11542153
This oven door gasket prevents heat from escaping the oven cavity when in use. It contains all of the attaching clips needed for installation.

Manuals & Care Guides for FGS337GW0

Click to download

Common Symptoms of the FGS337GW0

How this model fails, and the parts that fix it.

Watch our pros, then fix it yourself.
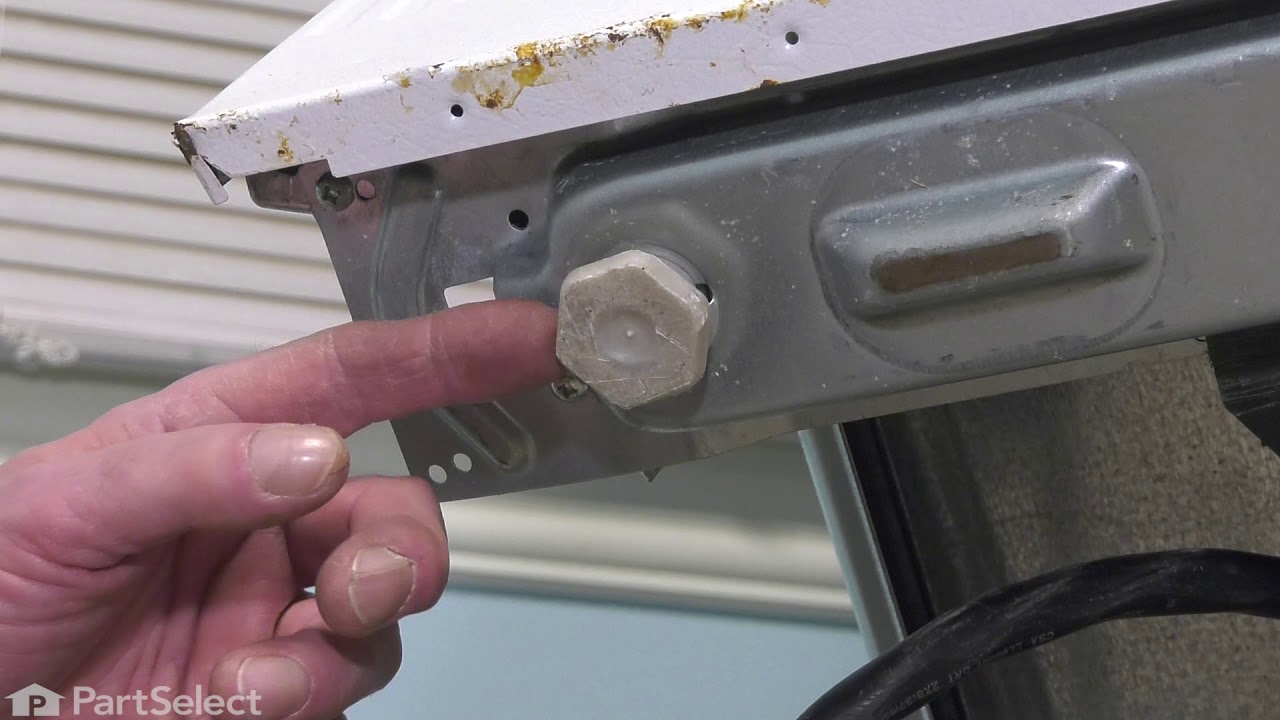
See how others fixed this model. Time, tools, difficulty, and steps that lead to victory! View More

Search repair tips from other customers using simple keywords like "replace", "fit", "remove", "inspect". DIY doesn't mean you have to do it alone!

Search filter:
Clear Filter
Your search term must have 3 or more characters.
mice had made nests in the insulation wrap in the range
129 of 211 people found this instruction helpful.
  • Wendy from Red Hook, NY
  • Easy
  • More than 2 hours
  • Screw drivers
I numbered every part. ex: 1 L., for first part removed left side. I used a magic marker to circle the holes and wrote the number of screws used on the part, set the srews in a separete place, so that I new where these screws went to. The cleanup was pretty time consuming, but I was able to keep my stove, when every repairman I called to fix my stove told me I was better off buying a new stove. ($600.00 stove 2 years old)Please Note: The insulation blanket needed for the entire stove is two pieces, the sides and top are one part # and the bottom and back, are another part #. I did not know this. I just purchased the top and sides. I got lucky, the back and bottom were still in good shape. So I guess I should have read the description of the part more carefully to see what it covers, before I ordered it. It took two people two hours to do the work, it was really nice to have an extra set of eyes, to remember what direction pieces of metal from the stove went. I would do it all over in a heart beat instead of buying a new stove.
Was this helpful?
Thank you for voting!
our oven would not heat up
93 of 109 people found this instruction helpful.
  • sharnette from baltimore, MD
  • Really Easy
  • 15 - 30 mins
  • Screw drivers
My husband pulled out the stove turned the gas off then he pulled out the part and replaced igniter....it took only about 20 min to do this job it was very easy and prior to us doing ourselves i called a well known company that does home repairs, I also called a few smaller businesses and to replace this part was anywhere from $175- 250 i f not more. we are very very happy with our decision to replace the part ourselves unstead of spending extra money we didnt have .
Was this helpful?
Thank you for voting!
Front burner would not light. The igniter was cracked and the spark would not jump to the burner head.
51 of 51 people found this instruction helpful.
  • Marilyn from Antioch, IL
  • Easy
  • 30 - 60 mins
  • Screw drivers
I pulled the range from the wall and disconnected the power cord. I removed the grates, burner caps and the burners from the cooktop. Using a plastic putty knife, on either side of the range in the front I pushed the retaining clips to allow the cooktop to be raised. I used a short board to keep the cooktop open. I cut the wire leading to the broken igniter and removed the old igniter. I put the new ignitor in the mounting hole. The igniter wire connects to the spark module which is in the back of the range. To access the module I removed three top screws on the backplate(you have to get behind the range) and removed the top access panel. I used the old wire to pull the new wire through to the module. I disconnected the old wire from the module and connected the new one.

Reassembly was easy. I replaced the backplate and screws, lowered the cooktop, replaced the burners, caps and grates. I plugged the power cord back in and slid the range back.
Was this helpful?
Thank you for voting!